CMU Event
For use in full-width containers only.
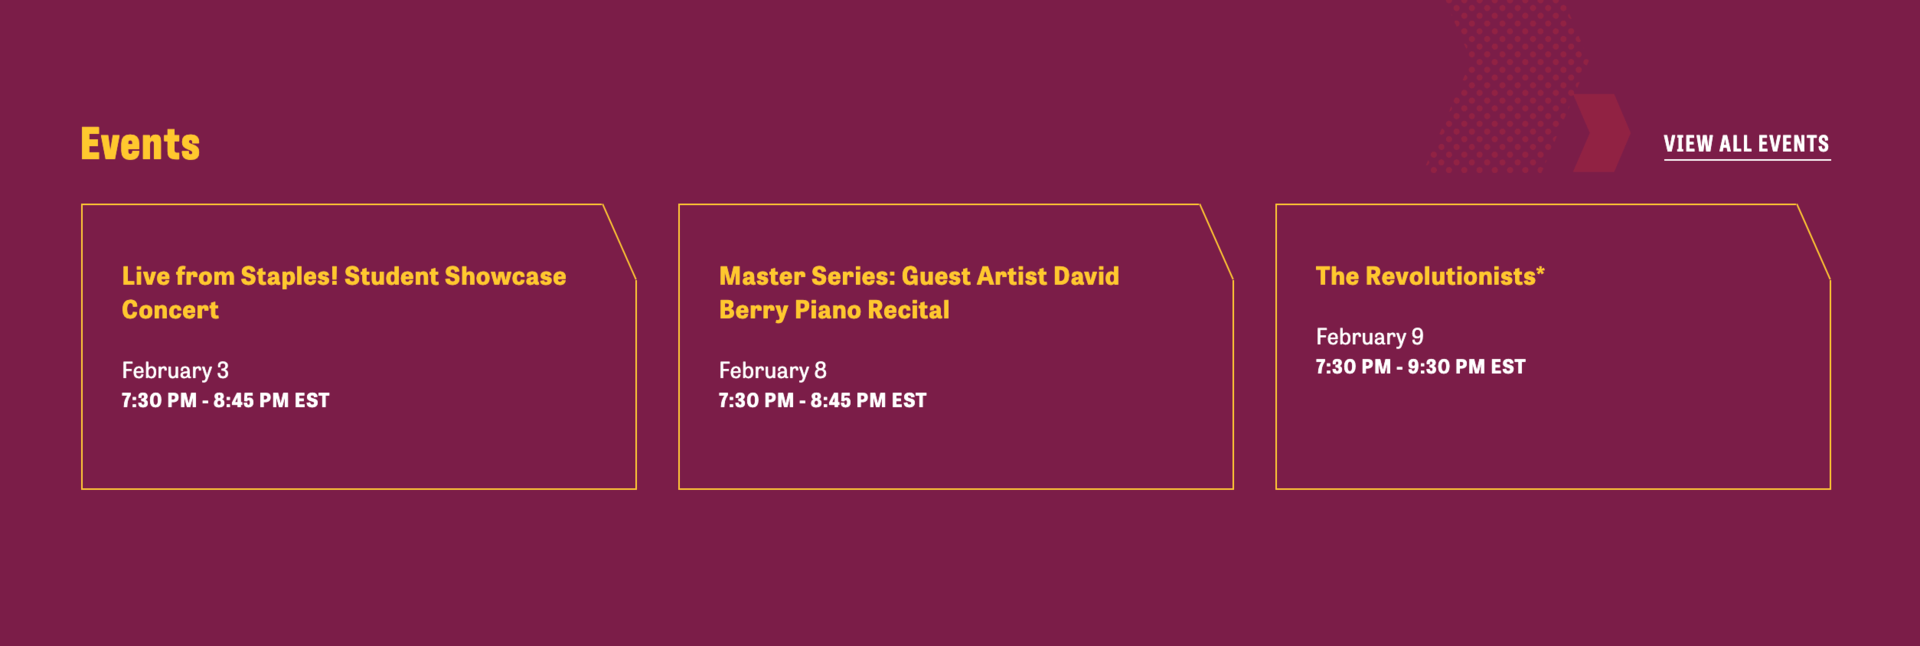
The CMU Event widget allows you to display up to three Events manually or by feeding them to the widget using categories. Users can be directed to additional, related Events by clicking "View All Events."
CMU Event widget screenshot
Visual demo
Widget standards
Do:
- Use only one CMU Event widget per page.
- Use the highest level filter possible to direct users to relevant events.
- Display a maximum of 3 events and utilize "View All Events" to direct users to more.
Do NOT:
- Add more than one CMU Event widget to a page.
- Allow a CMU Event widget on a published page to remain empty, displaying zero events.
- Select more than 4 categories to filter events.
Written instructions
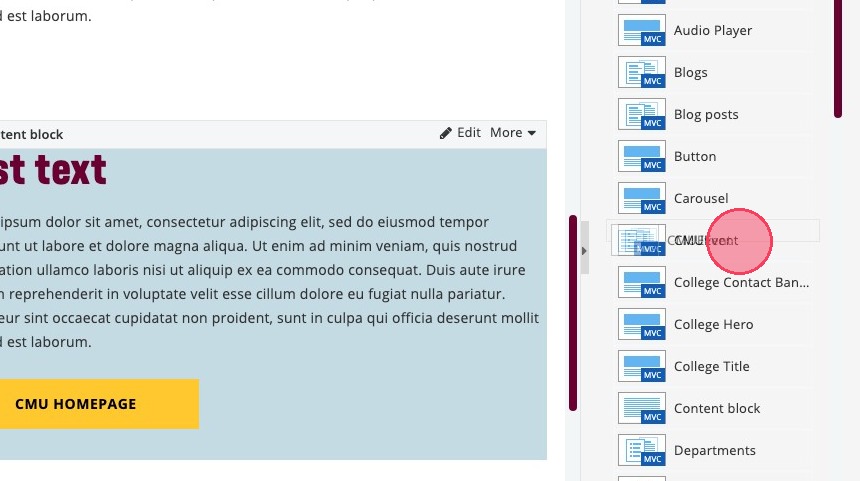
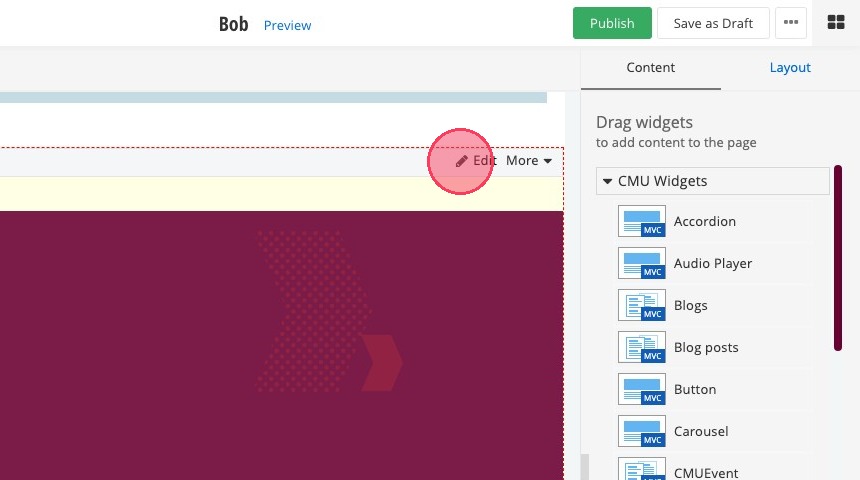
1. From the backend of your page, select the CMU Event widget from the Content tab and drag it to the full-width area of the page (below the Main Content Area and left sidebar).
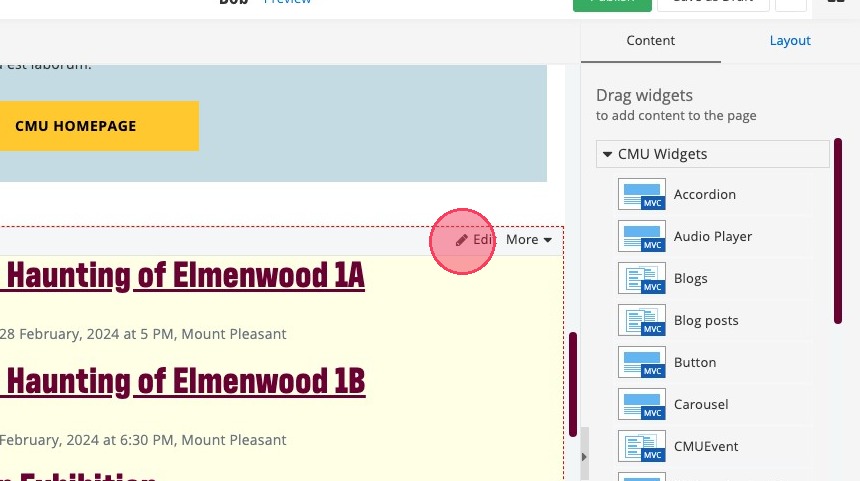
2. Click "Edit."
3. Next you will configure each of these three tabs: Content, List Settings and Single Item Settings. Begin with the Content tab.
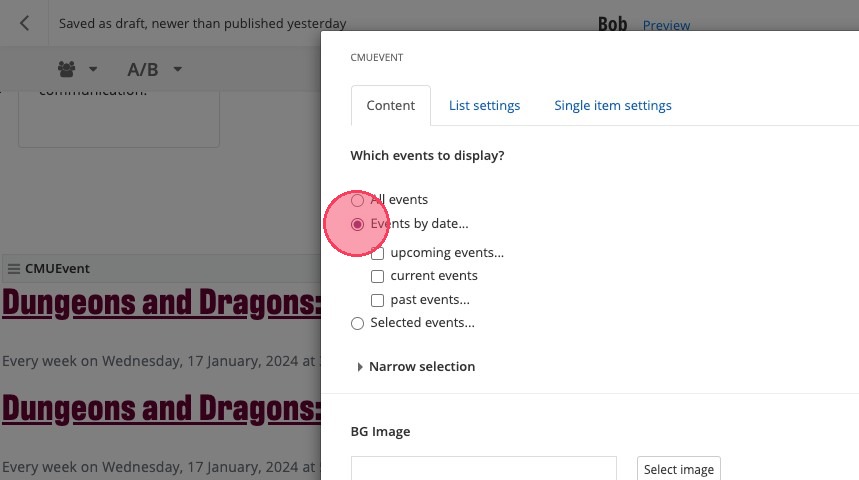
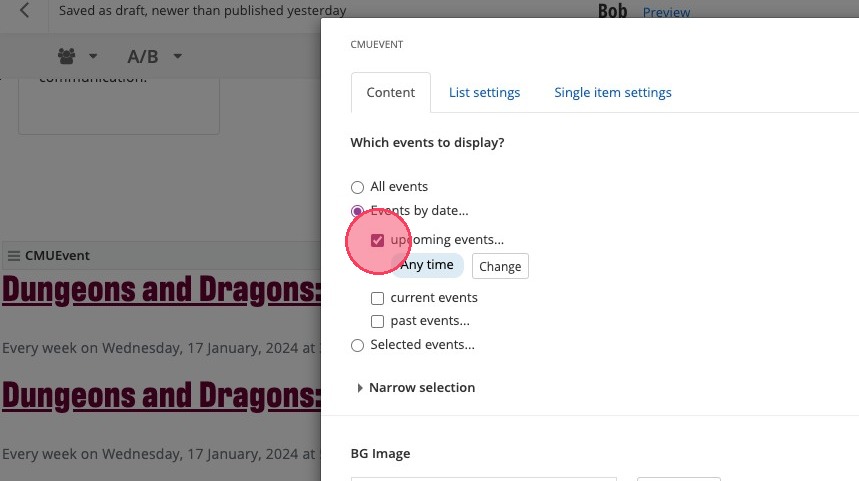
4. In the Content tab, determine "which events to display."
- While there are three options shown for "which events to display," only choose between the "Events by date" or "Selected events" options.
- Steps to further configure the "Events by date" option continue after the Tip below.
- For "Selected events," check that option and follow the prompts to select individual Events from the list of all CMU events that have been created.

Tip: Tip! Do NOT select "All Events." Doing so will automatically include "past events" among those displayed by the widget, even after the event's "end time."
5. After selecting "Events by date," the checkbox for "upcoming events" and the option for "Anytime" should populate automatically. (NOTE: You can fine-tune the date range beyond "Anytime," but that is not needed for most use-cases).
6. Also under "Events by date" in the Content tab, check the box to include "current events" among those to be displayed.
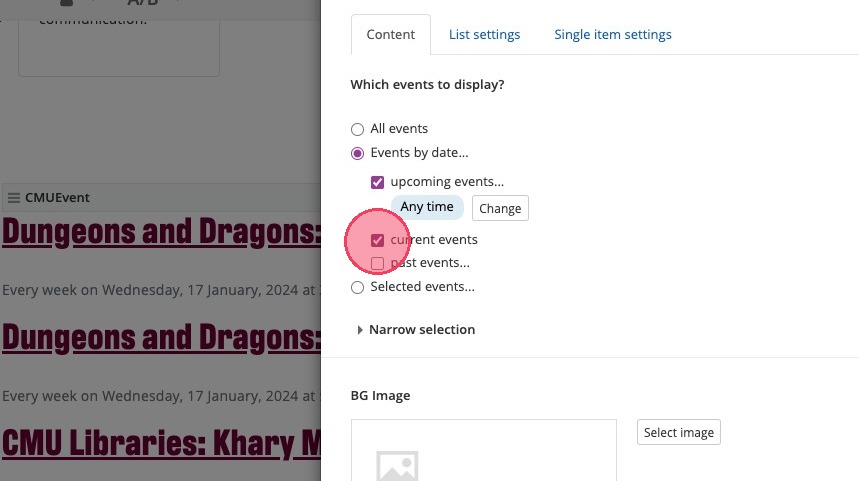
Tip: Tip! Do NOT select "Past Events." Doing so will automatically include "past events" among those displayed by the widget, even after the event's "end time."
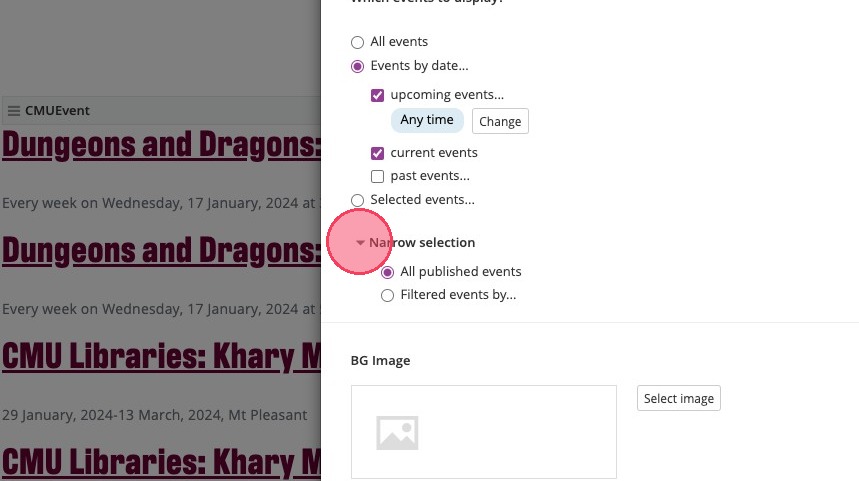
7. Next choose the option to "Narrow selection."
8. Click "Filtered events by..." to begin configuring the three options for Calendar, Categories and Tags.
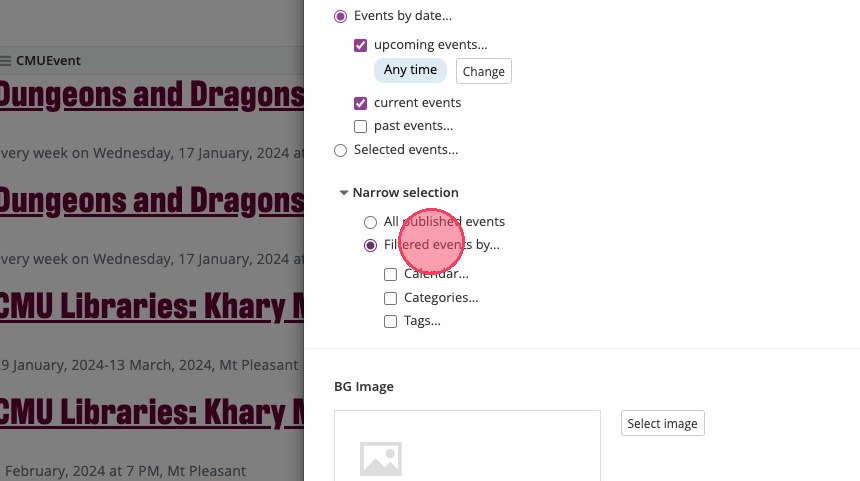
9. Click Calendar, then Select.
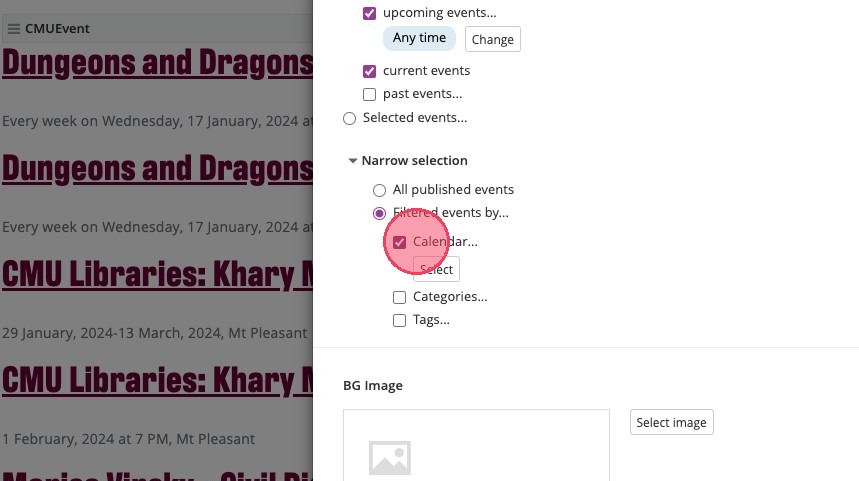
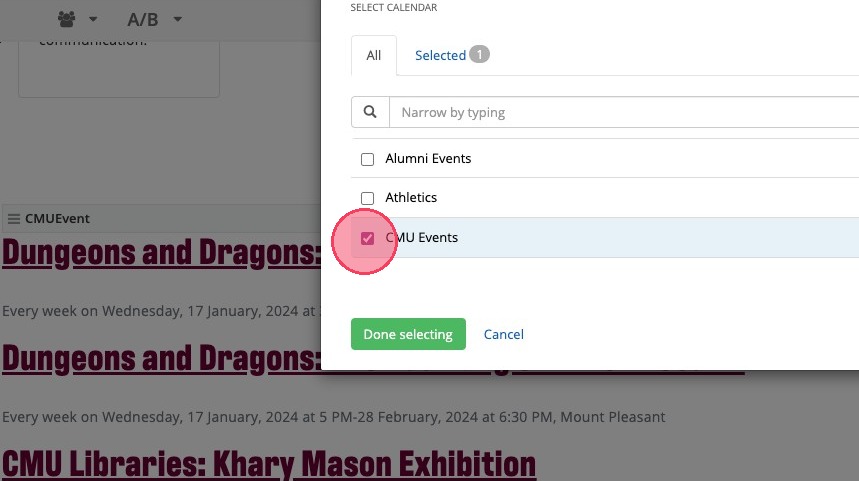
10. Choose among these 3 calendar options (you'll select the option assigned to the event(s) you wish to display in the CMU Events widget); most will pick CMU Events.
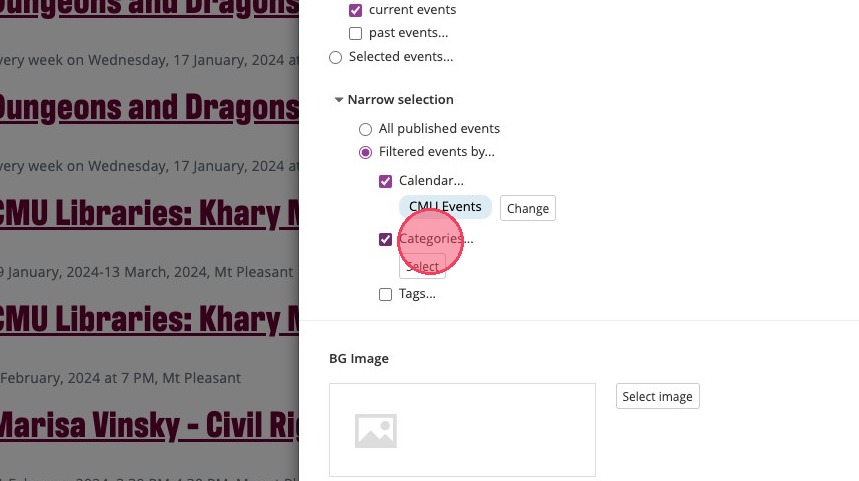
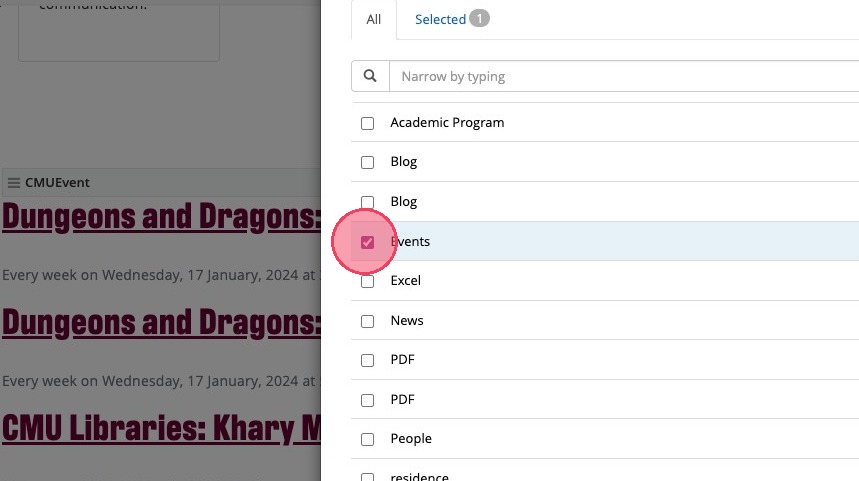
11. Next, check the box for "Categories" and Select the category or categories that align with those you assigned to the individual events when they were created.
12. The last "Filter events by..." item to configure are "Tags."
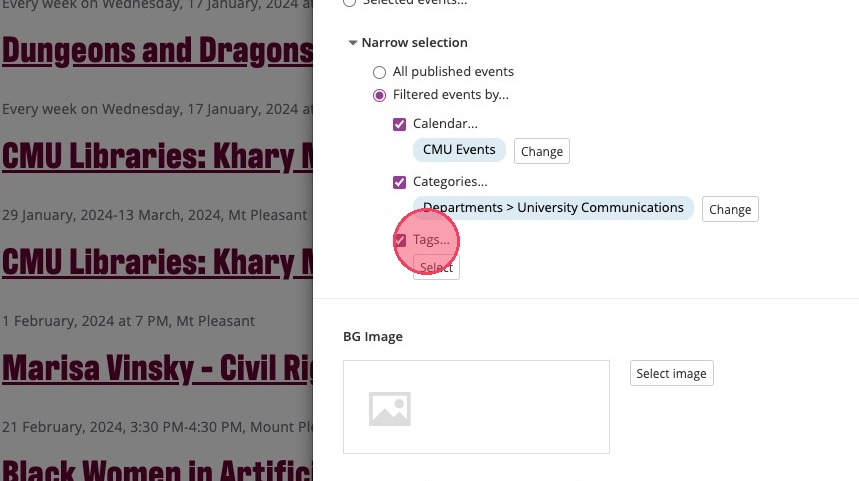
13. In Sitefinity Tags are Content Types, not subjects or topics. For CMU Event widget configuration, only select Events.
14. Now move to the second tab, List settings.
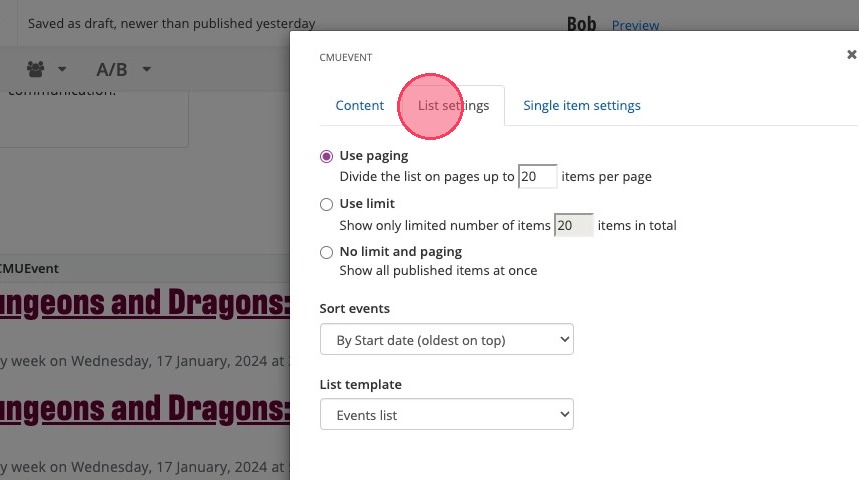
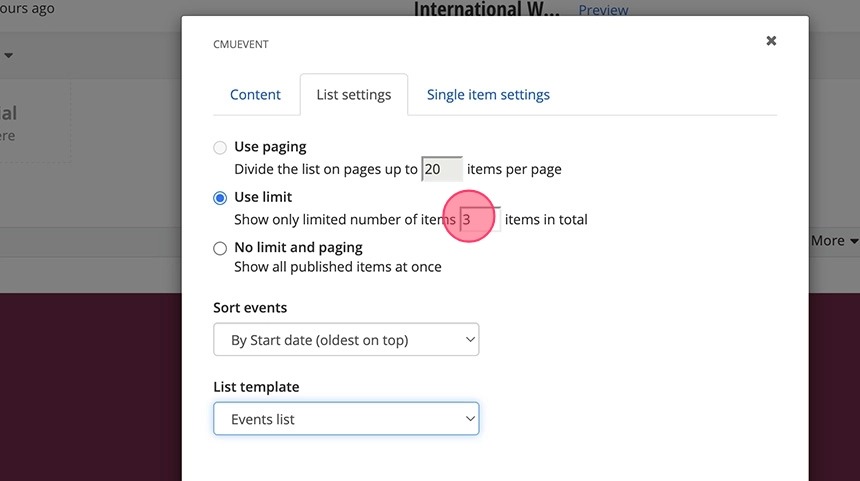
15. Select the top, "Use limit" option and change the pre-populated field from 20 to 3. Do not need to do anything with the "Use paging" or "no limit and paging" options.
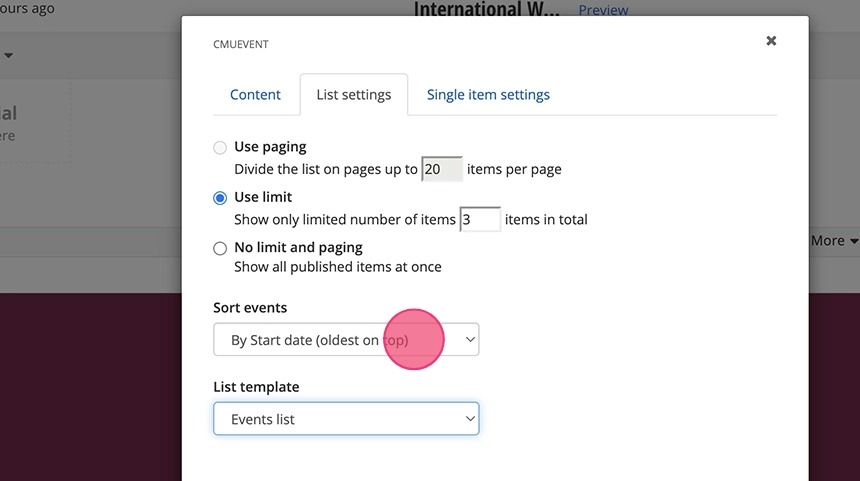
16. Make sure the dropdown menu under "Sort events" is set to "By Start date (oldest on top)."
17. Next click the dropdown menu under "List template" and select the "Featured events" option.
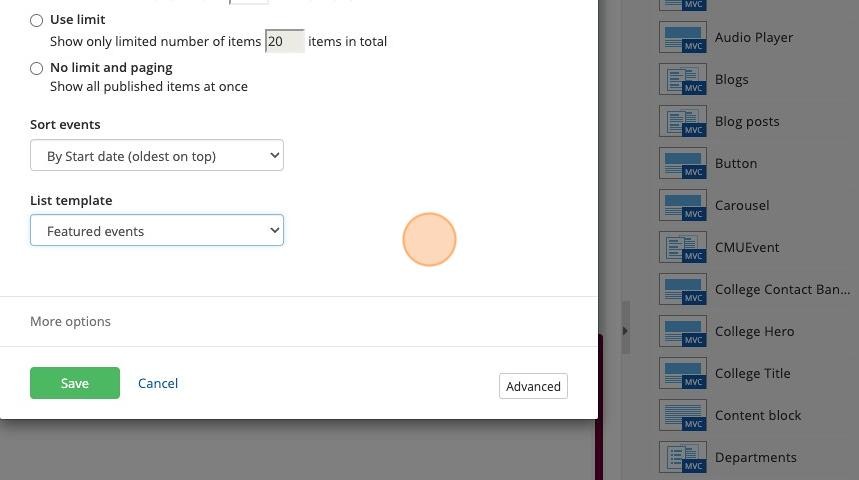
18. Now move to the third tab, Single item settings.
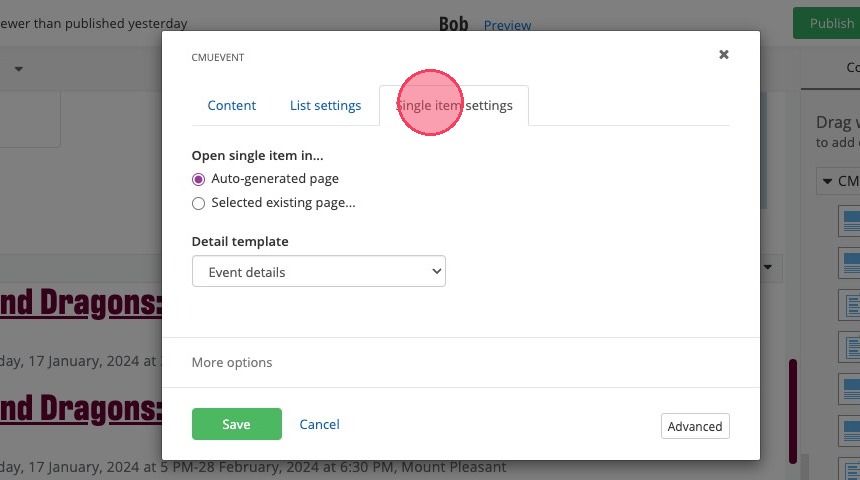
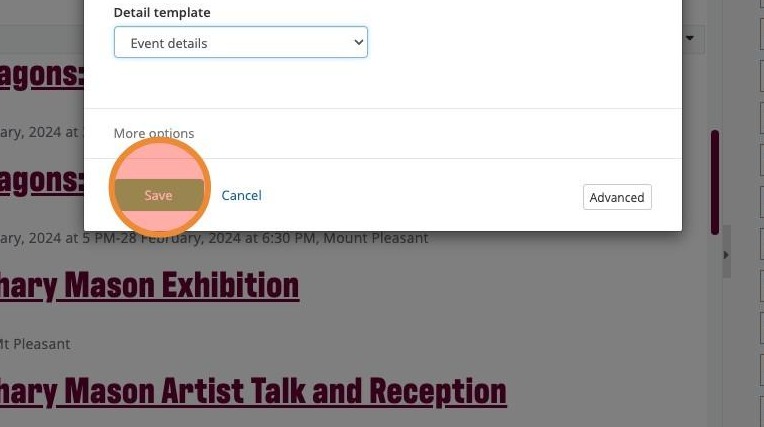
19. For "Open single item in," make sure "Selected existing page" is selected and "Events" is selected. For the dropdown menu under "Detail template," make sure "Event details" is selected.

20. Click "Save."
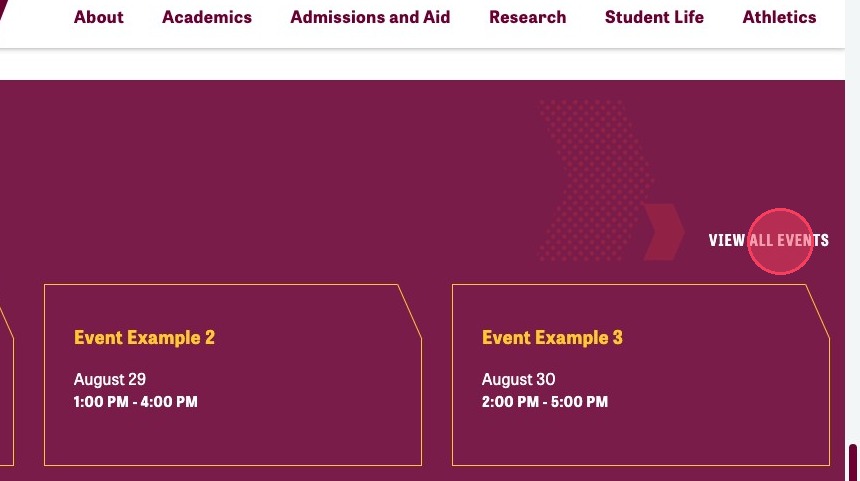
Tip: Tip! Guide users to additional, related Events (beyond the 3 displayed by the widget) by updating the "View All Events" link. Steps for doing so are next.
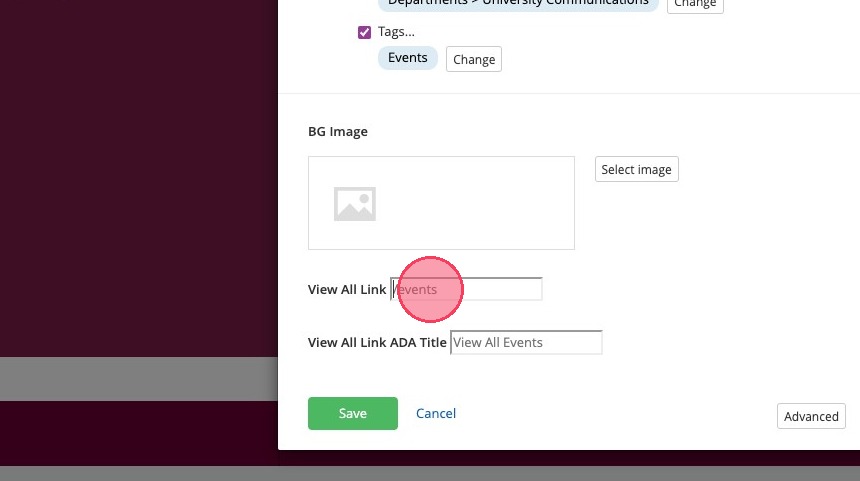
21. This is the link that can be updated to guide users to additional, related Events.
22. To select the destination URL for the "View All Events" link, first go out to the live cmich.edu website (not Sitefinity) and click "Events" in the top navigation bar.
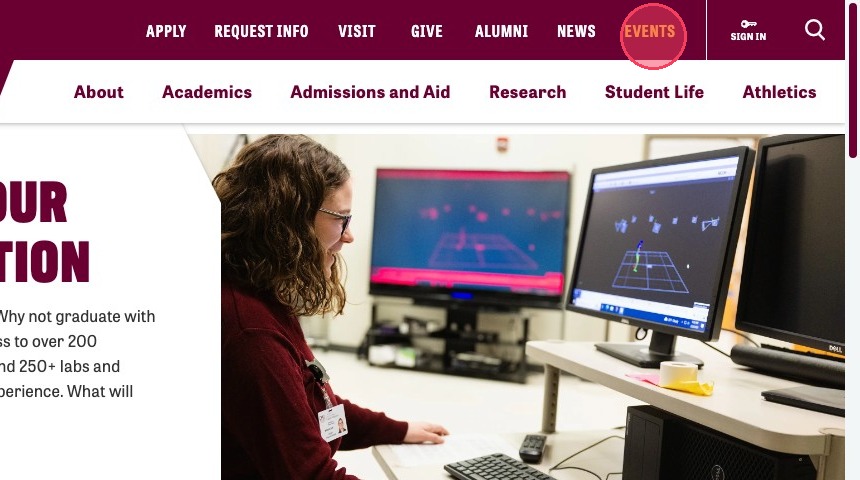
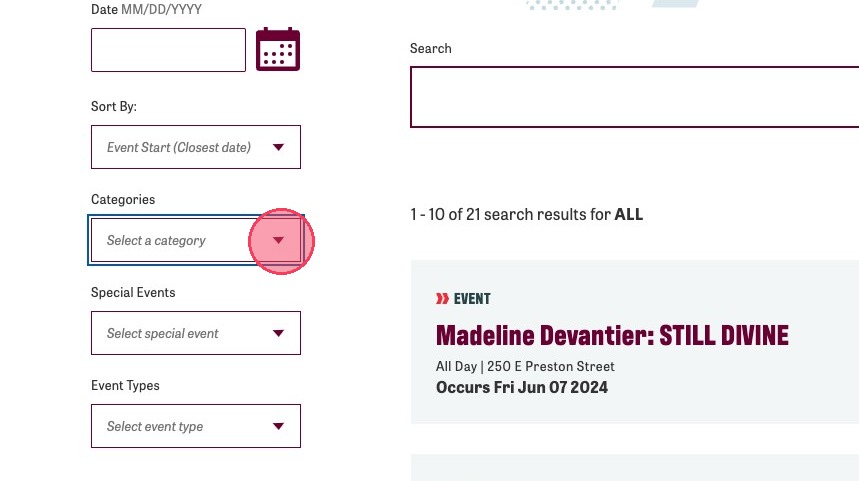
23. Use the Event's Calendar's sorting/filtering options (Category will be the best choice for most instances) to display the additional, related Events you wish.
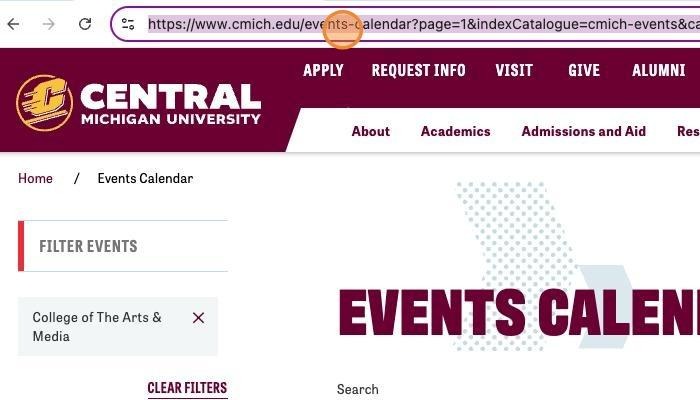
24. After you've sorted/filtered to show the additional, related Events you wish, copy the page URL to your clipboard.
25. Return to the backend of the Sitefinity page where you're adding the CMU Events widget. Click to Edit the widget.
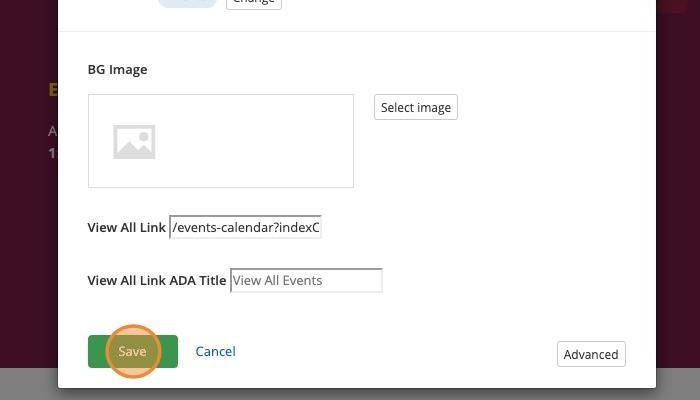
26. In the first tab (Content), click into the "View All Link" field and paste the URL of the configured Events Calendar page here.
Important: Do NOT include cmich.edu in this field. Your pasted URL should begin with "/events-calendar..."
27. Click "Save."
Save and send
- If you'd like to continue working on this page, but need to save your progress, click Save as Draft.
- If you're finished making changes to the page, and the page is ready for review, click Send for Approval.
