Interior Navigation Cards
For use in Full-Width containers only.
The Interior Navigation cards can be used to easily move readers to the next page on our site. Information is loaded onto a page's Title and Properties page and then displayed in a dynamic manner with the Interior Navigation Card.
An interior navigation card on a parent page shows only the published children pages nested under that main parent page. It's essentially a link with an image to advertise what is on the child page.
Interior Navigation Cards screenshots
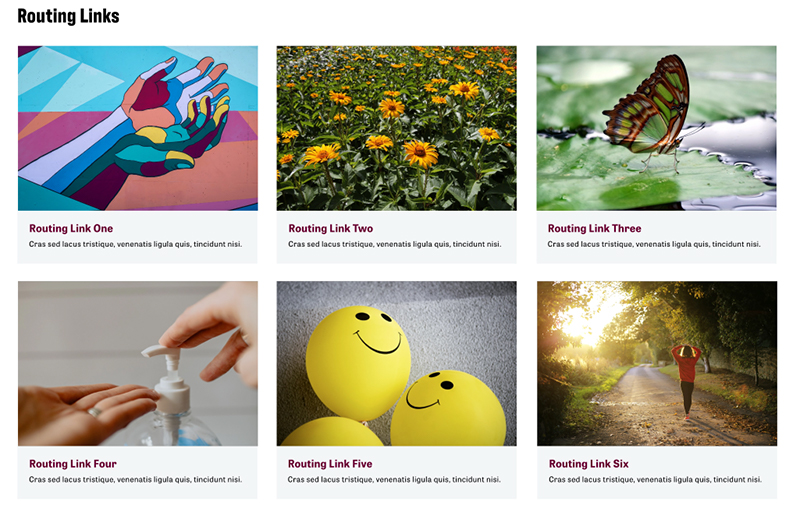
Visual demo
Widget standards
A layout is not needed for this widget.
Do:
- Use this widget in the full width or main content areas.
- Only use this widget on pages with children pages.
- Use images that are 400 pixels x 280 pixels.
Do NOT:
- Use the three column layout in the main content area; use the two column layout instead.
Written instructions
1. On the Title and Properties page, go to the Related Media Section.

2. Add the image you would like displayed on the Interior Navigation Card. Image size is 400x280.

3. Add the description of the page that will appear on the Interior Navigation Card.

Alert: If you do NOT want the card to show within the page, check the box that says "Hide from Navigation Cards".
4. Click "Save changes".

5. Place the InteriorNavigationCards widget in the "Main Content" or Full Width containers. It will automatically appear with the text of the children pages.

6. Click "Edit."

7. If you added the widget to the main content area, change the template to "Card. two columns." If you added the widget to the full width area, leave the Template as "Card."

8. Click "Save."

9. Save your page edits.
Save and send
- If you'd like to continue working on this page, but need to save your progress, click Save as Draft.
- If you're finished making changes to the page, and the page is ready for review, click Send for Approval.
