Shared Content Blocks
For containers of any width
Shared content blocks ensure consistency of both formatting and information, and quicken the creation, distribution and upkeep of critical content.
Capabilities
- Create once, publish everywhere.
- Reduce inconsistencies in substance and style.
- Easily share accurate and properly-formatted content across units/websites.
Guidelines
- Not all content warrants a shared content block.
- The best use-cases are content that is:
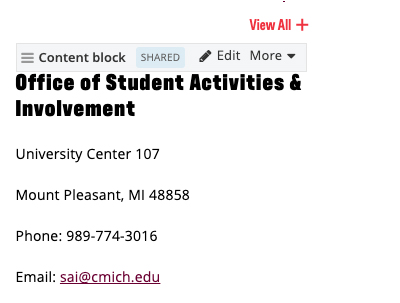
- Specific and objective (such as dates, contact information, and numerical data) v. content that is more subjective and imprecise.
- Demands accuracy (such as tuition and fees).
- Benefits from broad distribution (such as appointment booking buttons).
Using a shared content block
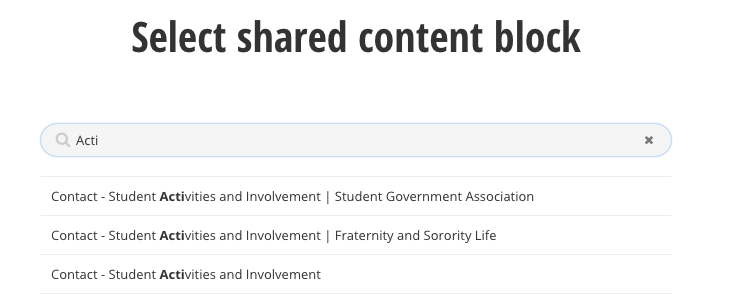
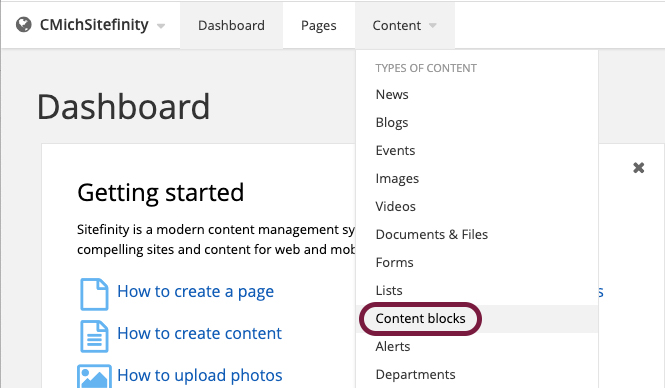
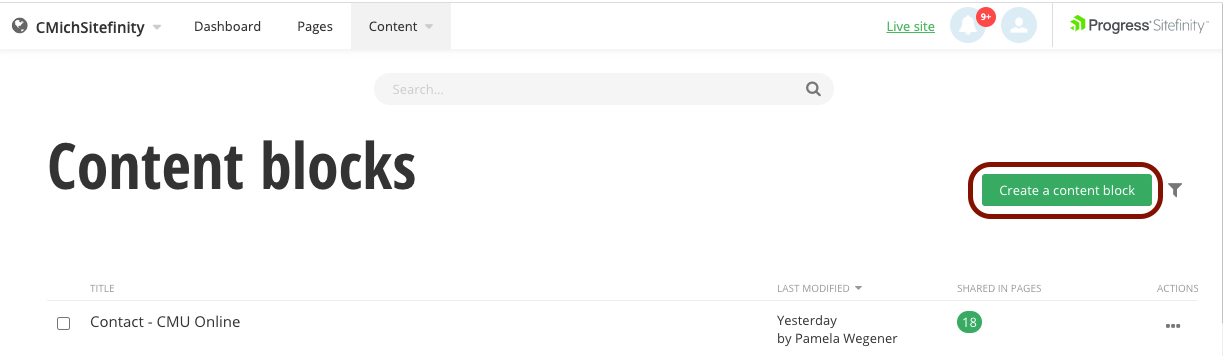
TIP: Check to see if a Shared content block has already been created for the content. Under Sitefinity's Content tab, select Content blocks. Then use the Search field to enter the department or type of shared content (commonly created shared content block types include Contact, Tuition and Fees, and Buttons) or the name of the collaborator who may have created a shared content block already.
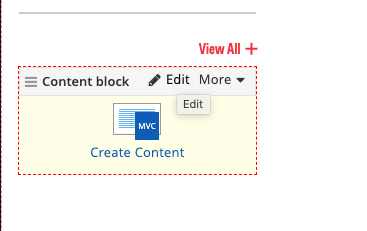
2. Find the content block widget in the content pane and place it onto the page.
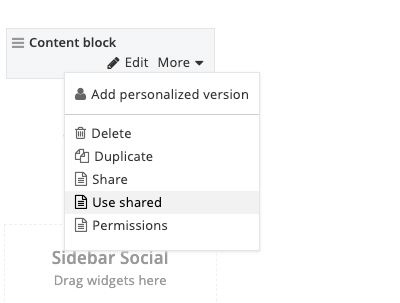
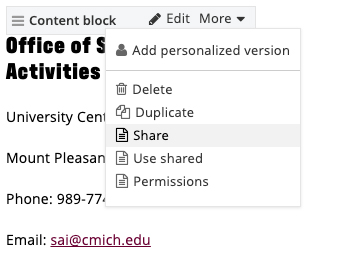
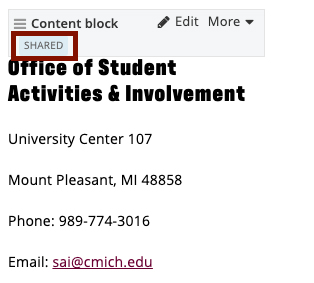
3. Click the More menu located in the upper-right of the content block widget and select Use Shared.

Creating a shared content block from page
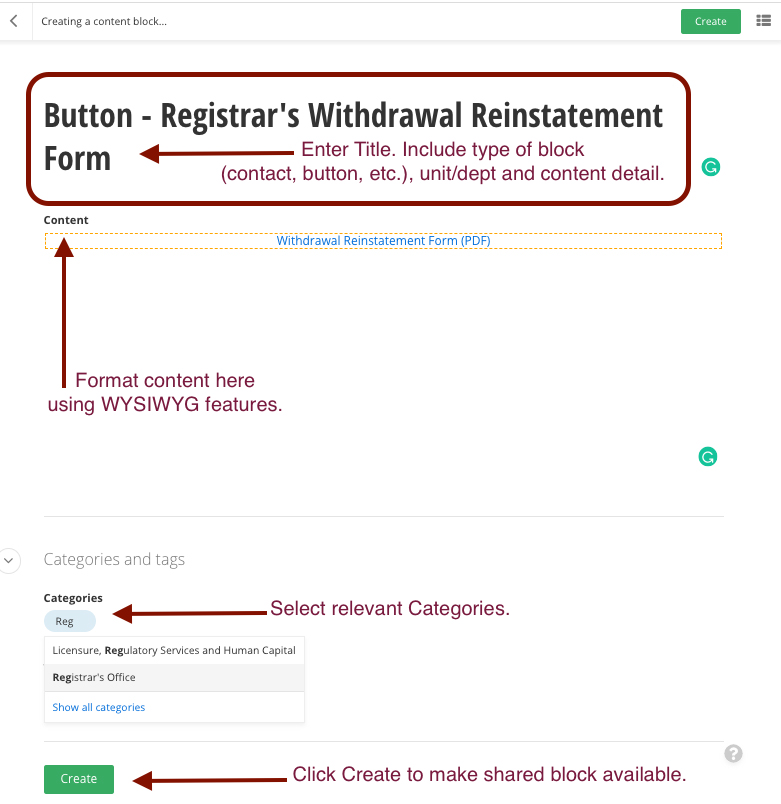
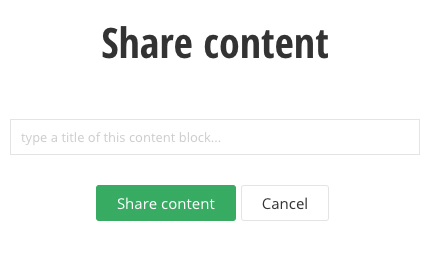
5. You will be prompted to provide a Title for the shared content block.
For contact information, properly formatted shared content blocks have the following naming convention:
- Contact - [name of unit/department] | [name of sub-unit/department]
For something like a shared appointment booking button, the title should be:
- Button - [name of unit/department] [name of action] (i.e. Button - Academic Advising appointment booking).
Save and send
- If you'd like to continue working on this page, but need to save your progress, click Save as Draft.
- If you're finished making changes to the page, and the page is ready for review, click Send for Approval.
Creating a shared content block from content tab
TIP: Avoid acronyms and abbreviations. Spelling out each part of the shared content block's Title will make it easier for others to find and use.
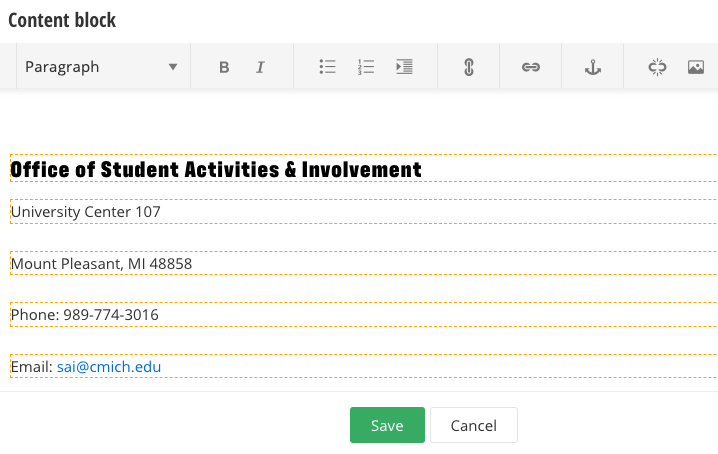
4. Format your content using standard WYSIWYG features, including the ability to add buttons, links, tables and images.
5. Select relevant Categories, including any unit/dept intended to utilize the content block. Tags are not applicable for shared content blocks.