Visual demo
Widget standards
A layout is needed for this widget.
Do:
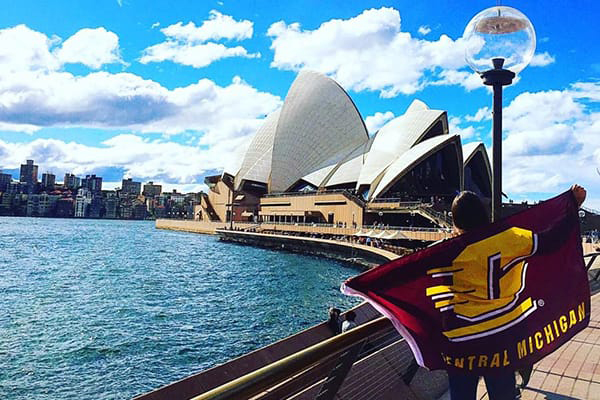
- Desktop Image Size: 600 x 400 - Ratio 3:2.
- Use one to twelve link cards per page.
Do NOT:
- Use this widget without adding a heading to give your audience context for the links.
Written instructions
1. Open the page you'll be editing.
2. Navigate to the "Layout" tab on the right side of the page.

3. Find the "maroon-link-card" layout and drag and drop it on to your page.

4. Go to the widget menu by clicking on "Content."

5. Add the Content Block widget into the Heading area of the Maroon Link Card layout.

6. Click "Create Content" and add the title for your maroon link cards.

7. Find the "LinkCard" widget and add it into the link card area of the Maroon Link Card layout.

8. Click "Create content" on the link card widget.

9. Make sure Template is set to Card.

10. Click "Select image" and locate the image you want to use from the DAM. Images must be 600 pixels by 400 pixels.

11. Add the text for your first link to the "Link Text" field.

12. Select "Same Window" if you are linking to an internal CMU page. Select "New Window" if you are linking to an external page, outside of CMU.

13. Add the alternative text for your link to the "Link ADA Title" field.

14. To link to a page within the website, use the Page within the site option. A new window will open and you can select your preferred page.

15. To add a link using a URL, select URL and paste the URL you selected into the empty field.

16. If you are linking to a document, click on the Change document button and select the document you want to use from the DAM.

17. If you are linking to an external website, check the box next to Display Speedbump.

18. Click "Save."

19. You will repeat steps 7-18 for each link card you need to add.
Save and send
- If you'd like to continue working on this page, but need to save your progress, click Save as Draft.
- If you're finished making changes to the page, and the page is ready for review, click Send for Approval.


