Uploading Documents and Adding Document Properties
Sitefinity’s document libraries (also known as the Digital Asset Manager or DAM) are used to store and manage files linked from your website. Each unit has its own assigned library. Use the instructions and standards below to keep your files organized and accessible.
Uploading documents
Visual demo
Standards
Do:
- Upload PDF files to your unit’s assigned document library in Sitefinity.
- Optimize documents before uploading.
- Use sub-libraries to organize files within your assigned library.
Do NOT:
- Upload Powerpoint files or other unsupported file types.
- Create new top-level document libraries.
- Upload documents that are larger than 5 MB.
Written instructions
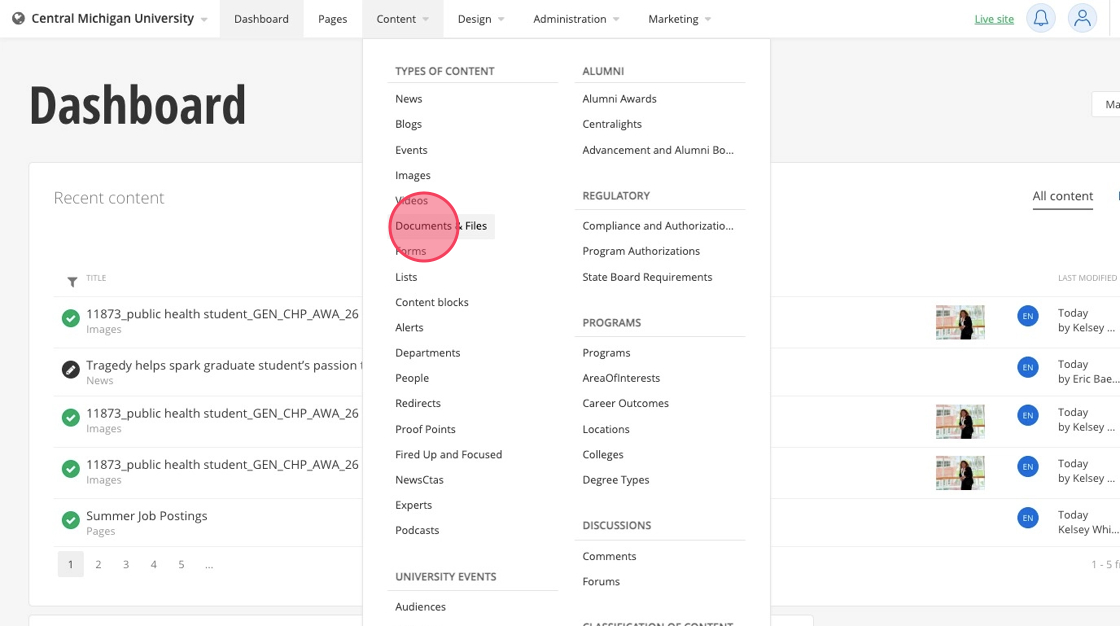
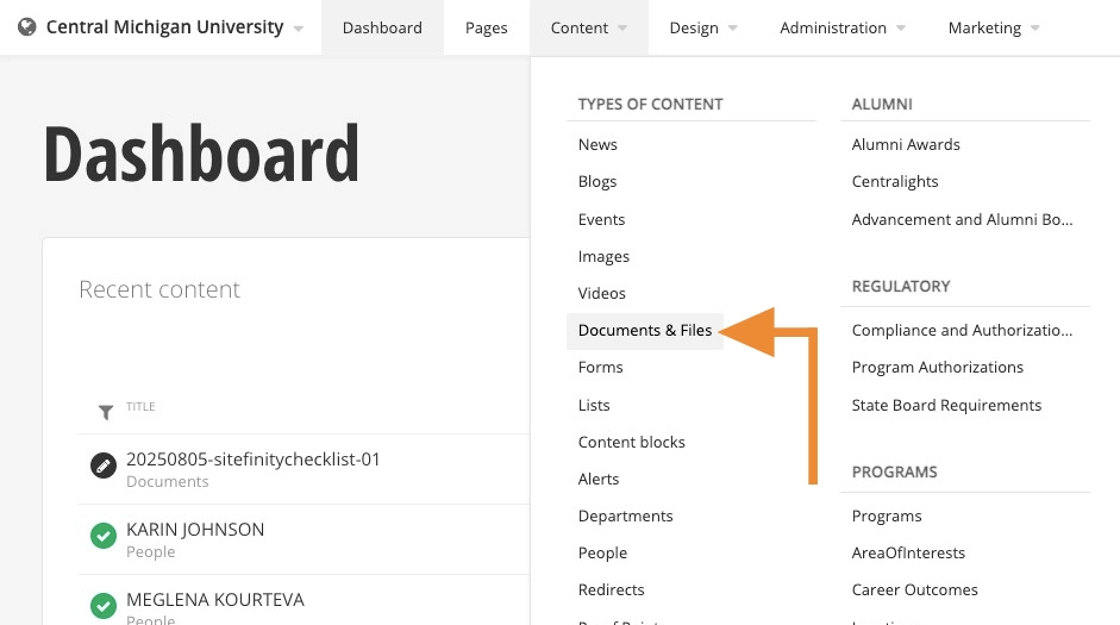
1. Click "Content"

2. Click "Documents & Files"
3. Find the relevant folder for your college or department.
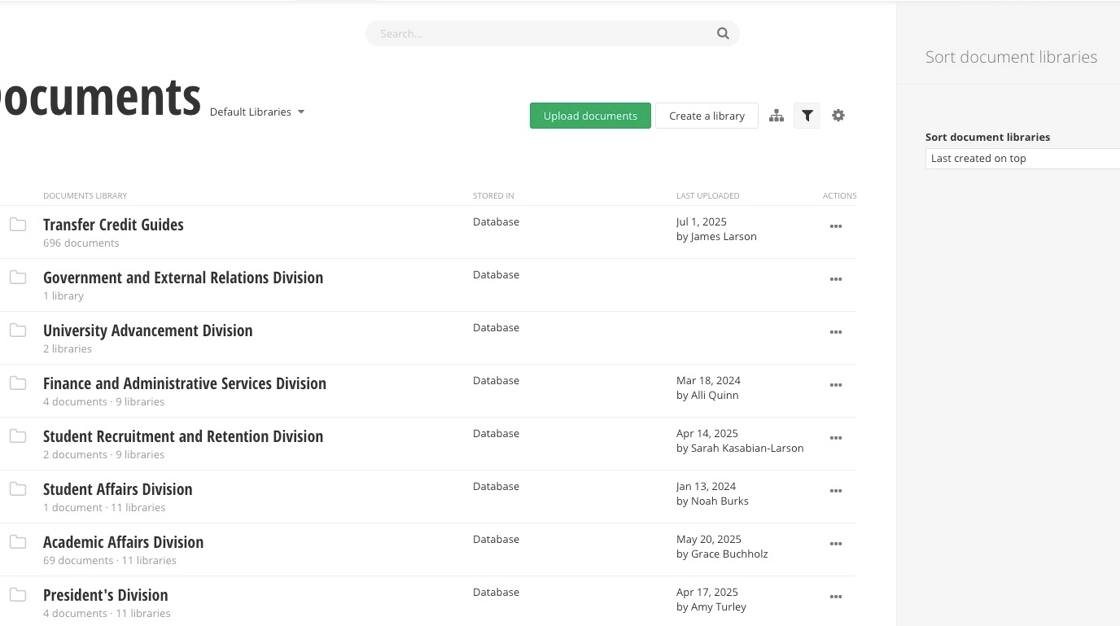
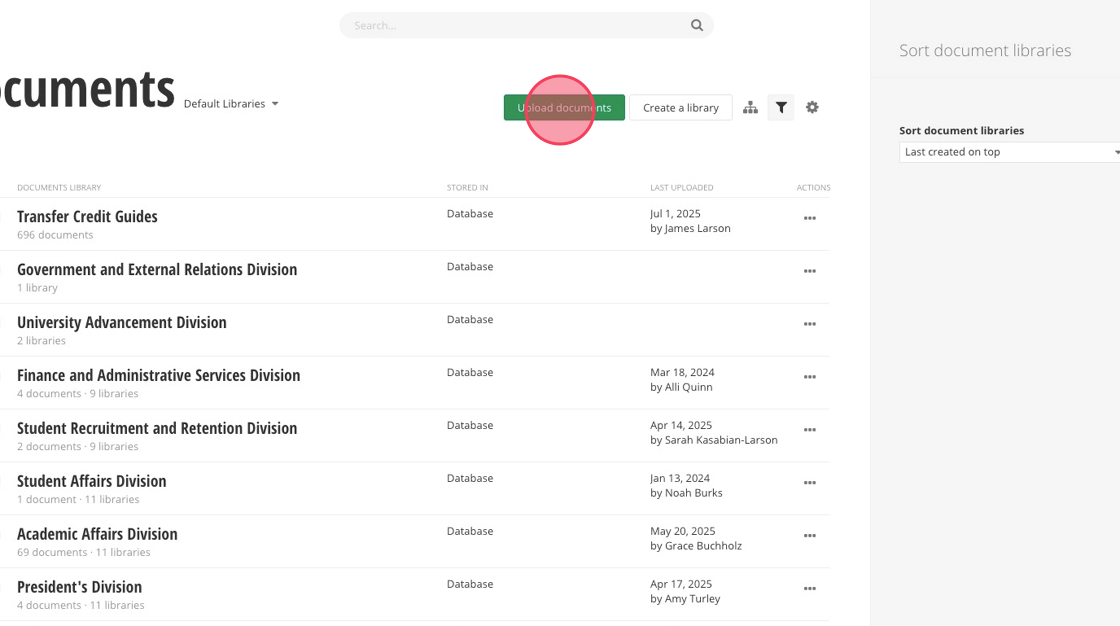
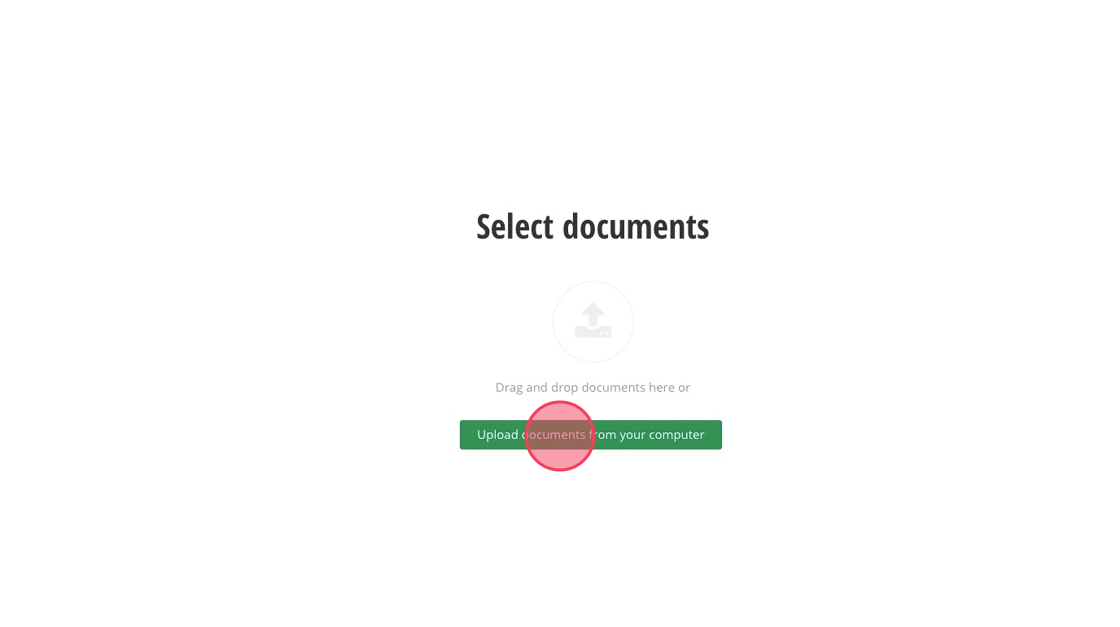
4. Click "Upload documents".
5. Click "Upload documents from your computer".
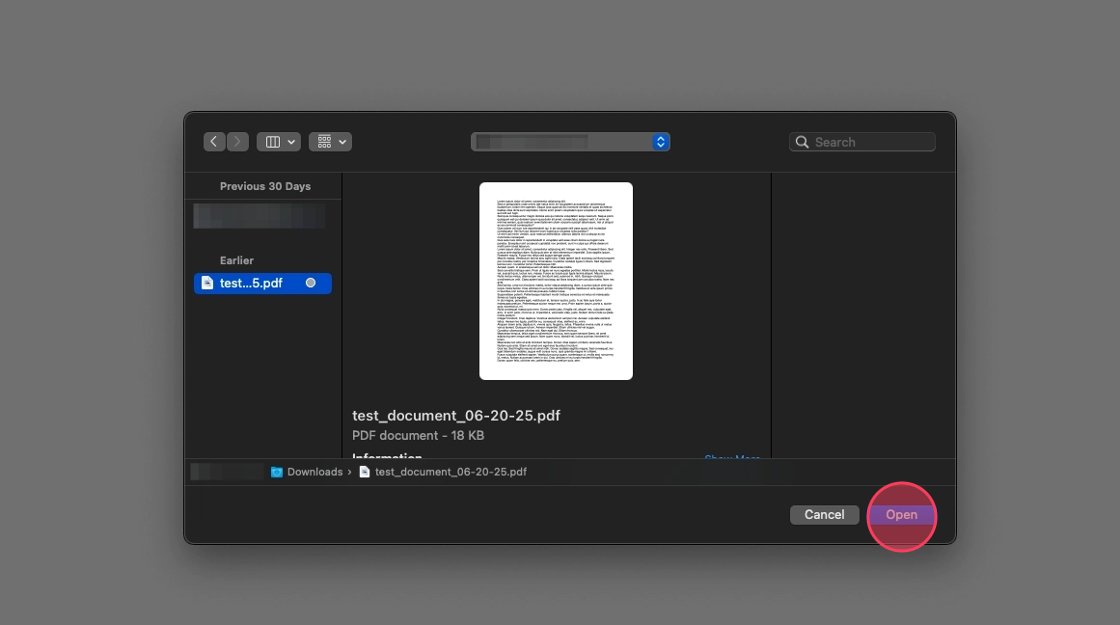
6. Select the document and click "Open".
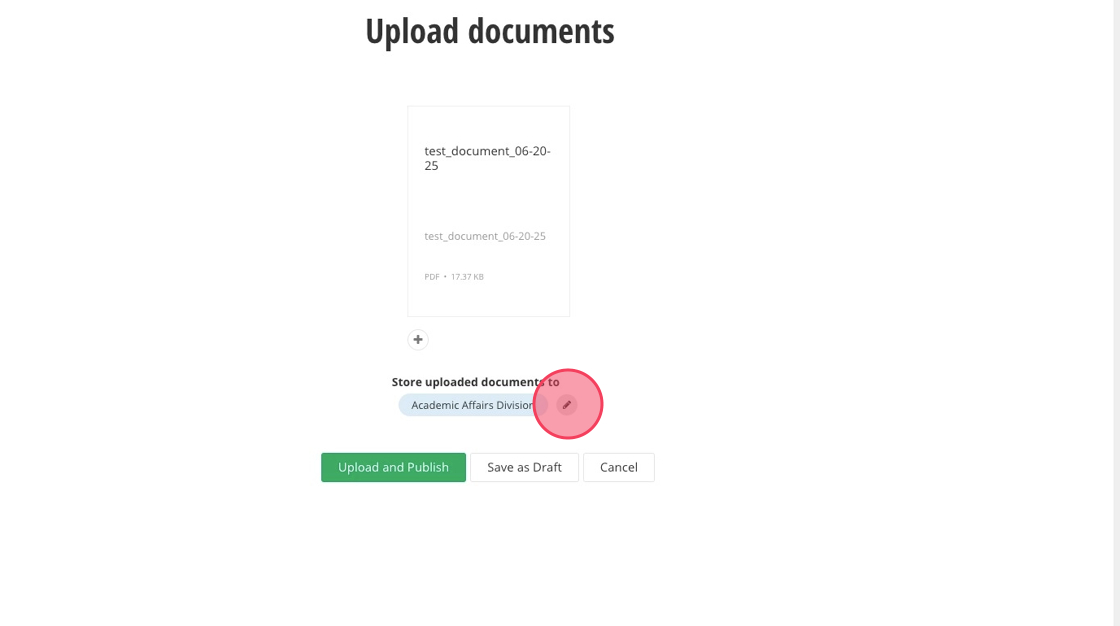
7. Click the pencil icon, then enter in the folder you would like your document uploaded.
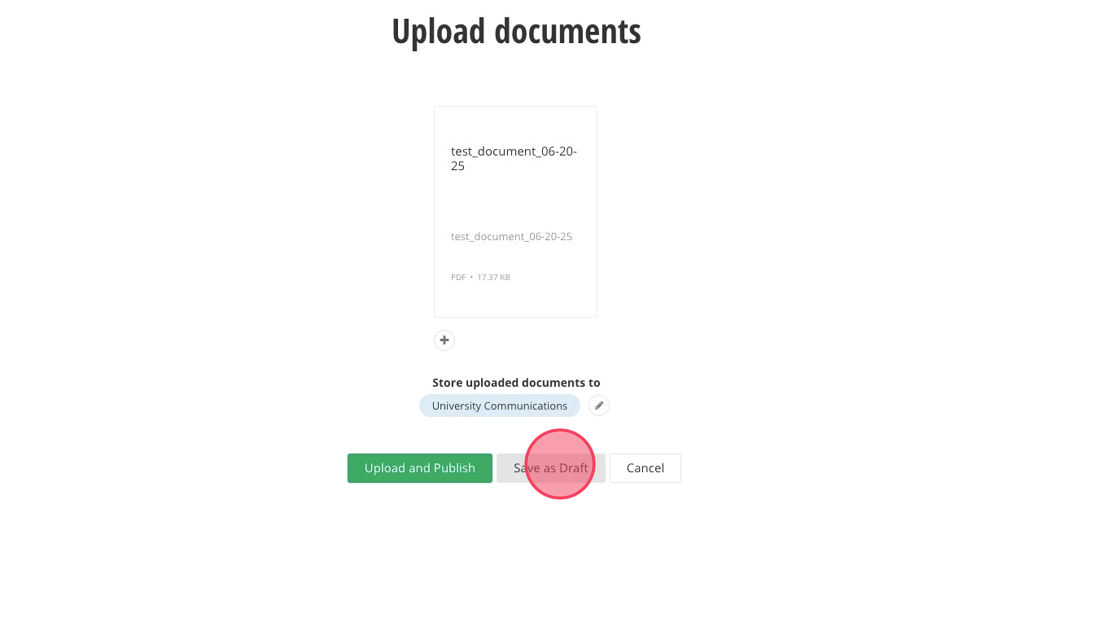
8. Click "Save as Draft"
9. Click "Close"

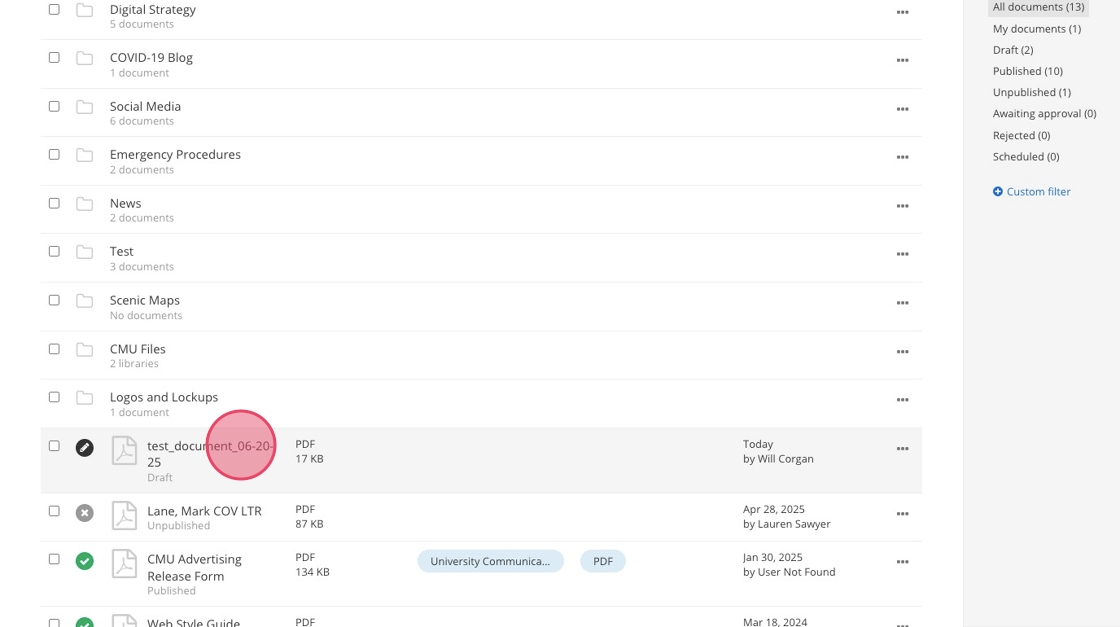
10. Click your document in the designated folder.
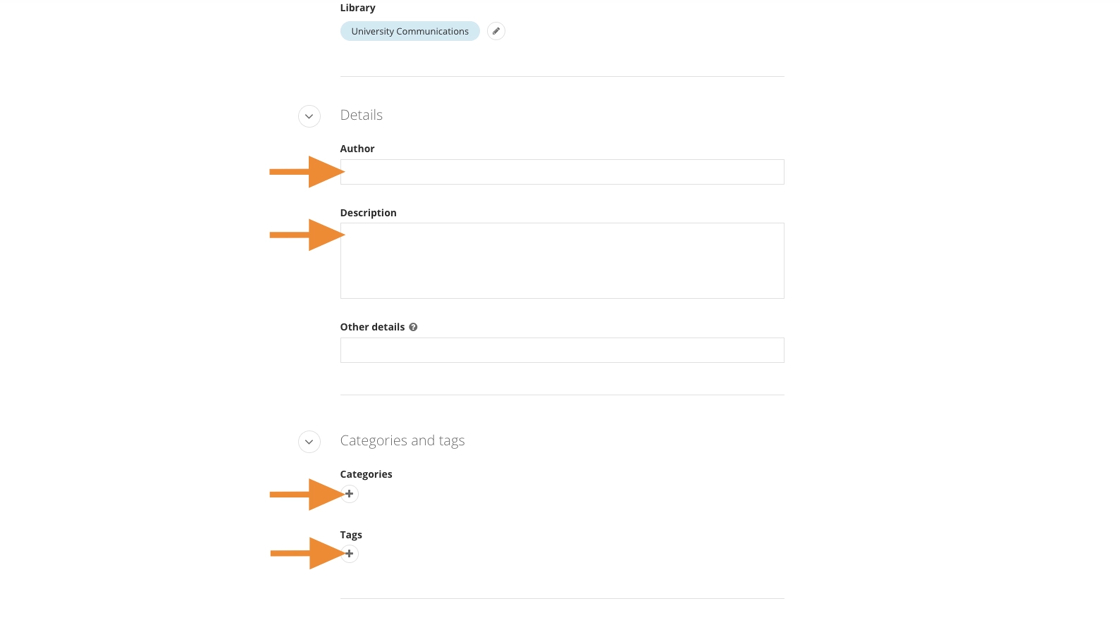
11. Fill out the Author, Description, Categories, and Tags properties.
Visit the for more detail on document properties.
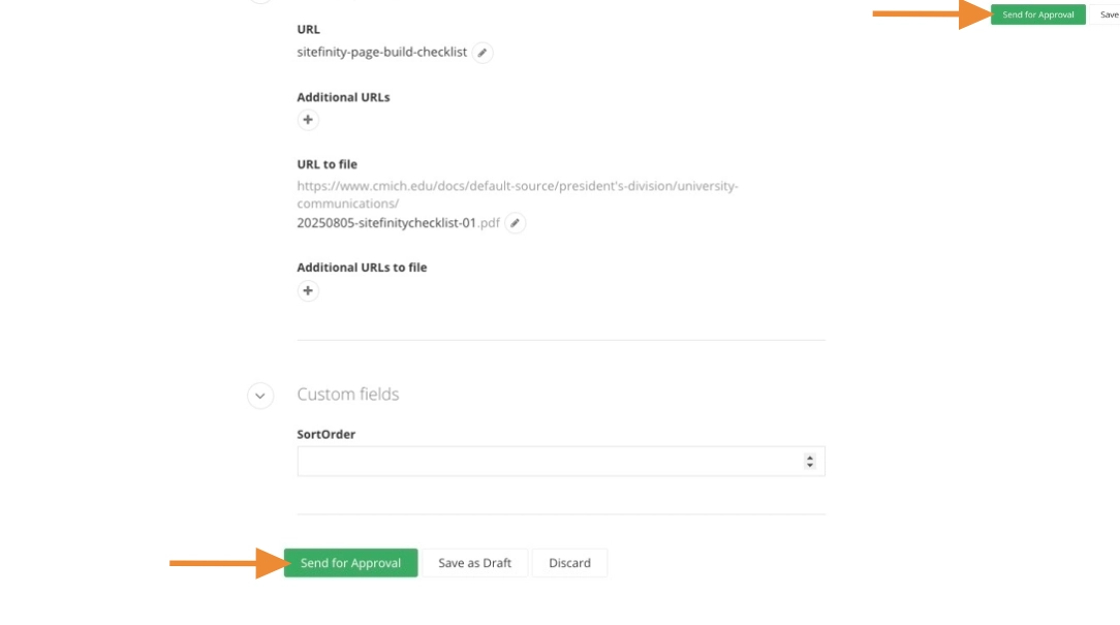
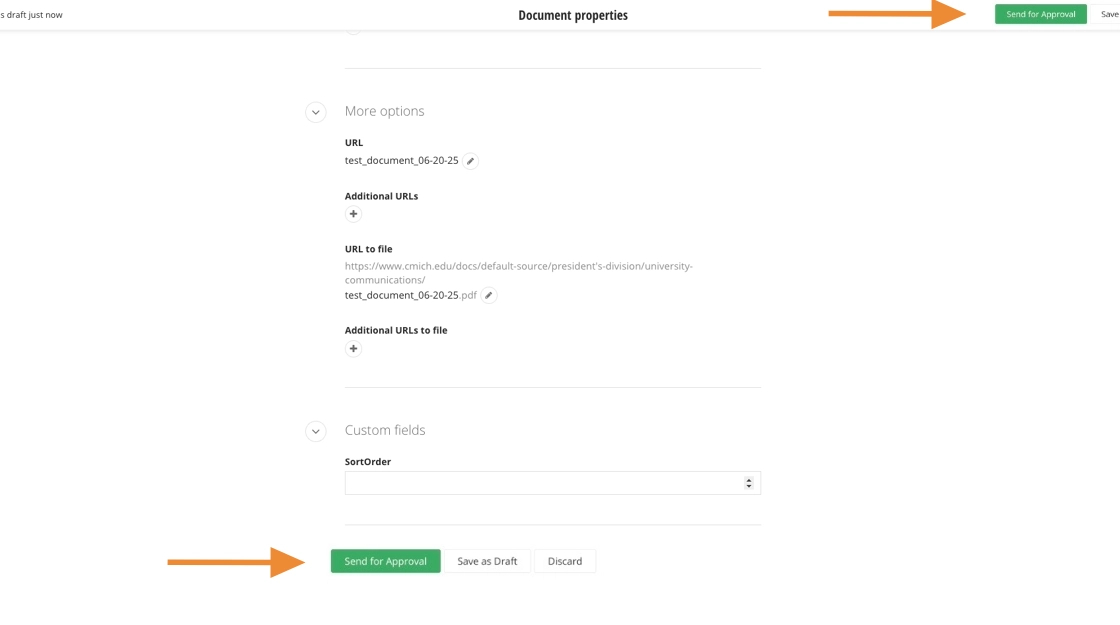
12. Click "Send for Approval" in either of these locations.
Document properties
Tip
In the DAM, choose Save as Draft (not Upload and Publish) when uploading documents. This lets you update the Document Properties from the Actions menu before submitting to workflow.
Visual demo
Standards
The following document properties are required for all documents in Sitefinity:
- Title
- Author
- Description
- Category
- Tag
Written instructions
1. Click "Documents & Files"
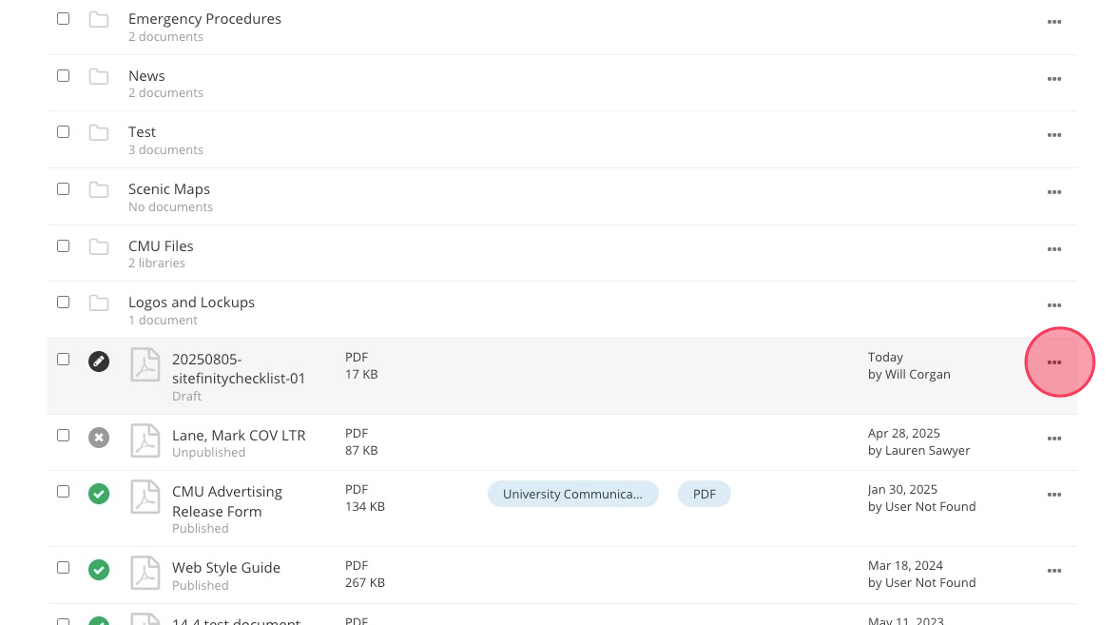
2. Click the three bullets to the right of your document.
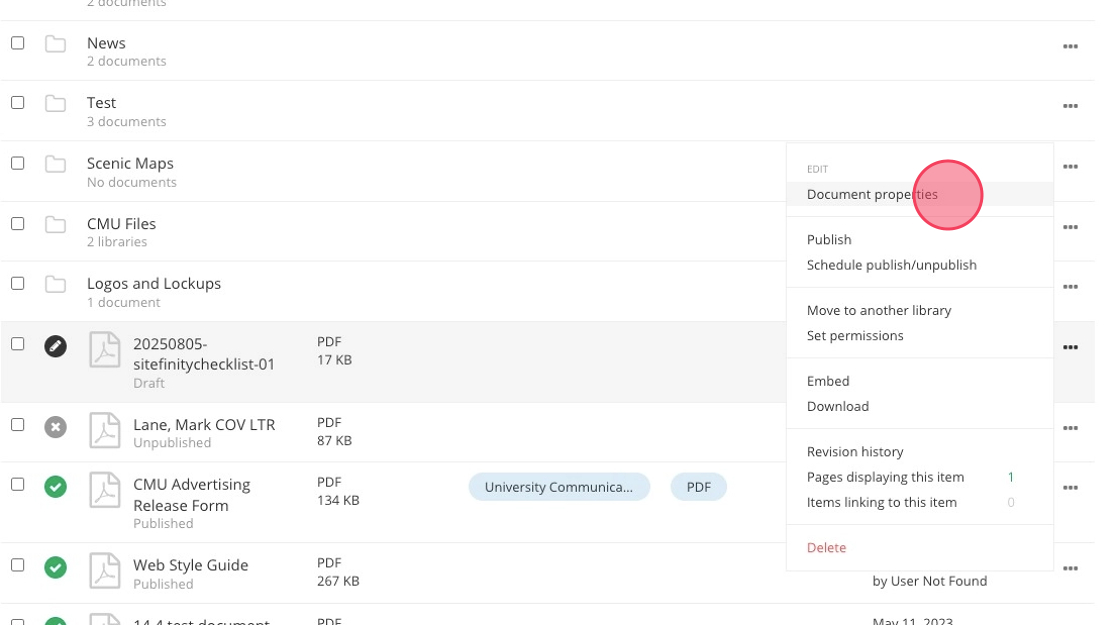
3. Click "Document properties"
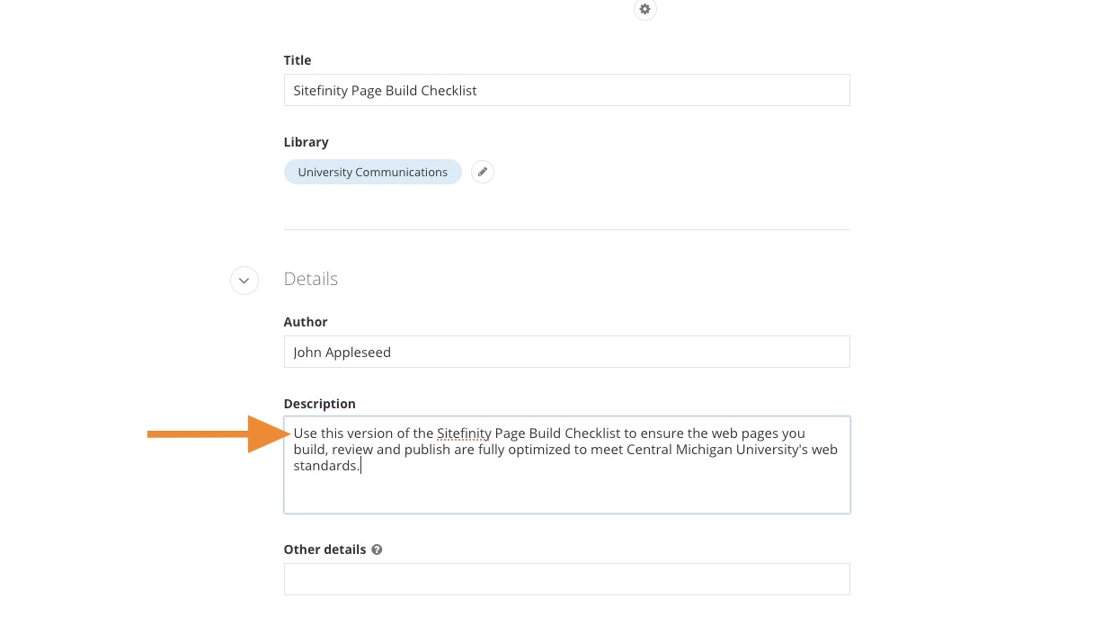
4. Fill in the document title.
The title is not the same as the file name. It should clearly describe the file's content and reflect the terms users are likely to search for.
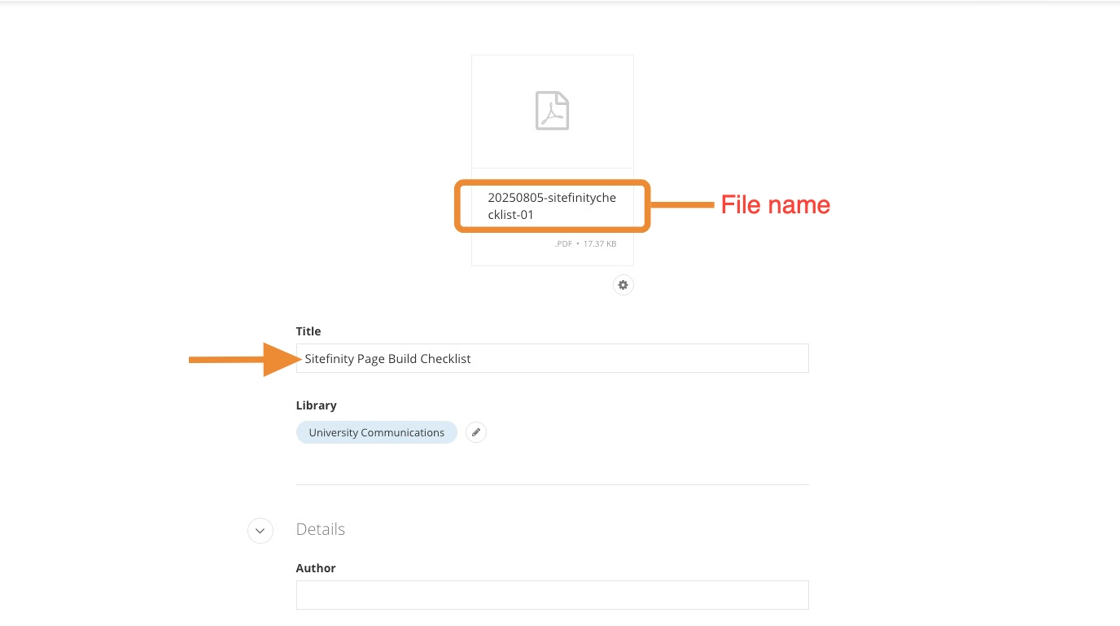
5. Ensure the file is uploaded under the proper Document Library within the DAM.

6. Fill out the "Author" field.
The author should be whoever created, uploaded or can answer questions about the document.
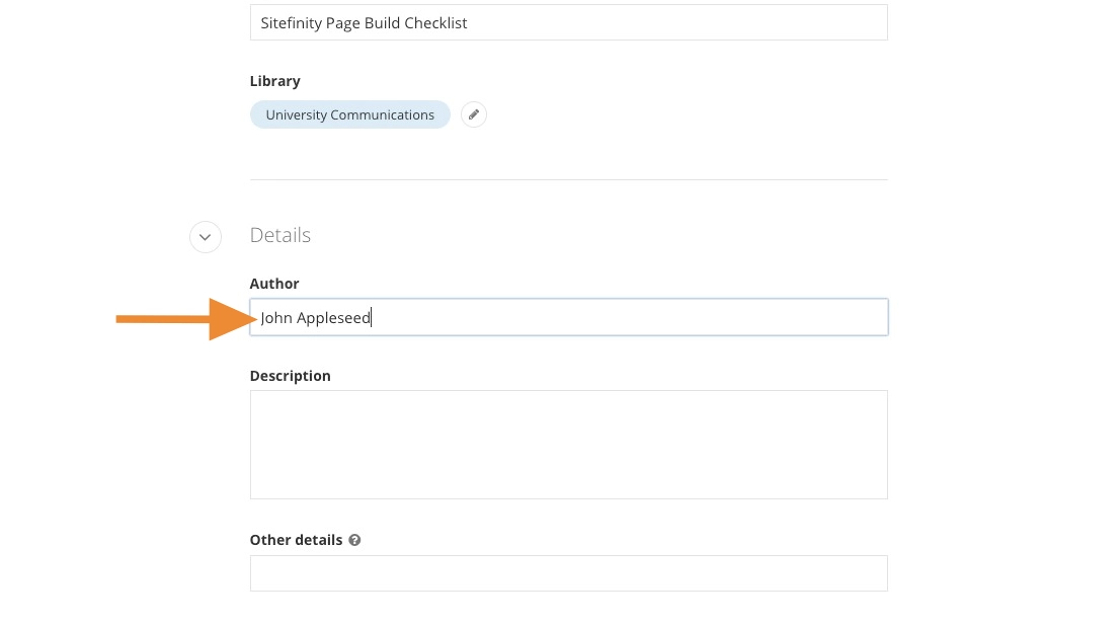
7. Fill out the "Description" field.
This field should add helpful context about the document’s content. Use plain language and relevant keywords to make the file easier to find and understand.
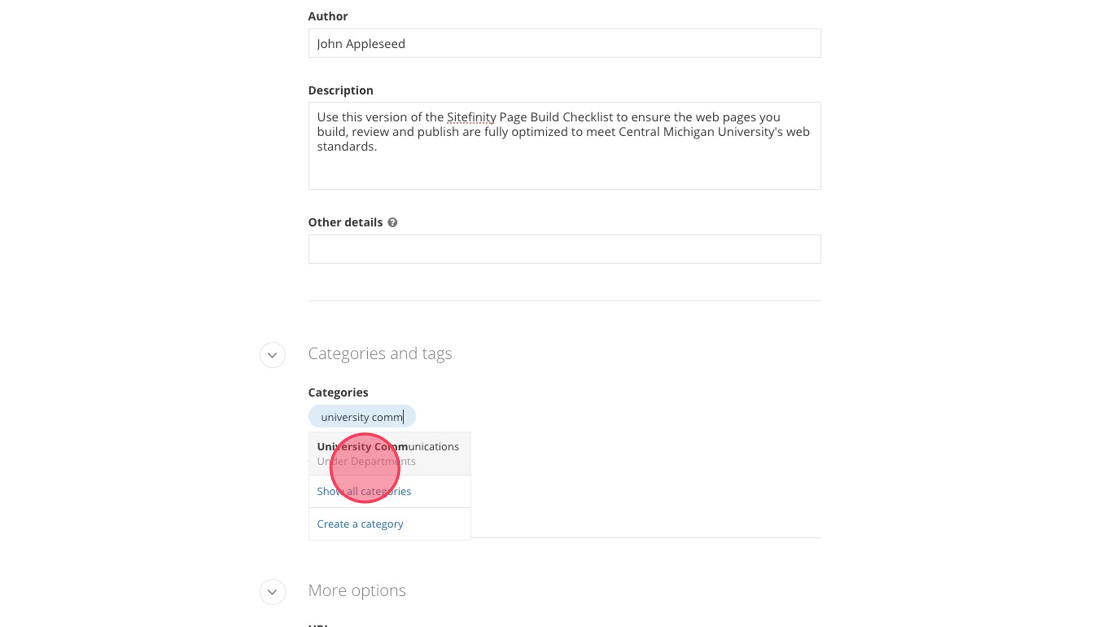
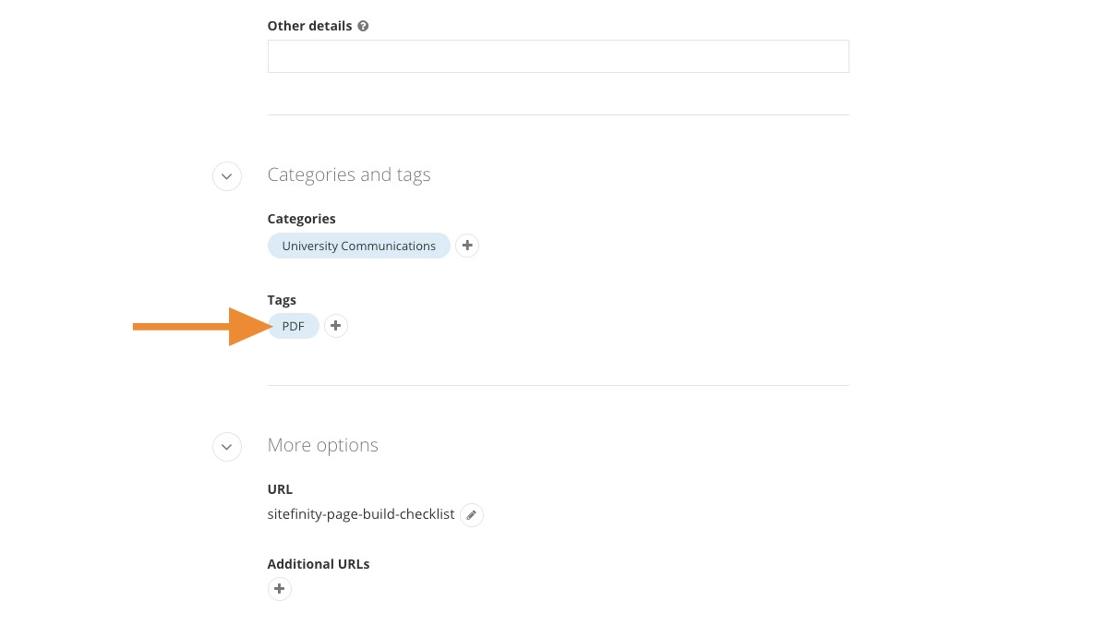
8. For the "Categories" field, select the associated department or college.
9. For Tags, select the file type for the document. Ex. A PDF would be tagged "PDF."
10. Click "Send for Approval" using either of the two green buttons.