Central Michigan University wordmark logo.
  • Apply
  • Request Info
  • Visit
  • Give
  • Alumni
  • News
  • Events
sign in
About Academics Admissions and Aid Research Student Life Athletics
Back to CMU Home
  • About
  • Academics
  • Admissions and Aid
  • Search
  • Student Life
  • Athletics
Apply
Request Info
Visit
Give
Alumni
News
Events
Back to Main Menu
In This Section
  • A Mission of Impact, Learning and Leadership
  • Campus Safety Information and Resources
  • Commitment to Free Expression/Free Speech
  • Emergency and Safety
  • Emergency Management
  • Human Resources
  • Locations
  • Our Community
  • Our History
  • Rankings and Recognition
  • Report an Incident
  • University Leadership
  • University Mission, Vision and Values
Related Links
  • Campus Map
  • Careers at CMU
  • CMU Police
  • Departments A-Z
  • Office of the President
In This Section
  • Academic Calendar
  • Accreditation and Licensure Information
  • Certified Testing Center
  • CMU Bulletins
  • CMU Innovation and Online
  • Colleges
  • General Education Program
  • Honors Program
  • Innovation in Education
  • National Scholarship Program
  • New Faculty Orientation
  • Study Abroad
Related Links
  • Online Programs
  • Certificates
  • Undergraduate Programs
  • Graduate Programs
  • Doctorate Programs
In This Section
  • CMU Online
  • Graduate Admissions
  • Guest and Non-Degree Seeking
  • International Admissions
  • Medical Students
  • Military and Veteran Students
  • Returning from Extended Absense
  • Undergraduate Admissions
Related Links
  • Counselors
  • Cost of Attendance
  • Net Price Calculator
  • Scholarships and Financial Aid
In This Section
  • Areas of Creative Endeavors
  • Areas of Research
  • Centers and Institutes
  • Clarke Historical Library
  • CMU Research Corporation
  • Research Facilities
  • Research Partnerships
  • University Libraries
Related Links
  • Office of Research and Graduate Studies
  • Faculty Research Stories
  • Student Research Stories
  • College of Medicine Research
In This Section
  • Arts and Culture
  • Clubs and Recreation
  • CMU Cares
  • Dining
  • Health and Wellness
  • Housing
  • Leadership Development
  • Student Media
  • Student Support Services
  • Ticket Central
  • Traditions and Spirit
Related Links
  • Apply for Housing
  • Student Employment
  • Student Activities and Involvement
  • University Recreation
  • Student Disability Services
  • Explore Mount Pleasant
In This Section
Related Links
  1. Home
  2. ...
  3. Table of Contents
  4. Pages
  5. Migrating MVC to NET Core

Migrating MVC to NET Core

Once you have completed the required training, you can begin rebuilding your MVC pages in the .NET Core template. This involves breaking the MVC template, choosing a new .NET Core template, adding foundational widgets to your new page, and rebuilding your content.

On this page, you'll find two sets of instructions:

  • Switching templates from MVC to .NET Core
  • Adding foundations of your .NET Core page

two lists indicating the visual difference between blue MVC widgets and green NET Core widgets

IN THIS SECTION
  • Migrating MVC to NET Core

Save your work

You must complete the template switch, add your page, and have the page published in order to keep your work.

If you need to make edits to the live MVC version before the .NET Core version is published, you will have to redo your work on the .NET Core page.


Visual demo

Page migration standards

Do:

  • Remove all red boxes from the end of your page.

Do NOT:

  • Choose a template that does not have the Circle Action C design.

Written instructions

1. Log into the Training environment of Sitefinity. https://training-www.cmich.edu/Sitefinity/

2. Once you're on the dashboard, click "Pages."

3. Locate the MVC page you would like to transition to .NET Core.

Pages that are already transitioned will have green "NEW EDITOR" text after the page name when viewing in Pages or on the Dashboard.

4. Open the page and click "Preview". You’ll reference the Preview tab while rebuilding your page. You can also use the live page as a reference.

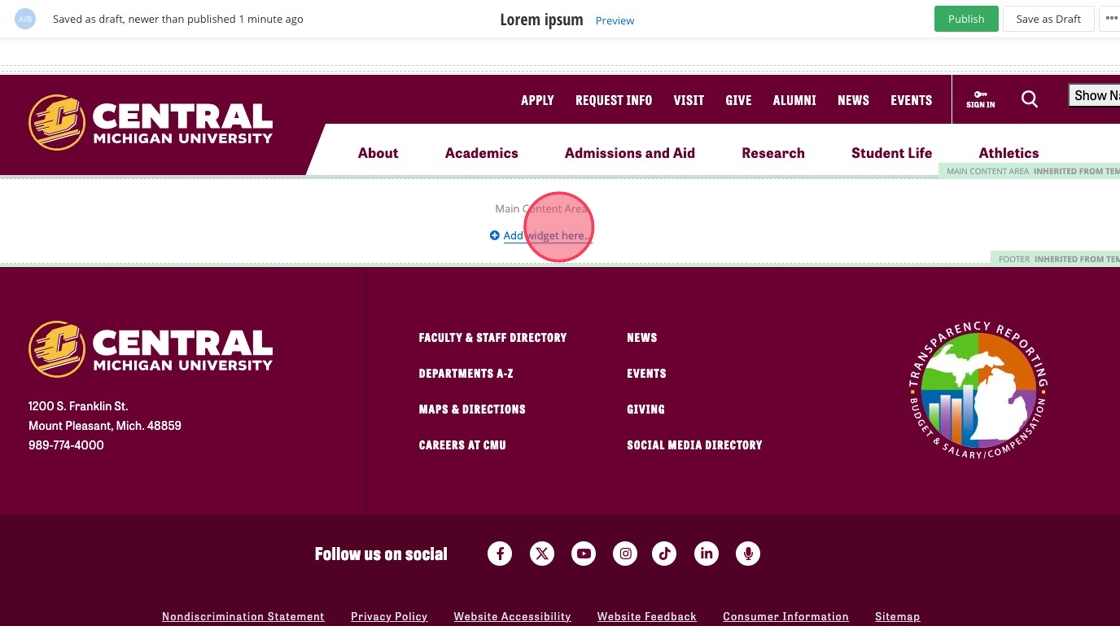
5. Switch back to the editor tab. Click "Layout".

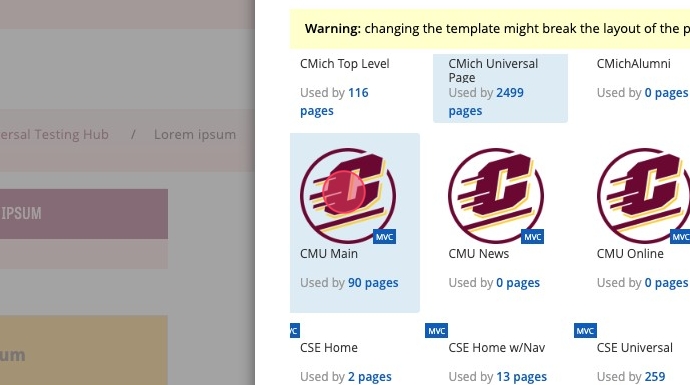
6. Click "Select another Template" on the bottom right of your window.

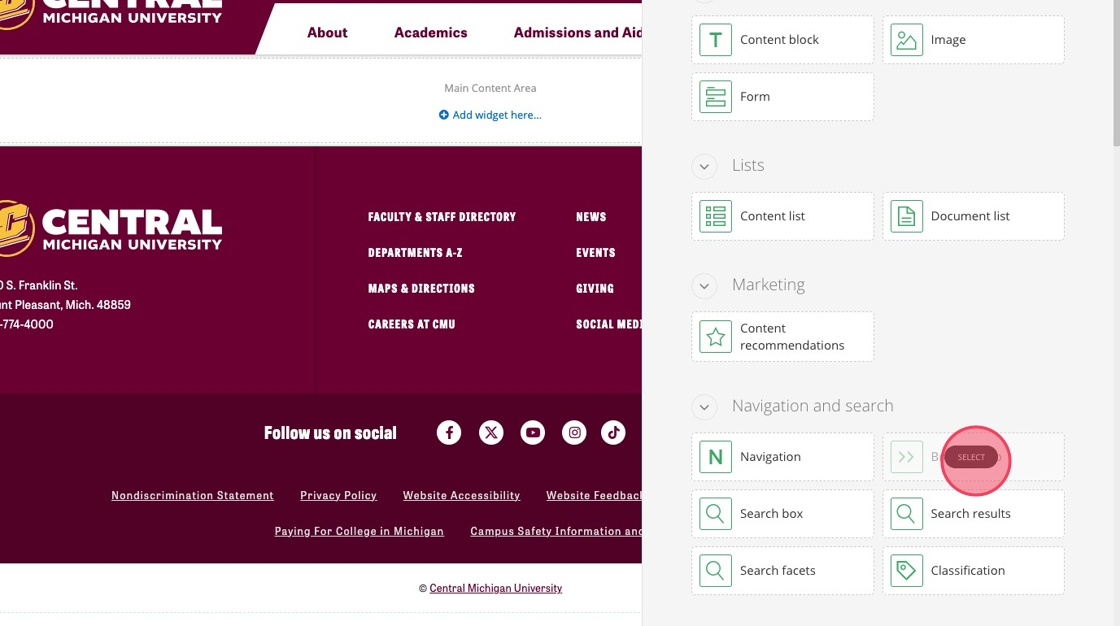
7. Select your template. The CMU Main template is used for virtually all lower-level pages. If your page uses a college-specific template, click the college-specific .NET Core template.

All templates with the Circle Action C are .NET Core templates. Please ignore the little blue MVC boxes.

8. Once you have located and selected your template, click "Done."

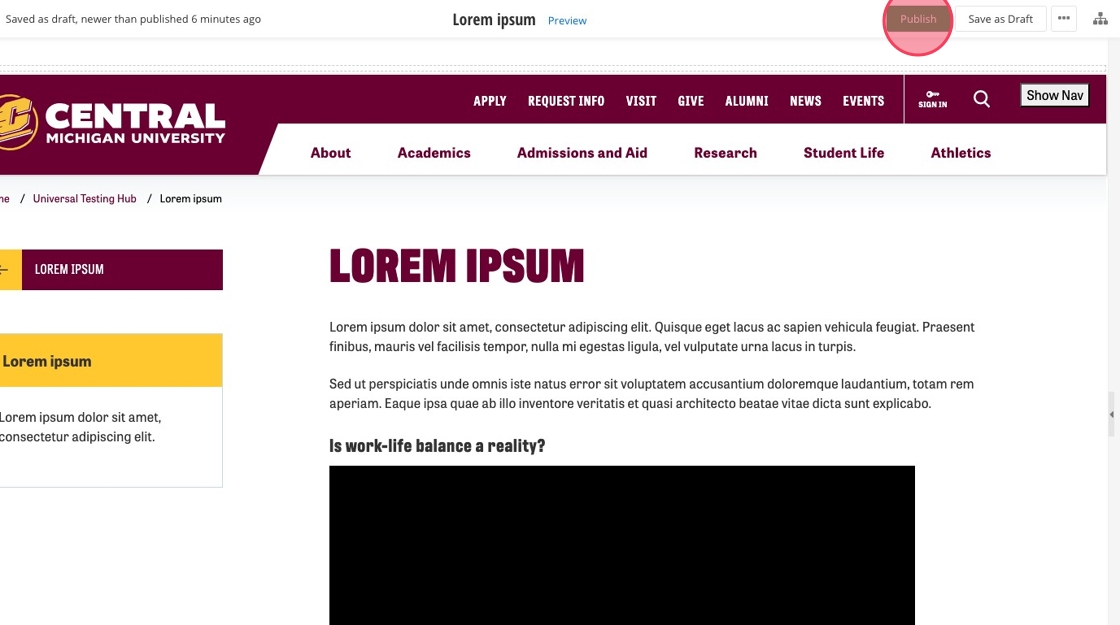
9. Click "Save as Draft."

10. Refresh the page by clicking the circling arrow in the top left of your browser, or by right clicking and selecting "Reload" from the gray pop-up menu.

11. After you have reloaded the page, scroll to the bottom. You'll see red boxes. These are old MVC widgets that are incompatible with your new .NET Core framework.

Click on a red box to activate the pop-up menu.

12. Click the ellipses icon.

13. Then, click “Delete."

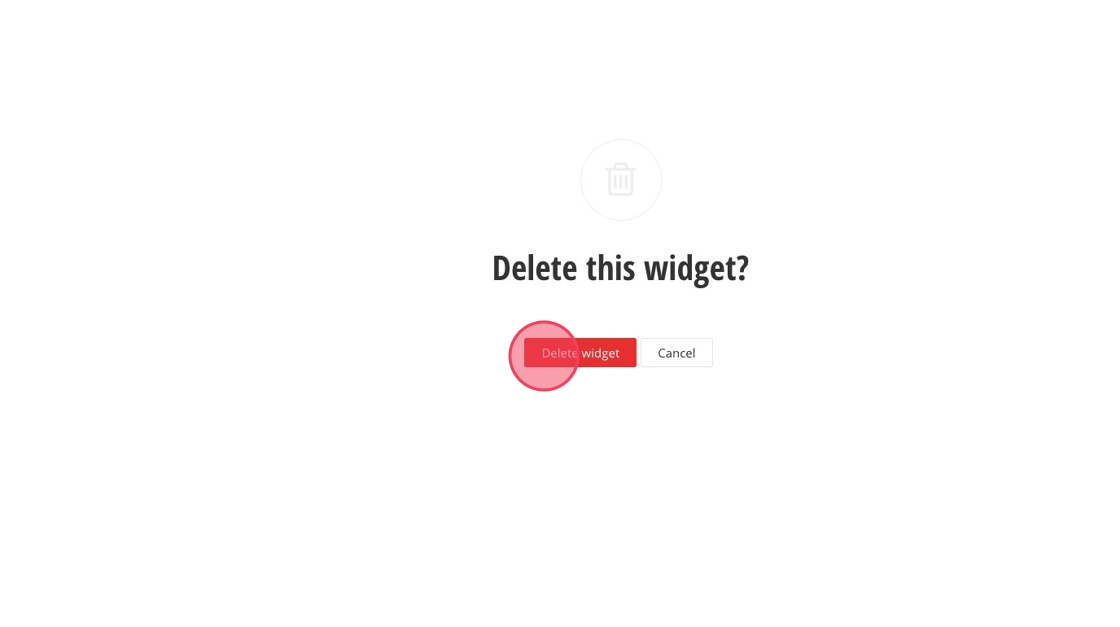
14. Click "Delete widget." This will remove the old MVC code from your .NET Core page.

15. Repeat steps 12-14 until all of the code has been removed.

To speed up the process, you can add a Section (Layout > Section) to the page and then drag and drop simple widgets into the section. Simple widgets, like Content Blocks, can be deleted in bulk when you delete the section they are in.

16. After your clear out the red boxes, you can start to rebuild your page. You have finished switching your template from MVC to .NET Core!


Visual demo

Page foundation standards

Do:

  • Copy and paste links and text characters.

Do NOT:

  • Place widgets in a container without having first placed them in a section.

Written instructions

1. Click "Add widget here."

2. Click the Breadcrumb widget under "Navigation and search."

3. Ensure the breadcrumb widget is directly under the header.

4. Click "Add widget here."

5. If your page includes a sidebar, you can easily add a sidebar and page title using our Left Nav Preset. Start by clicking "Layout."

If your page does not include a sidebar, skip ahead to Step 8.

6. Then, click "Section Preset."

7. Then, select the "Left Nav Preset." This will add a Page Title, a Container with Sidebar and Margins, and a Section to your page.

Skip ahead to Step 10.

8. Some pages do not have a sidebar and will not require the Left Nav Preset.

9. If your page does not have a sidebar, select "Container with Margins" under Grid Layout Containers.

10. Utilize the .NET Core playbook to recreate your page's widgets.
https://www.cmich.edu/website-playbook

11. Once you're finished, check that all content is inside a Section or Wrapper, and all Sections are in a Container. Then, click send for approval and/or send for publishing.

Save and send

  • If you'd like to continue working on this page, but need to save your progress, click Save as Draft.​
  • If you're finished making changes to the page, and the page is ready for review, click Send for Approval.

Screen capture of the buttons for Send for Approval and Save as Draft in Sitefinity

Table of Contents
Central Michigan University wordmark logo.
1200 S. Franklin St.
Mount Pleasant, Mich. 48859
989-774-4000
  • Faculty & Staff Directory
  • Departments A-Z
  • Maps & Directions
  • Careers at CMU
  • News
  • Events
  • Giving
  • Social Media Directory
About CMU transparency reporting

Follow us on social

  • Nondiscrimination Statement
  • Privacy Policy
  • Website Accessibility
  • Website Feedback
  • Consumer Information
  • Sitemap
  • Paying For College in Michigan
  • Campus Safety Information and Resources

© Central Michigan University