Visual demo
Widget standards
A layout is NOT needed for this widget.
Do:
- Use this widget to guide users to additional information or details.
- Use this widget judiciously.
- Use 3-5 tabs or accordions per set.
Do NOT:
- Add images or videos to tabs.
- Use this widget to "hide" important content, try to satisfy a desire for "movement," or to make long, scroll-intensive pages seem otherwise.
Written instructions
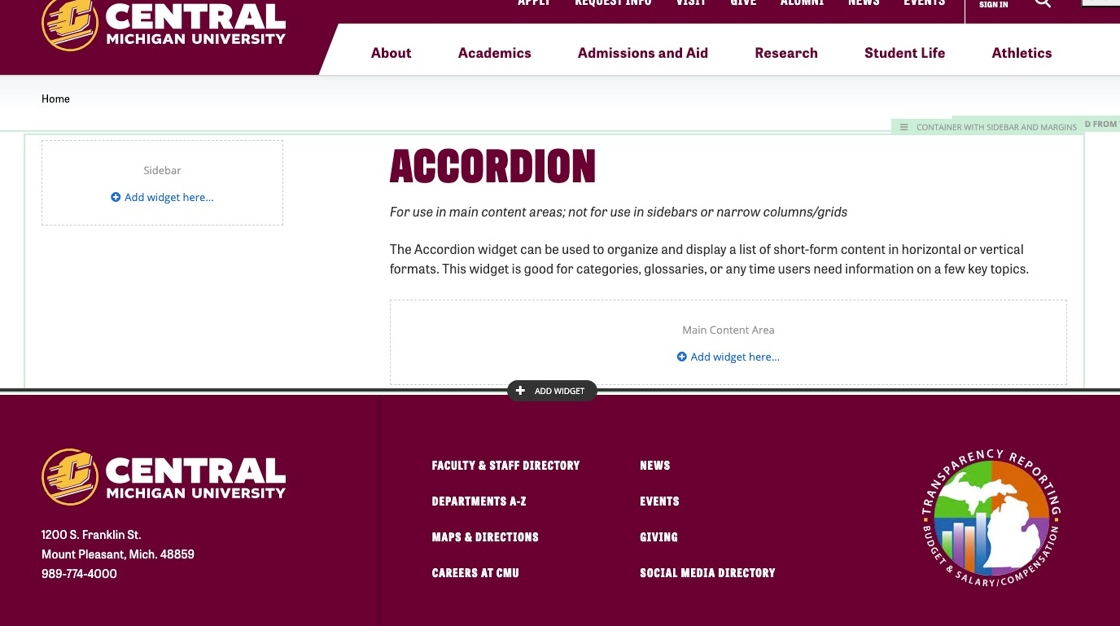
1. Accordion widgets must be placed in a "container with margins" or a "container with sidebar and margins".
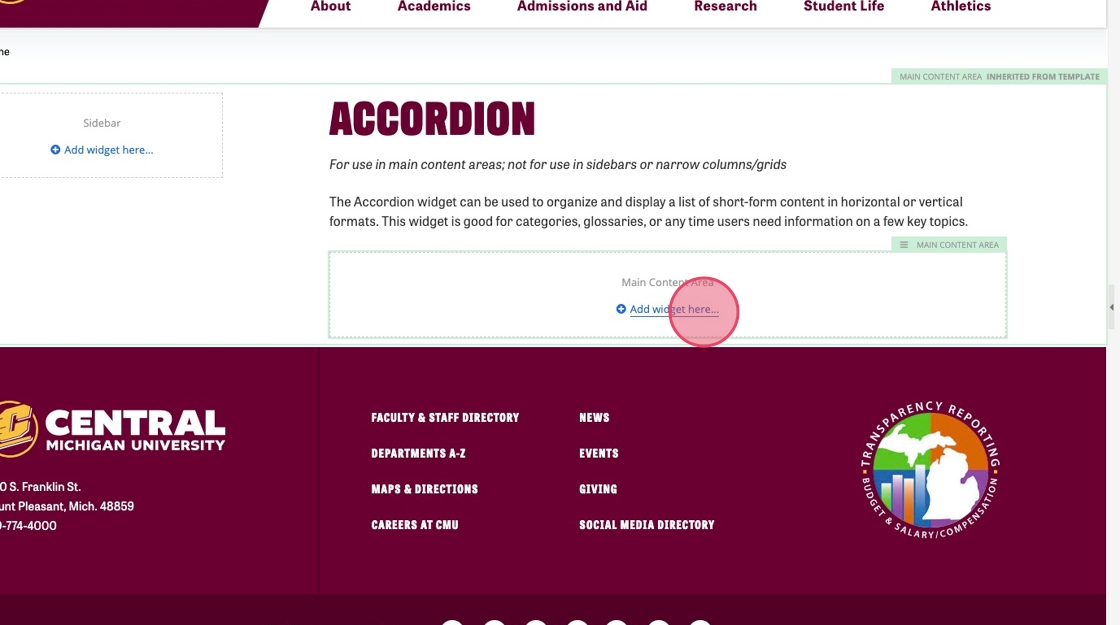
2. Click "Add widget here..."
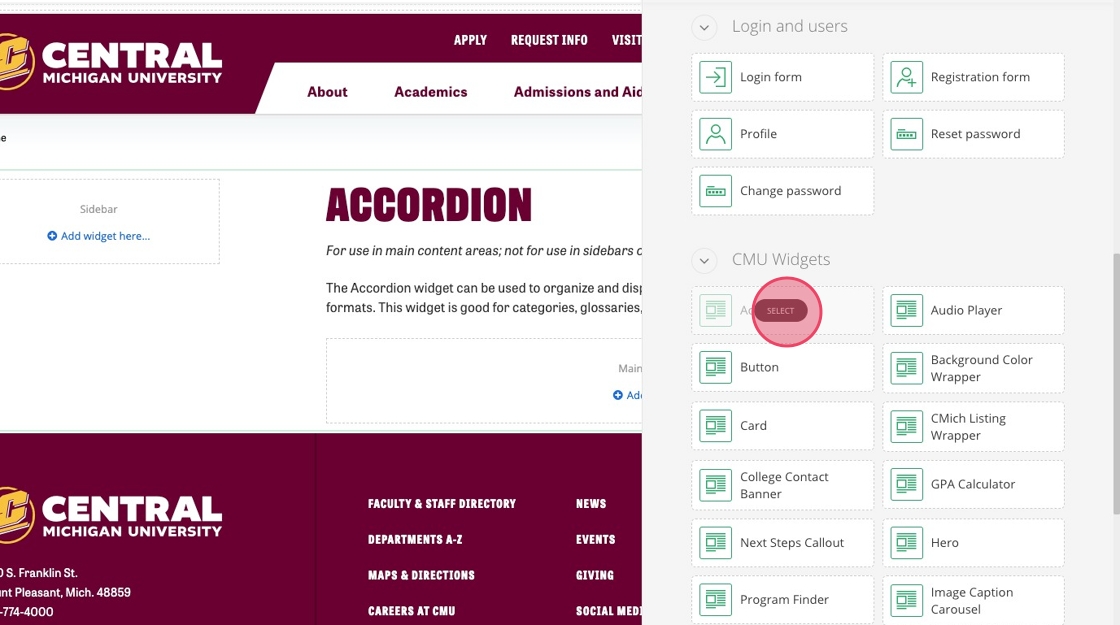
3. Click on Accordion under CMU Widgets and then "Select". Add three to five Accordions, stacking each widget immediately below each other.
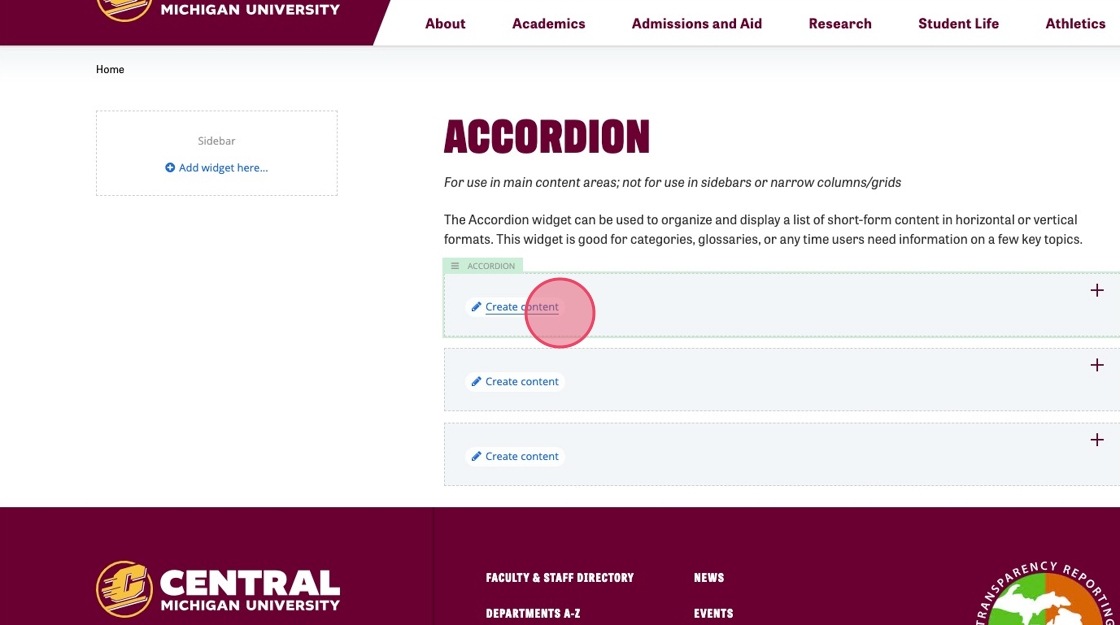
4. Click "Create content".
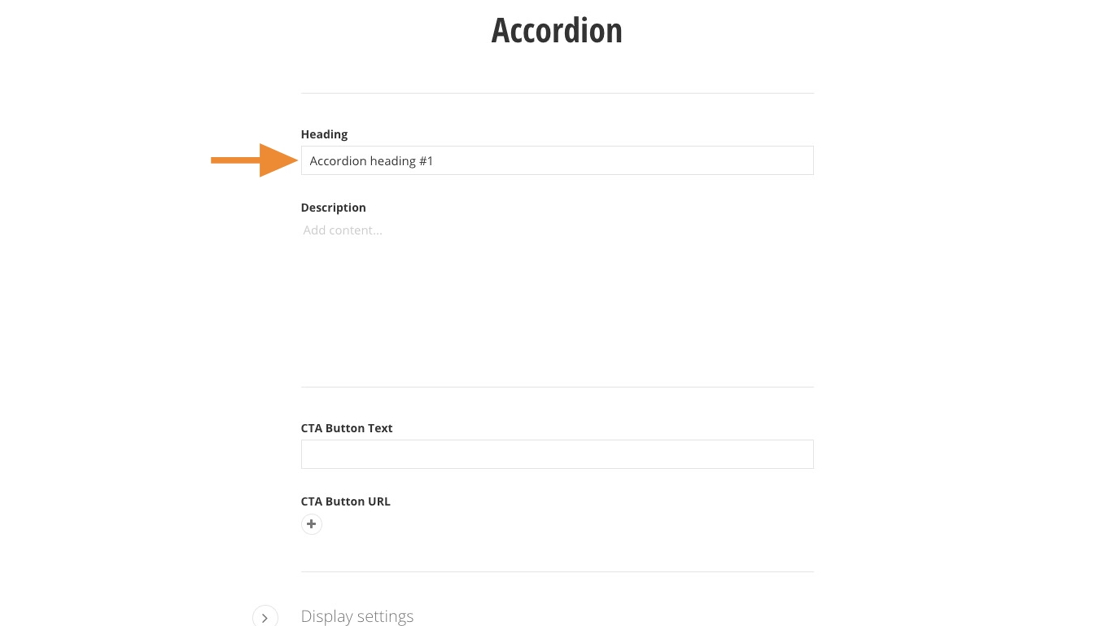
5. Add a heading (max. 75 characters.)
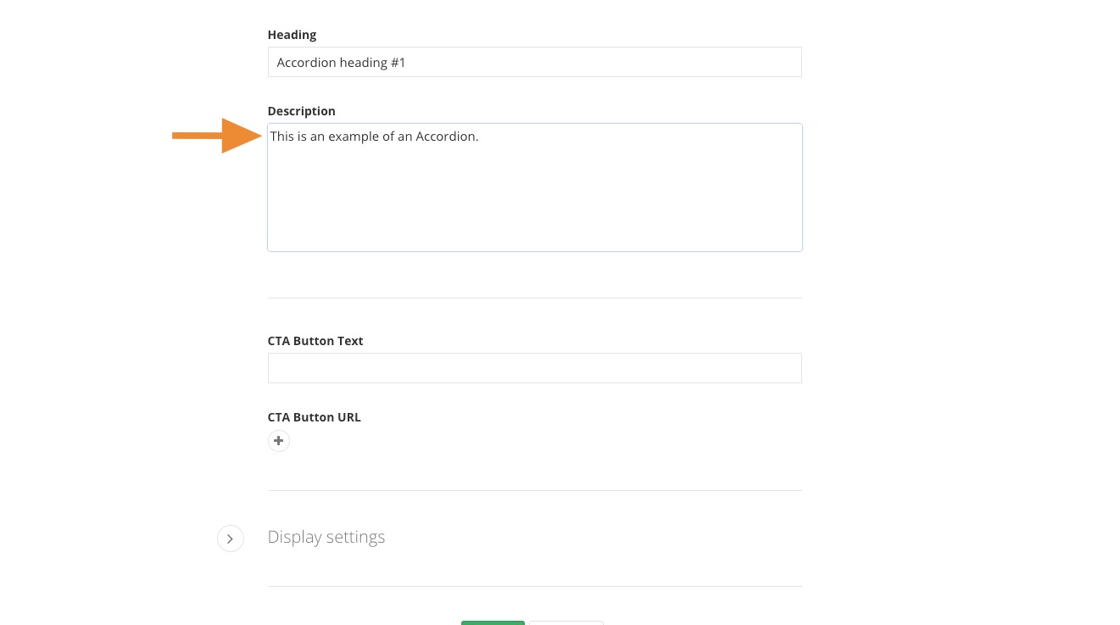
6. Enter text to be housed within the Accordion.
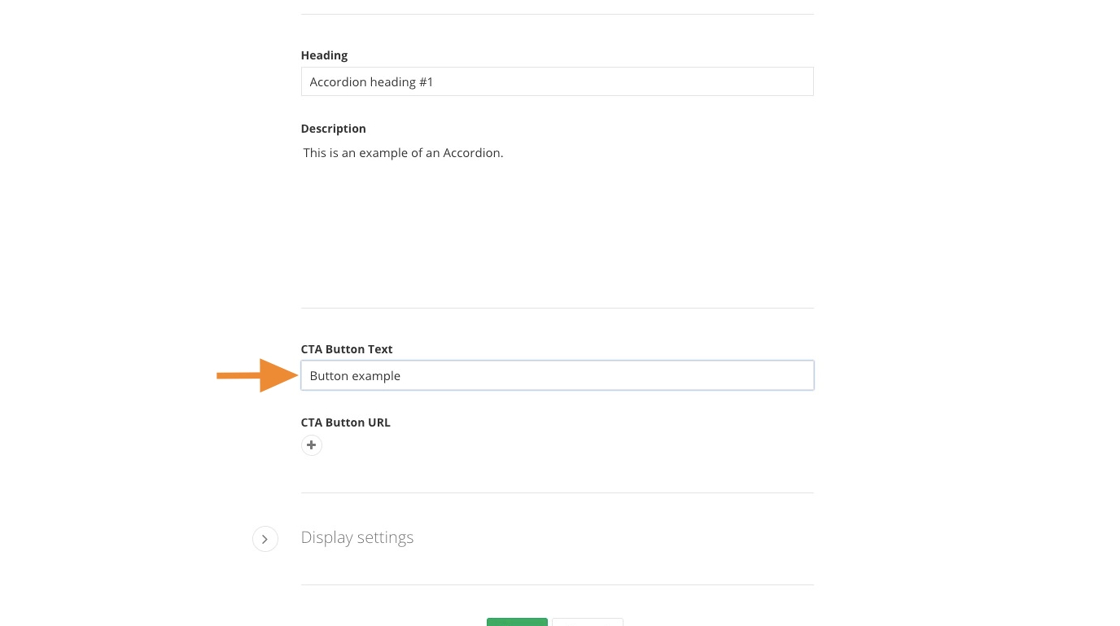
Tip: The following steps are optional if you choose to add a button link to your Accordion tab.
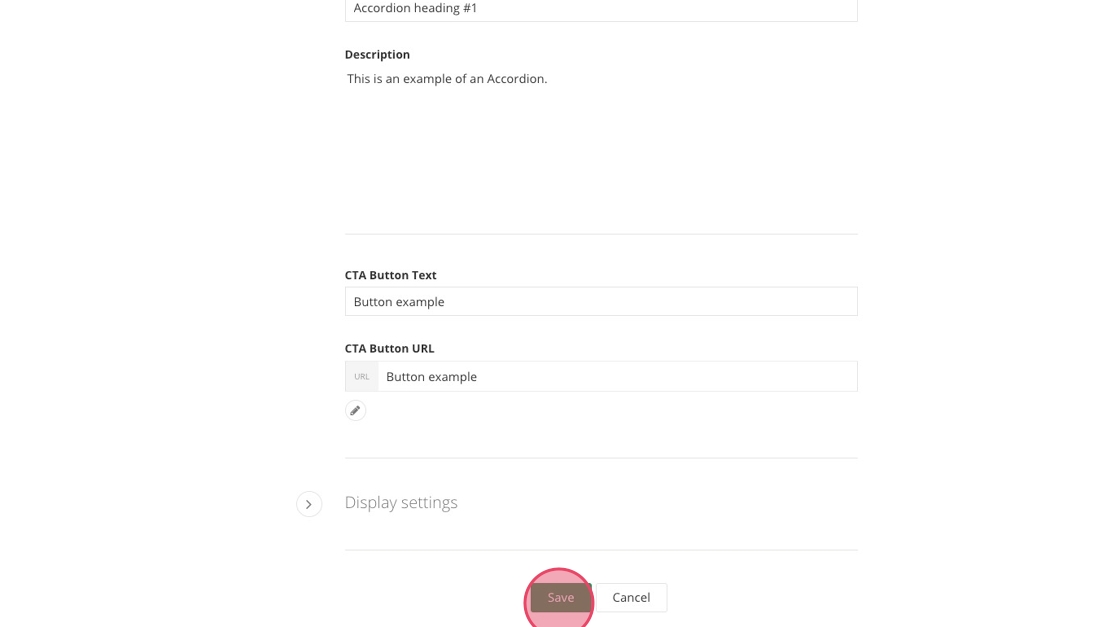
7. Fill out the "CTA Button Text" field.
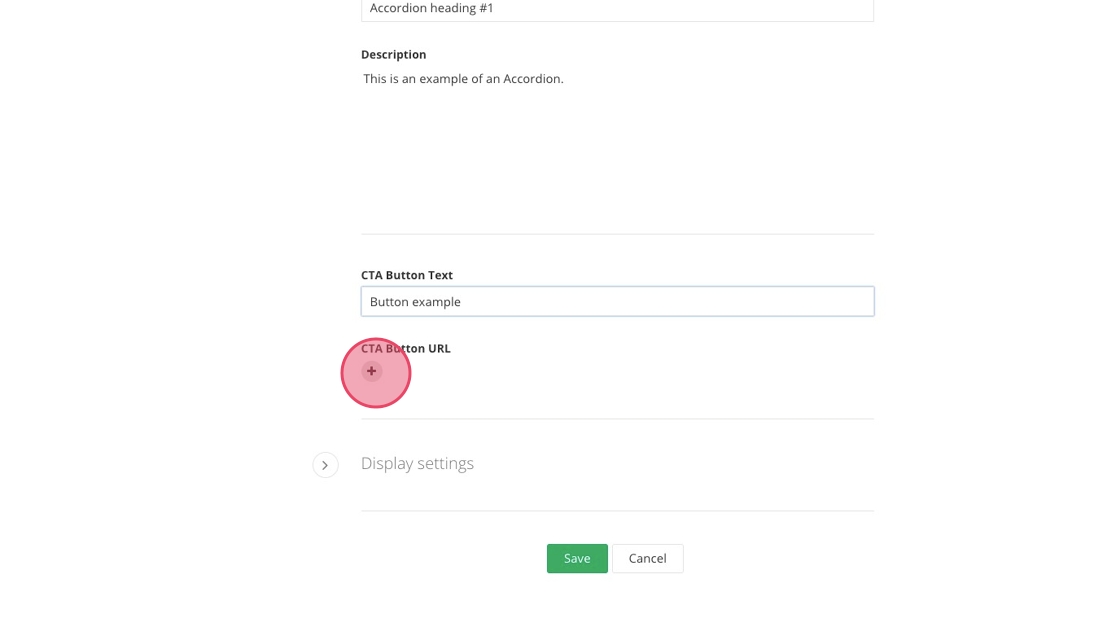
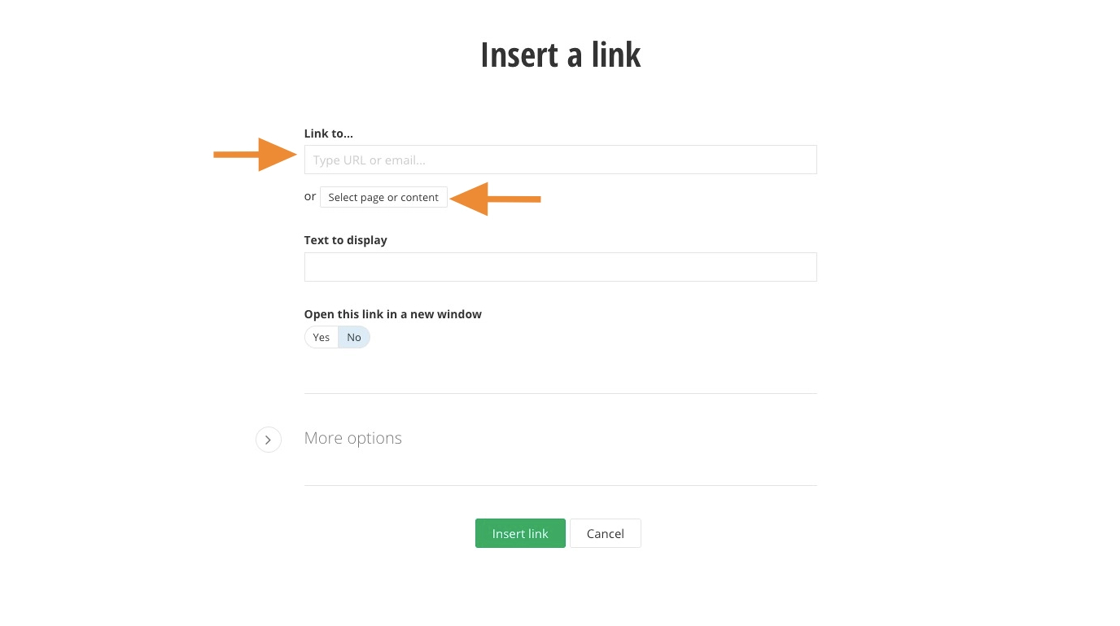
8. Click the "+" to add a URL you'd like to link to.
9. Either fill in the "Link to..." field with a specific URL or click "Select page or content" button to choose a page or document within the site.
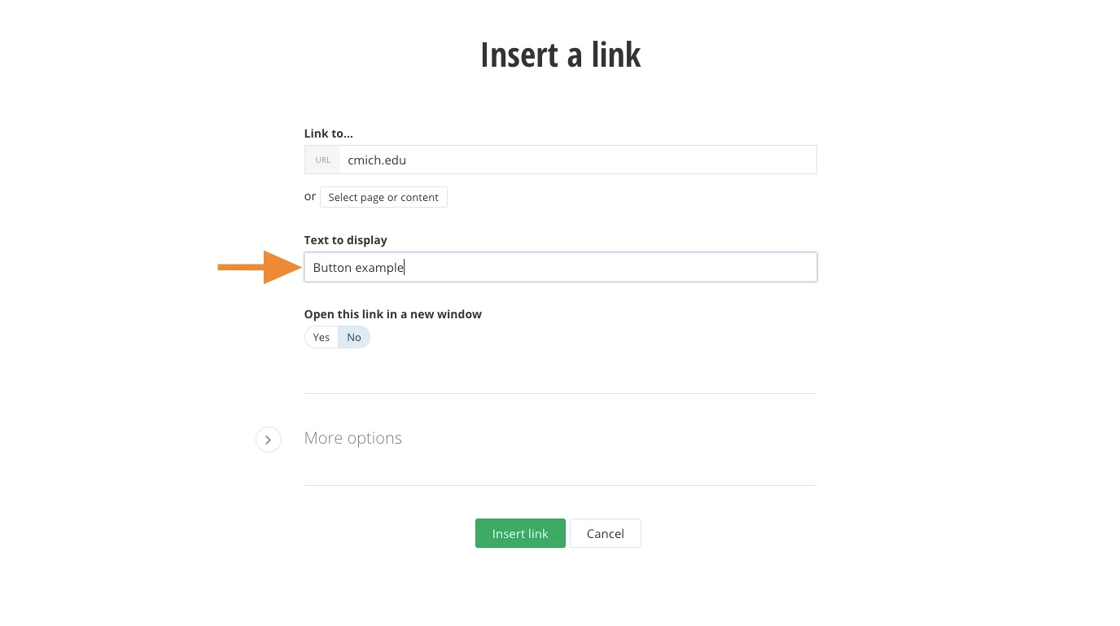
10. Fill the "Text to display" field with what the Button text will read.
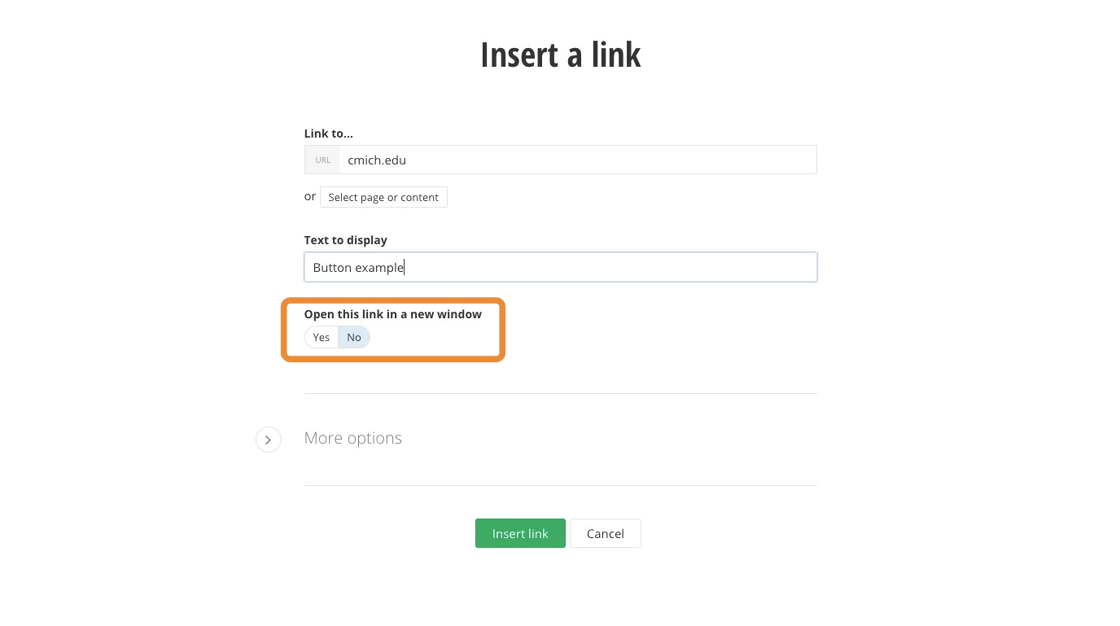
11. Determine whether the link will be opened in a new window.
Yes: If the page leads to an external site
No: If the page is within the site
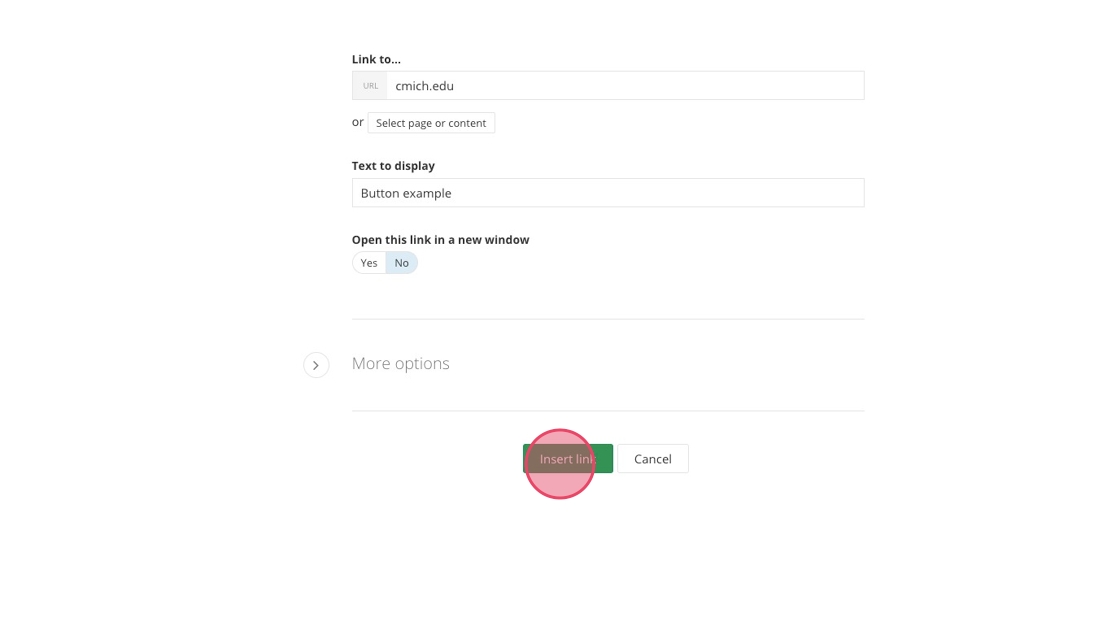
12. Click "Insert link".
13. Click "Save".
Save and send
- If you'd like to continue working on this page, but need to save your progress, click Save as Draft.
- If you're finished making changes to the page, and the page is ready for review, click Send for Approval.
![]()