Written instructions
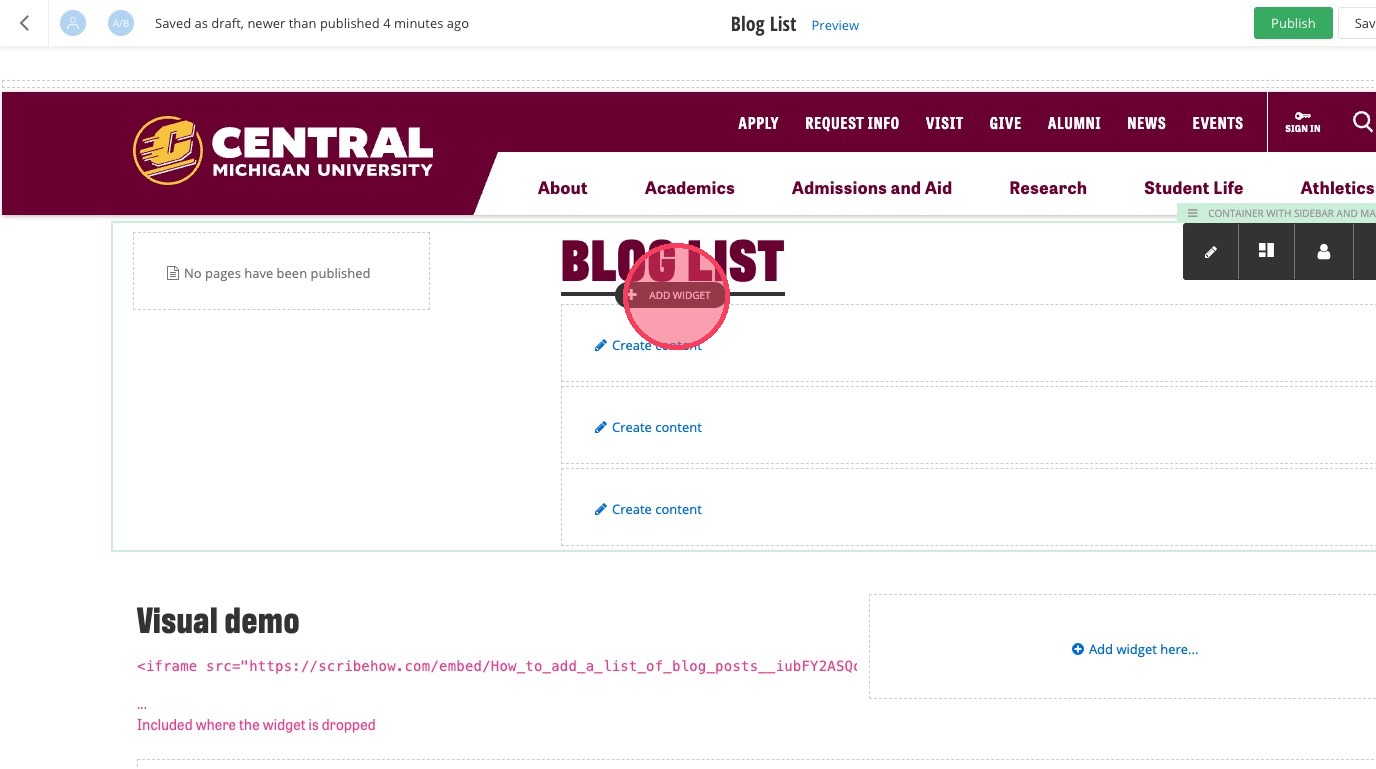
1. Open the page you want to add the blog list widget to and click on +Add Widget. Make sure you're clicking inside a container.
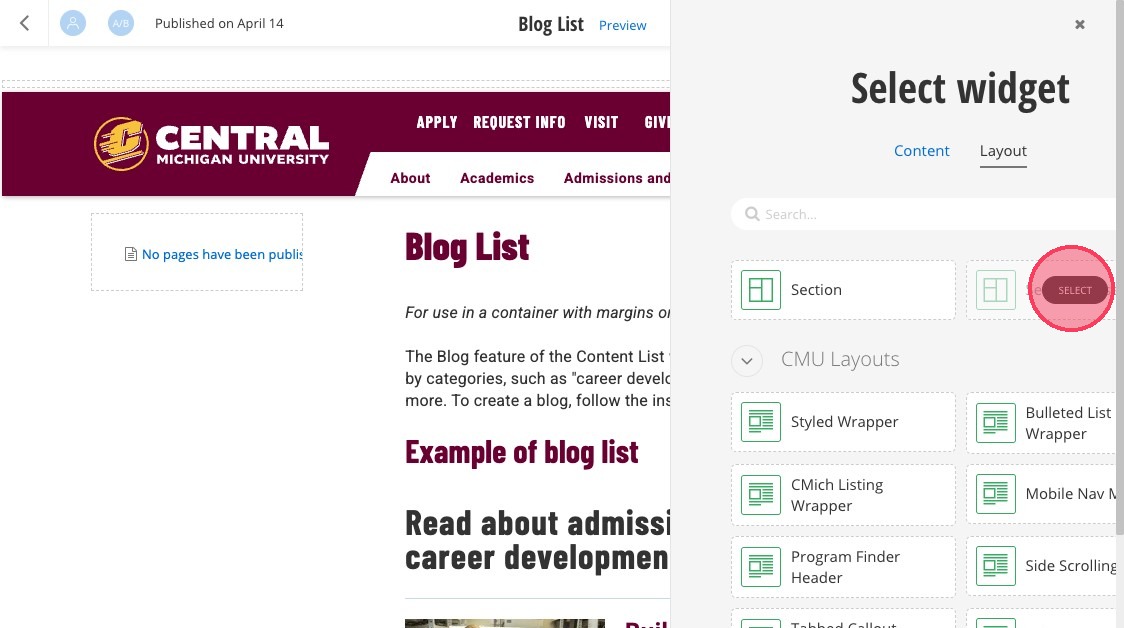
3. Select the "Section Preset."
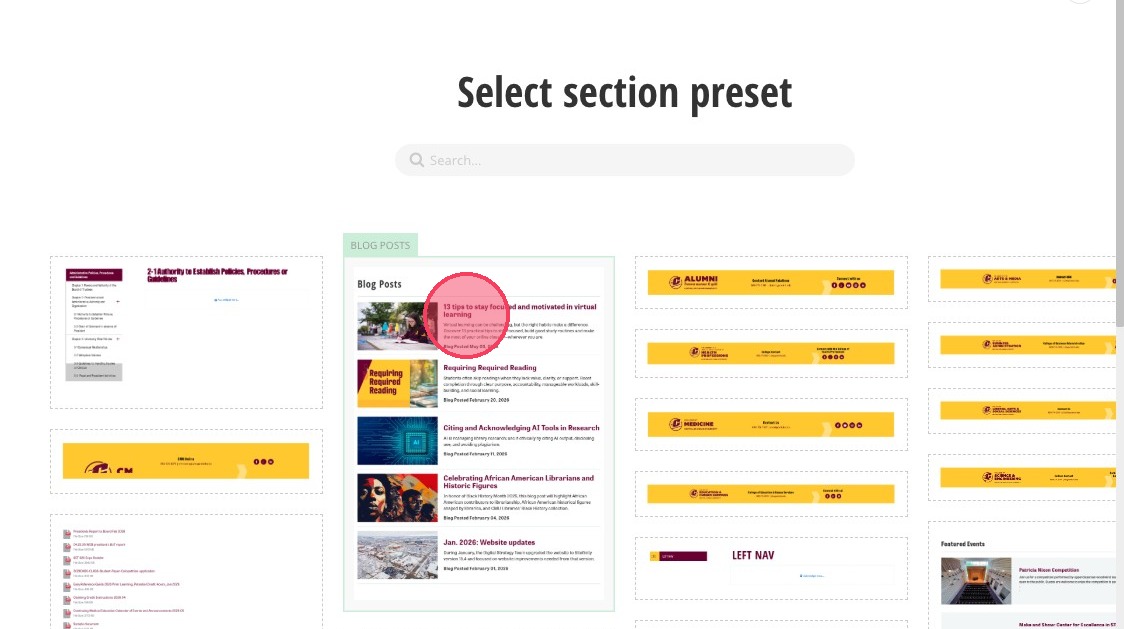
4. Click the preset named "Blog Posts."
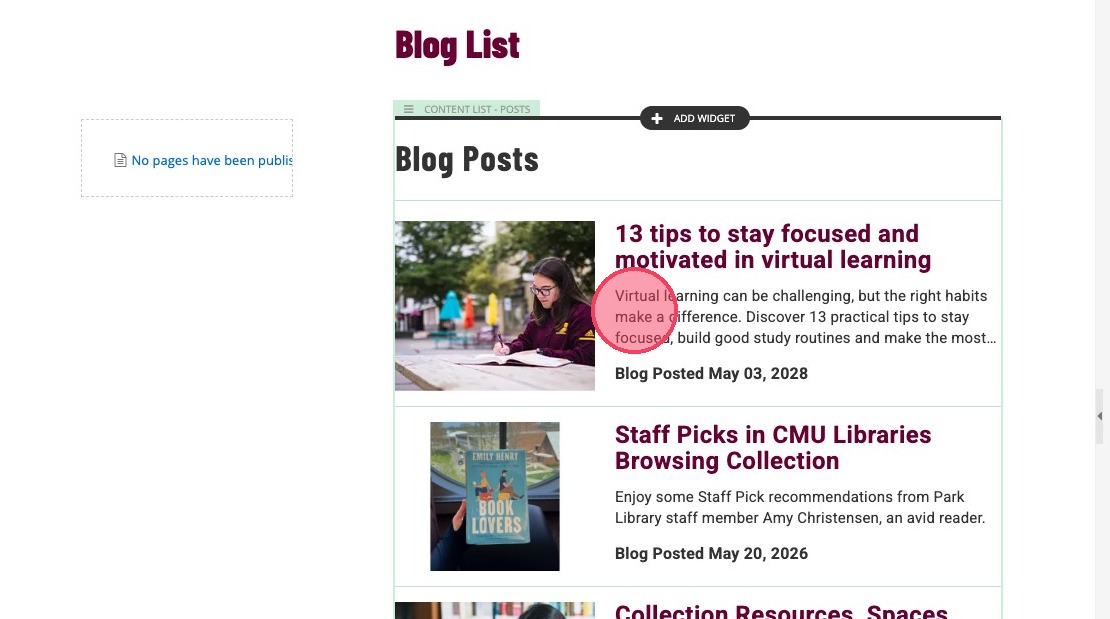
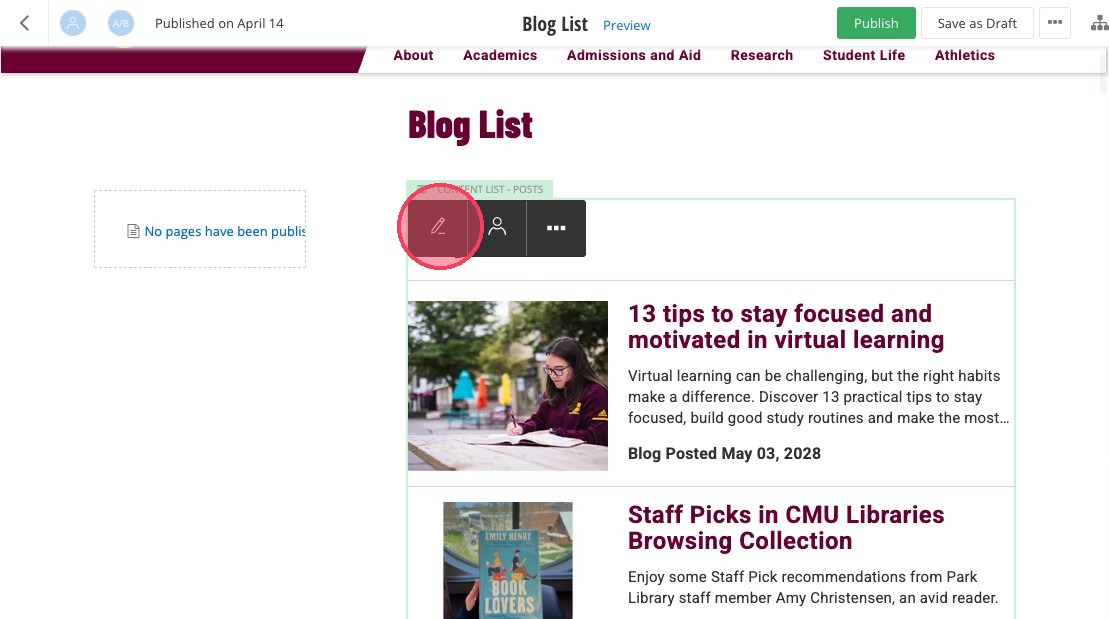
5. A list of blogs will appear on your page. Select the widget to open the editing menu.
6. Click the editor pencil.
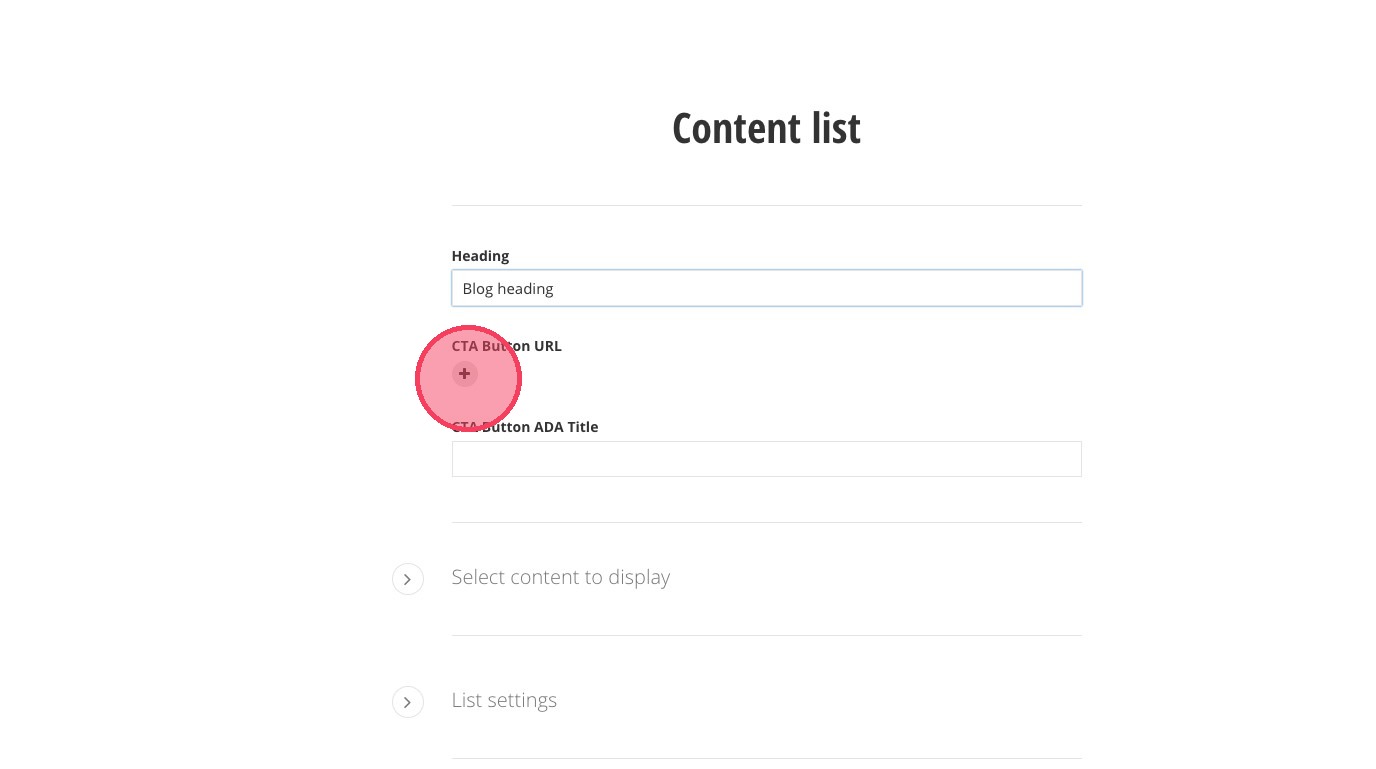
7. In the Heading field of the Content list widget, add the heading for your blog list widget.
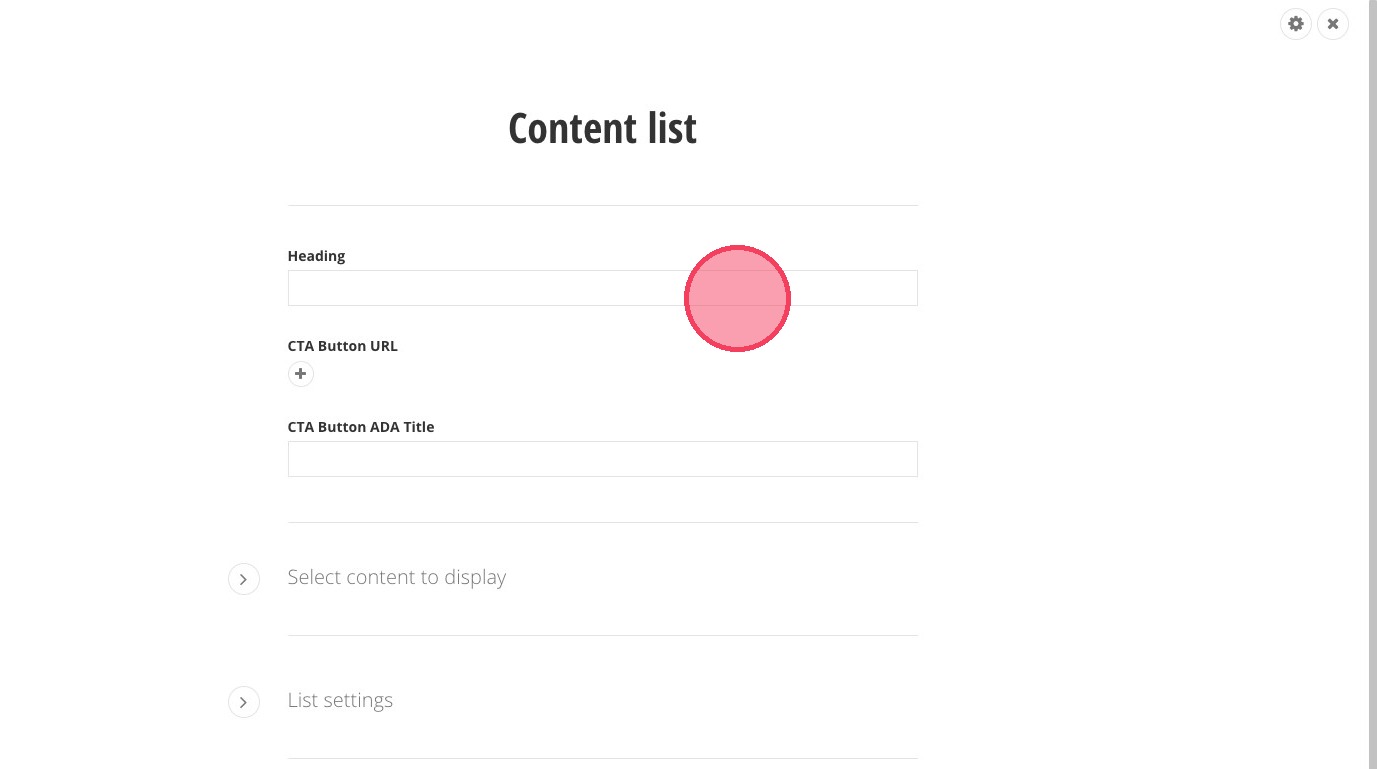
8. OPTIONAL: You can have a button at the top of the widget that links users to more blogs if you would like. Click the plus sign under CTA BUtton URL to add your link.
9. Click on "Select content to display" to choose where you want the button to take users.
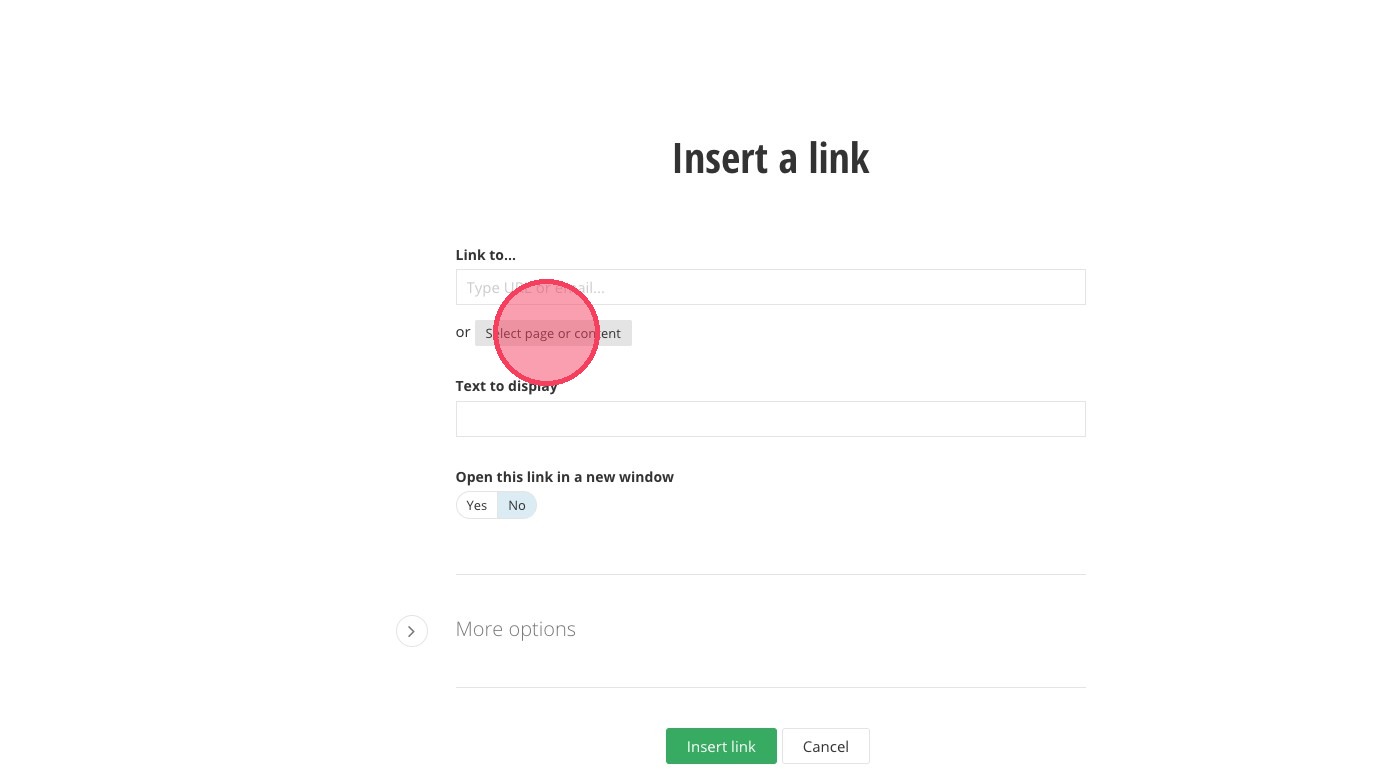
10. Select the page for your button. In this example it's the home page of these blogs.
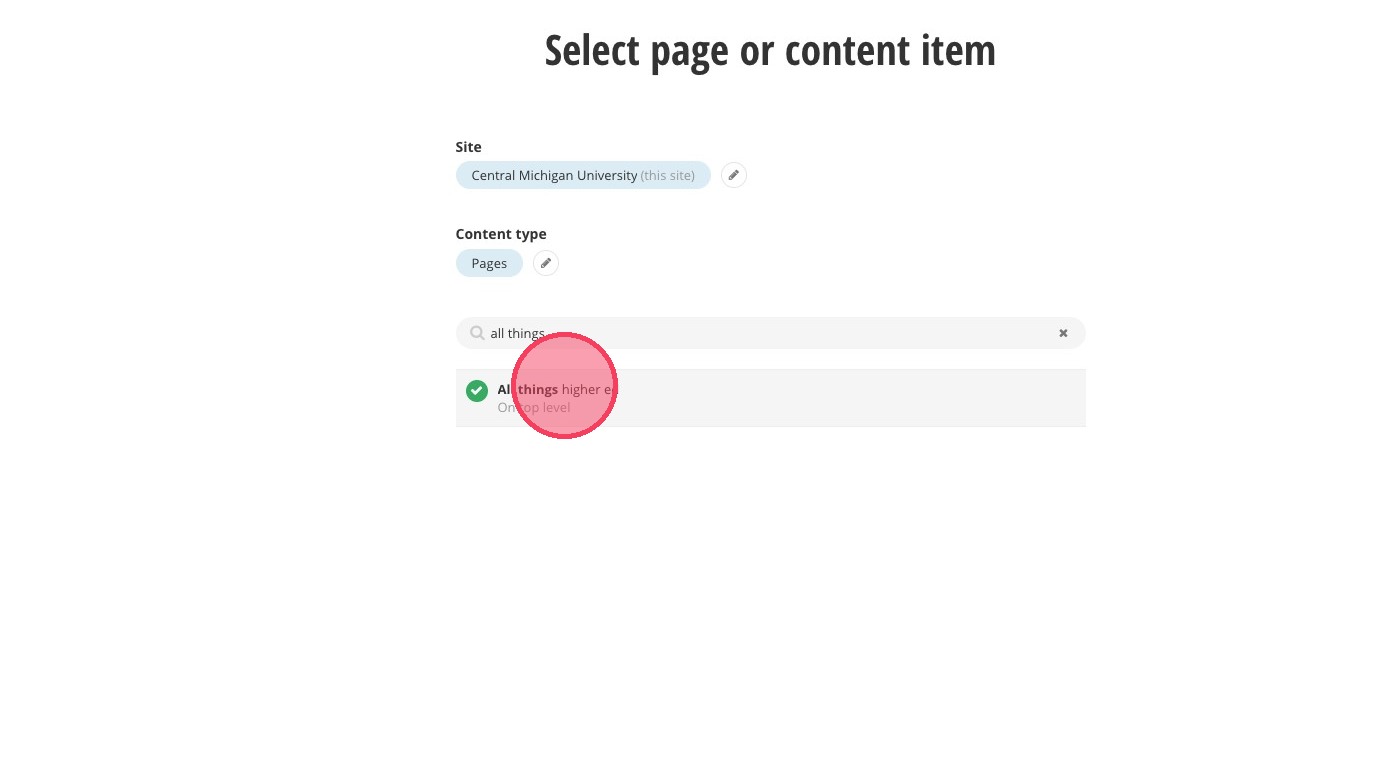
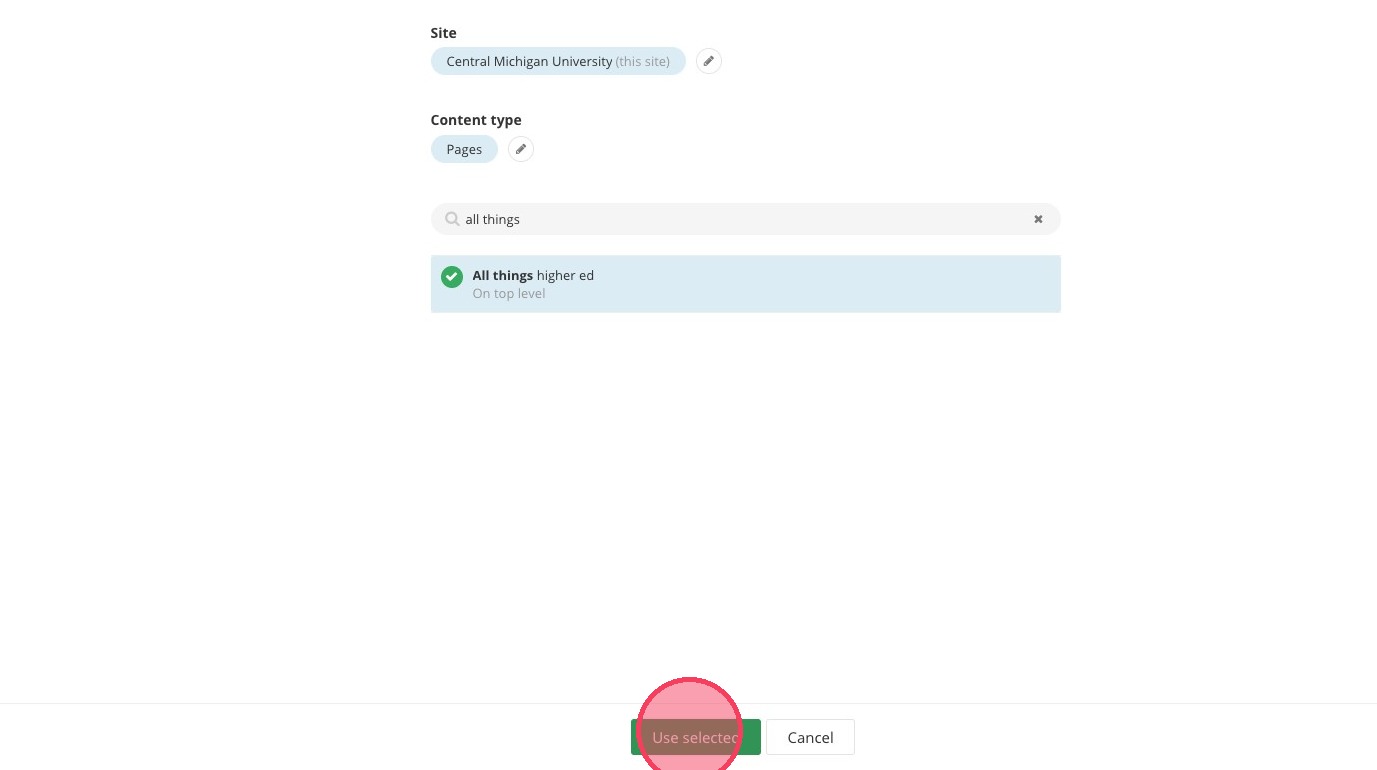
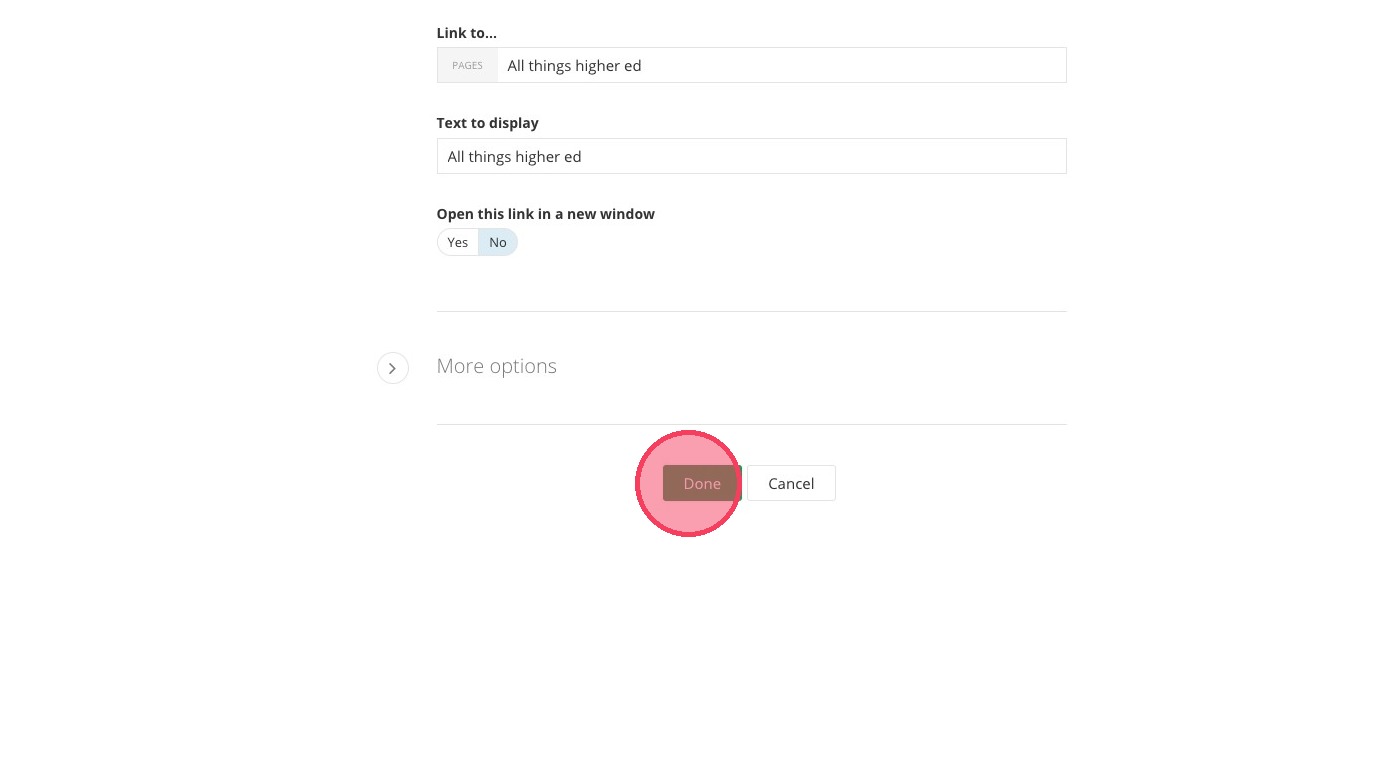
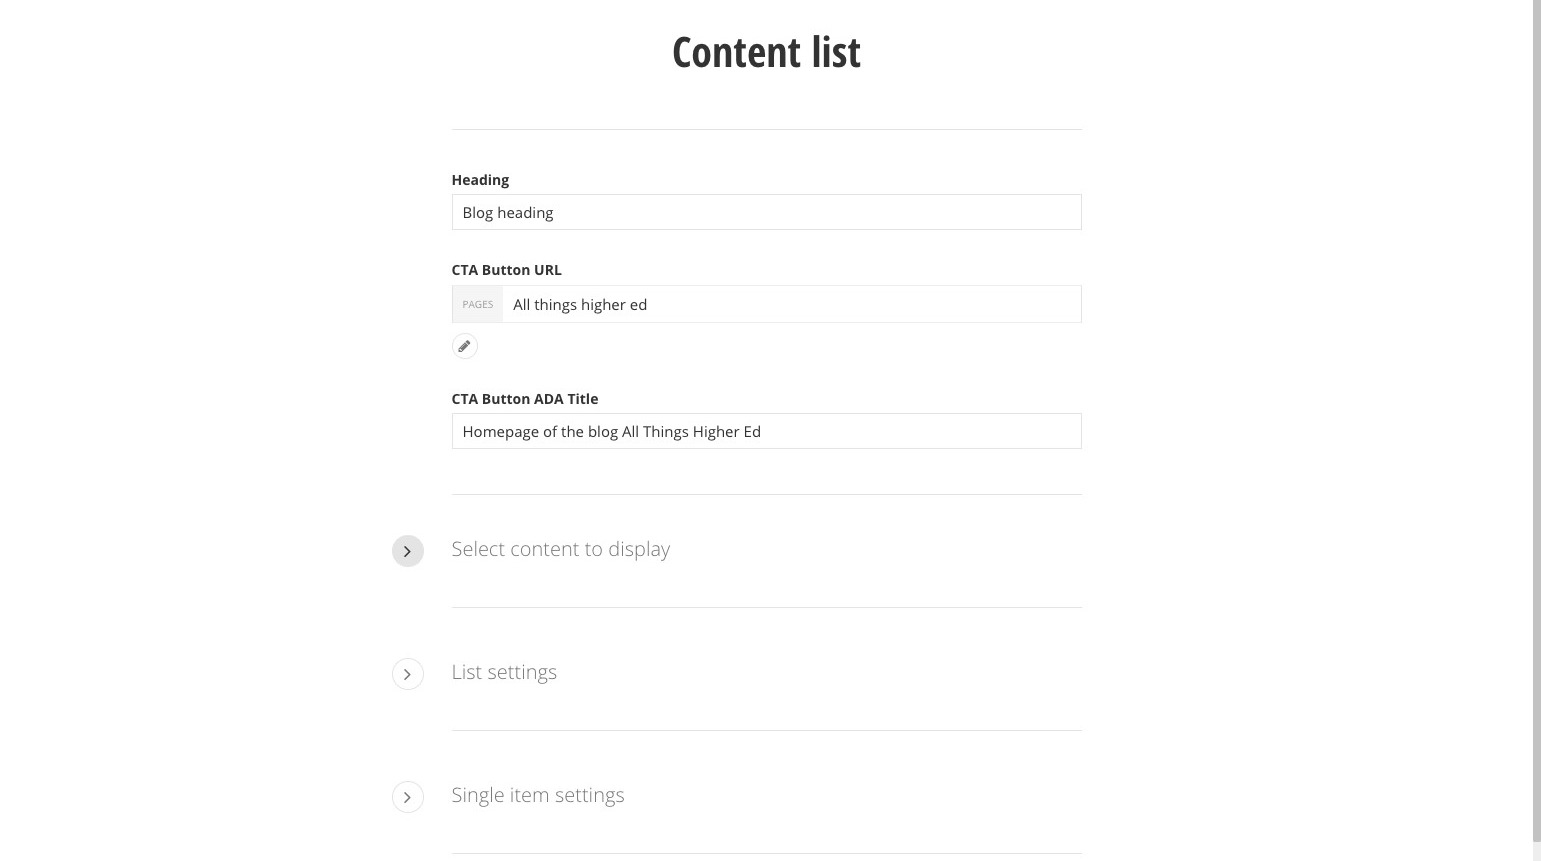
13. Click the "CTA Button ADA Title" field.
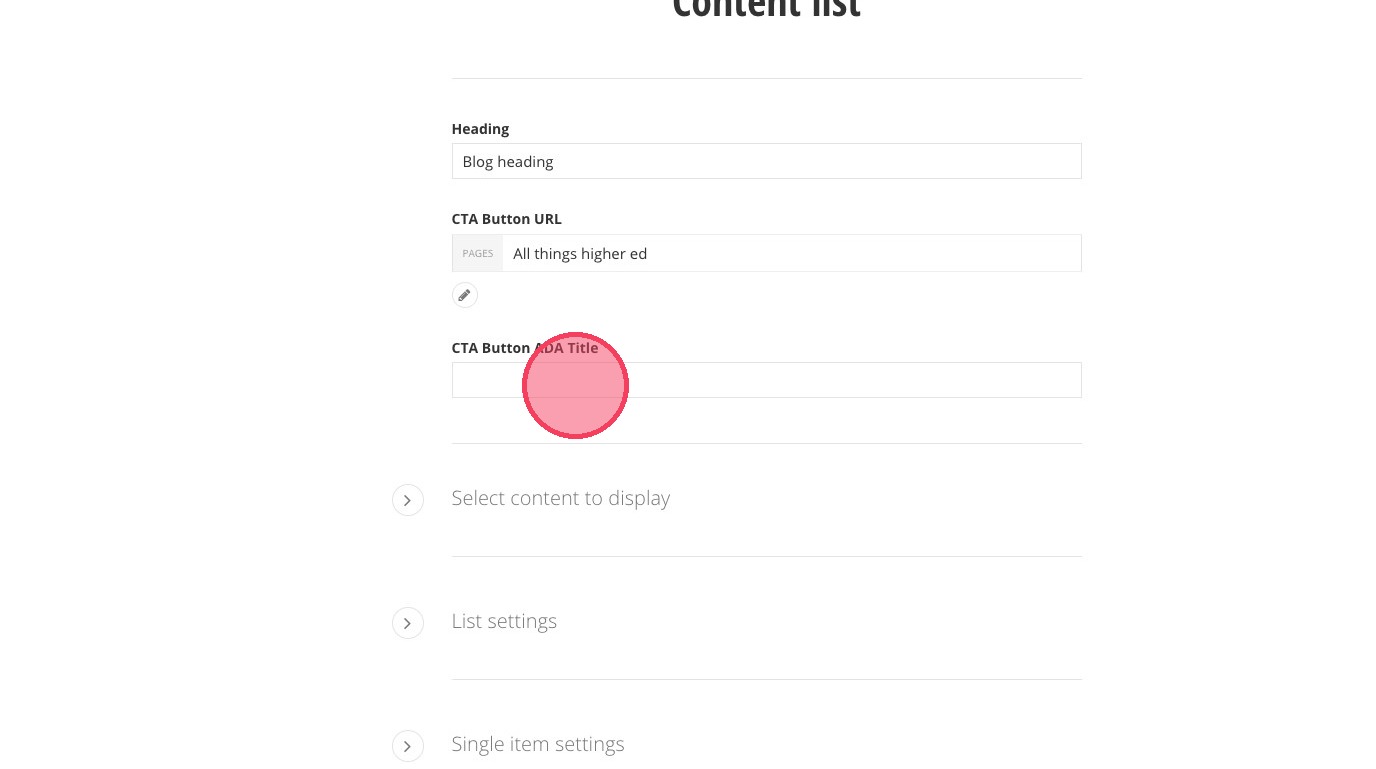
14. Add ADA text for your clickable blog link, describing where the link will take the user.
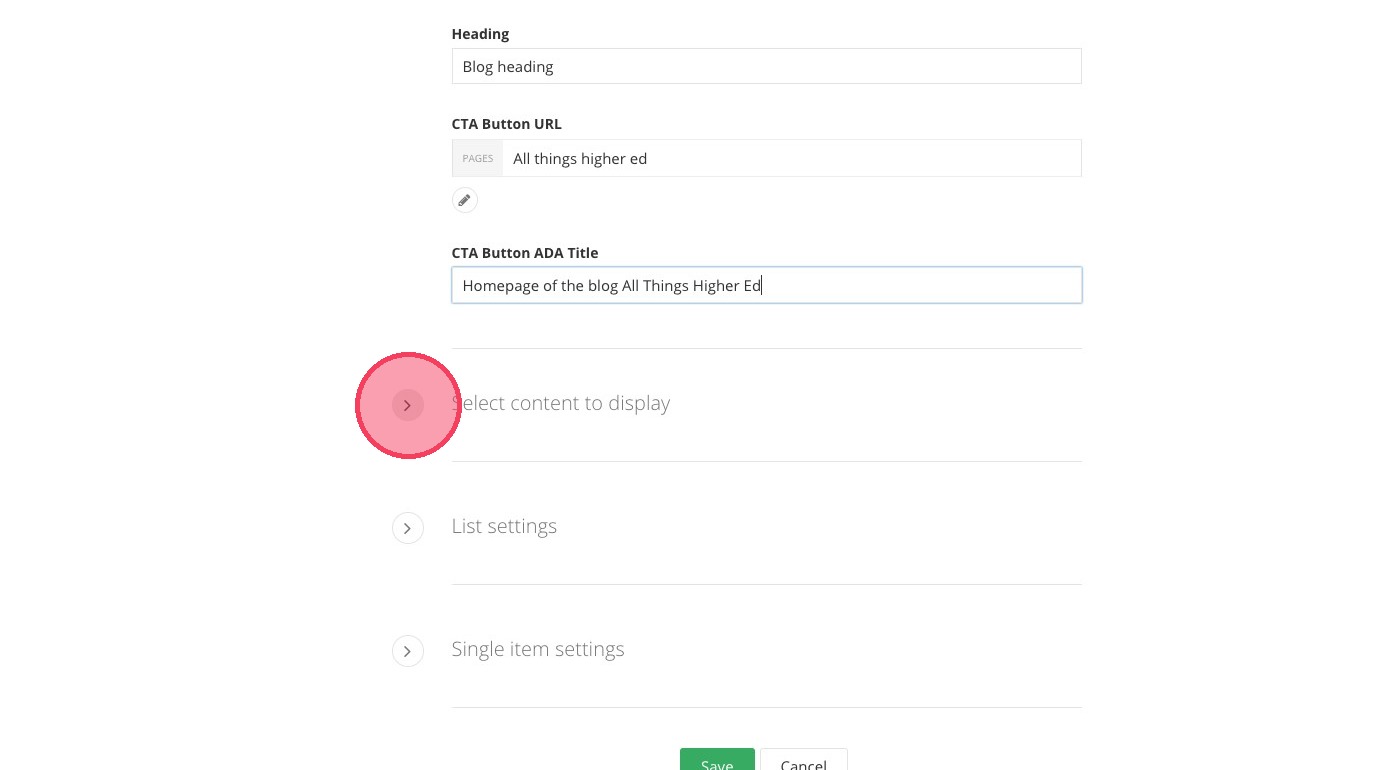
15. Open "Select content to display"
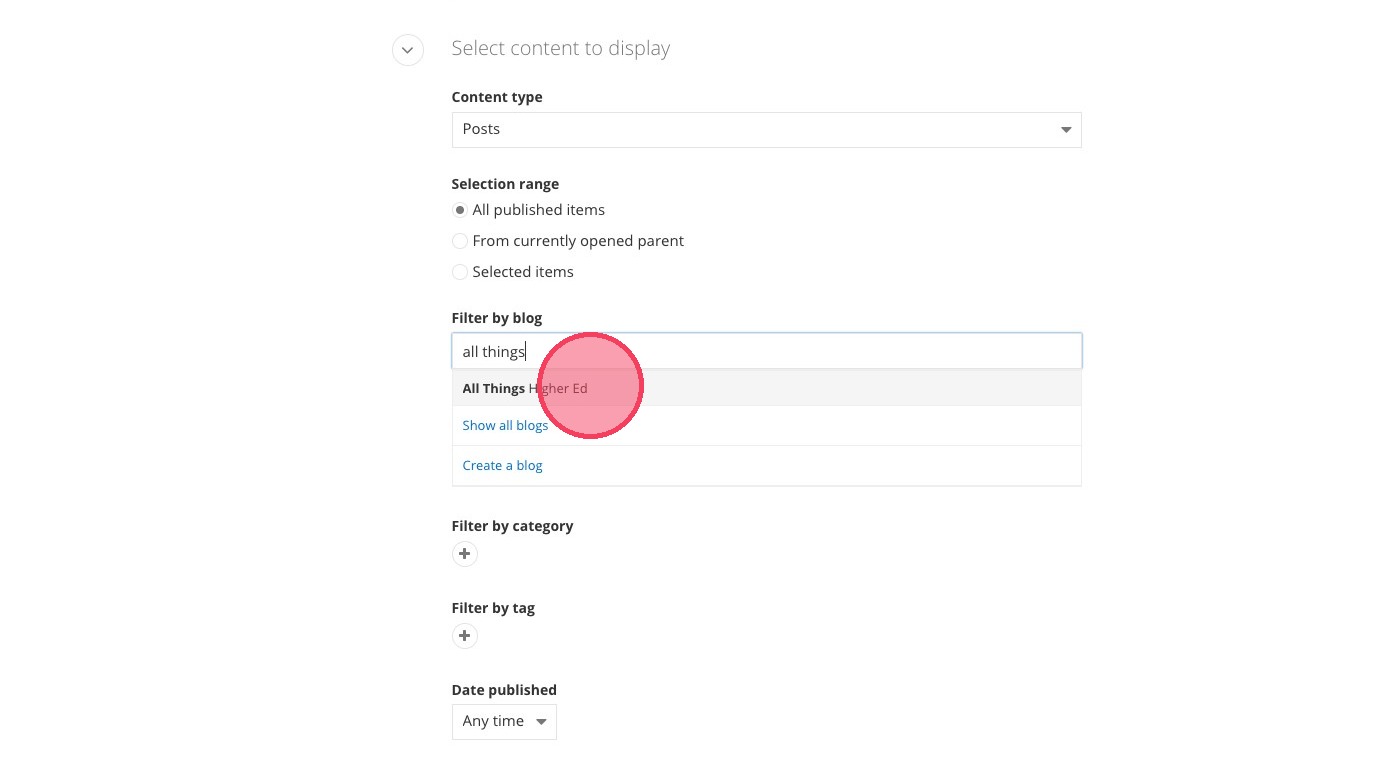
16. Under Filter by blog, search for and select your blog's name.
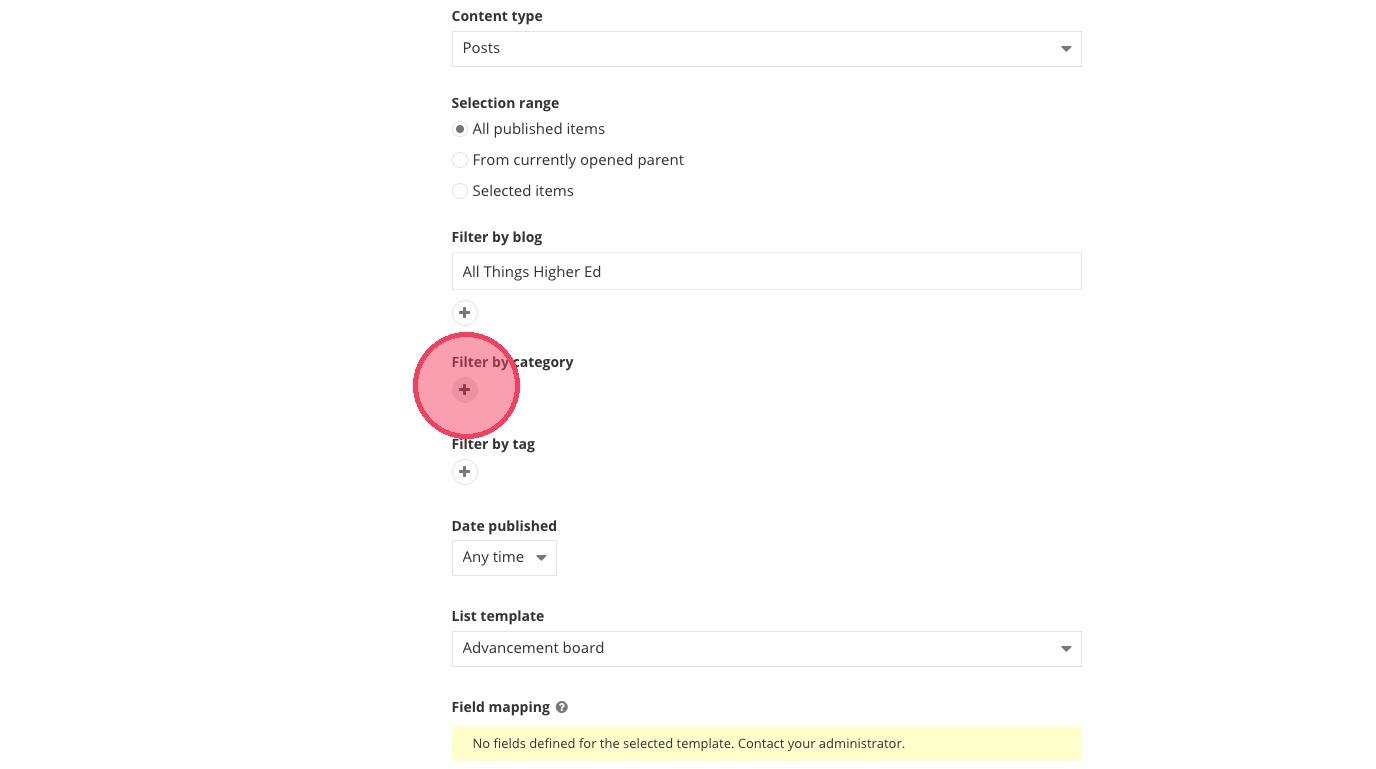
17. Click the plus sign to add the category of blogs you want to display in the list.
The categories feature here will locate any blogs with the same category under the blog title you selected in "Filter by blog."
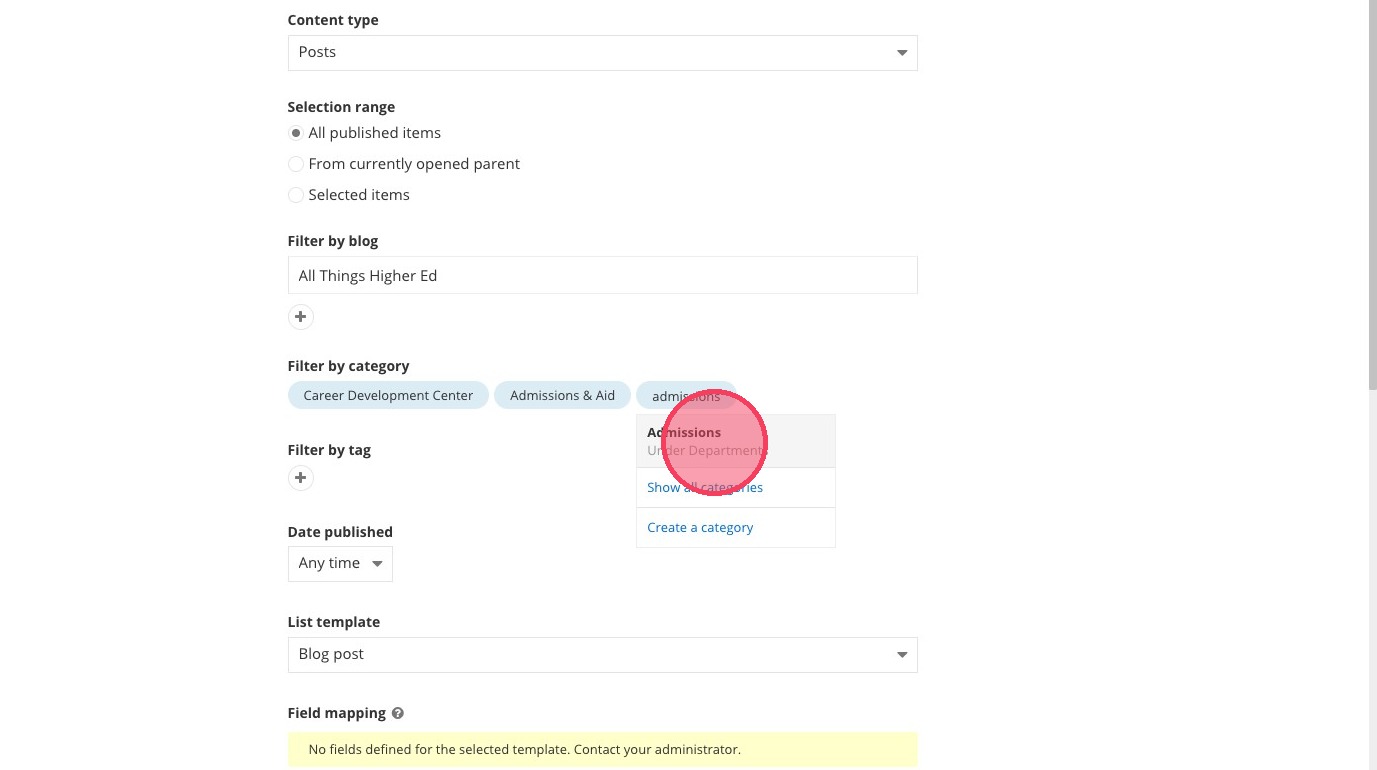
18. Type and select the categories of blogs you want to show in the list.
Do not add a tag for the blog list.
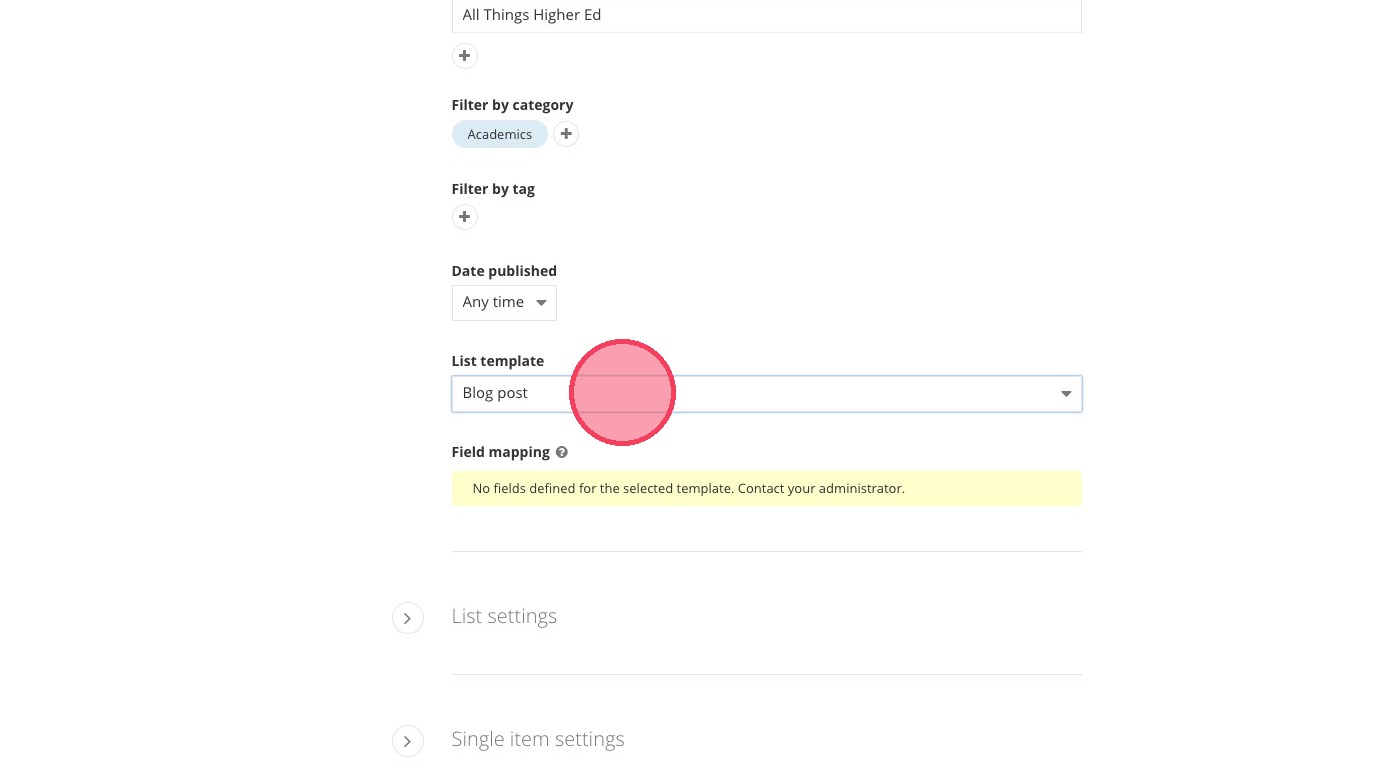
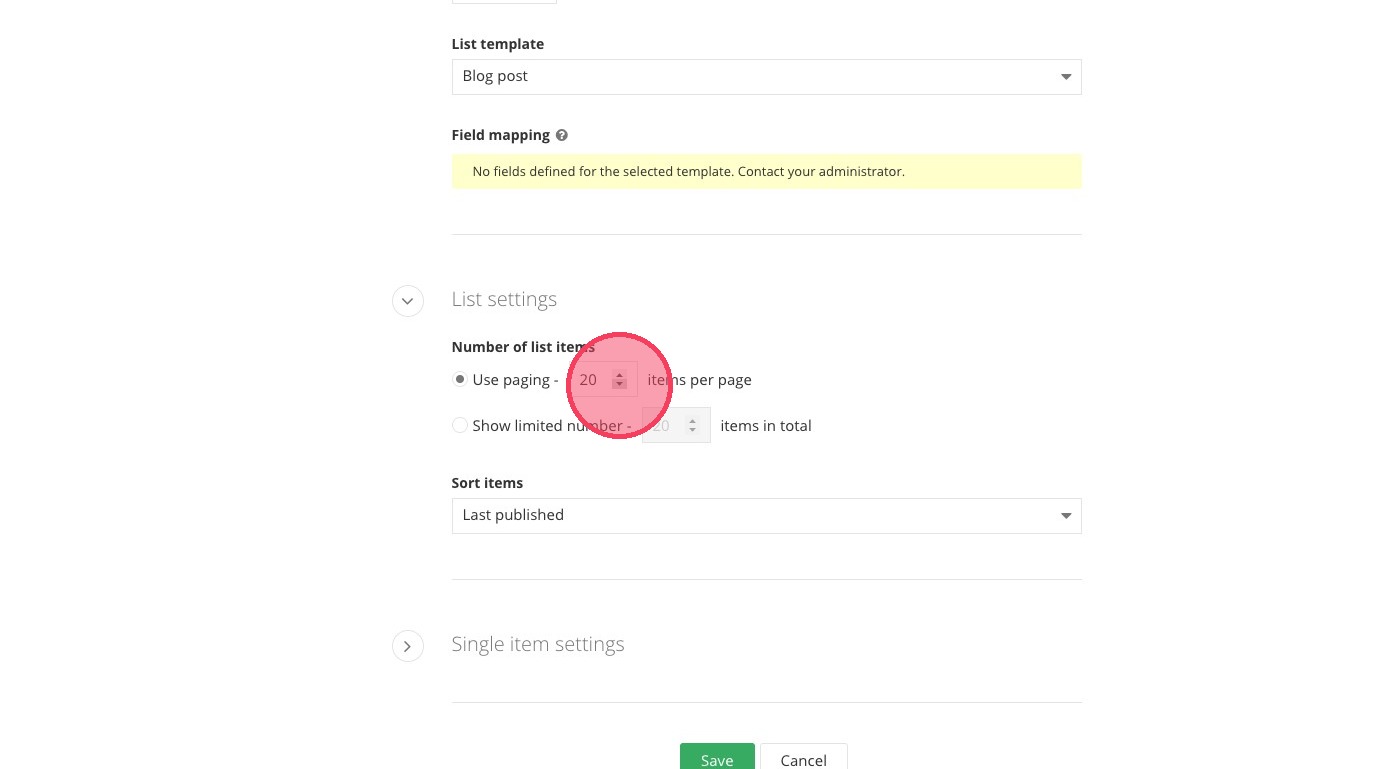
19. Under "List template," select the "Blog post" option.
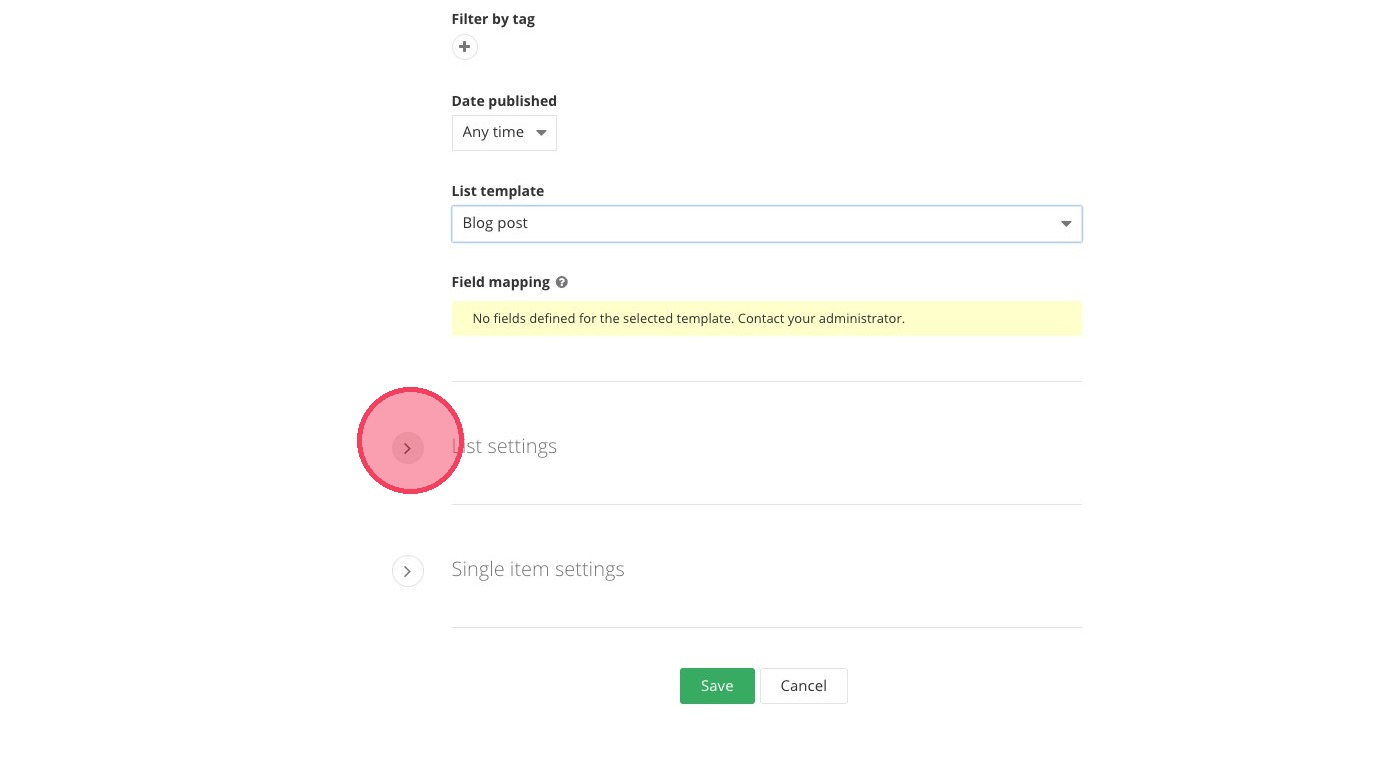
21. Choose the maximum number of blogs you would like to show on the page.
If there are more blogs than the number you choose here, the user will have an option to select the next batch of blogs to see.
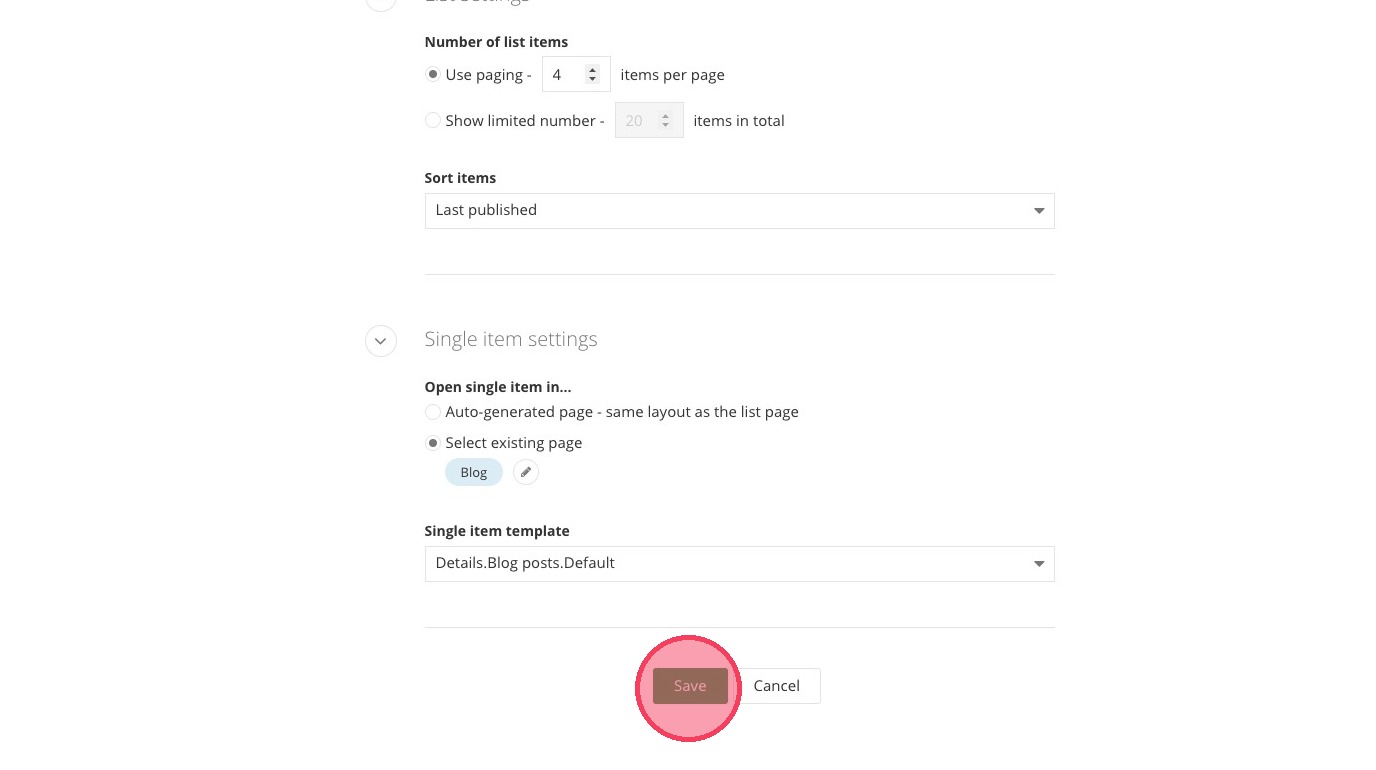
23. Review your blog list widget.