Written instructions
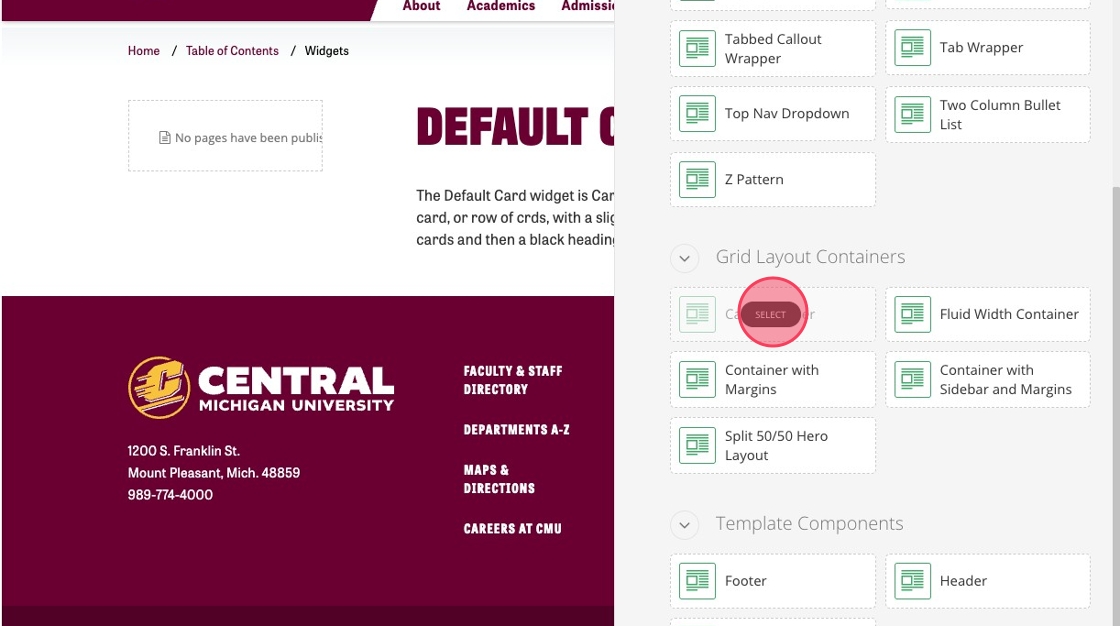
3. Select "Card Wrapper."
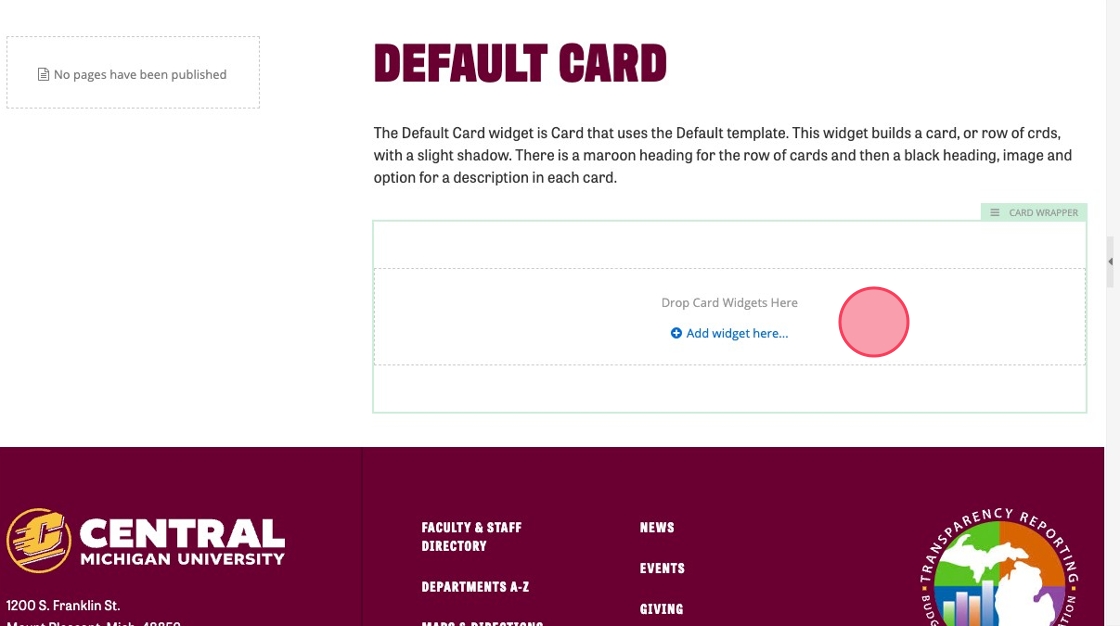
4. Click "Drop Card Widgets Here" to open the pop up menu.
5. Click the edit icon here.

6. Select the "Card Wrapper" option.
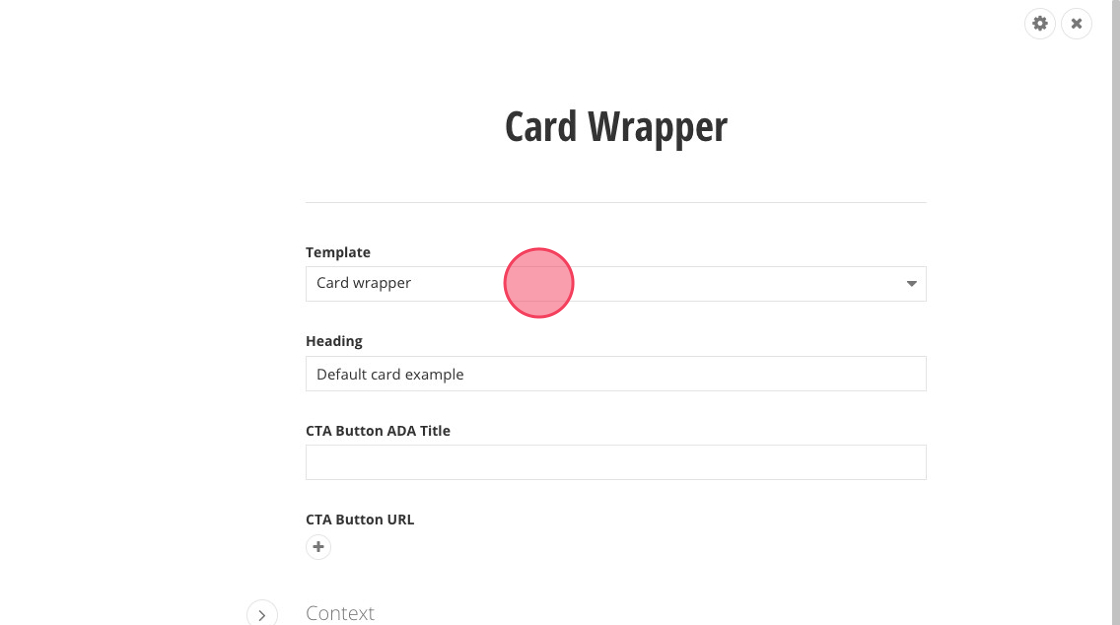
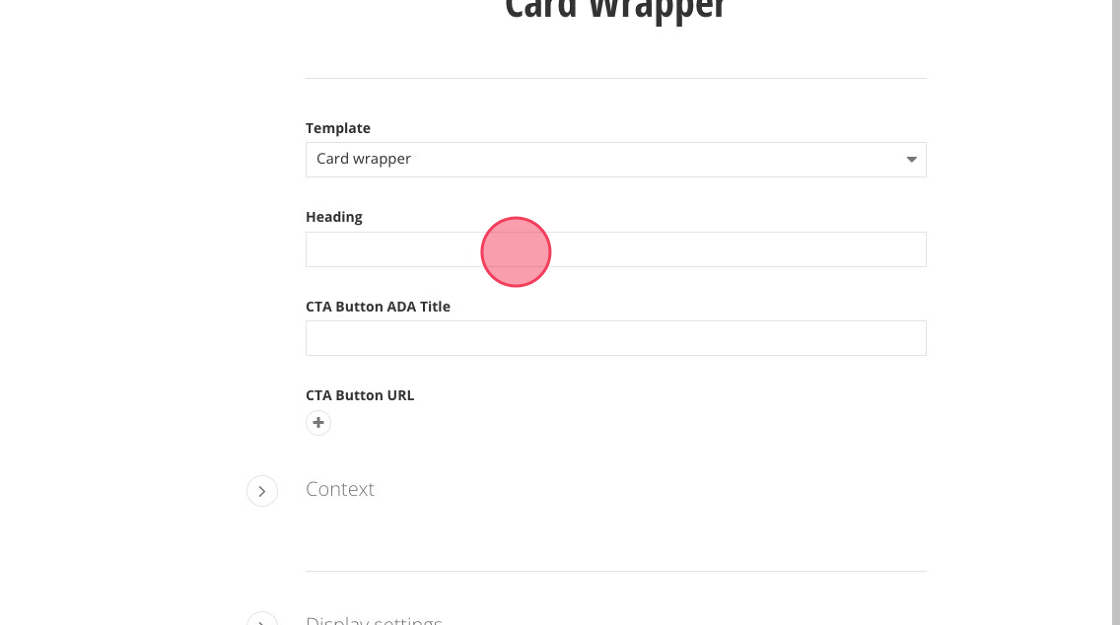
7. Click the "Heading" field.
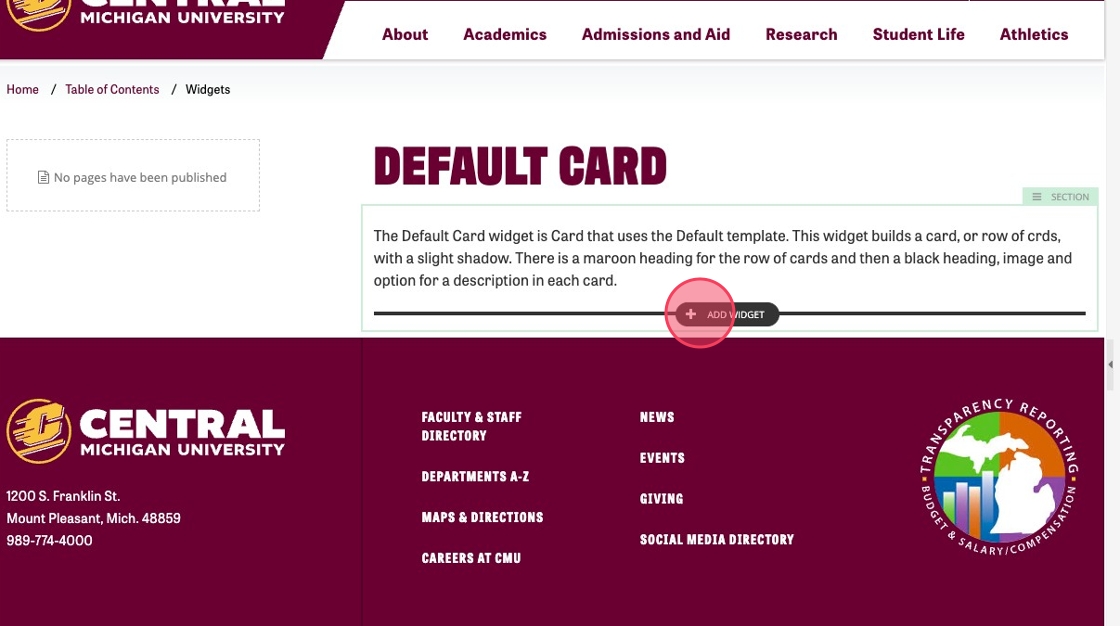
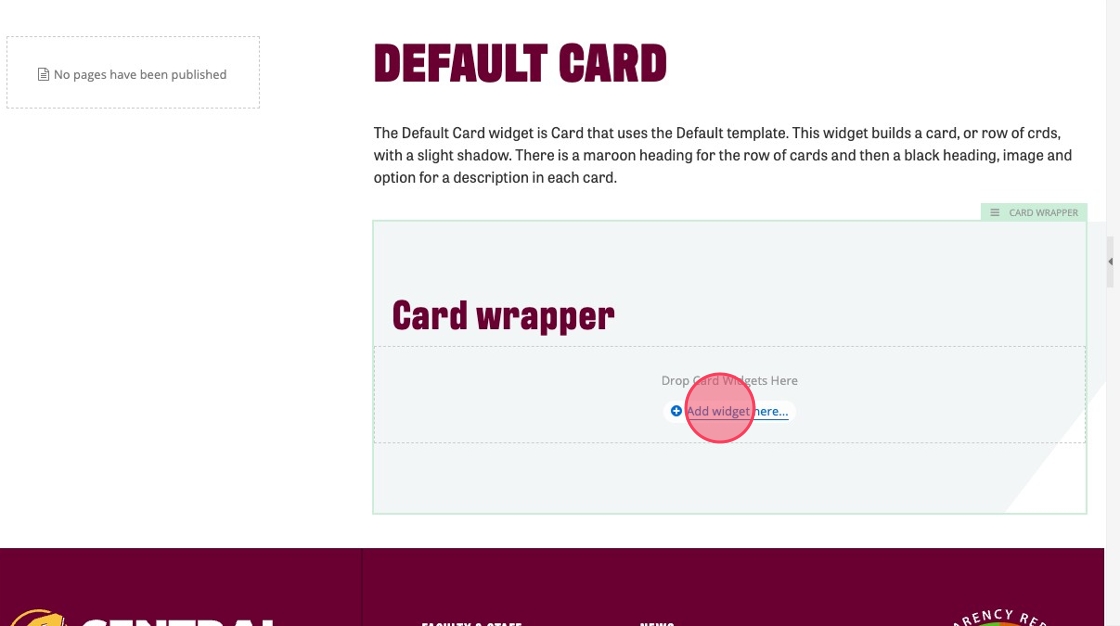
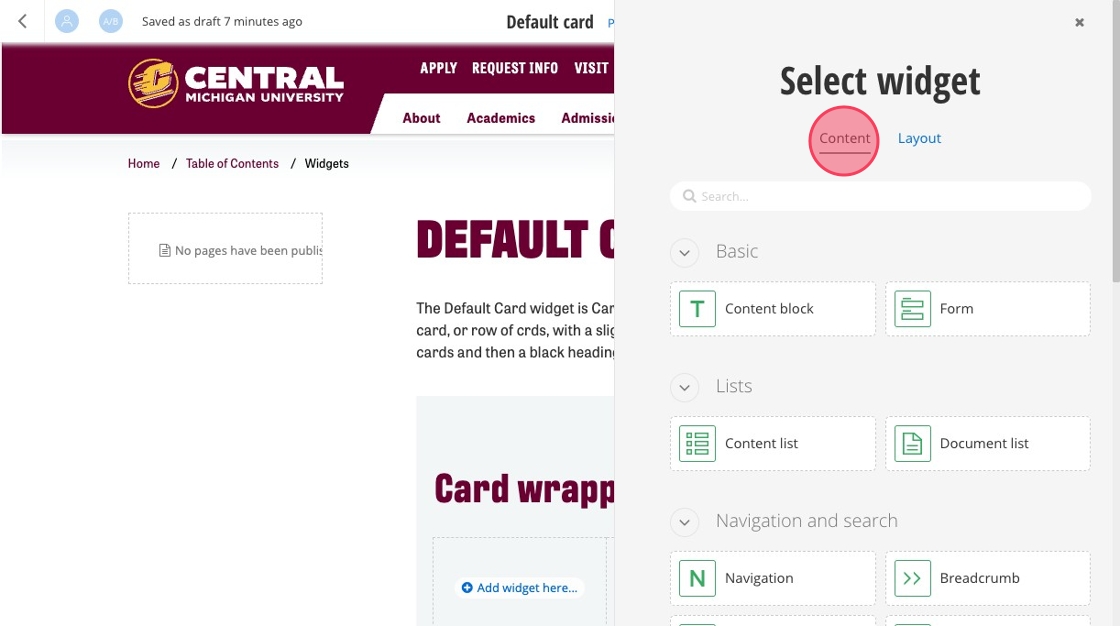
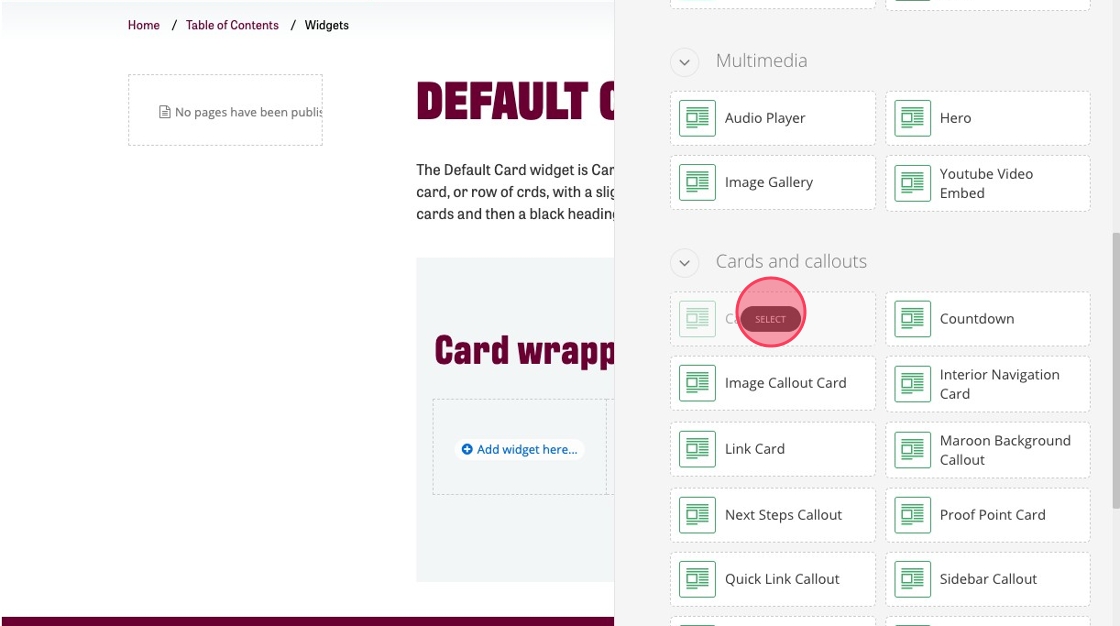
10. Click "Add widget here..."
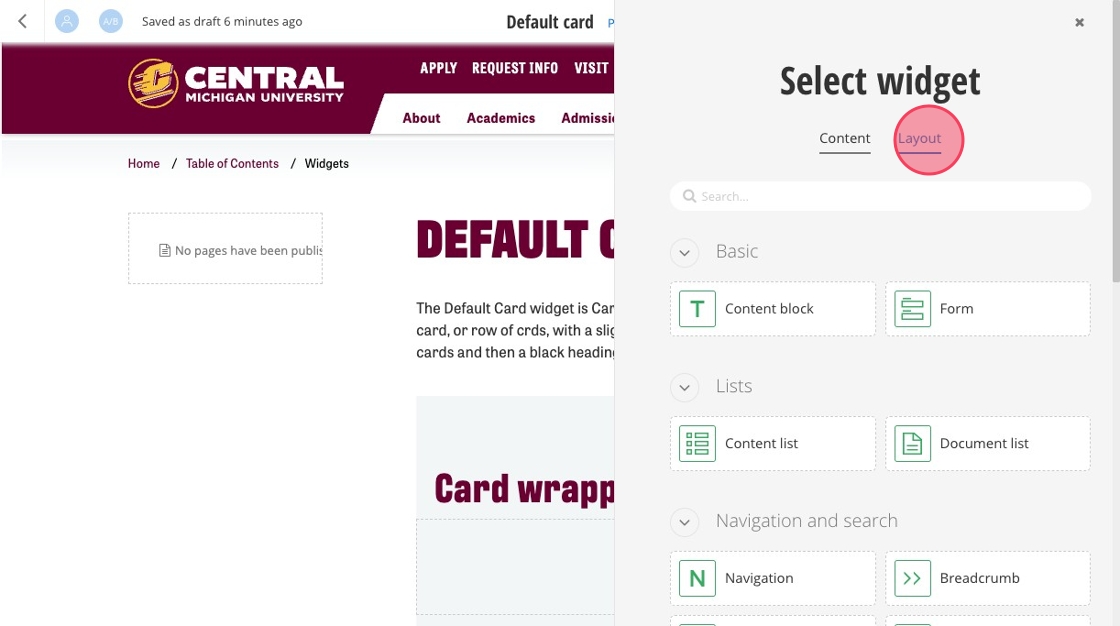
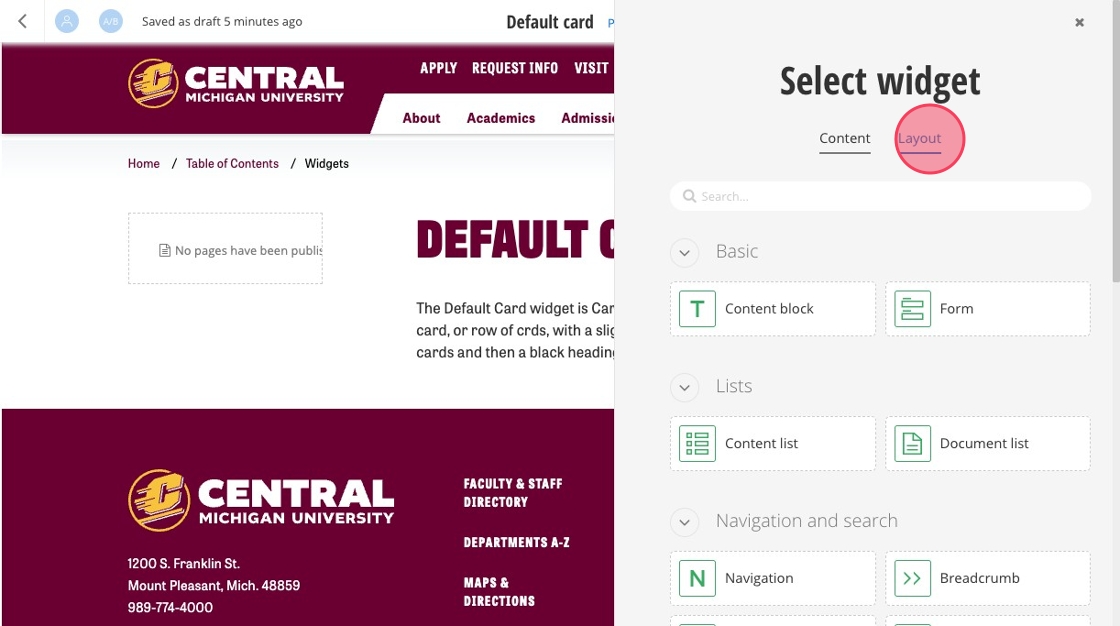
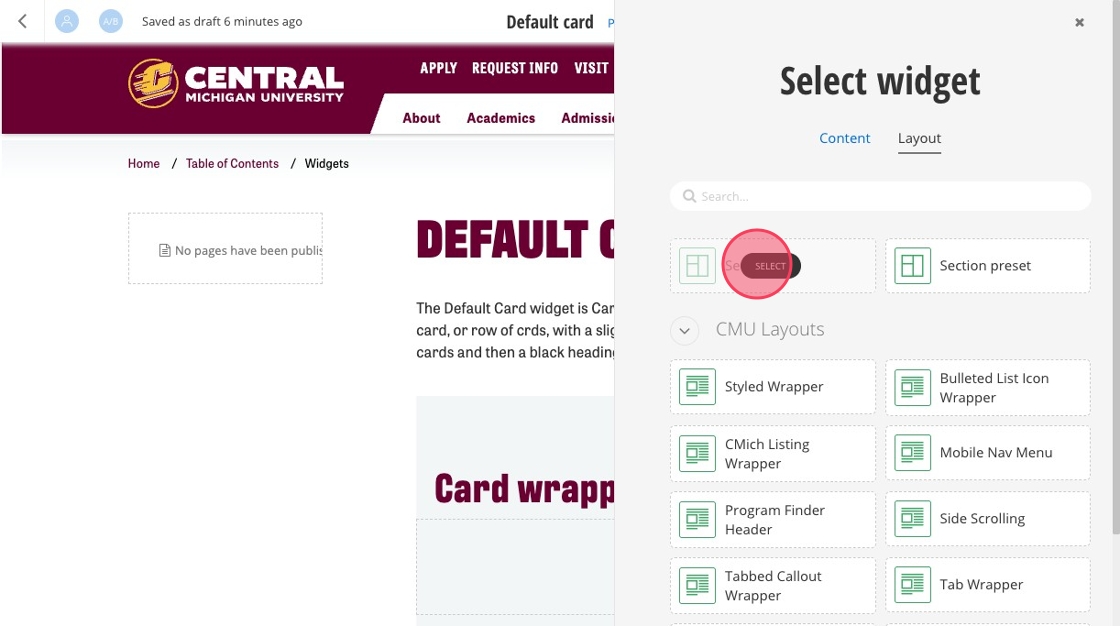
12. Select the "Section" layout.
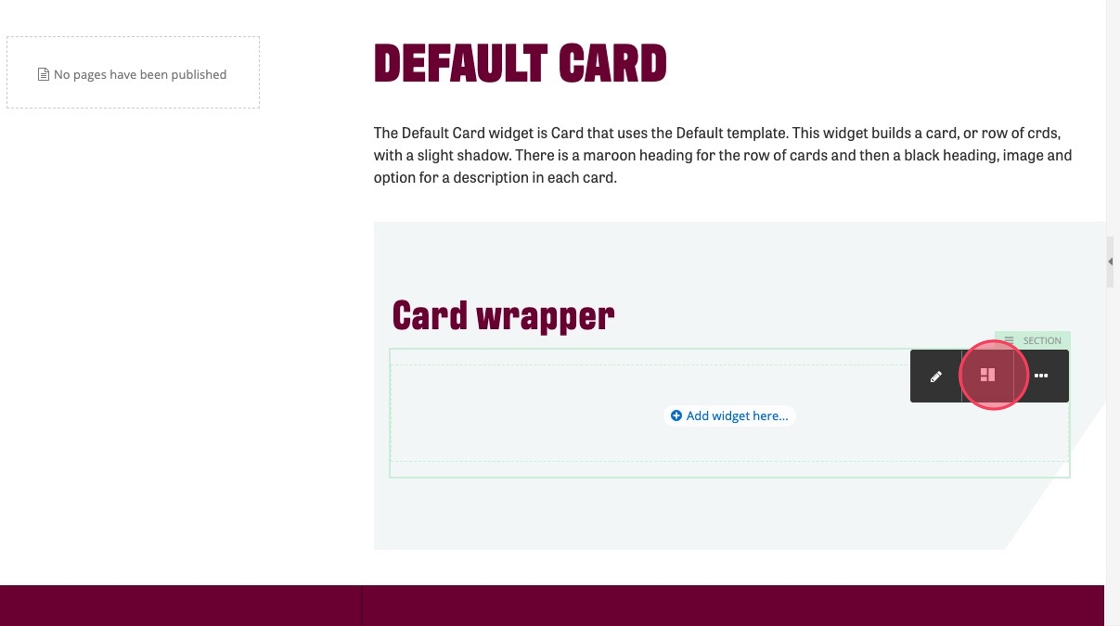
13. Click the section widget to open the pop up menu.
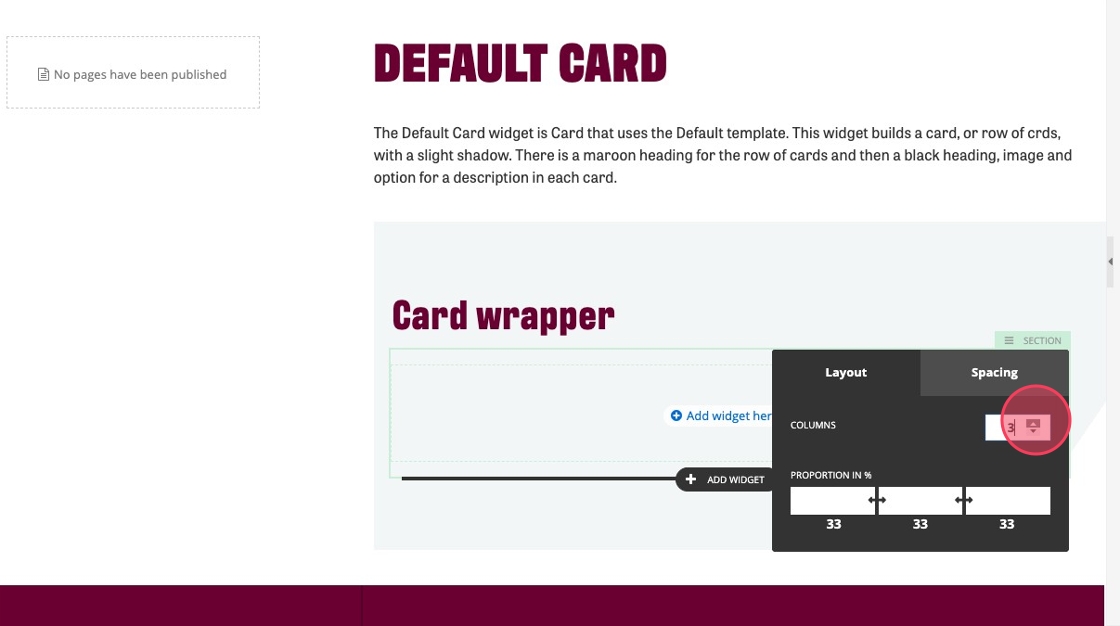
14. Click here to adjust the columns in the section.
15. Choose the number of spaces you want to make for your cards.
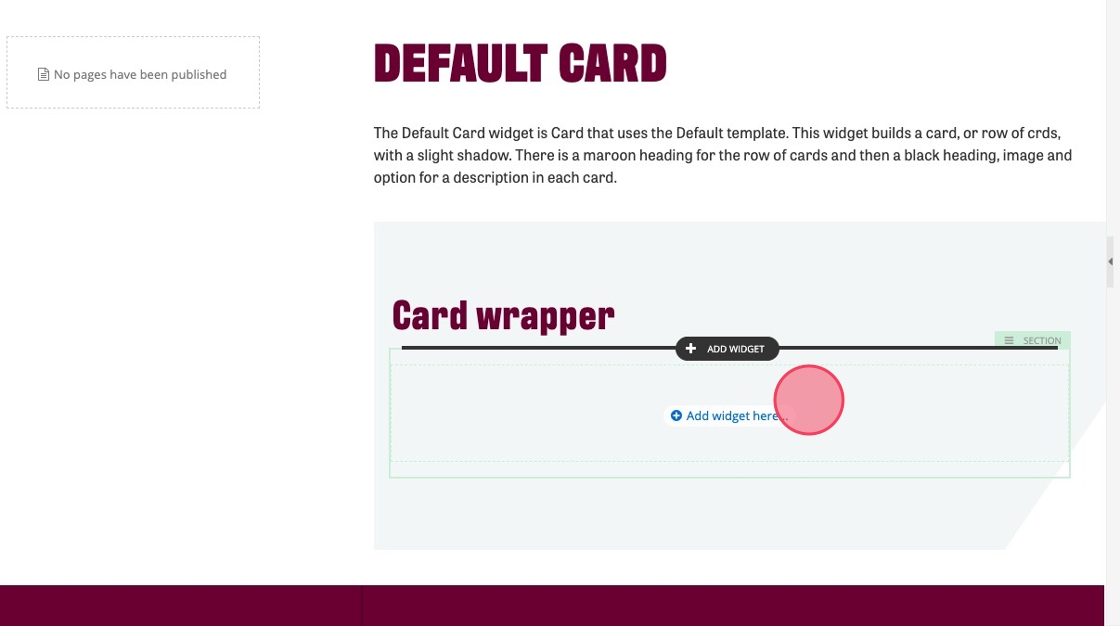
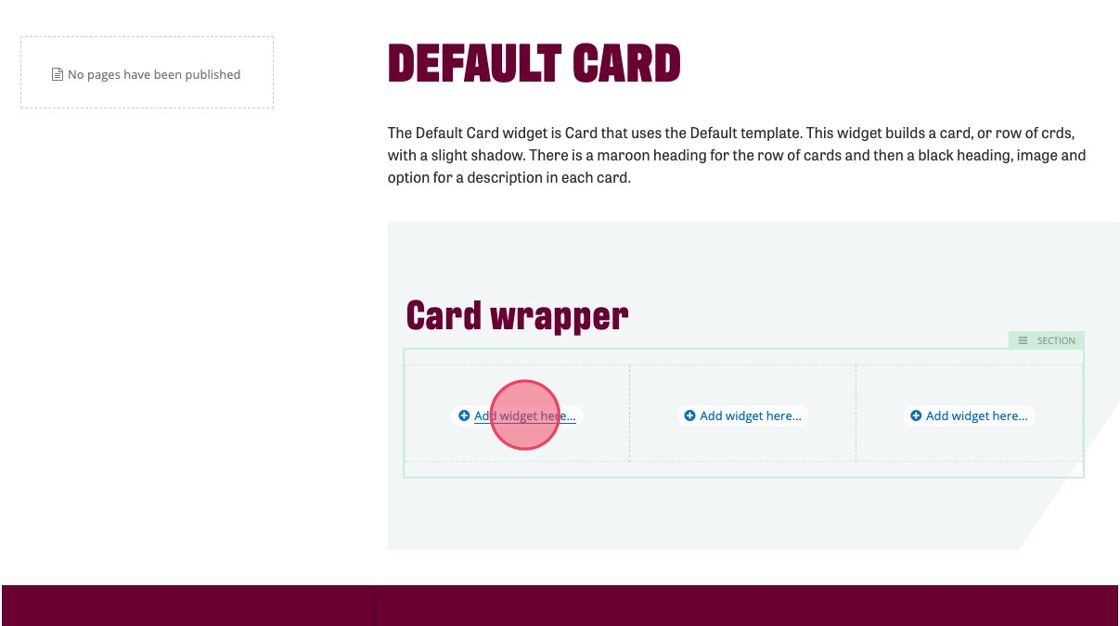
16. Click "Add widget here..."
19. Repeat steps 16, 17 and 18 to add two more cards (or however many you need for the number of columns you chose in the Section widget).
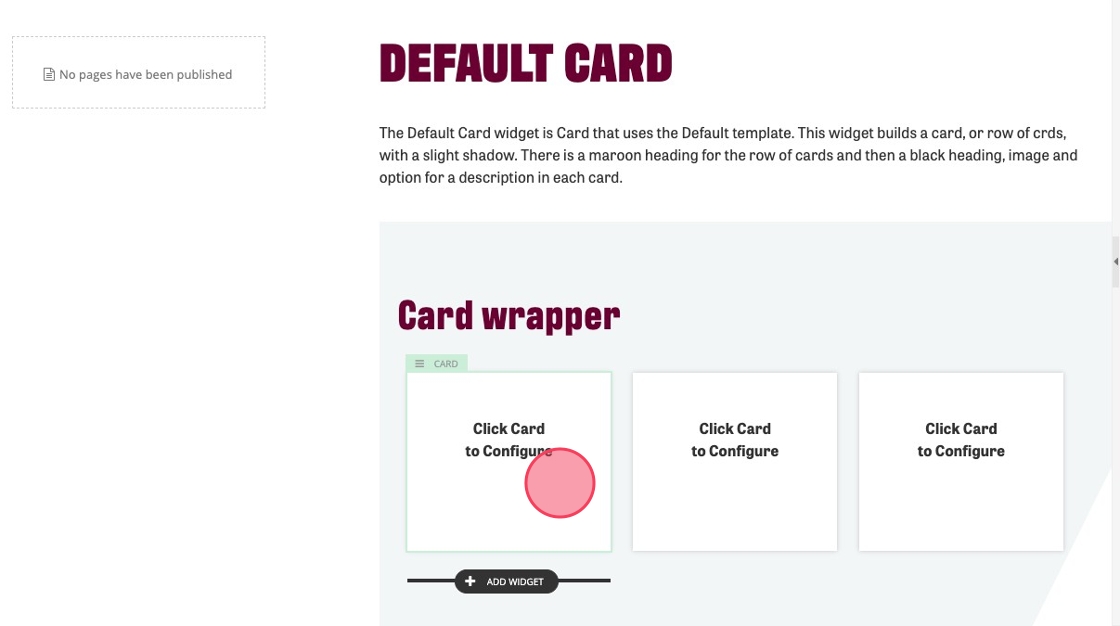
20. Click "Click Card to Configure."
21. Click the "Heading" field.
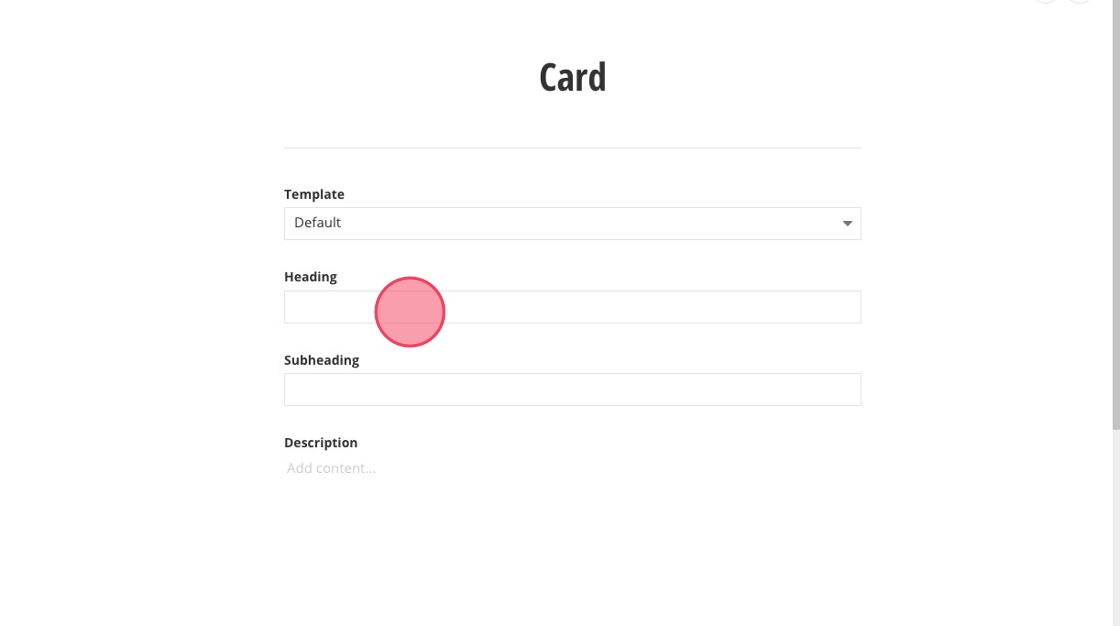
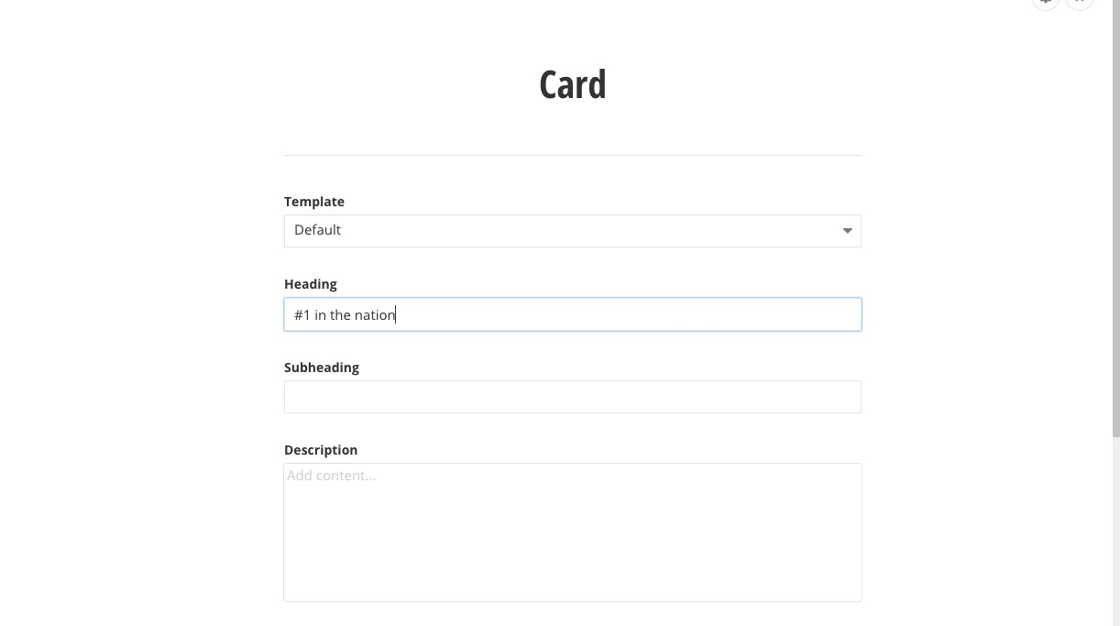
22. Type your heading. Maximum characters: 75
23. Click the "Description" field.

24. Add a brief description (optional). Maximum characters: 150
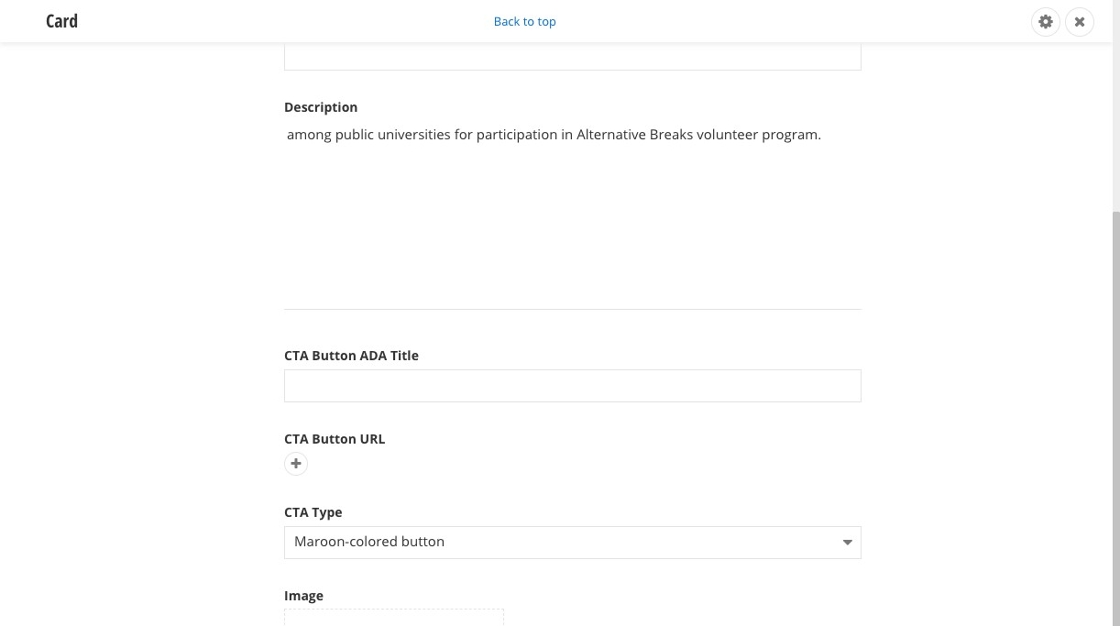
25. Click here to add a button (optional).
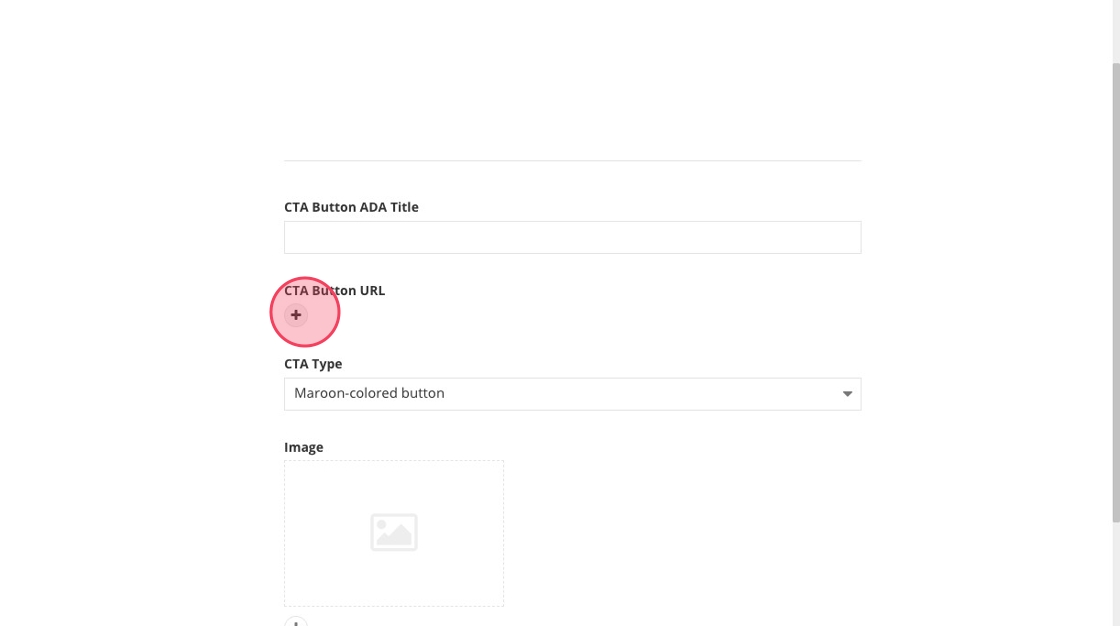
26. Click "Select page or content."

27. Locate the page you want to link to by navigating or searching the page name.

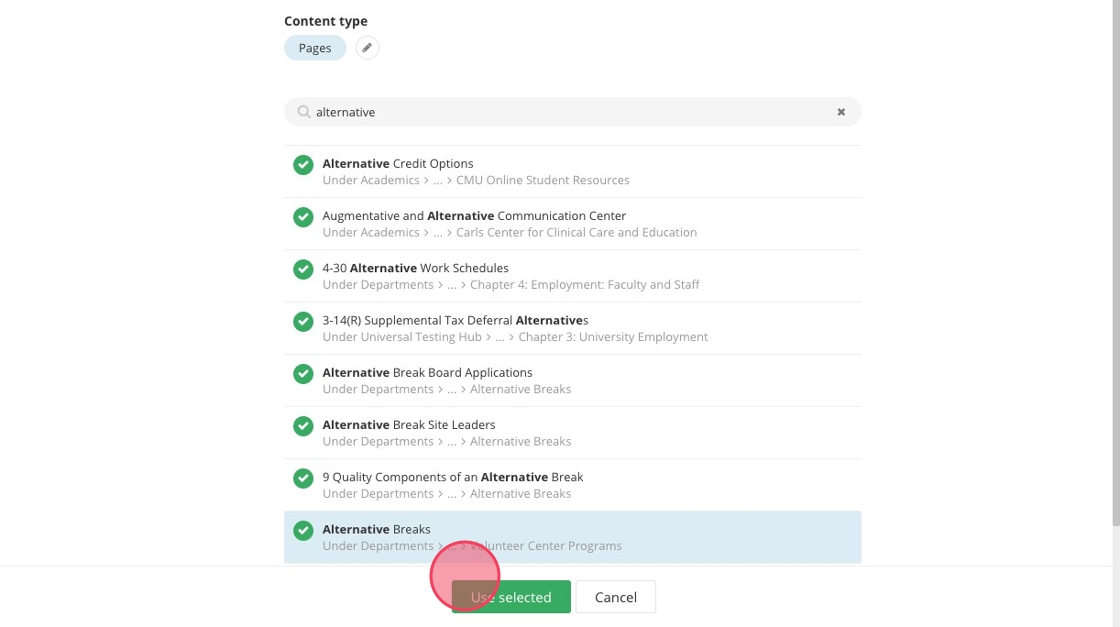
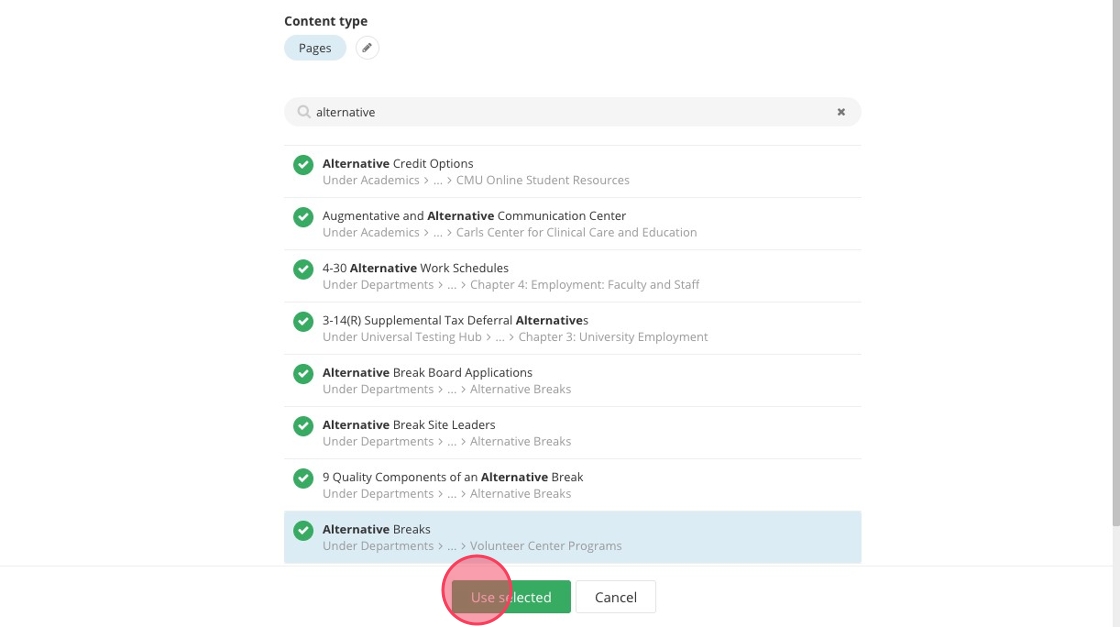
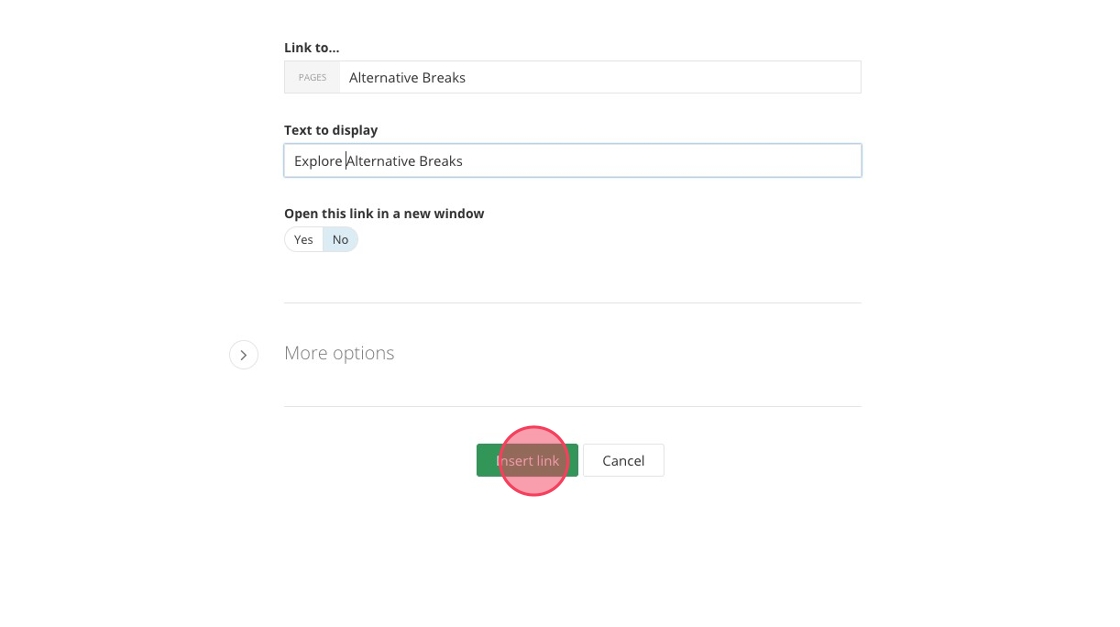
29. Click "Use selected."
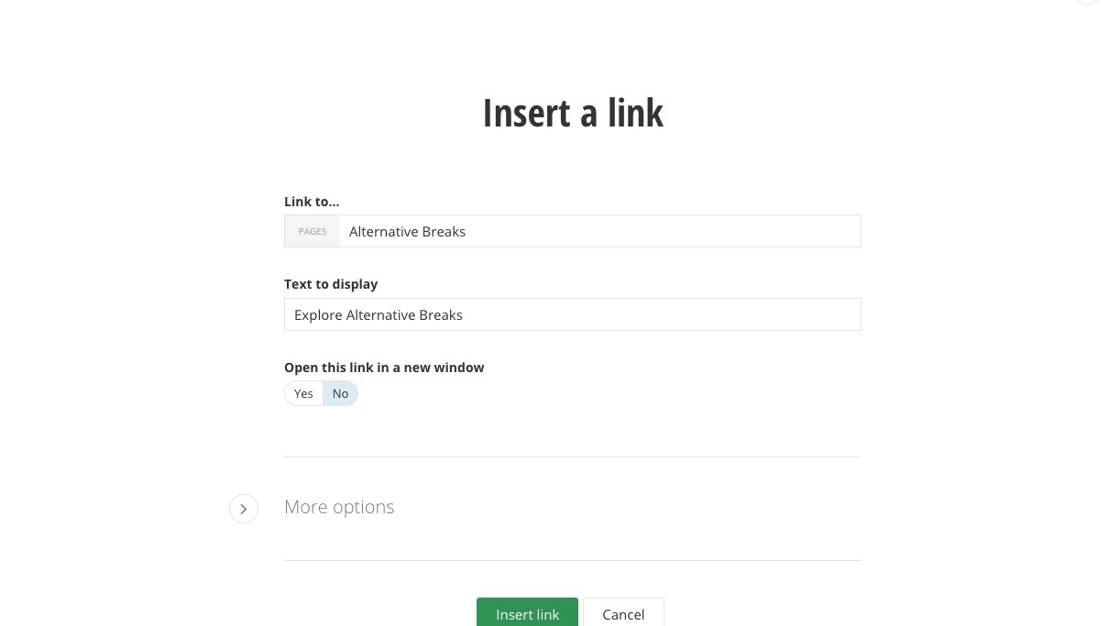
30. Click the "Text to display" field to edit your button text.
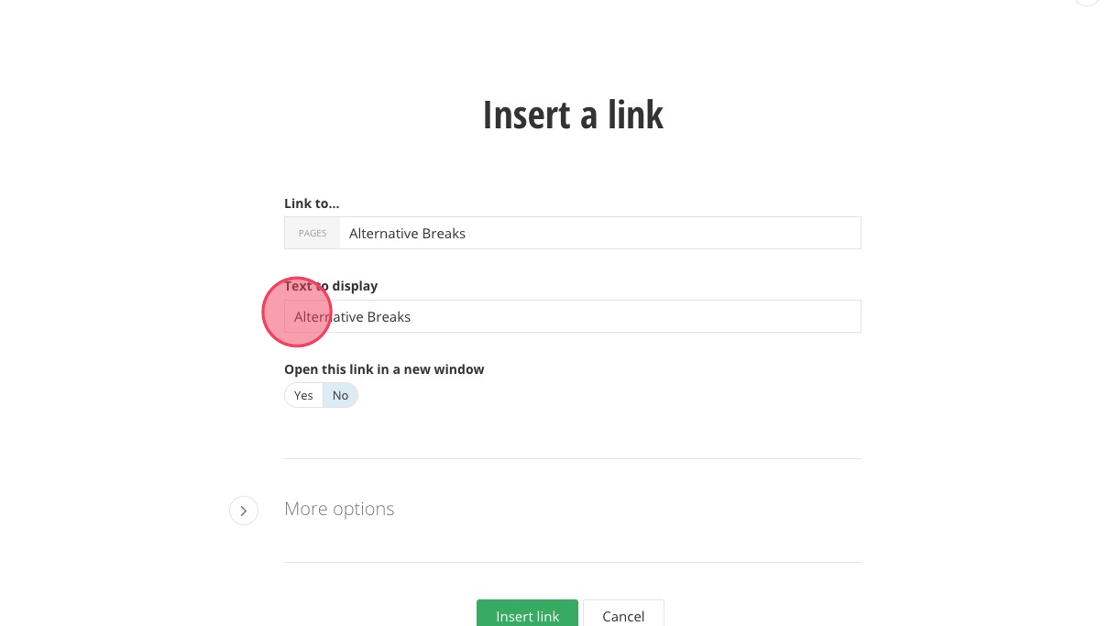
31. Add your button text. Maximum characters: 30
33. Click the "CTA Button ADA Title" field.
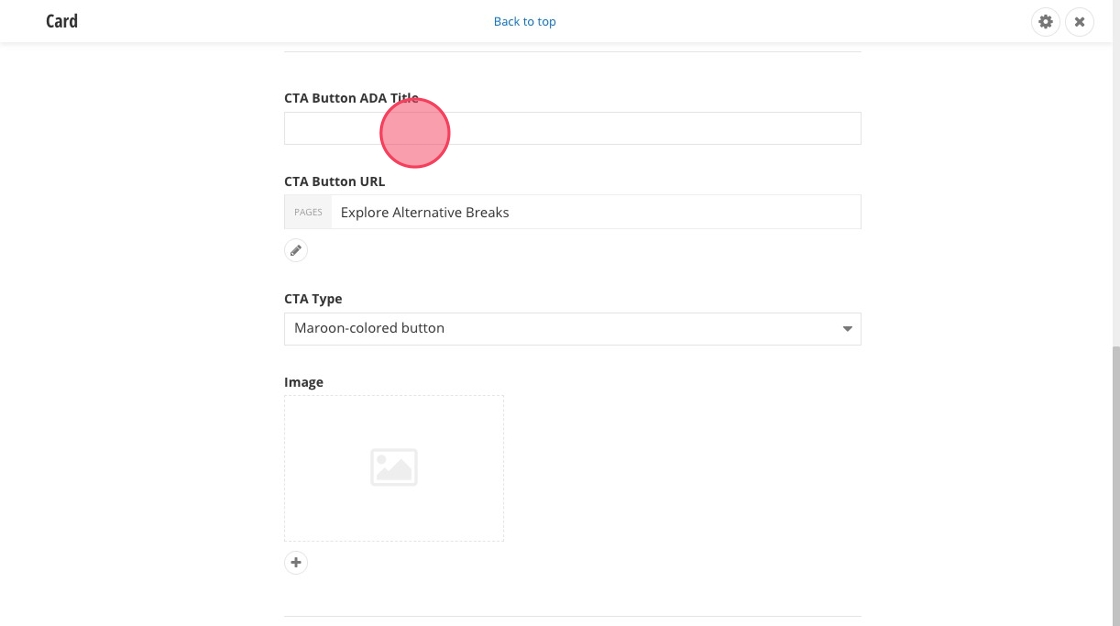
34. Add ADA text to your button.
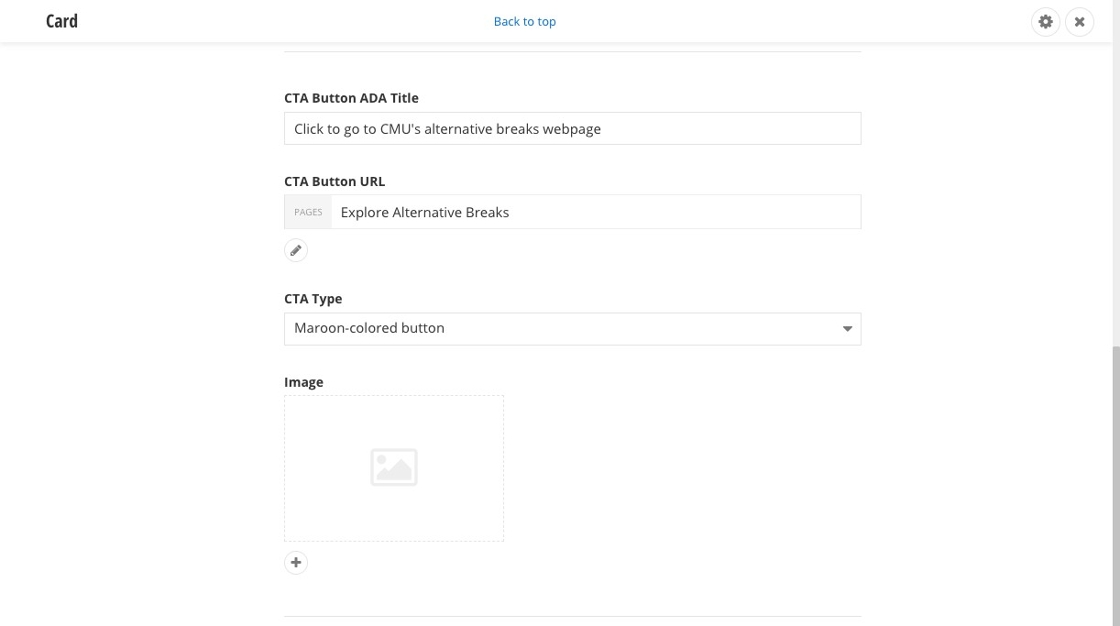
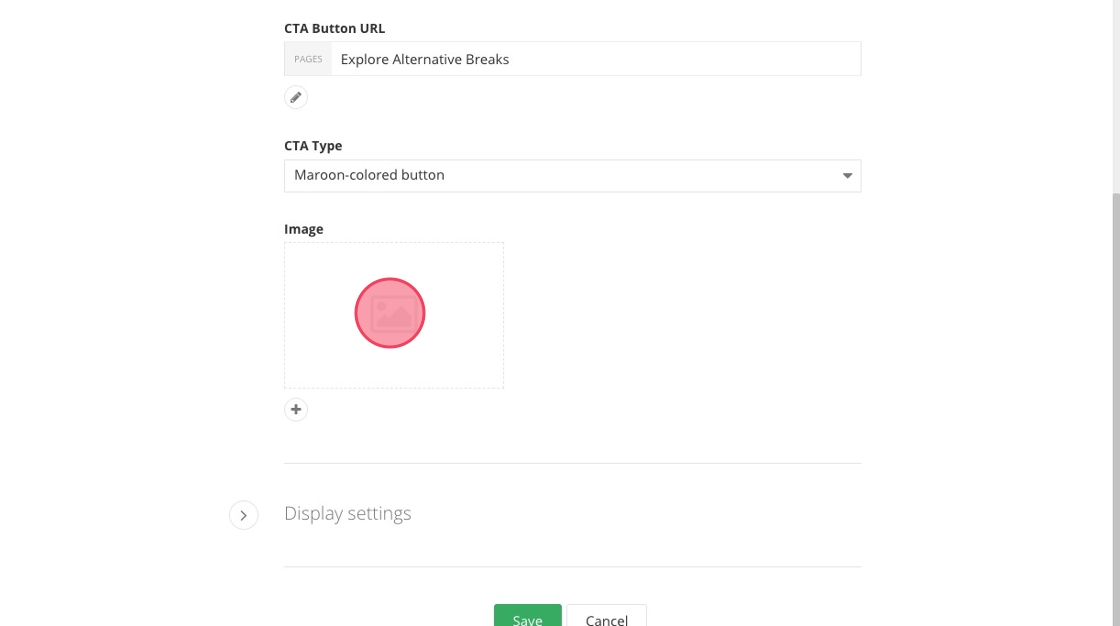
35. Click here to add an image to your Card.
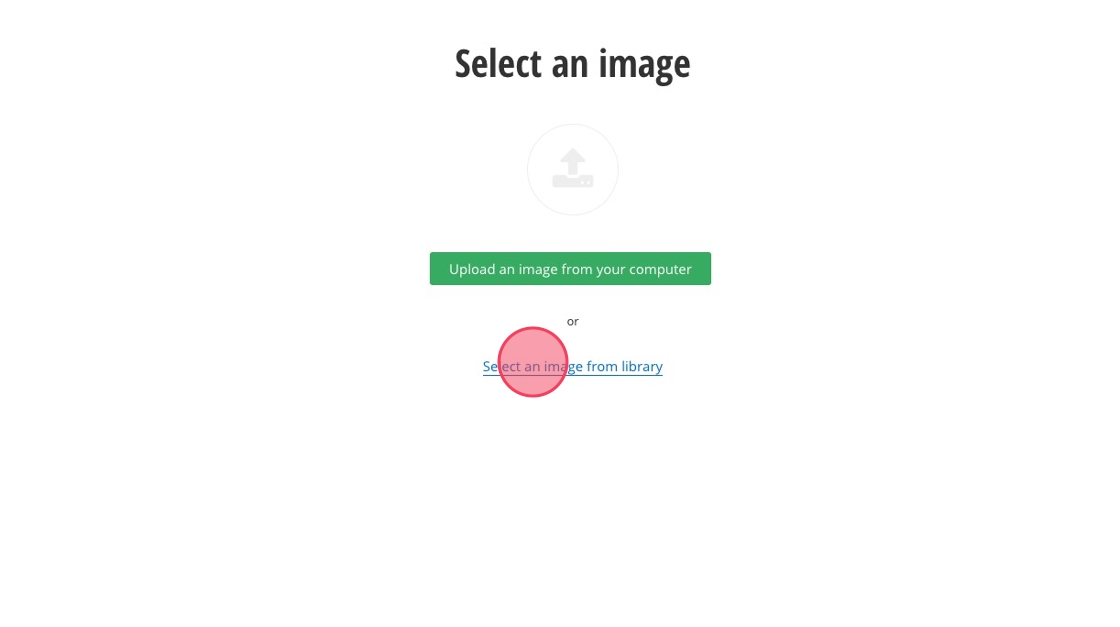
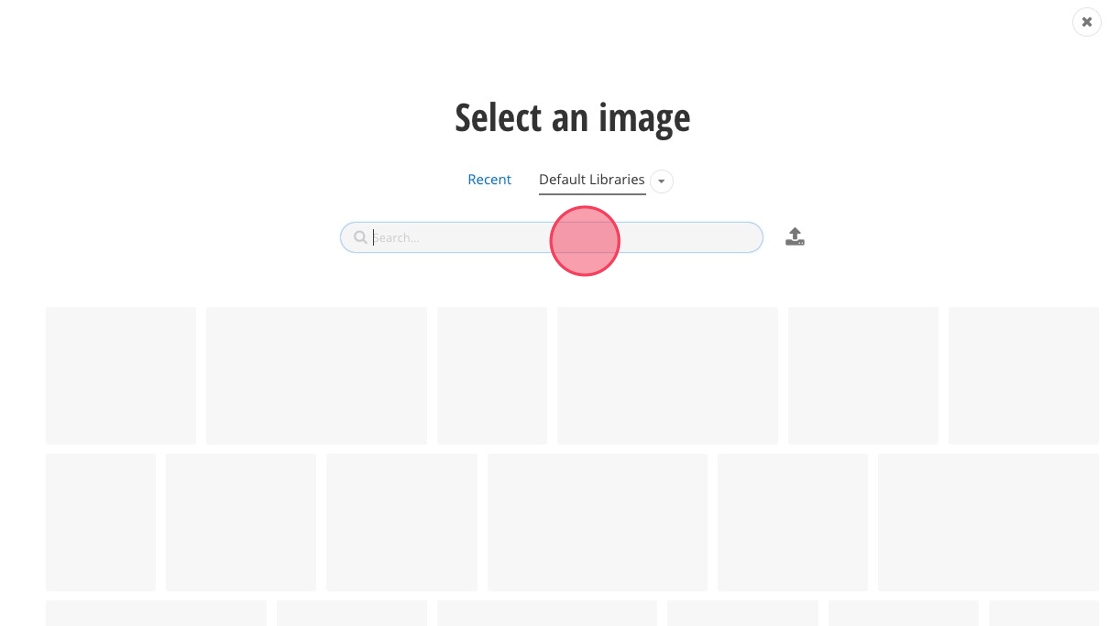
36. Click "Select an image from library."
37. Click "Default Libraries."
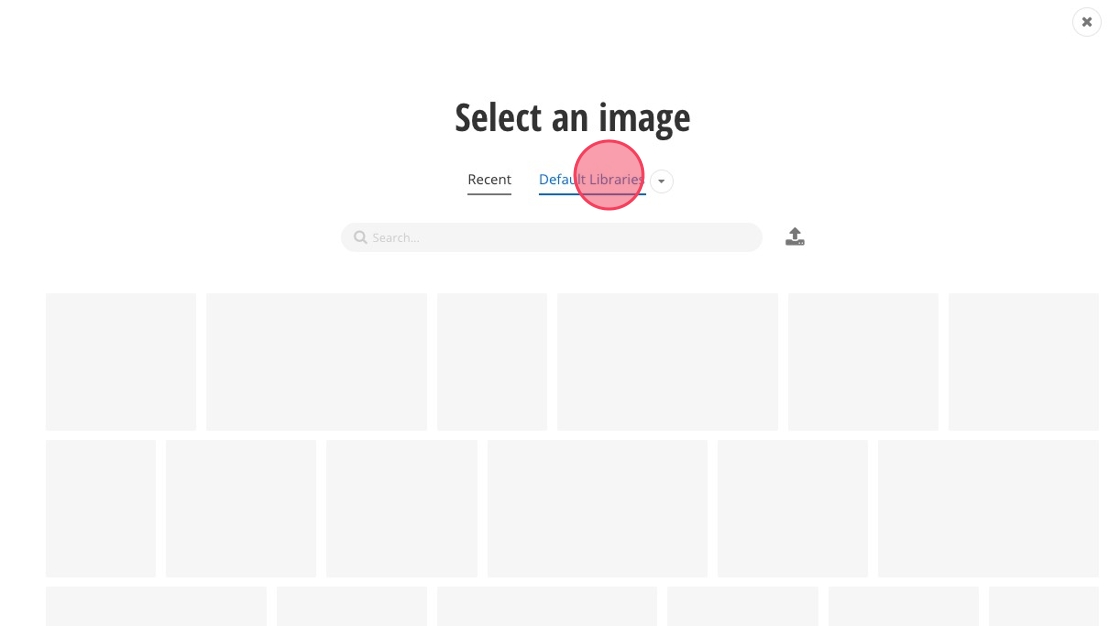
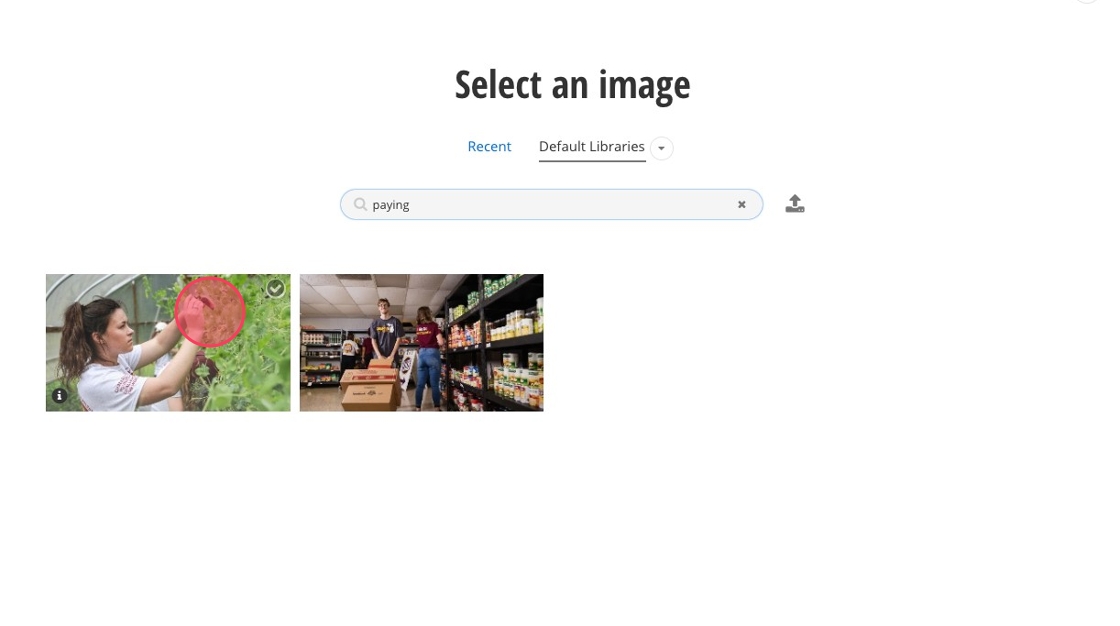
38. Search for your image name or navigate through the image folders.
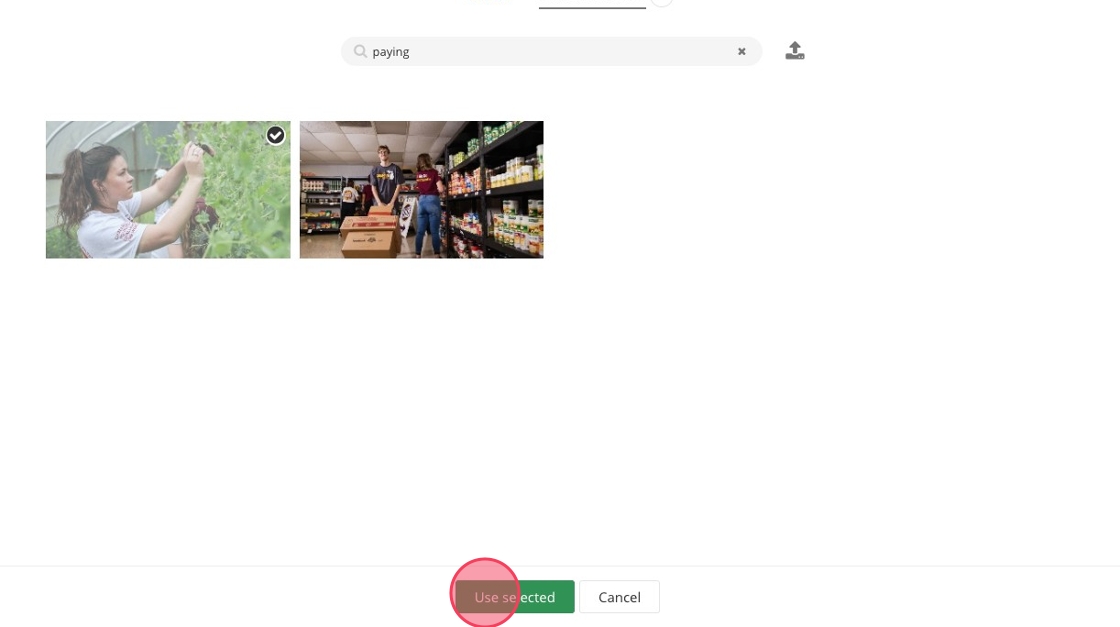
40. Click "Use selected."
42. Repeat until you have content in each of your cards.