Hero
The Hero widget uses photos or video to create a strong visual introduction. It provides space for key messaging that appears as soon as users land on the page.
What type of of hero are you looking to create?
Example of the Hero widget

Hero
Visual demo
Widget standards
No layout is needed for the Hero widget and you do NOT need to place the Hero widget in a section.
Do:
- Find an 1800x540 px image that captures the page.
Do NOT:
- Use hero options 16:9 Left or Right. These are specifically for CMU landing pages.
- Use the feature link field.
- Use the same image again on the page.
Hero written instructions
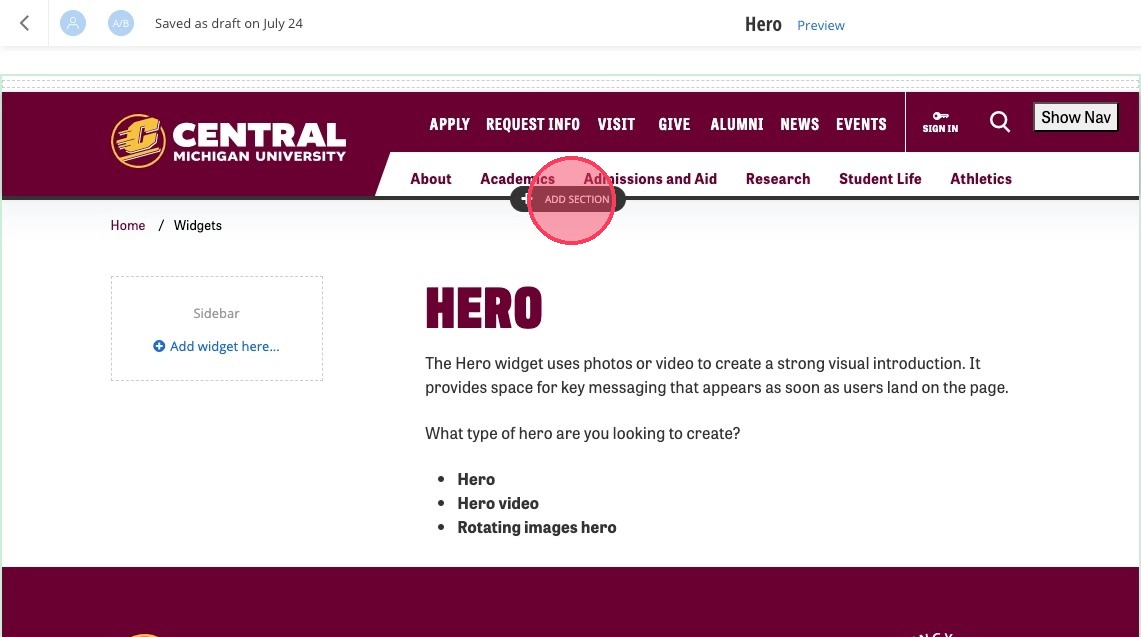
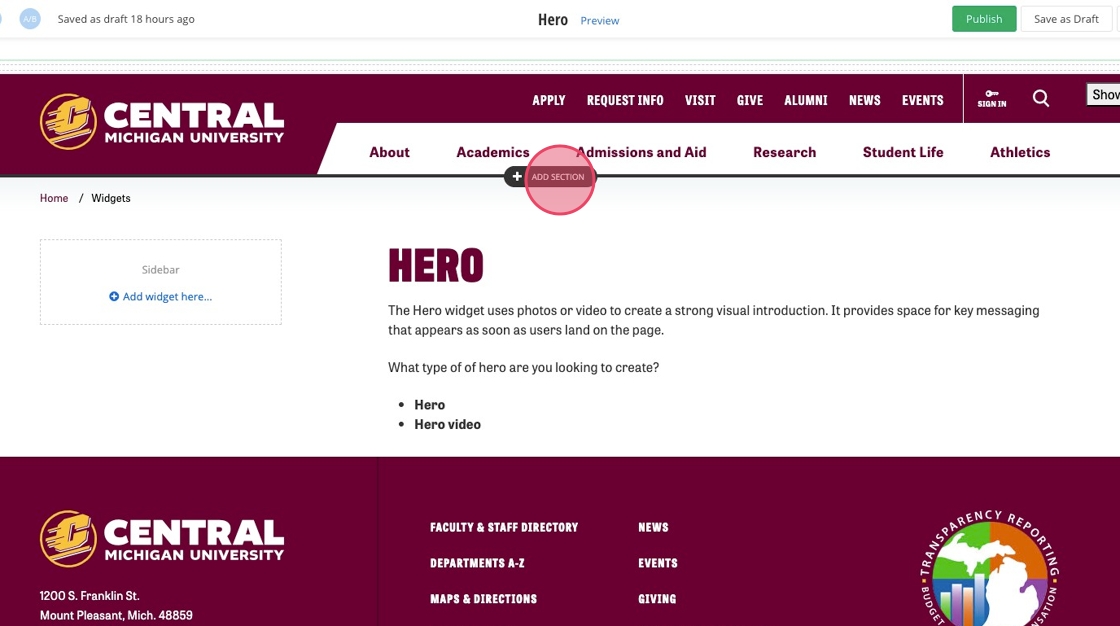
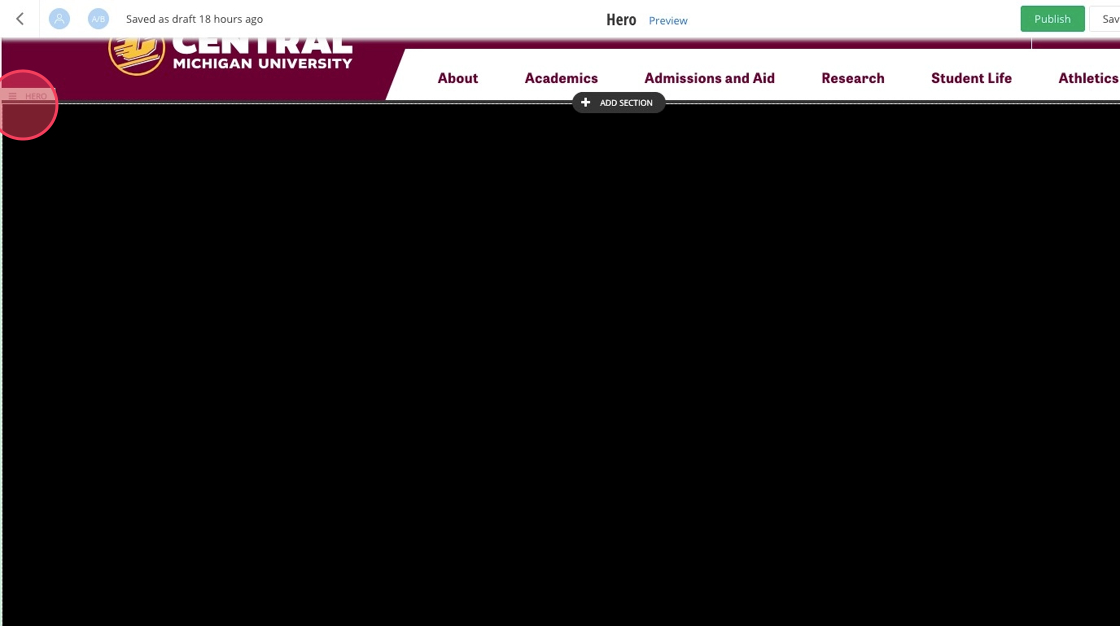
1. All Hero widgets are placed under the header. Under the header, click Add Section.
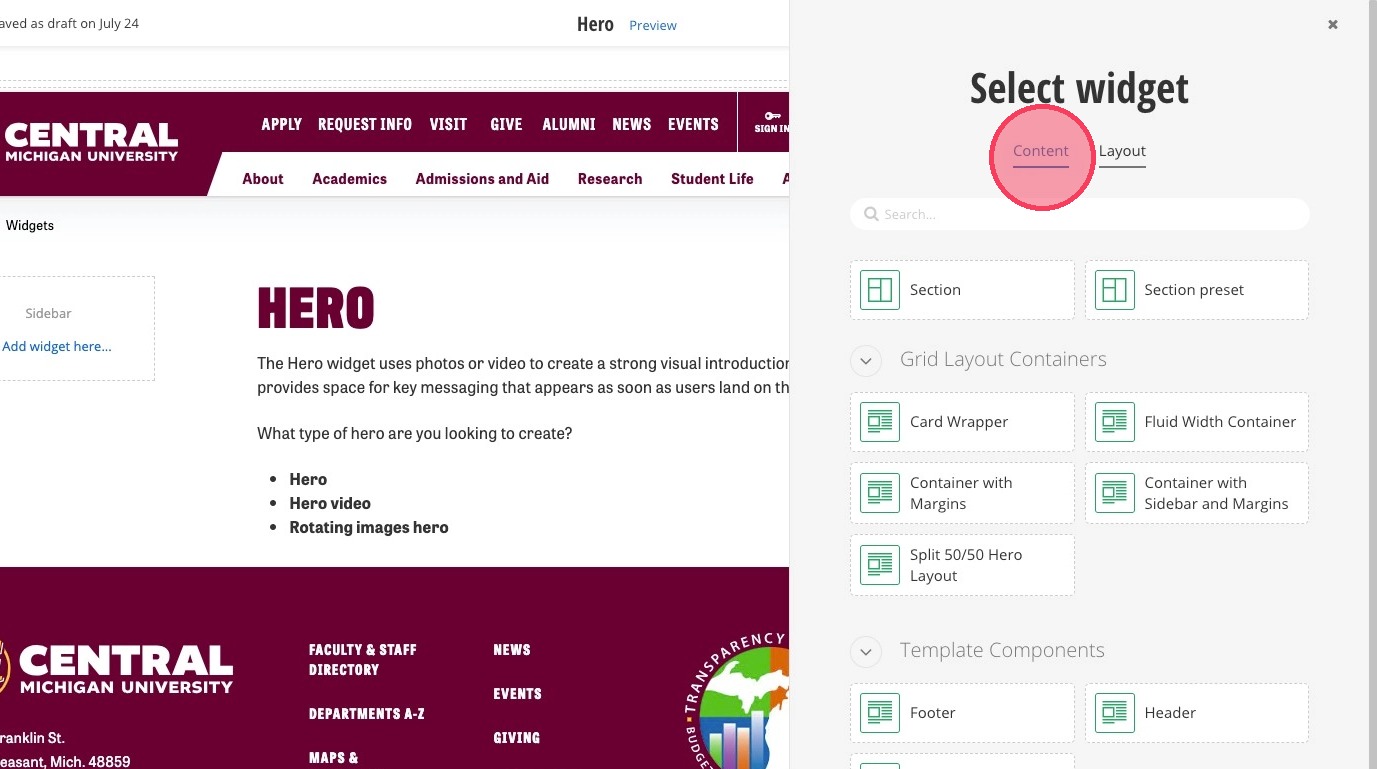
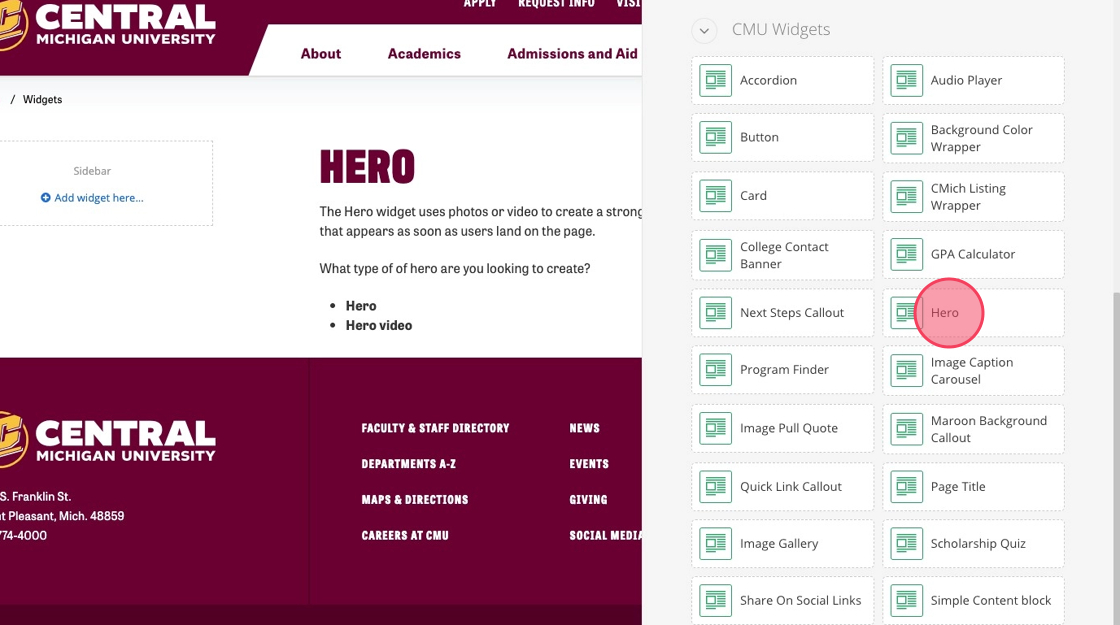
2. Click Content.
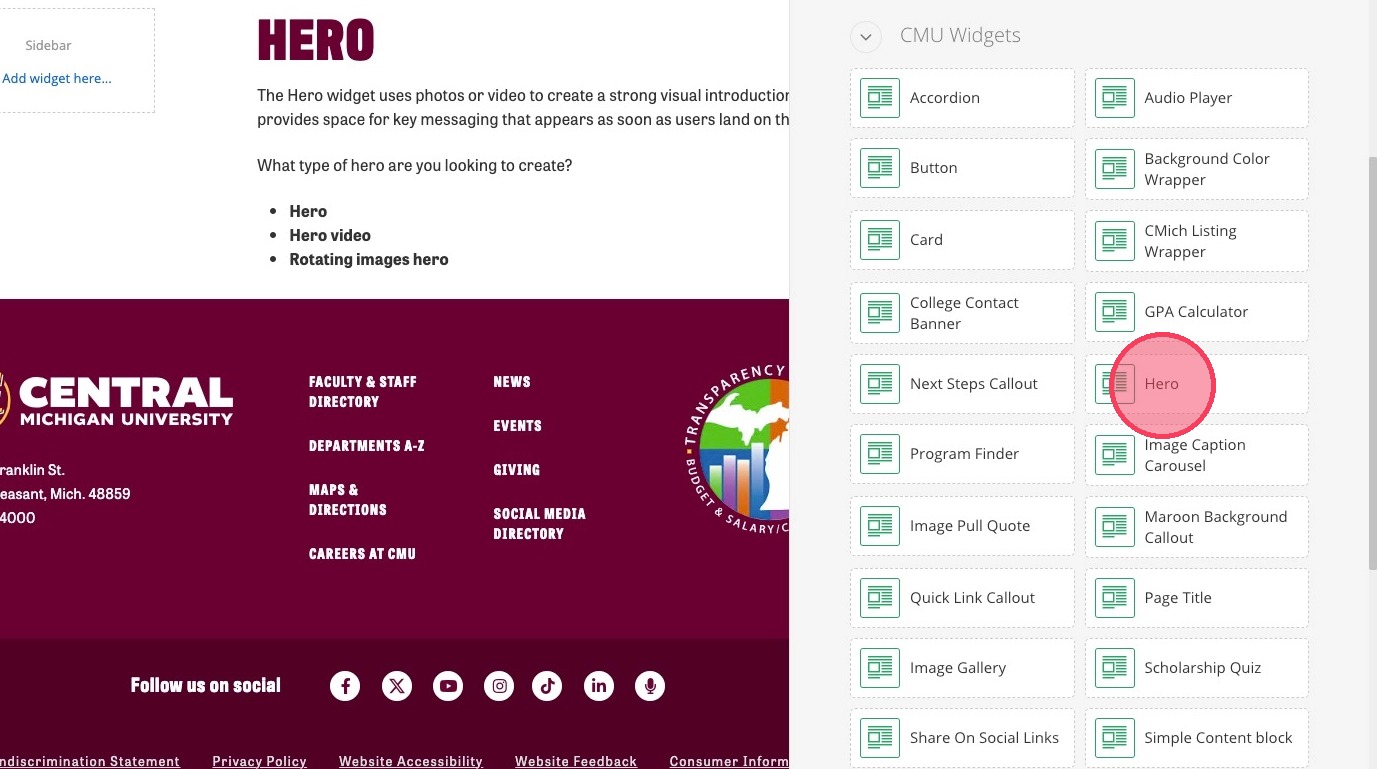
3. Click Hero.
4. Click the Hero widget's green bar in the Hero widget's upper left-hand corner.

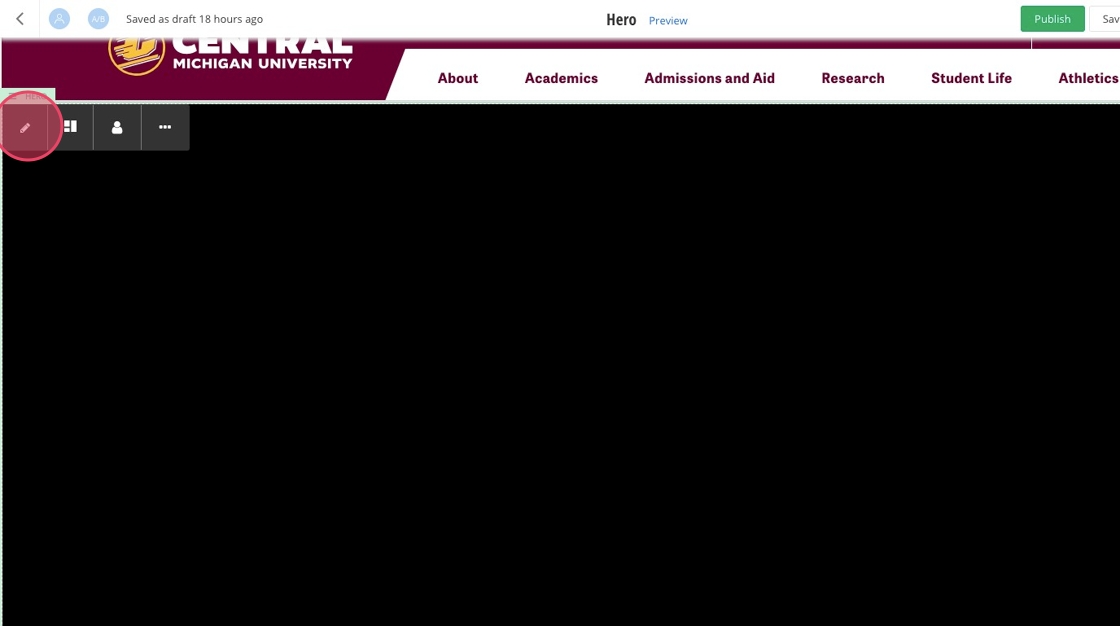
5. Click the pencil icon.

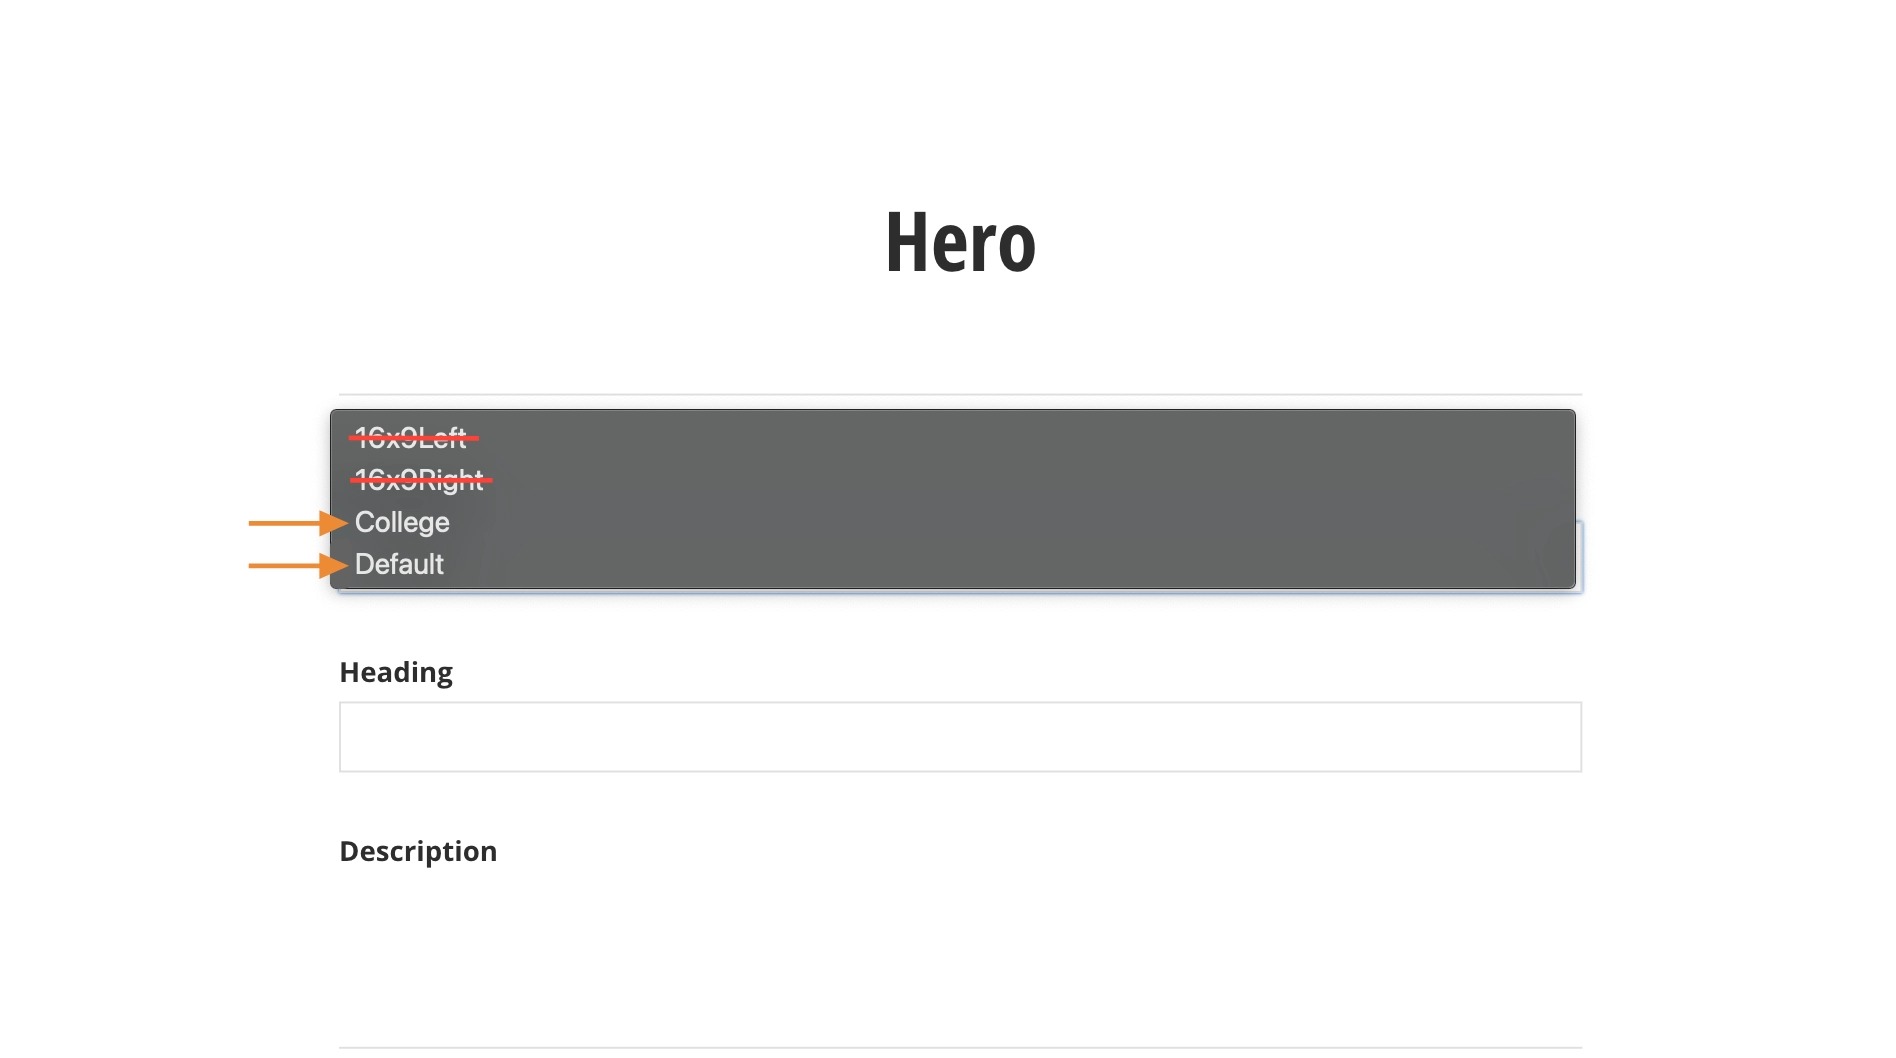
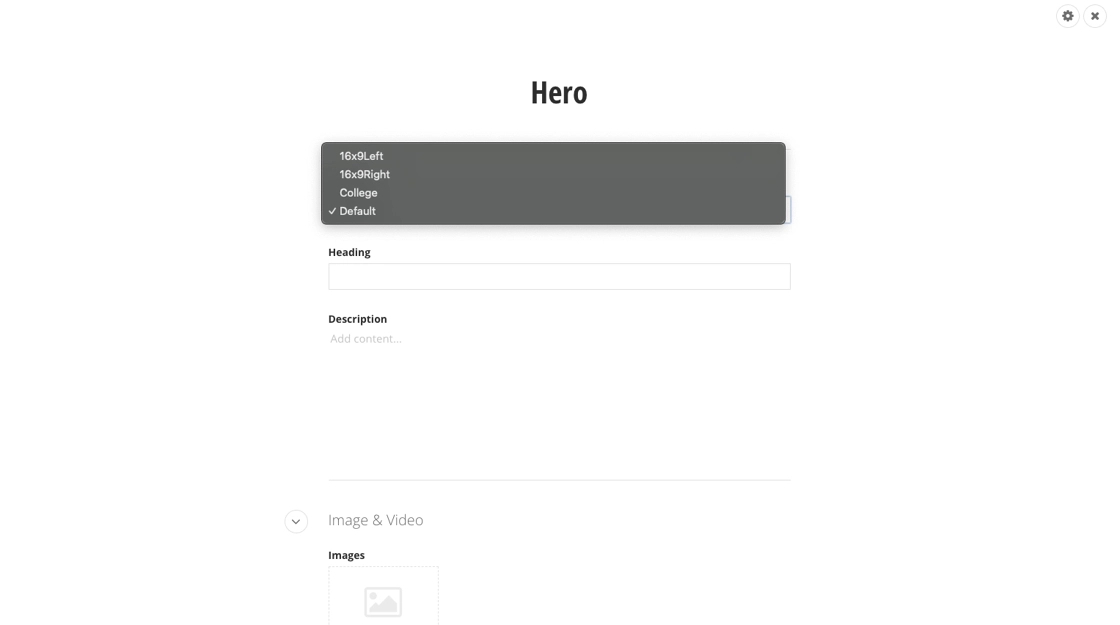
6. Click the Hero template from the dropdown:
- College: for college or college department homepages
- Default: for all other department homepages
Do not choose 16x9Left or 16x9Right.
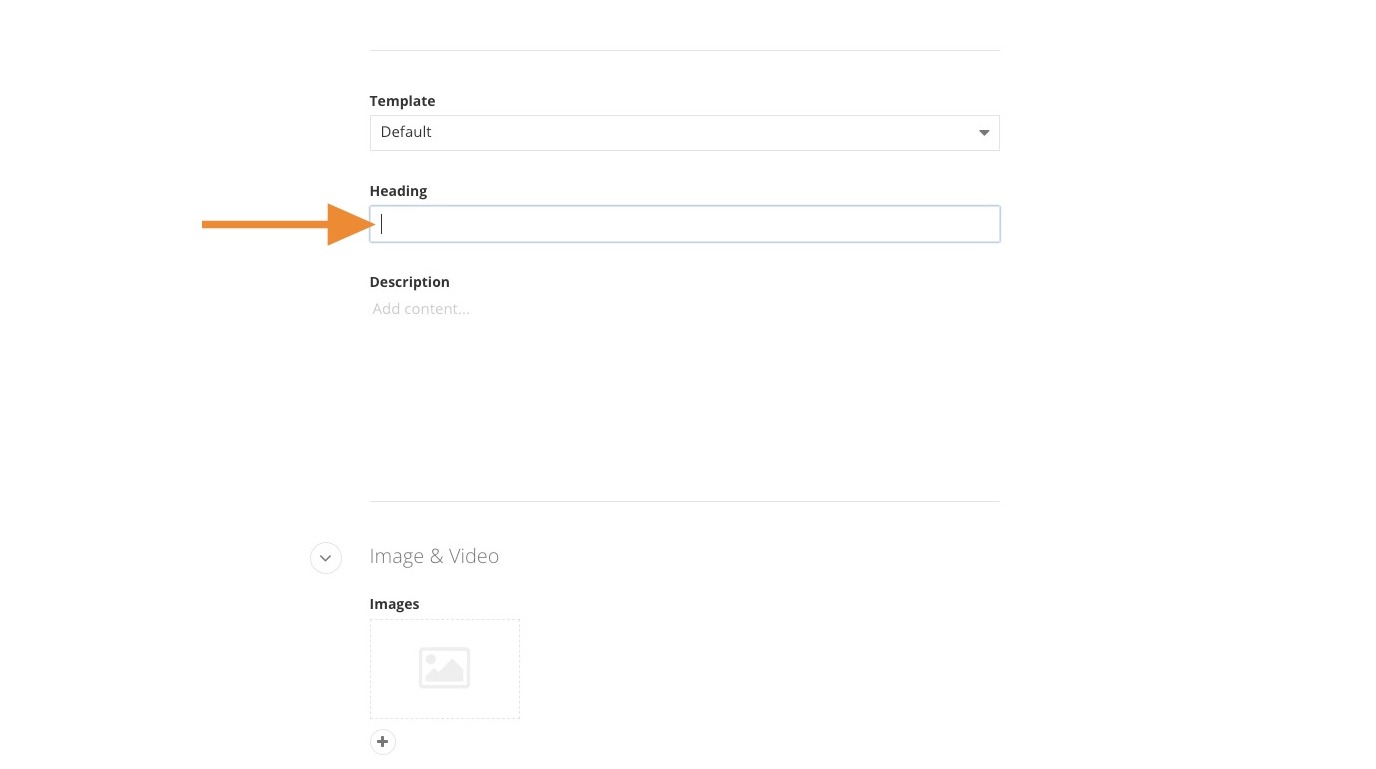
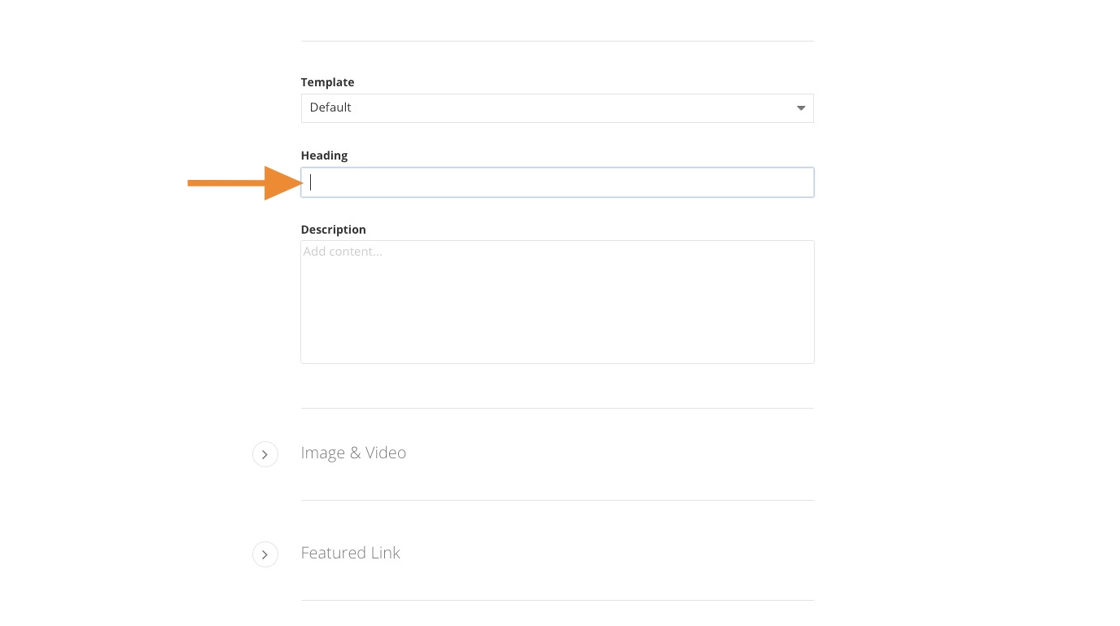
7. Add the page title to the "Heading" field.
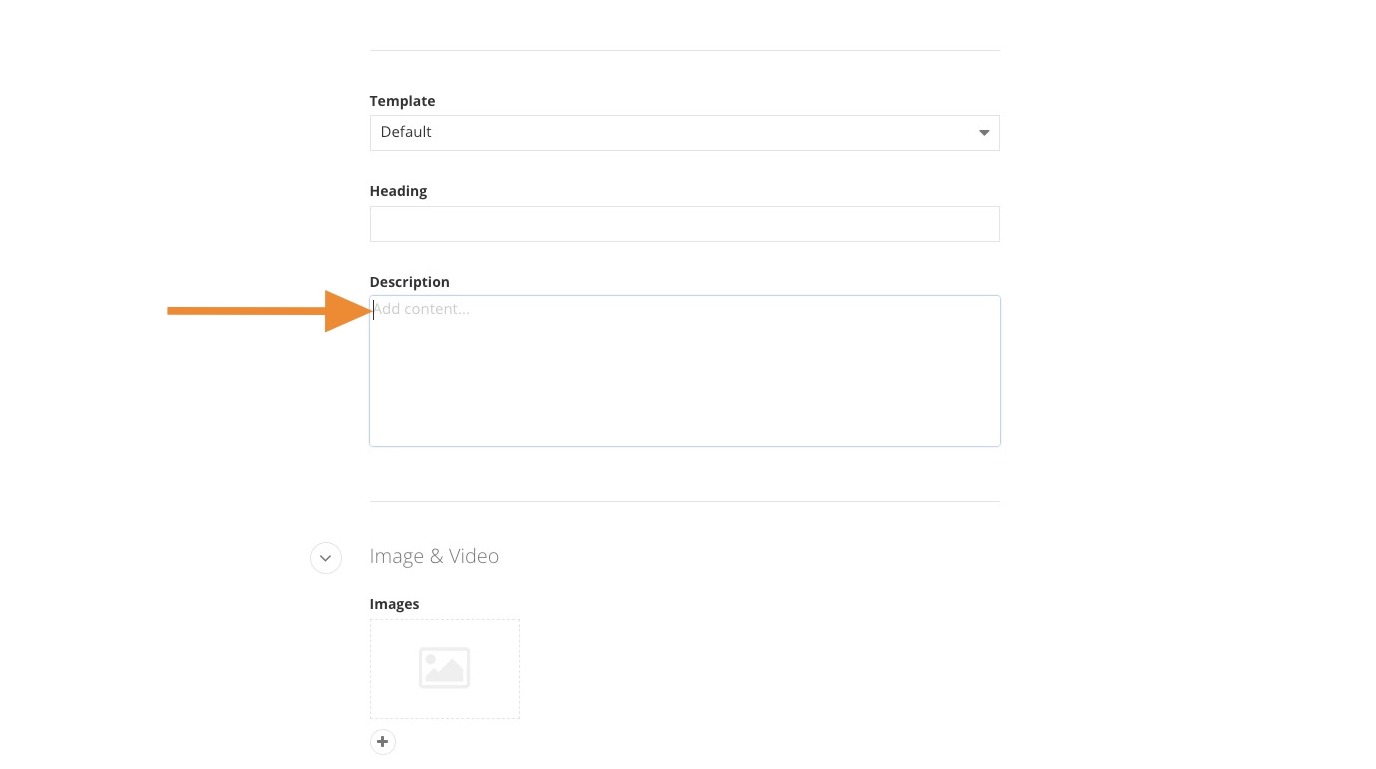
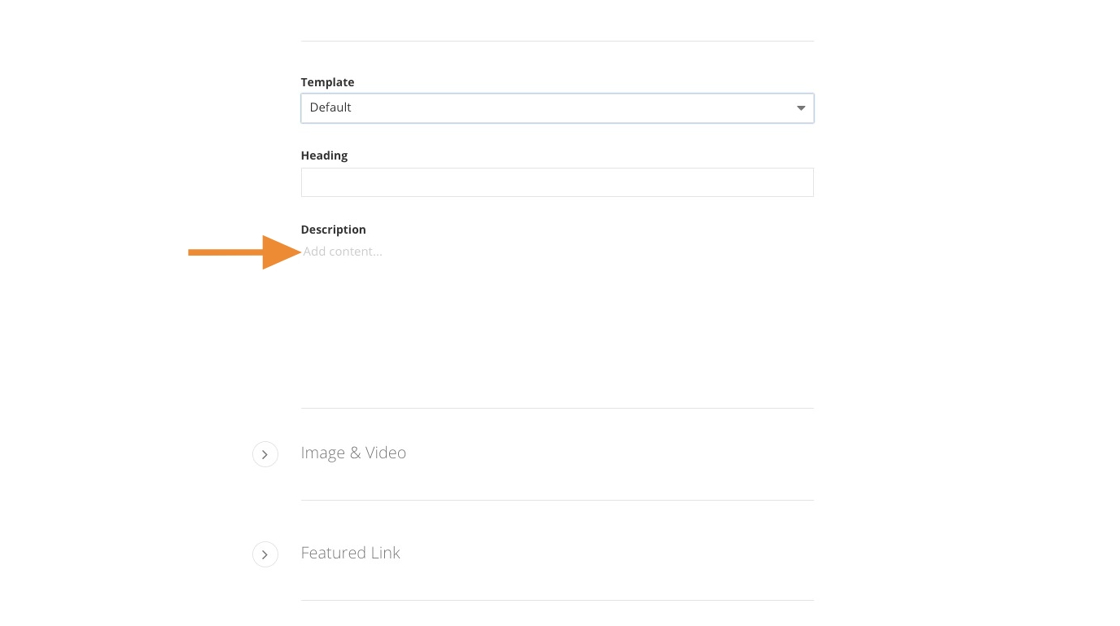
8. Add a brief description in the "Description" field, no more than 50 characters.
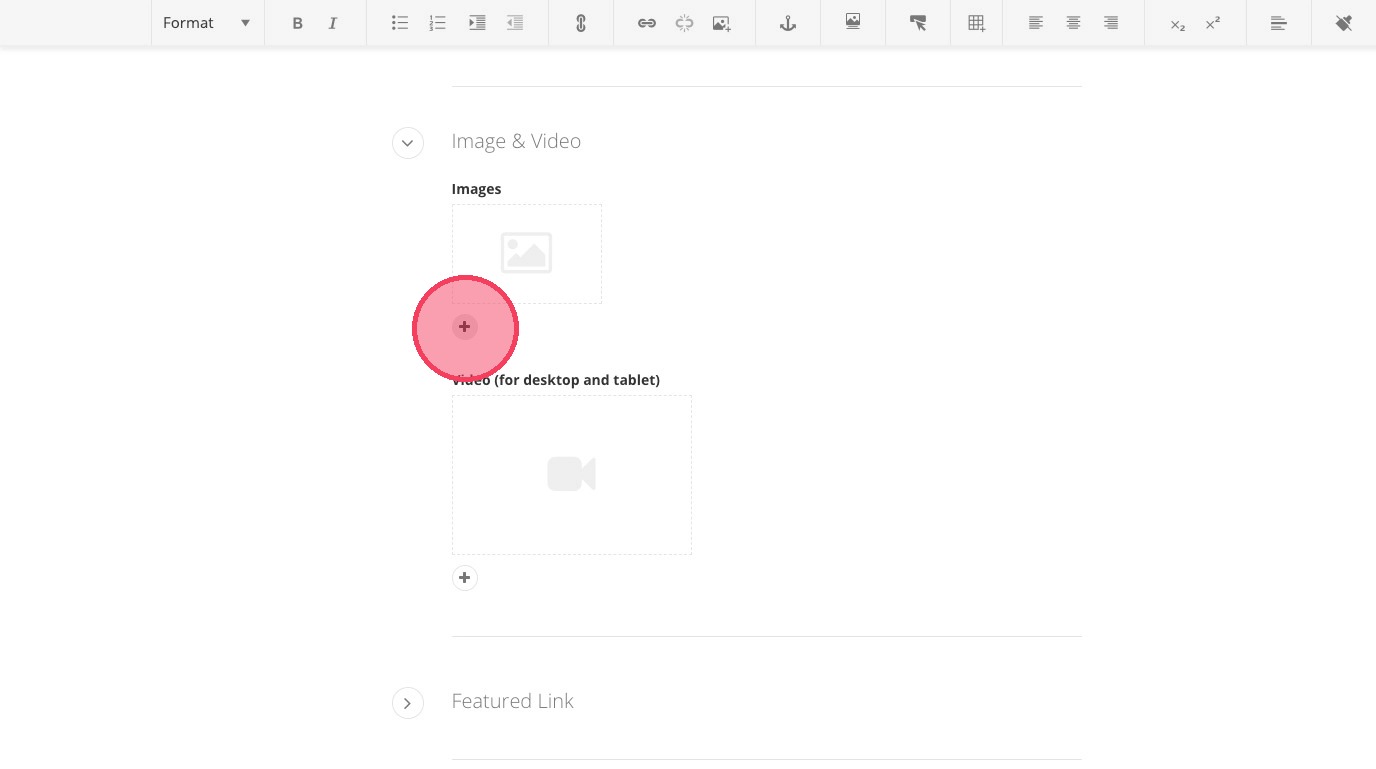
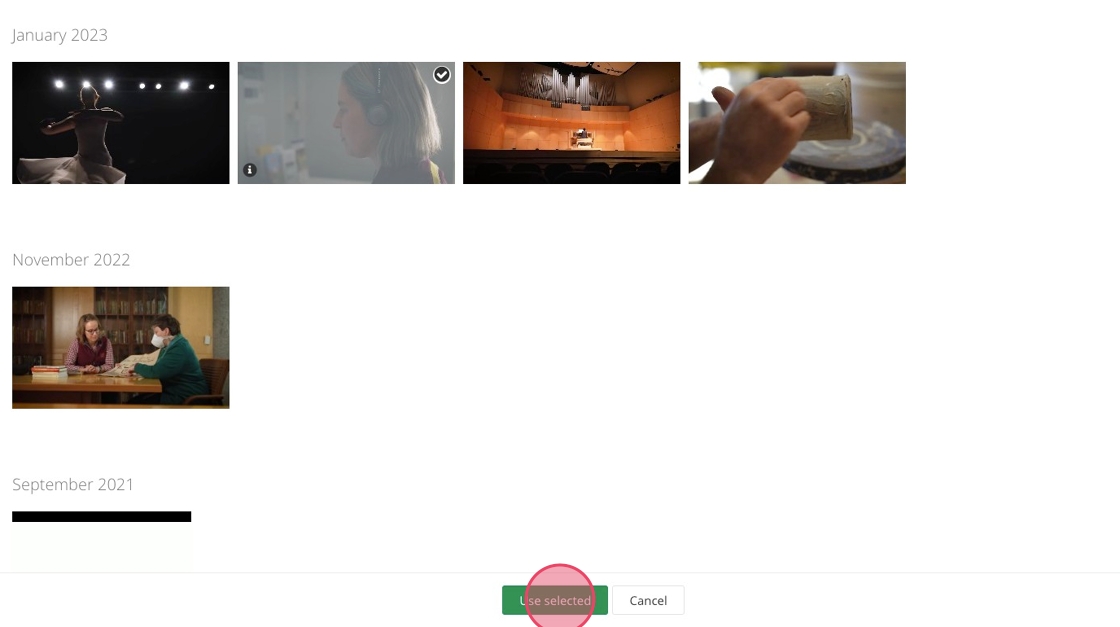
9. Click the + to select one or more images for your Hero. If you select multiple images, they will rotate across different page visits.
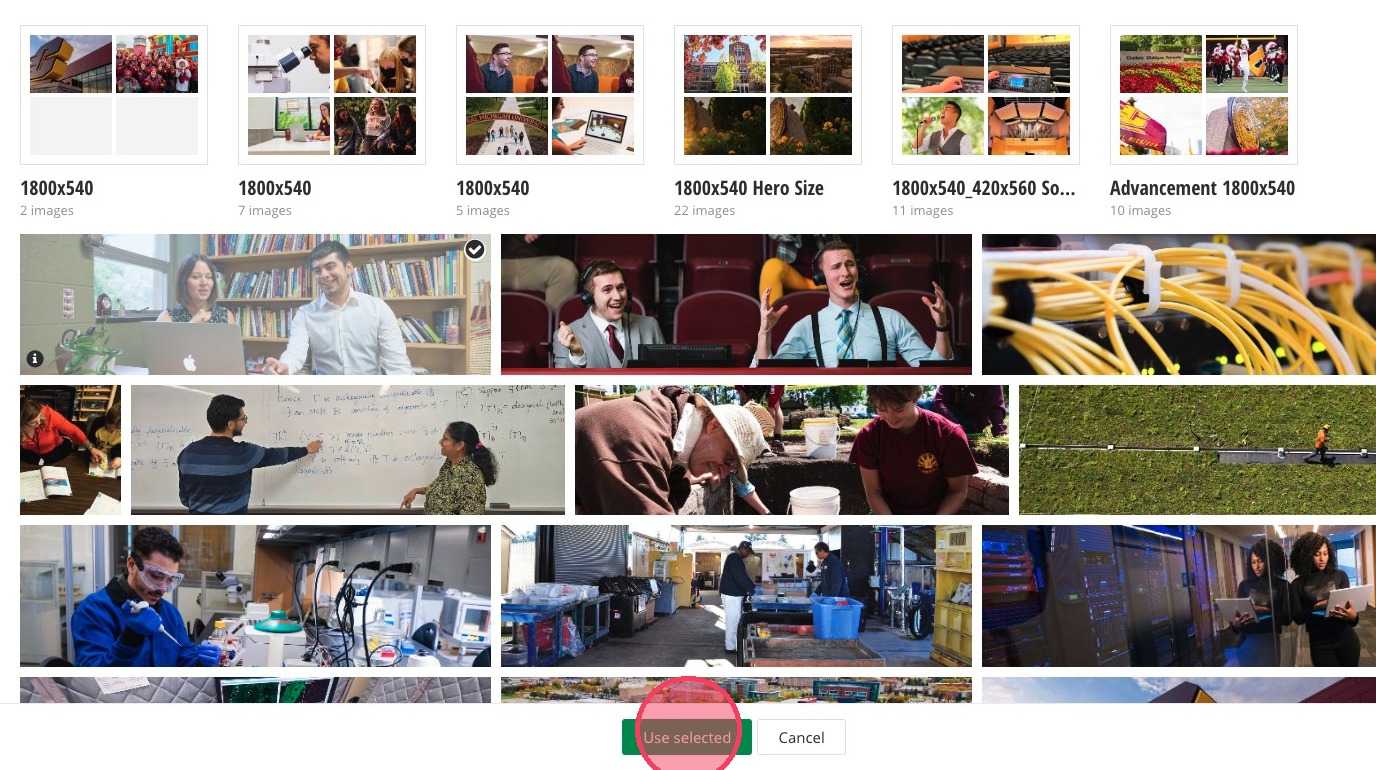
10. Select your 1800 x 540 px image(s) and click Use selected when finished.
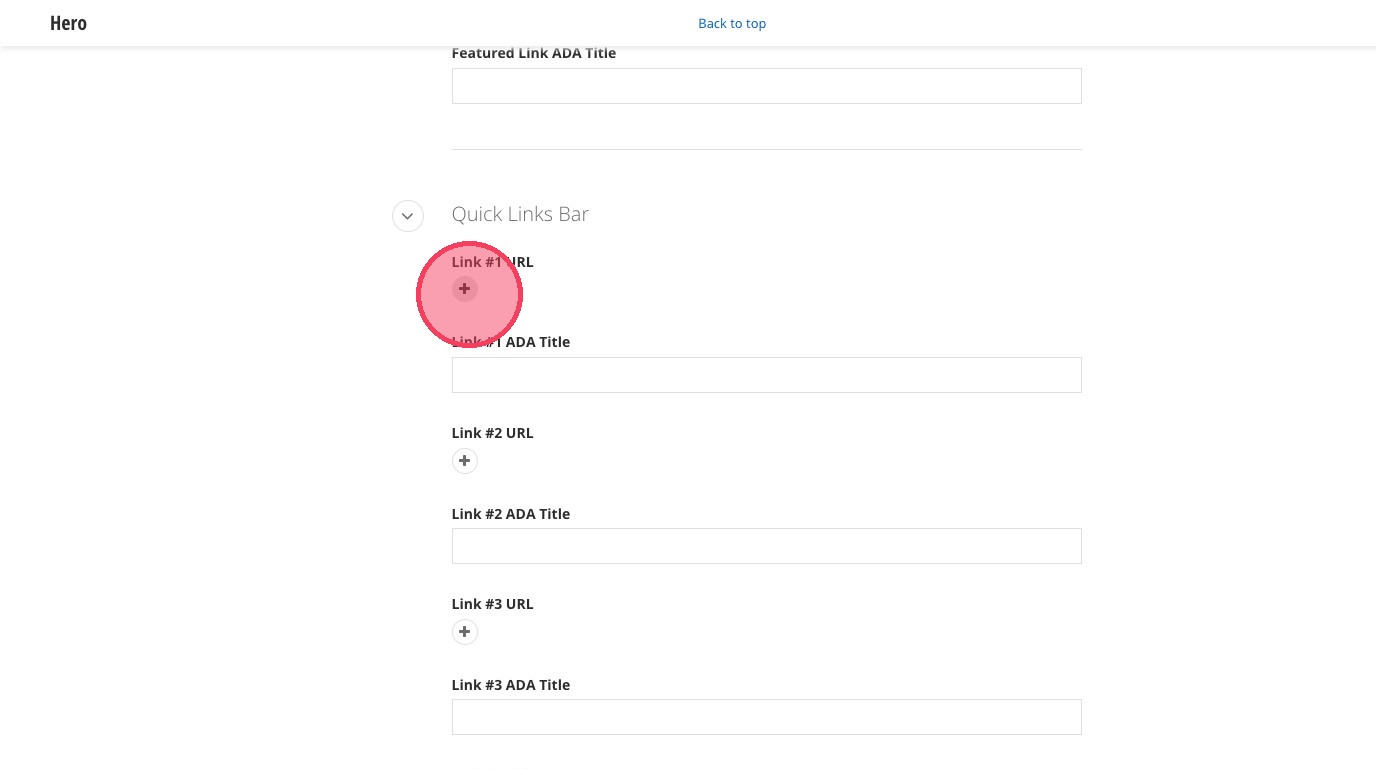
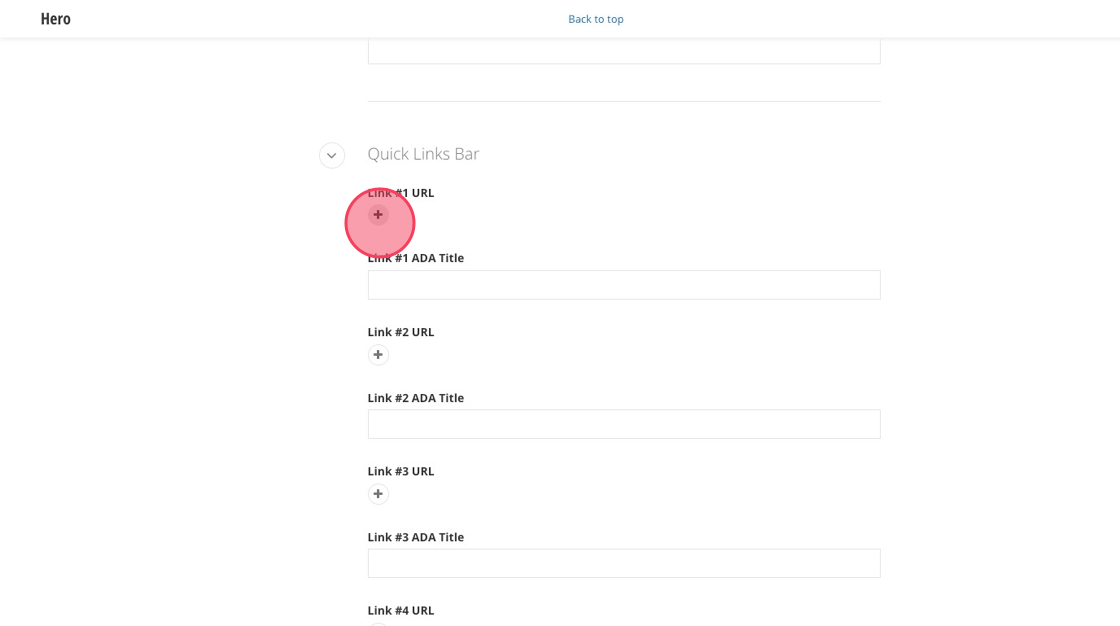
11. Click the + to add your first quick link: Link #1.
*Do NOT use the "Featured Link" for your links. Only use quick links please.
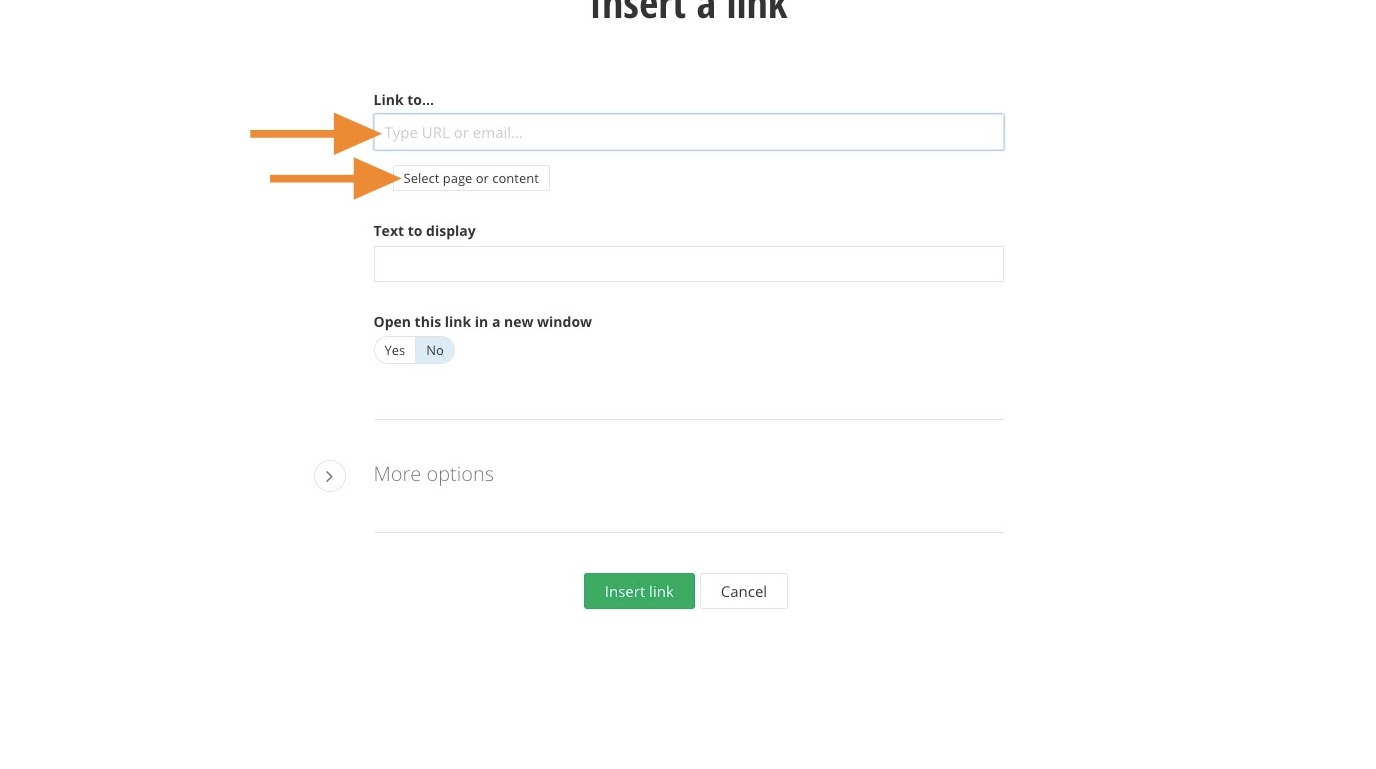
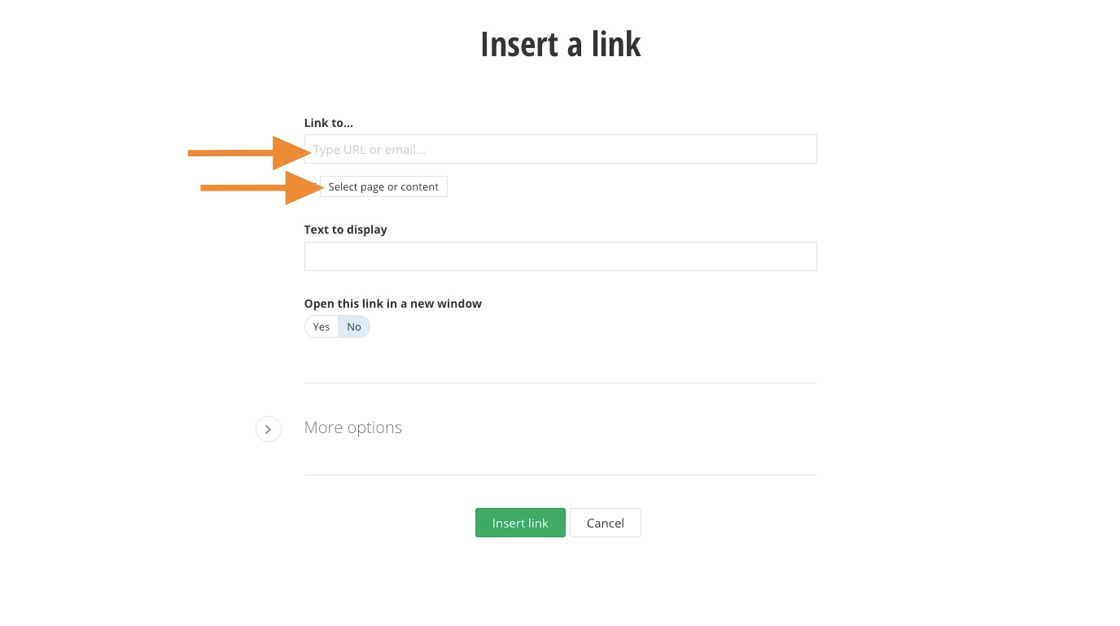
12. Enter the URL you want to link or select the internal page or content.
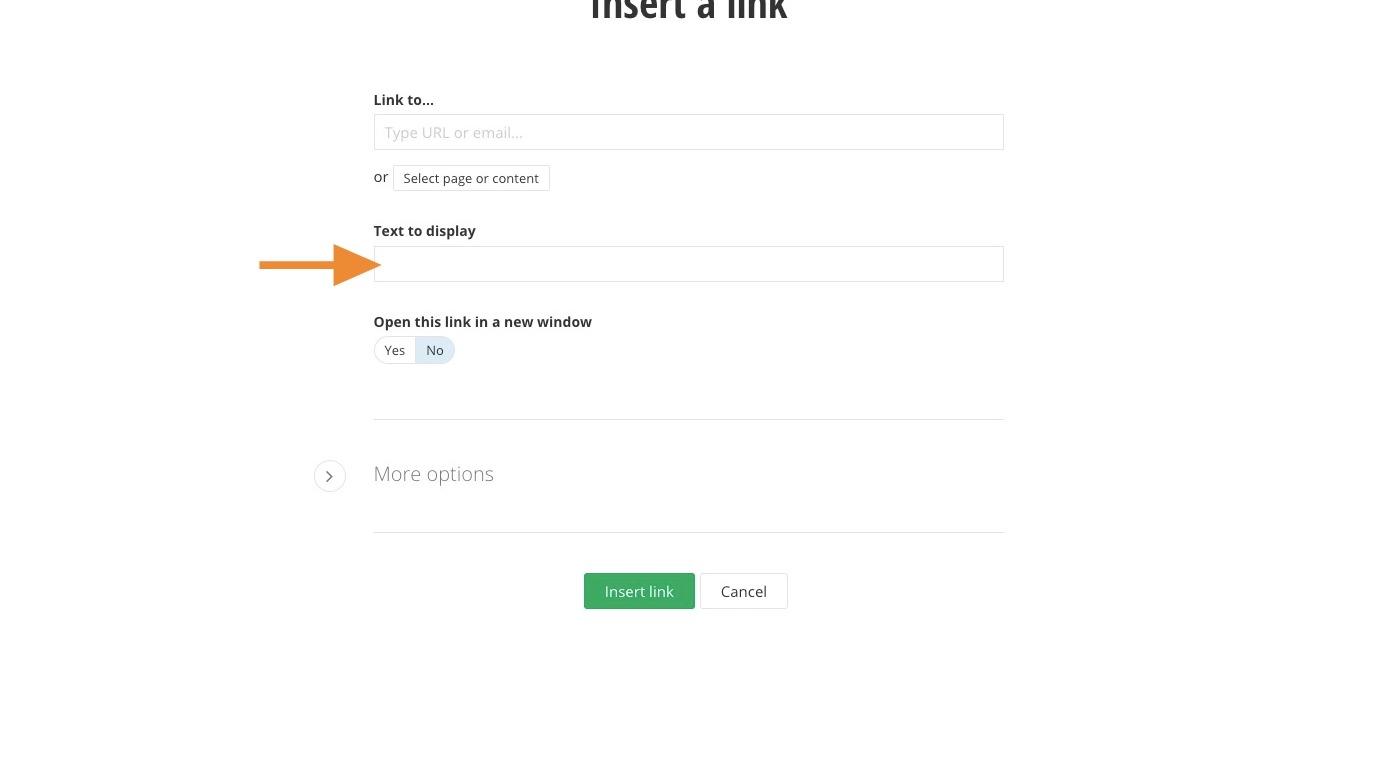
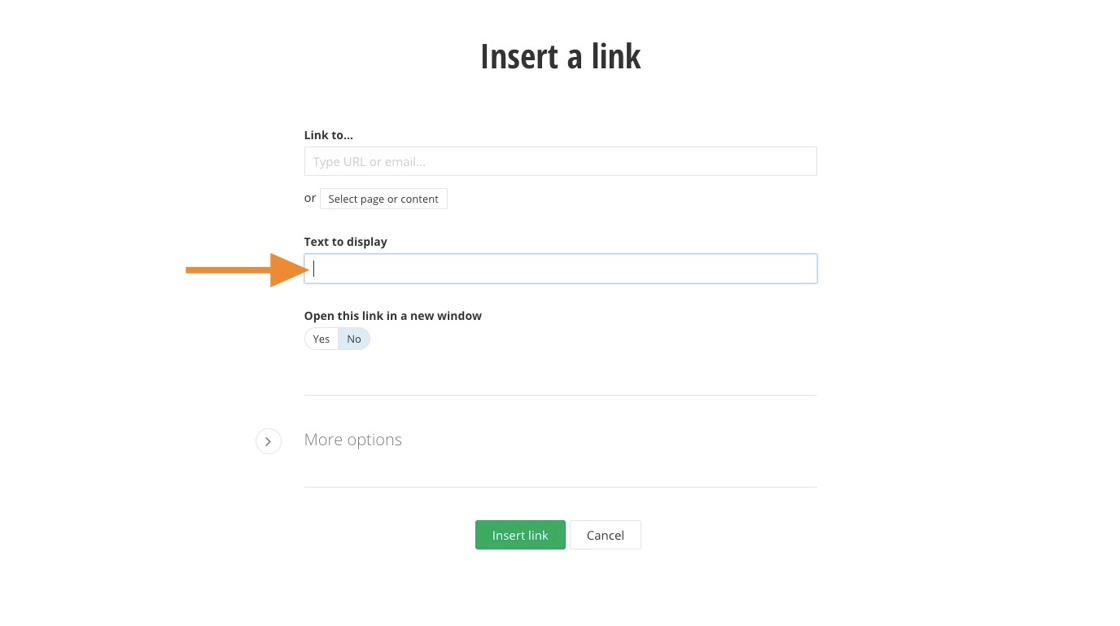
13. In the “Text to display” field, enter the text you want shown for the quick link.
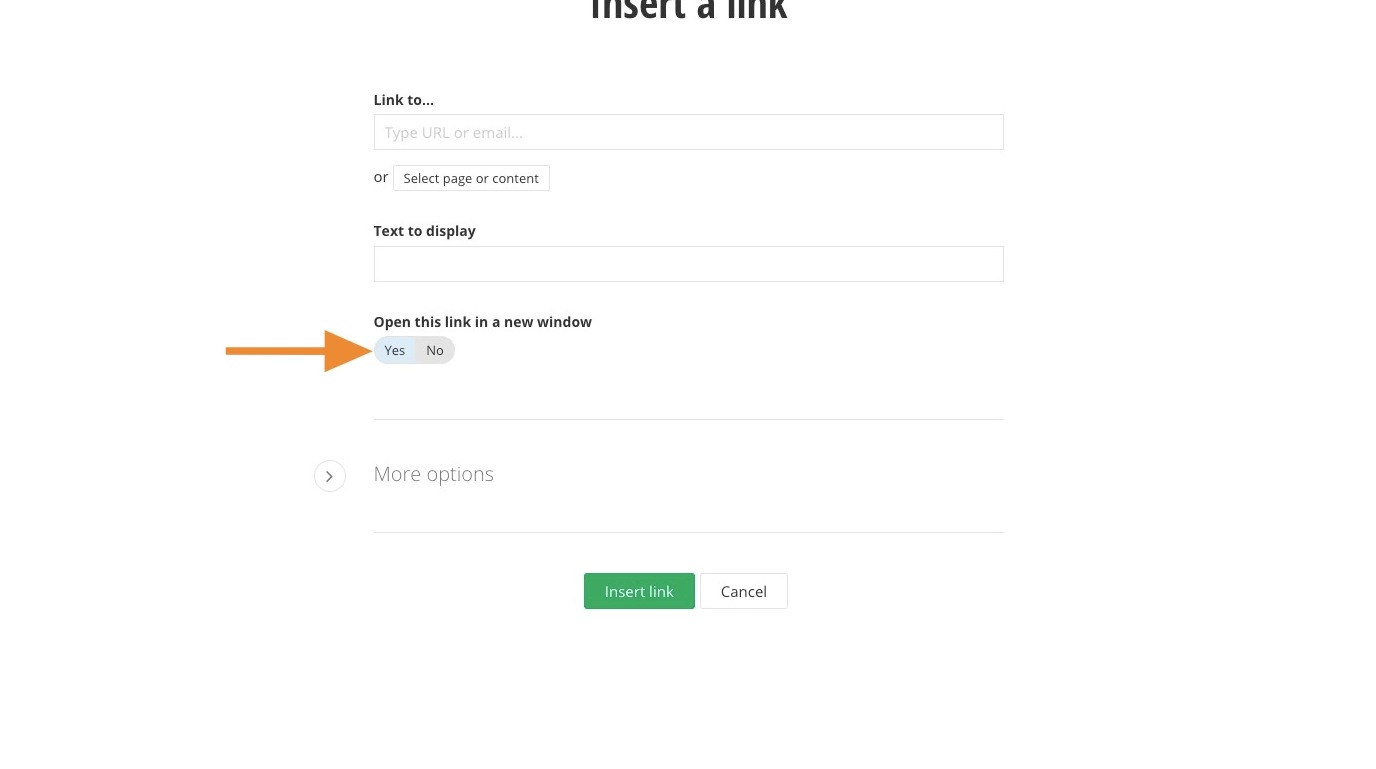
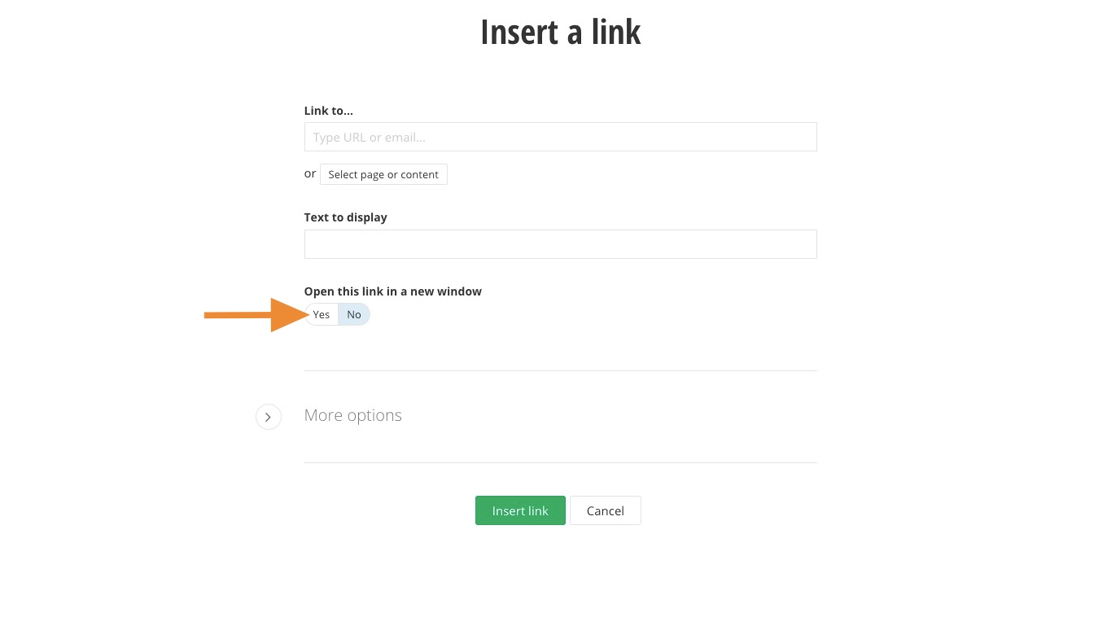
14. Choose Yes or No to decide whether the link opens in a new window.
Yes: Use for external sites.
No: Use for internal pages within cmich.edu.
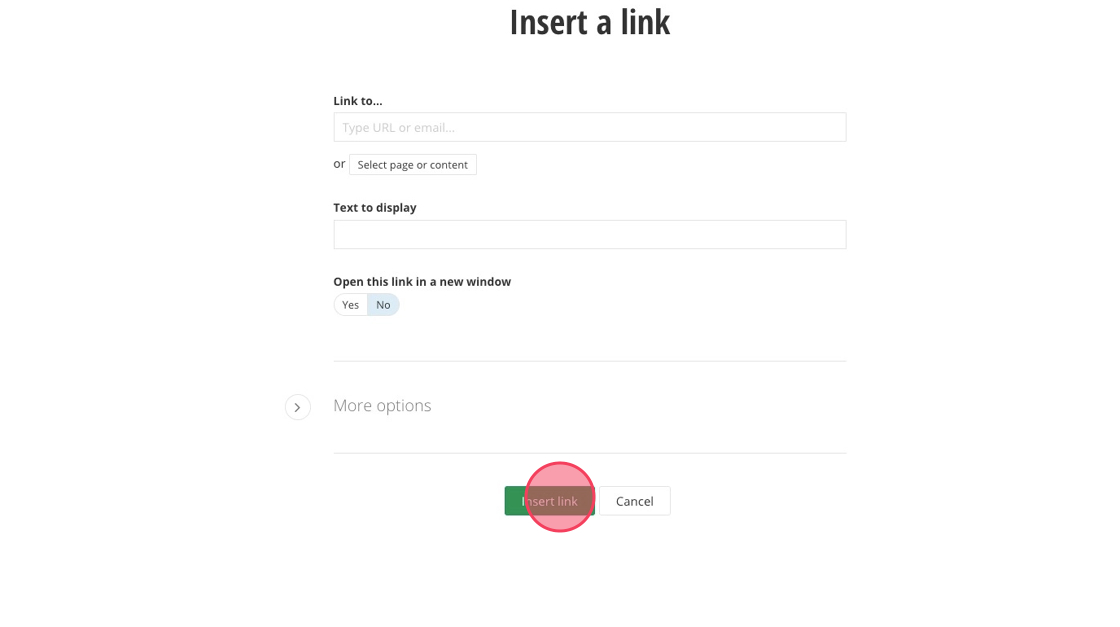
15. Click Insert Link.

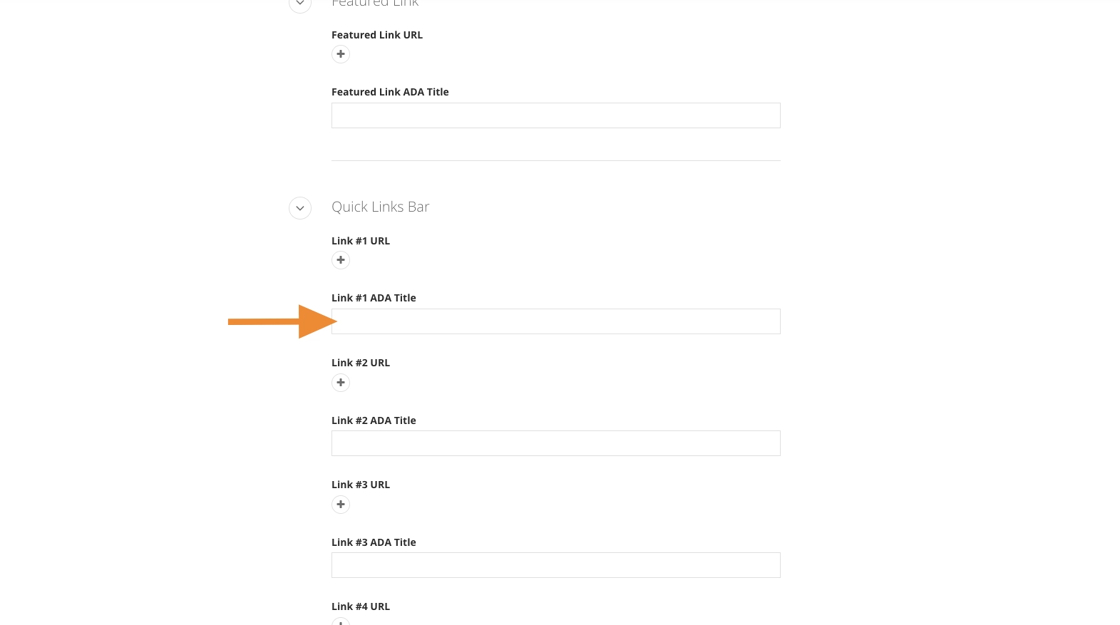
16. Enter text in the “Link ADA Title” field.
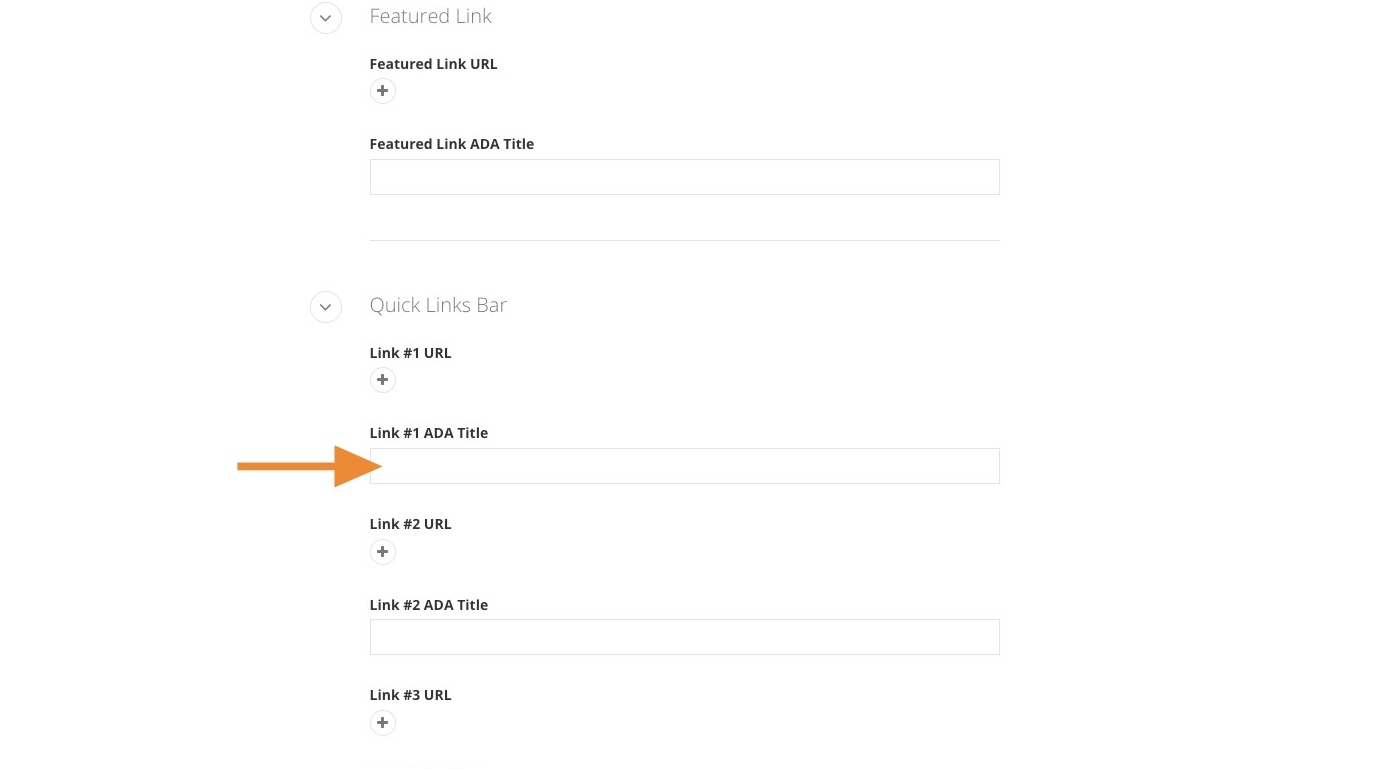
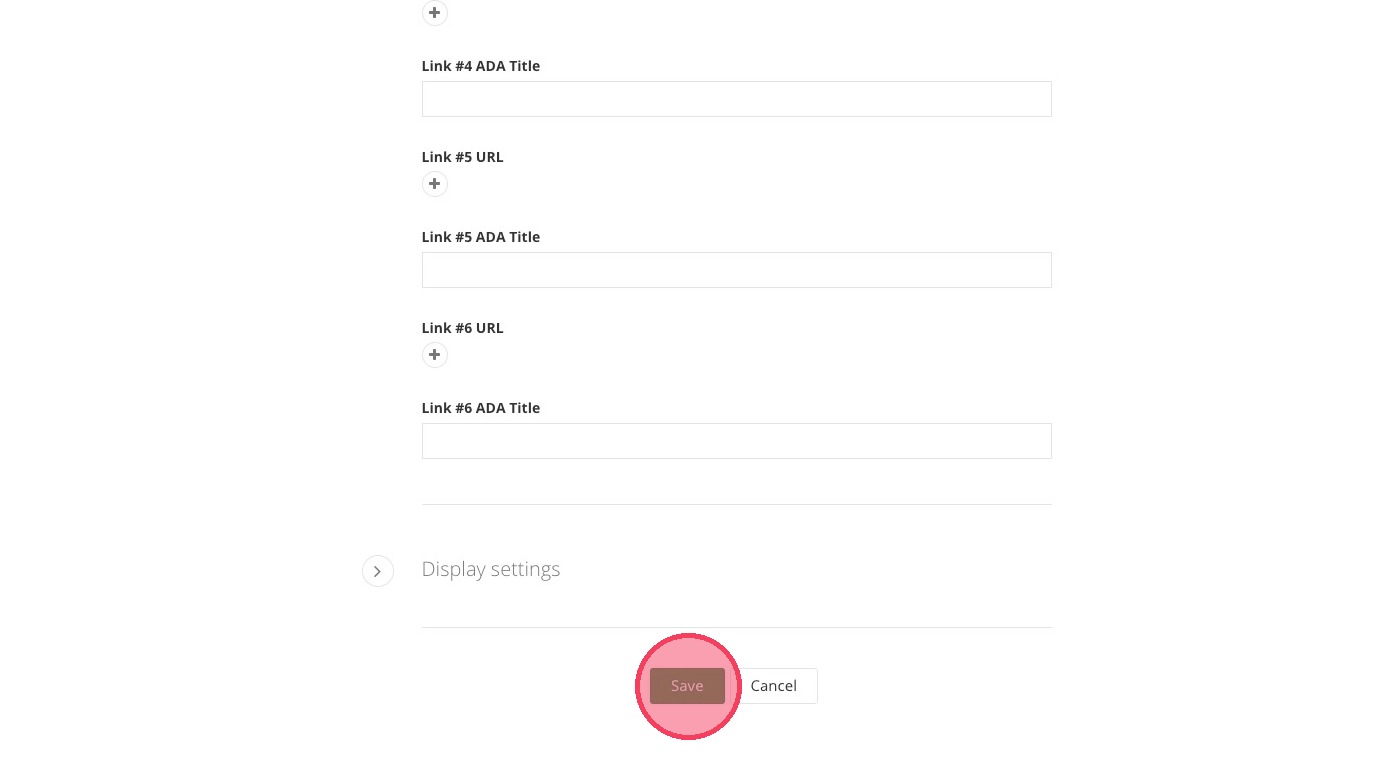
Tip: Repeat the steps to add one to five more quick links.
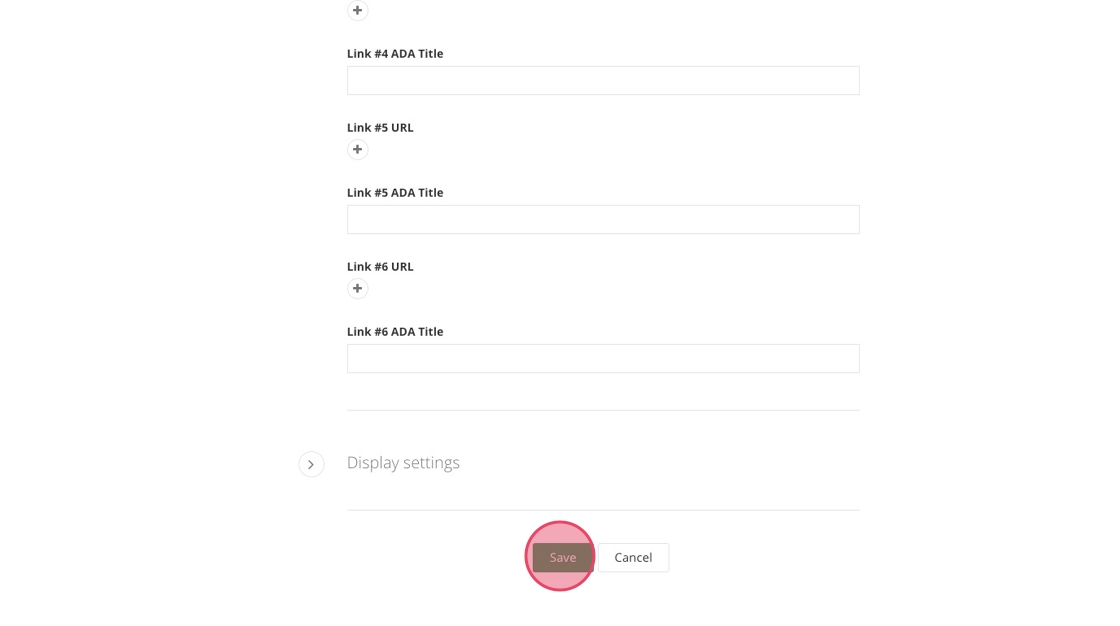
17. Click Save.
Hero video
Visual demo
Widget guidelines
• Approved file types: .webm, .ogv, .wmv, .mp4
• Maximum file size: 2 MB
• Maximum duration: 10 seconds
• Aspect ratio: 16:9
All hero videos must be approved by Digital Strategy for duration, file size, aspect ratio, and brand alignment.
Written instructions
1. All Hero widgets are placed under the header. Under the header, click Add Section.
2. Click Content.
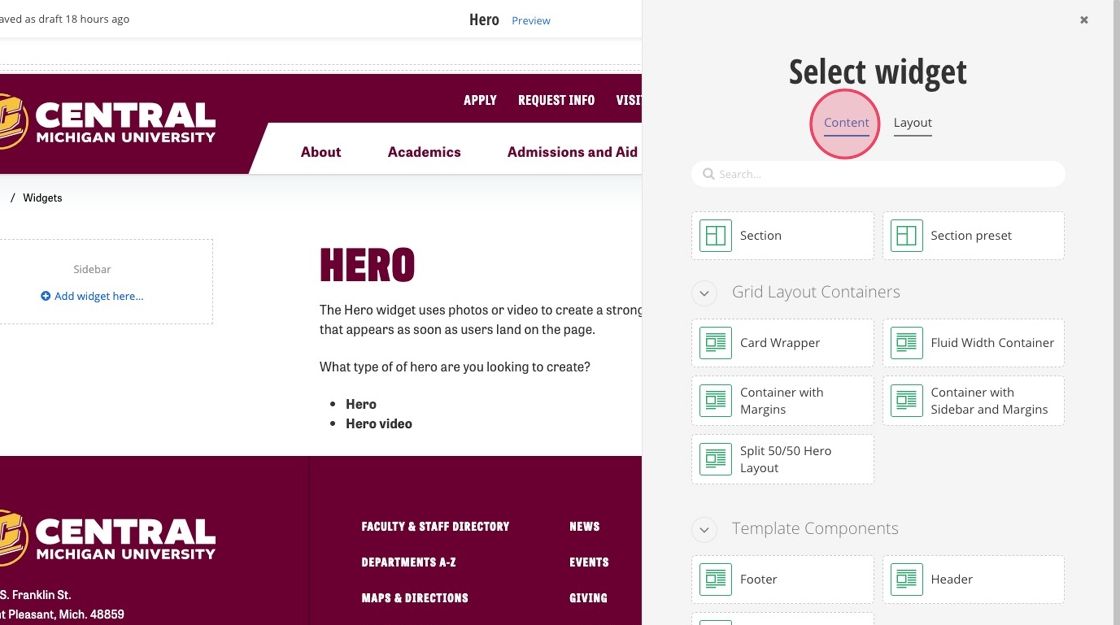
3. Click Hero.
4. Click the Hero widget's green bar.
5. Click the pencil icon.
6. From the dropdown, click the Hero template you'd like to choose.
7. Fill out the "Heading" field.
8. Enter text to the "Description" field.
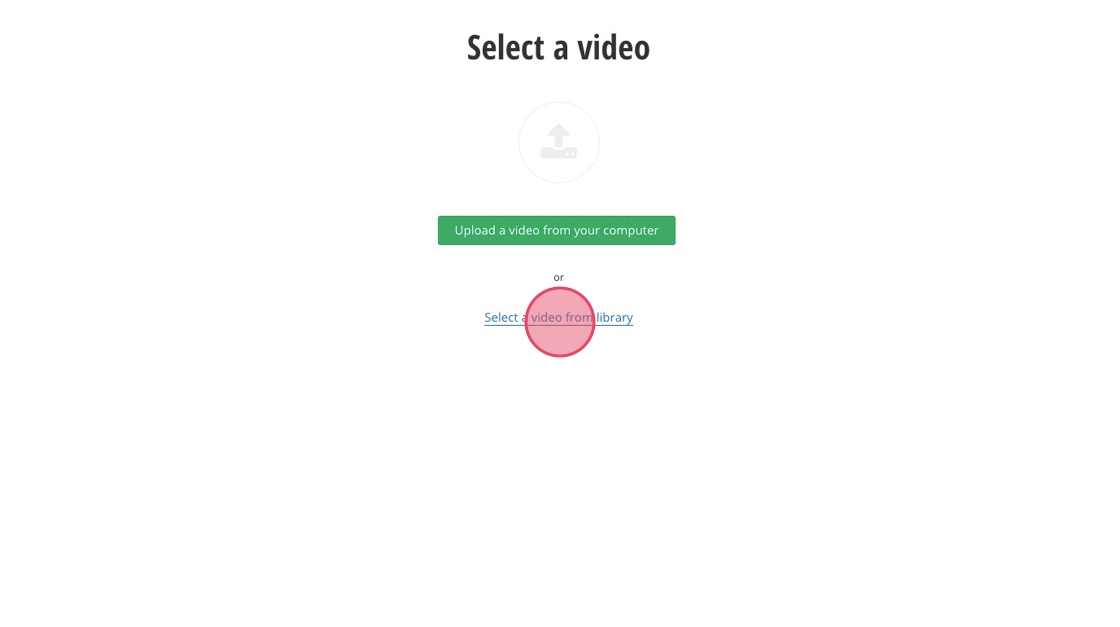
9. To include a video, click the + under Video (for desktop and tablet).

10. Click Select a video from library.
11. All Hero videos must be under 2 MB, an aspect ratio of 16:9, and have a maximum length of 10 seconds.
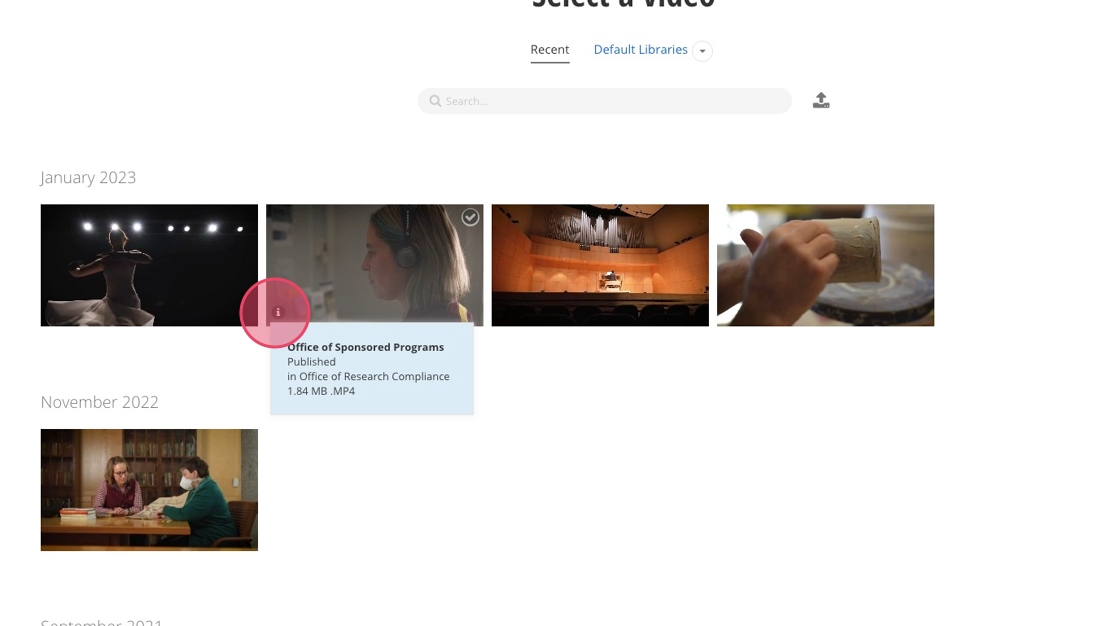
12. Click Use selected.
13. Click the + to add your first quick link: Link #1.
14. Enter the URL you want to link or select the internal page or content.
15. In the “Text to display” field, enter the text you want shown for the quick link.
16. Choose Yes or No to decide whether the link opens in a new window.
Yes: Use for external sites.
No: Use for internal pages within cmich.edu.
17. Click Insert link.
18. Enter text in the “Link #1 ADA Title” field.
Tip: Repeat the steps to add one to five more quick links.
19. Click Save.
Save and send
- If you'd like to continue working on this page, but need to save your progress, click Save as Draft.
- If you're finished making changes to the page, and the page is ready for review, click Send for Approval.
![]()