Next Steps Callout
For use in the full-width area.
The Next Steps Callout is useful on a page to call out actions for the end-user to take if relevant to the content.
Next Steps Callout screenshot

Visual demo
Widget standards
No layout is needed for this widget.
Do:
- Desktop Image Size: 1800 x 400 - Ratio: 9:2.
- Use only once per page.
- A marketing widget to use only for the call to action relevant to the content.
Do NOT:
- Use more than one on a page.
- Place this widget in a container or section.
Written instructions
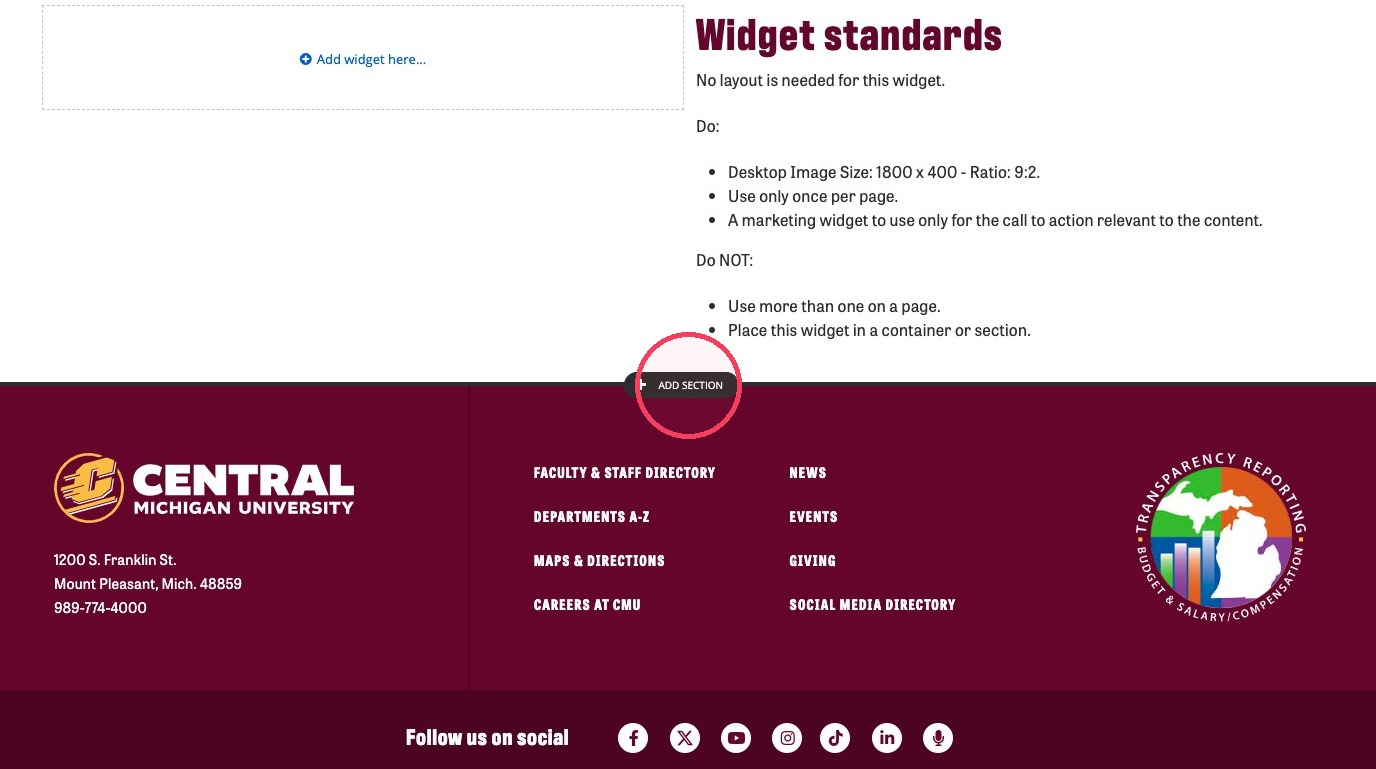
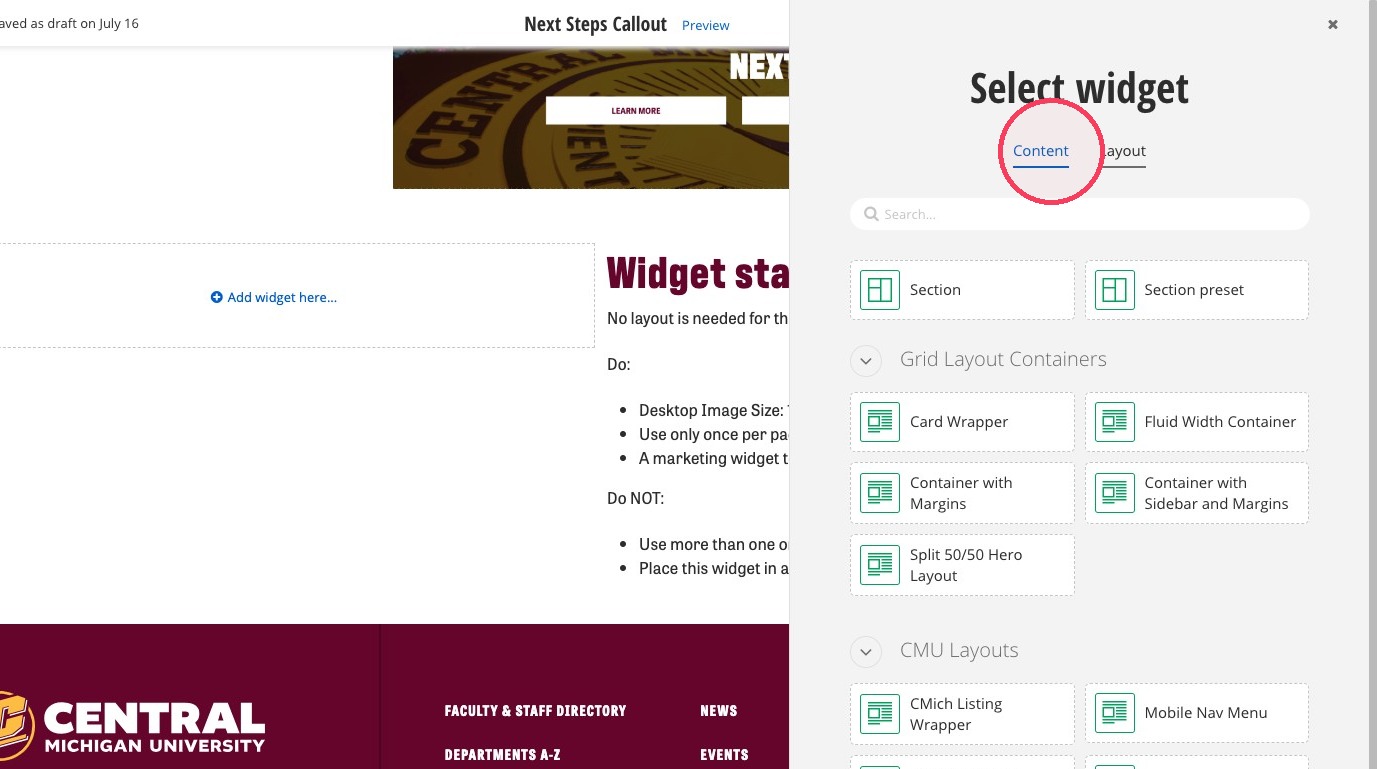
2. Click the Content tab.
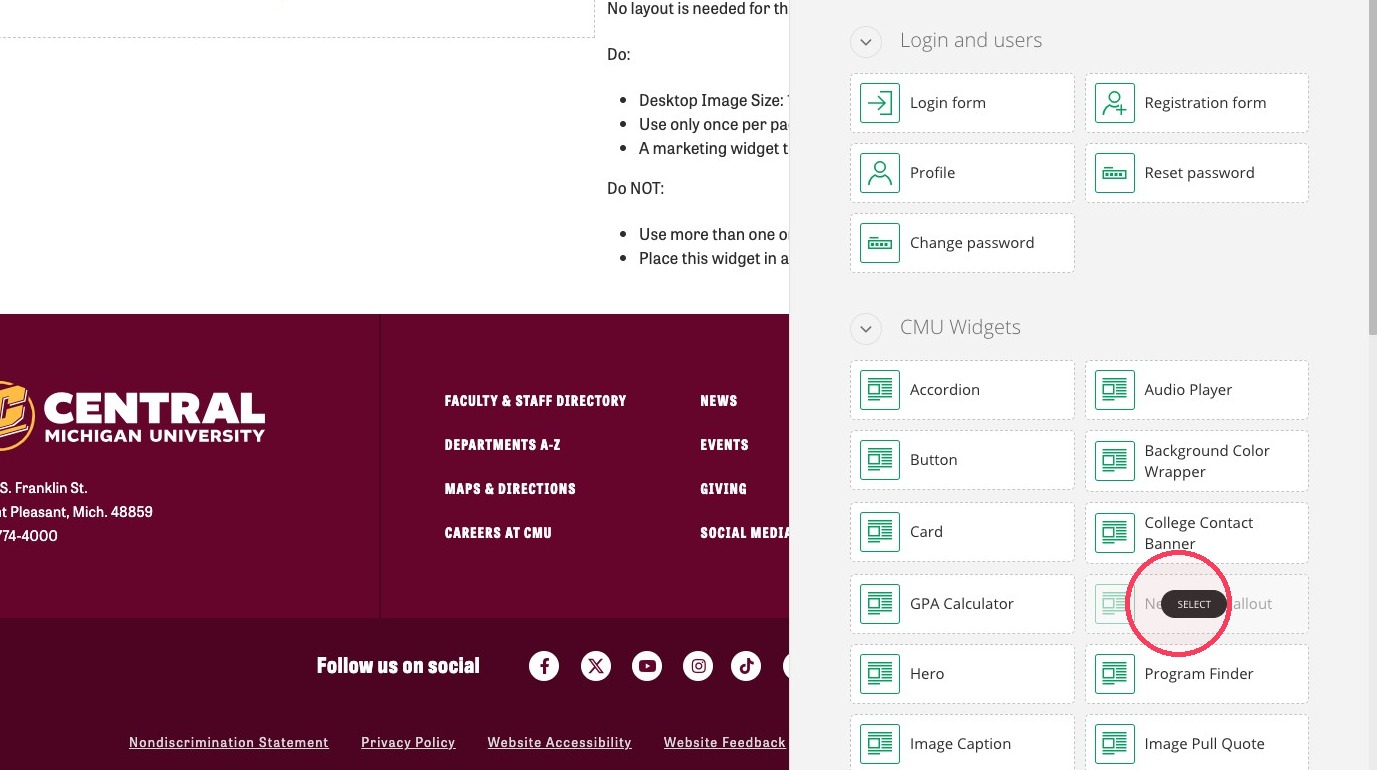
3. Select the Next Steps Callout option.
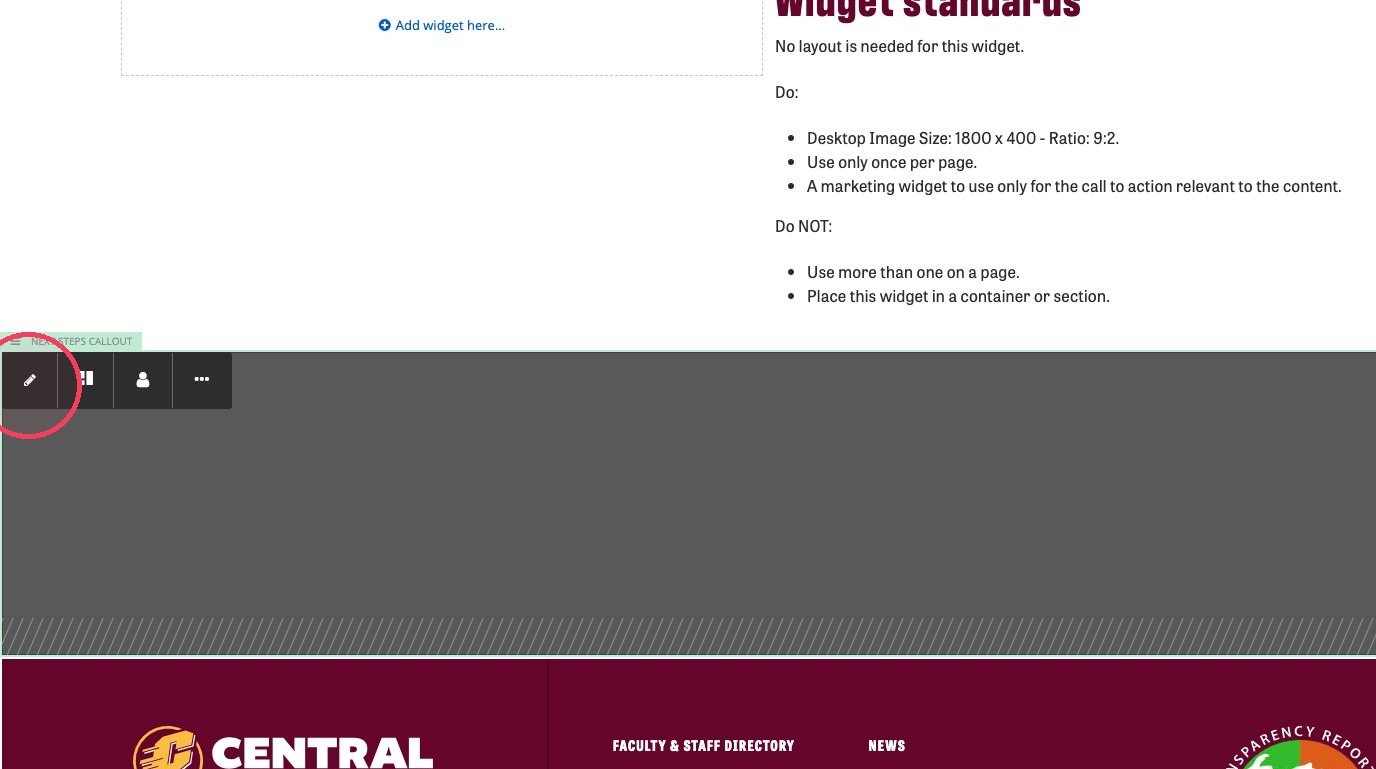
4. Click on the next steps callout box and click the edit pencil icon.
5. Fill out the Heading field.
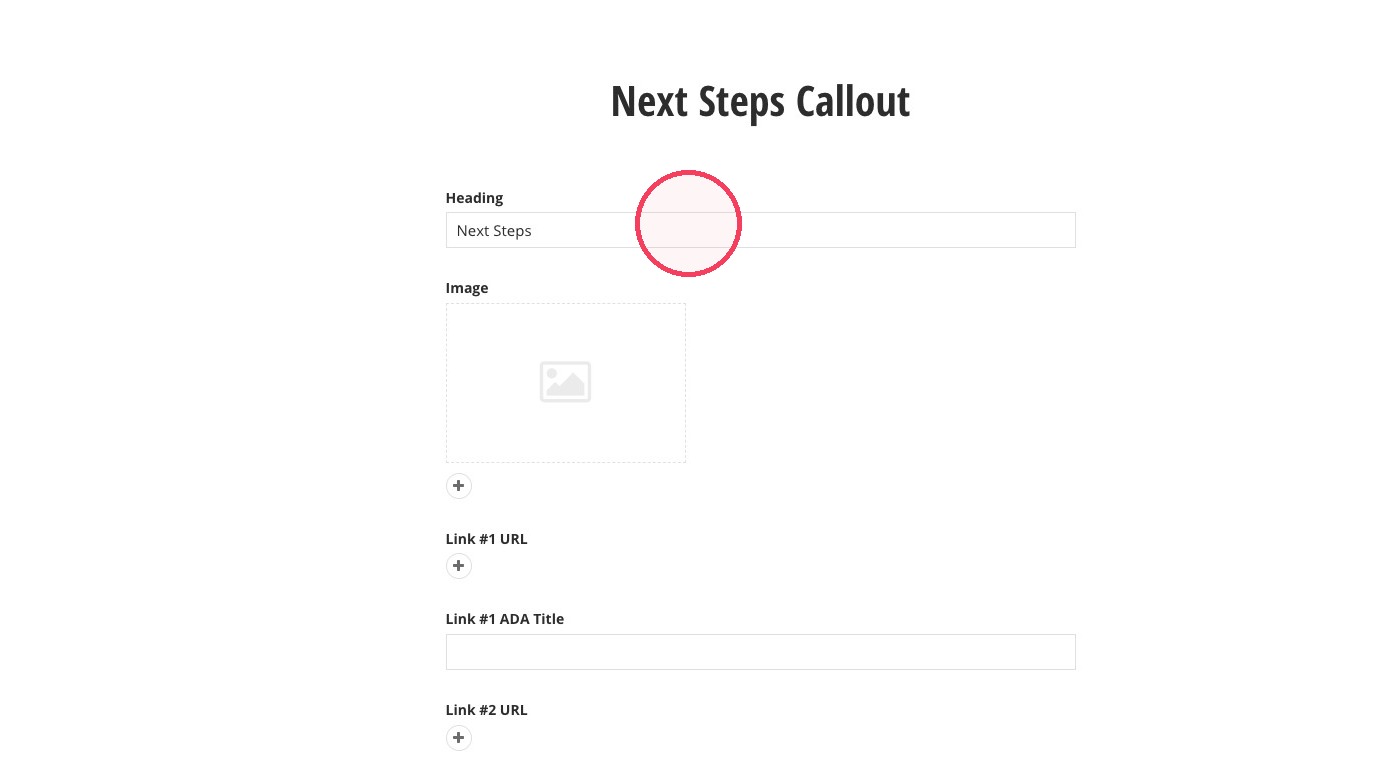
6. Click the + under the Image field to add an image.
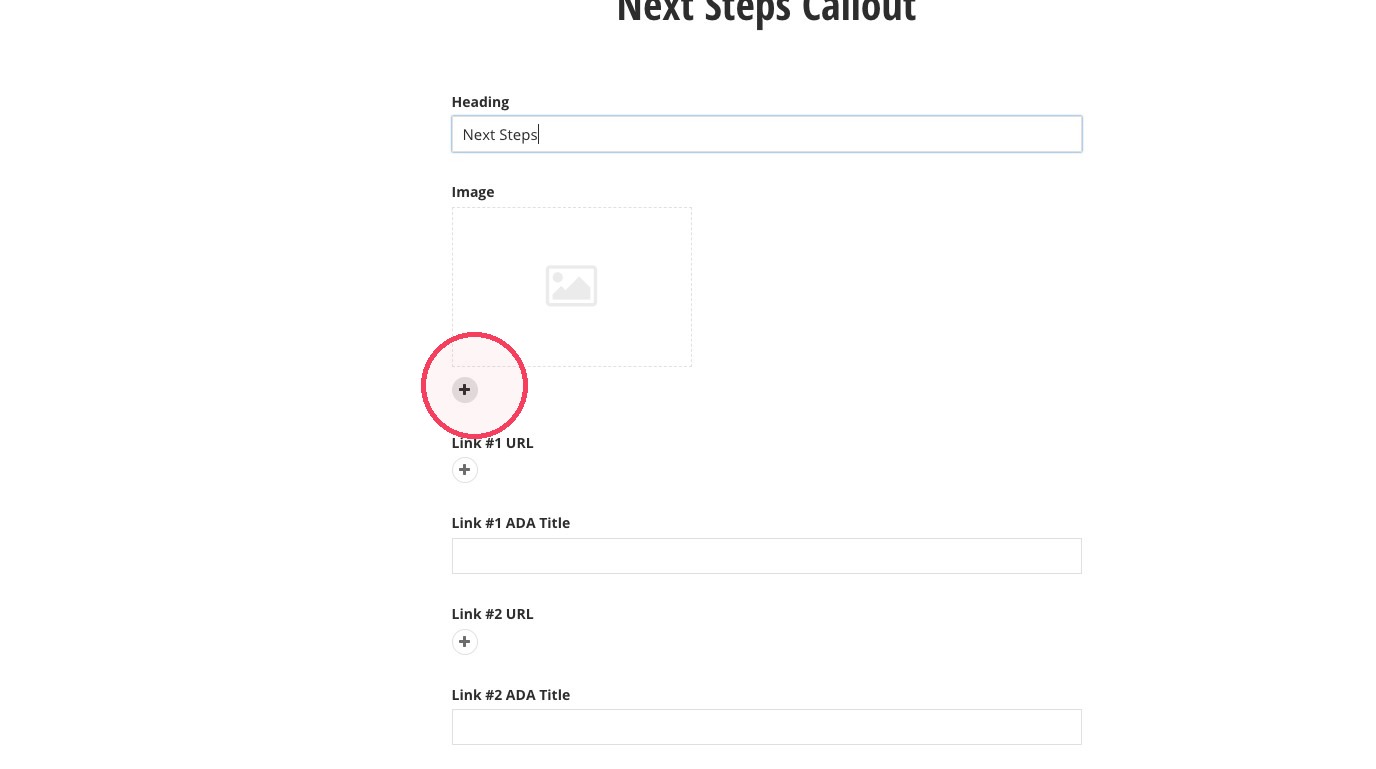
7. Click on Select an image from library.
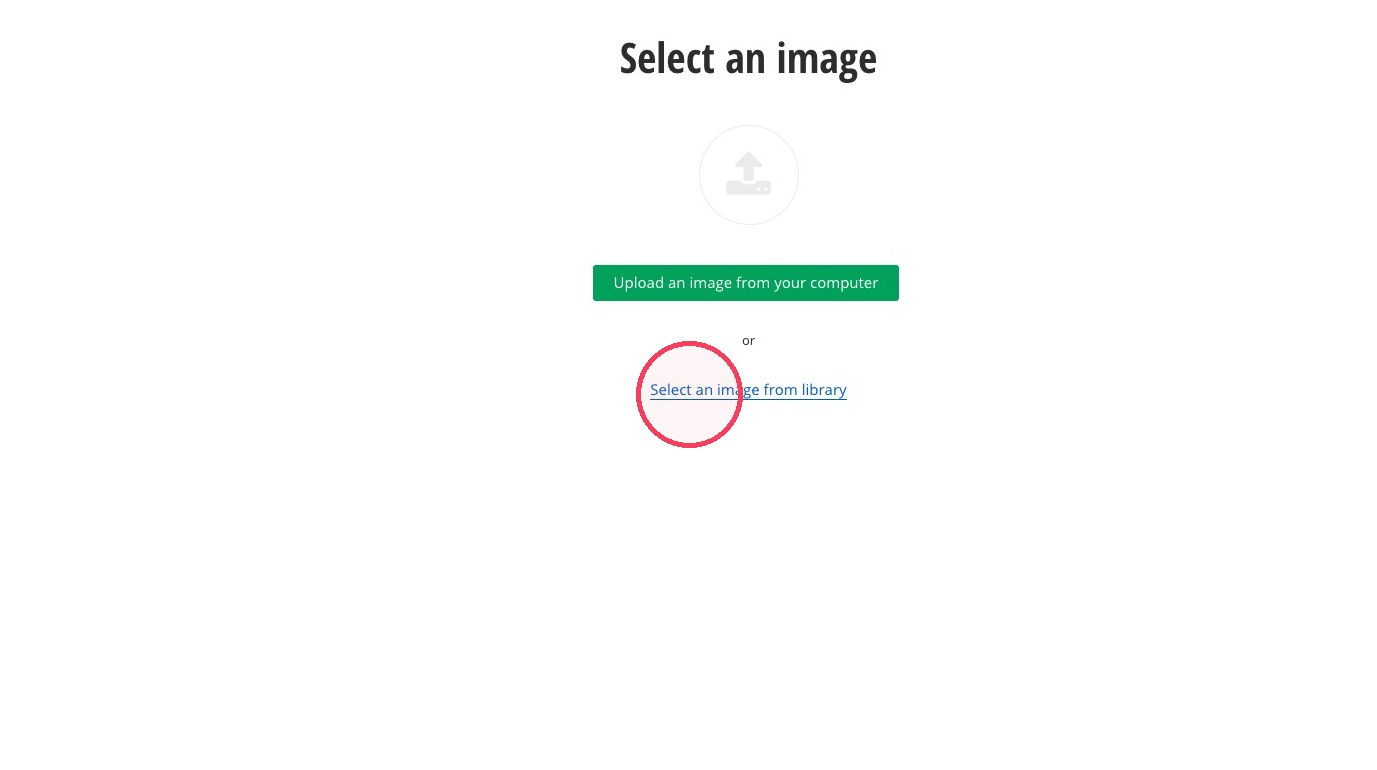
8. Find your 1800x400 px image and click "Use selected."
9. Click + to enter in the first button under Link #1 URL.
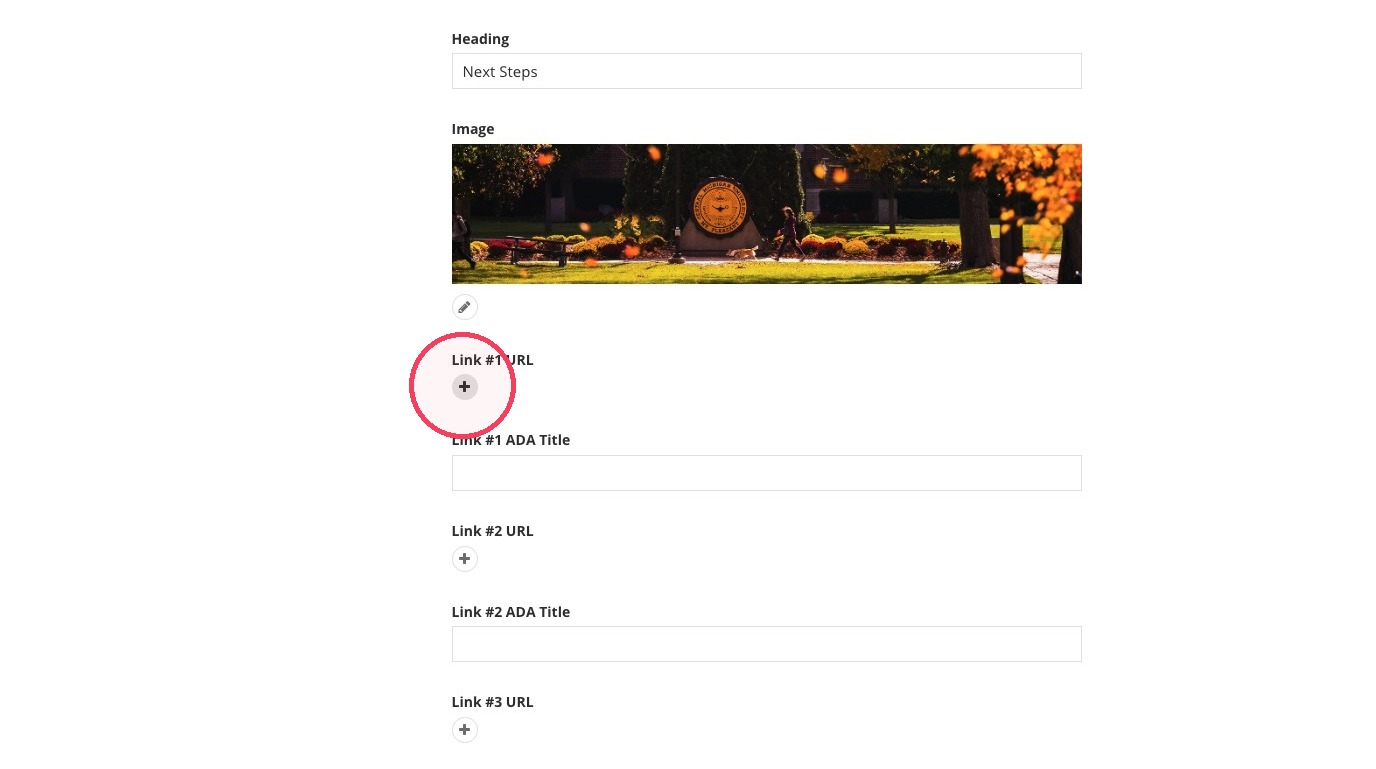
10. Enter the URL for the first button in the Link to... field.
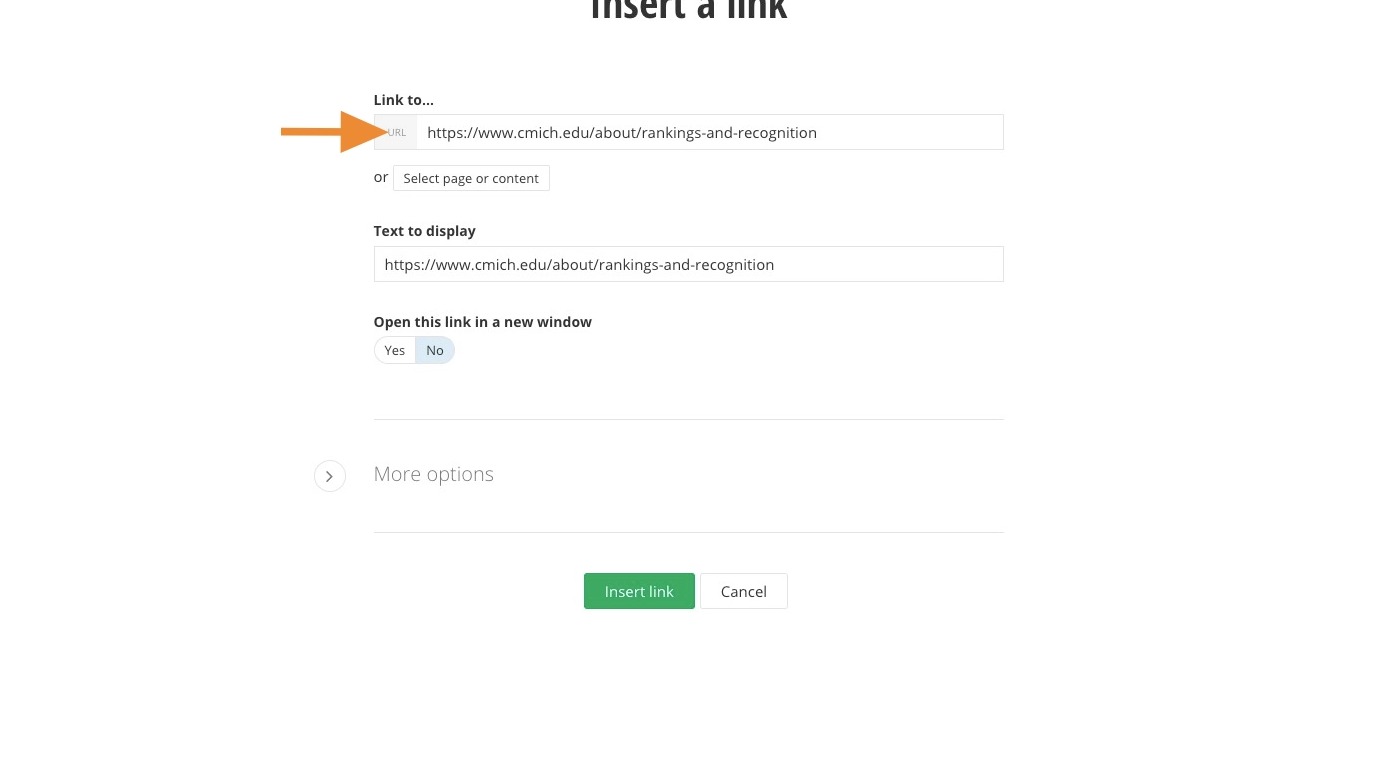
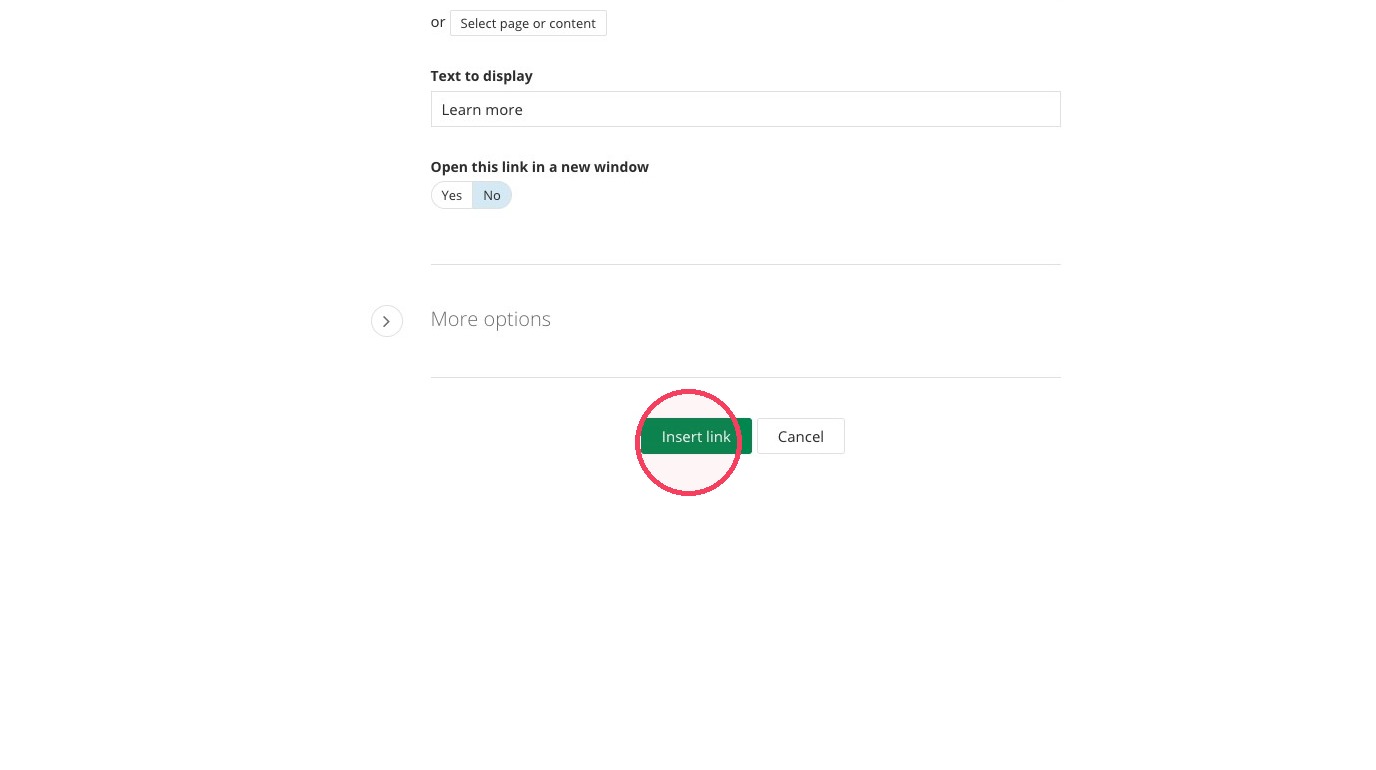
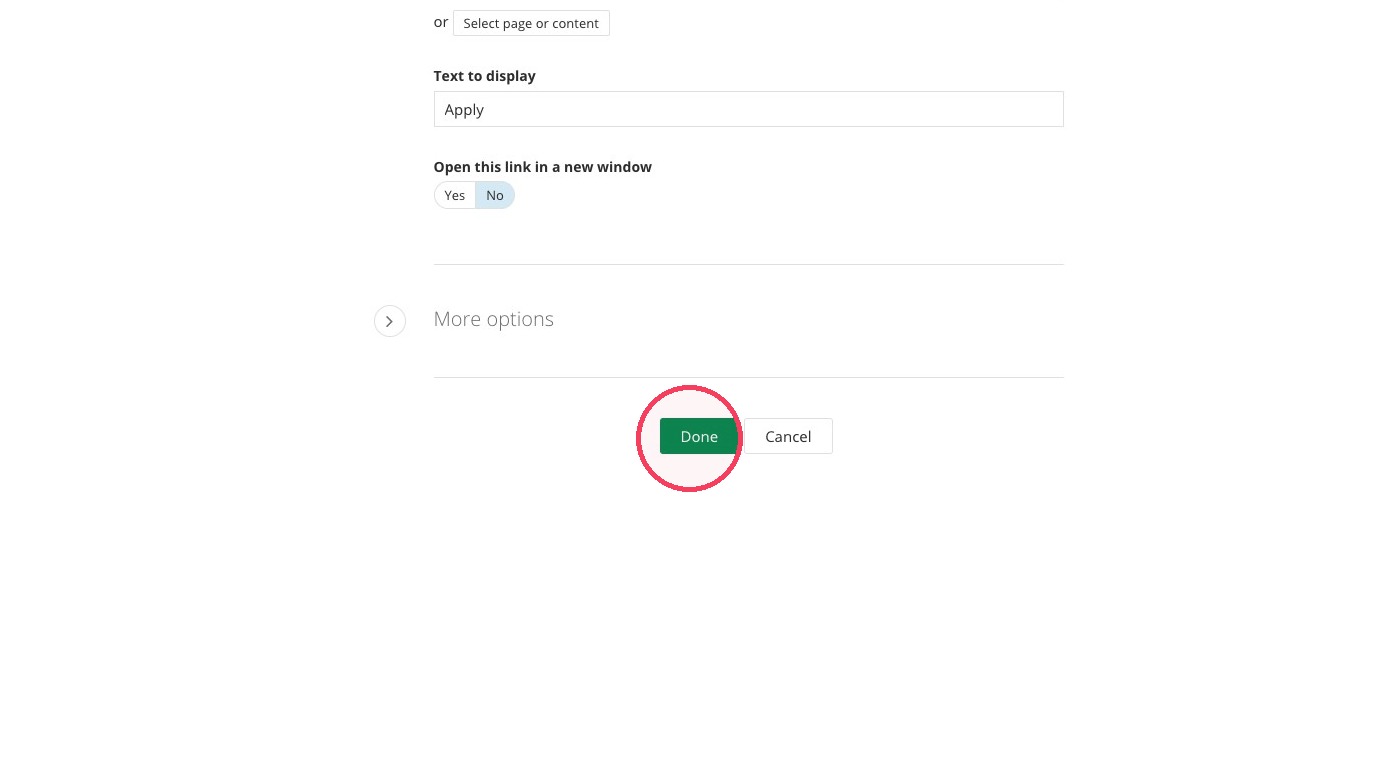
11. Fill out the Text to display field.
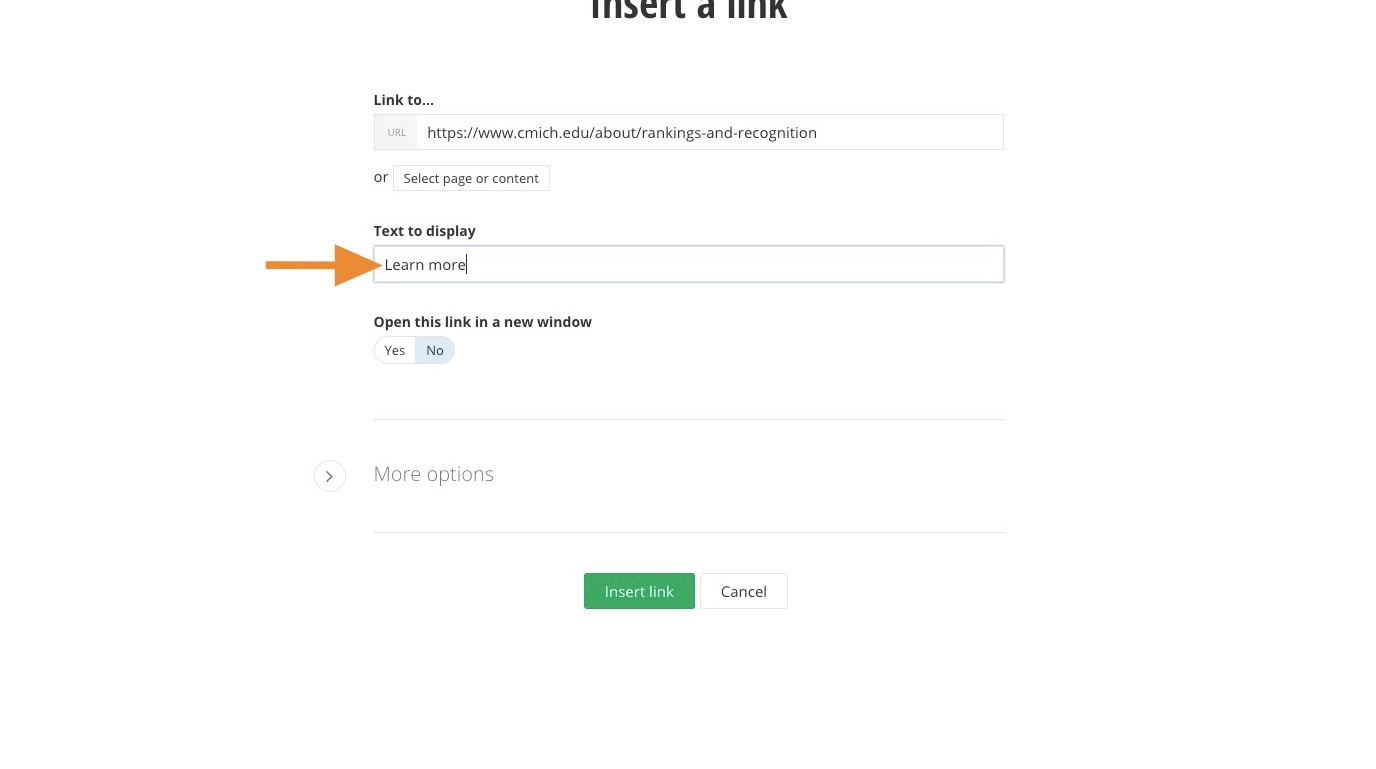
12. Determine if the link will open in a new window.
- Yes: For URL links outside of cmich.edu
- No: For internal CMU pages.
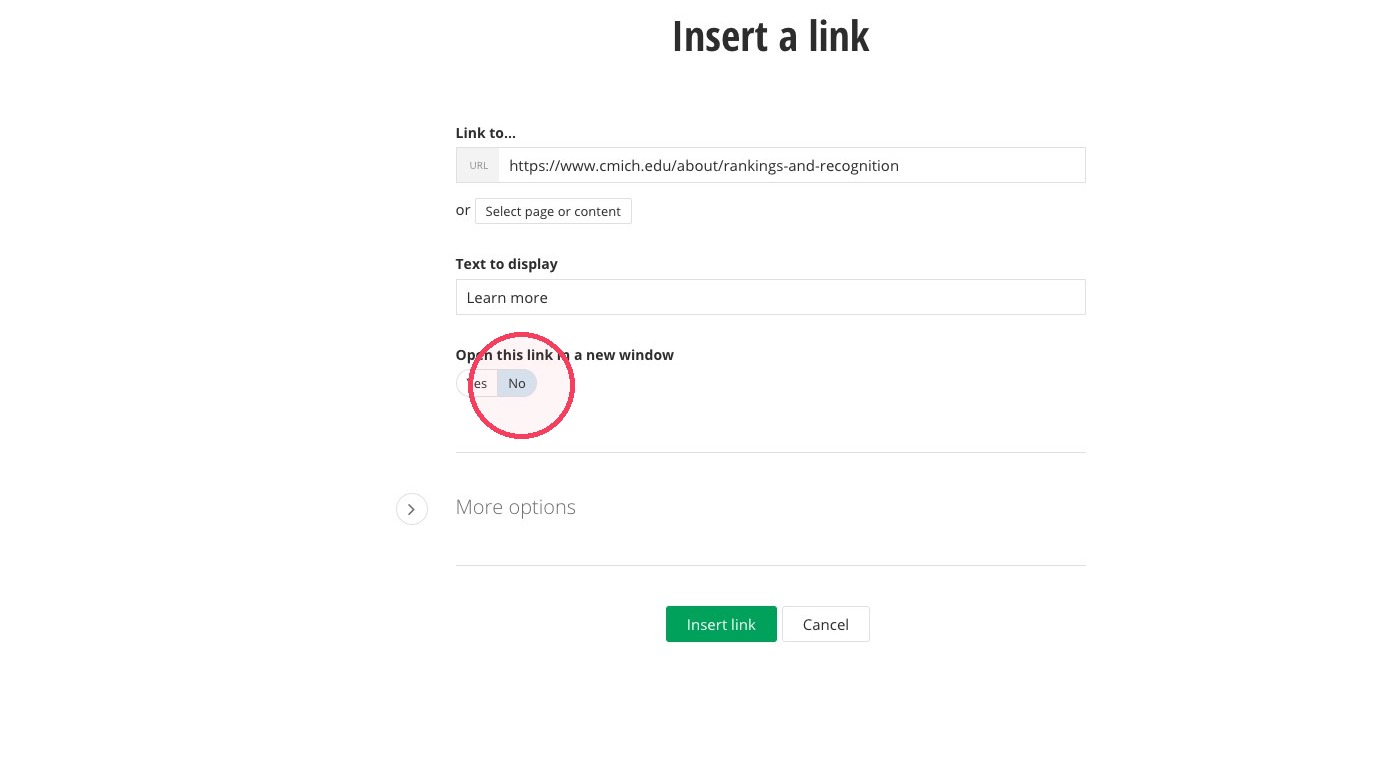
13. Click "Insert link."
14. Fill out the button's ADA Title text.
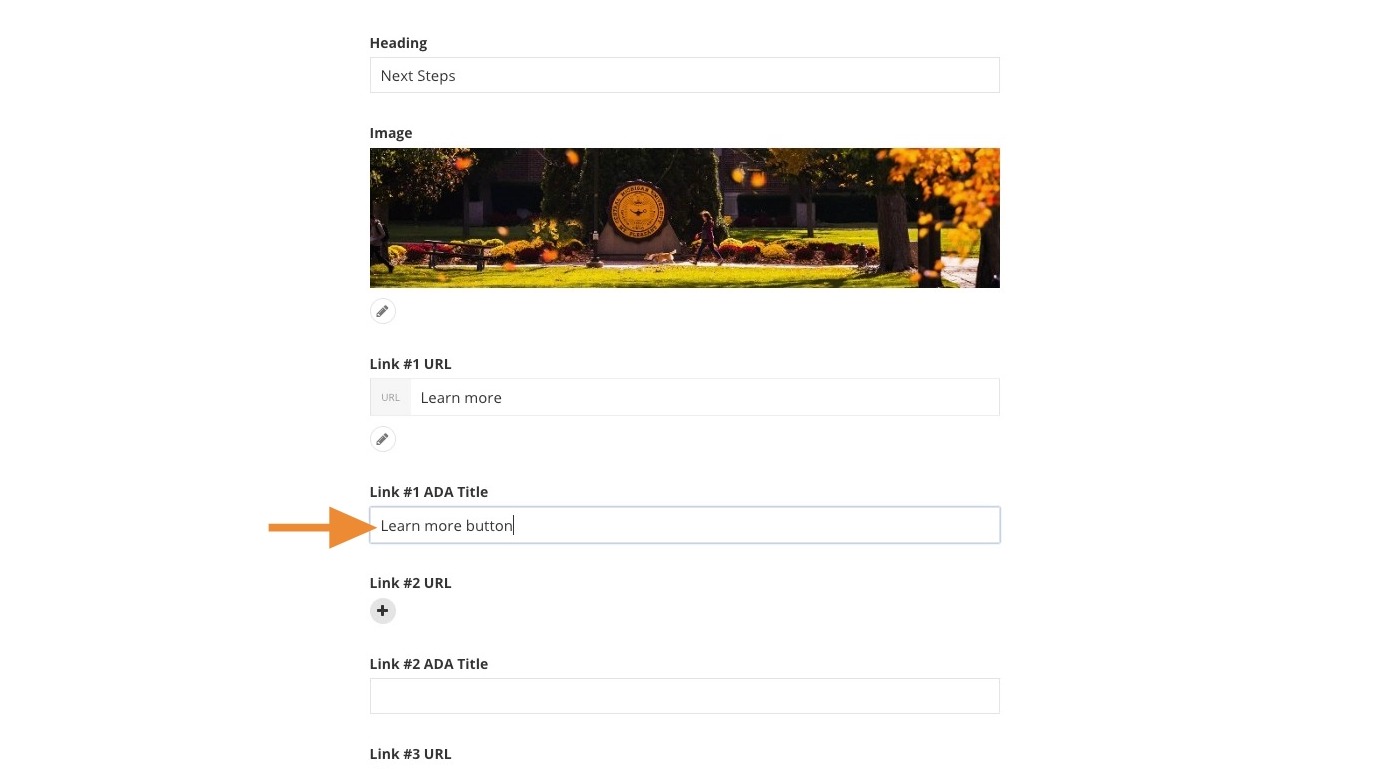
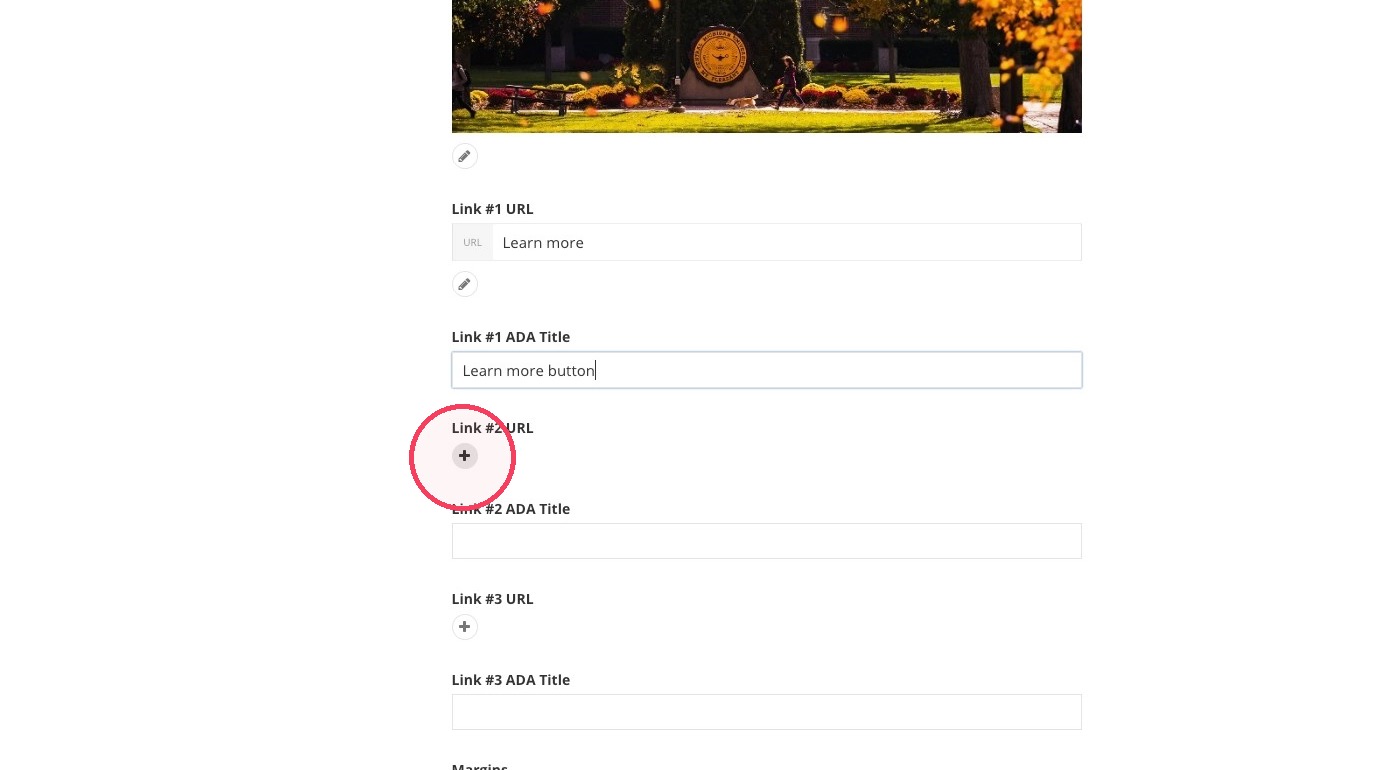
Tip: It is optional to add link #2 and #3. If you don't plan on adding more links, click Save at the bottom of the page.
15. Click + to enter Link #2.
16. Enter the URL for the second button in the Link to... field.
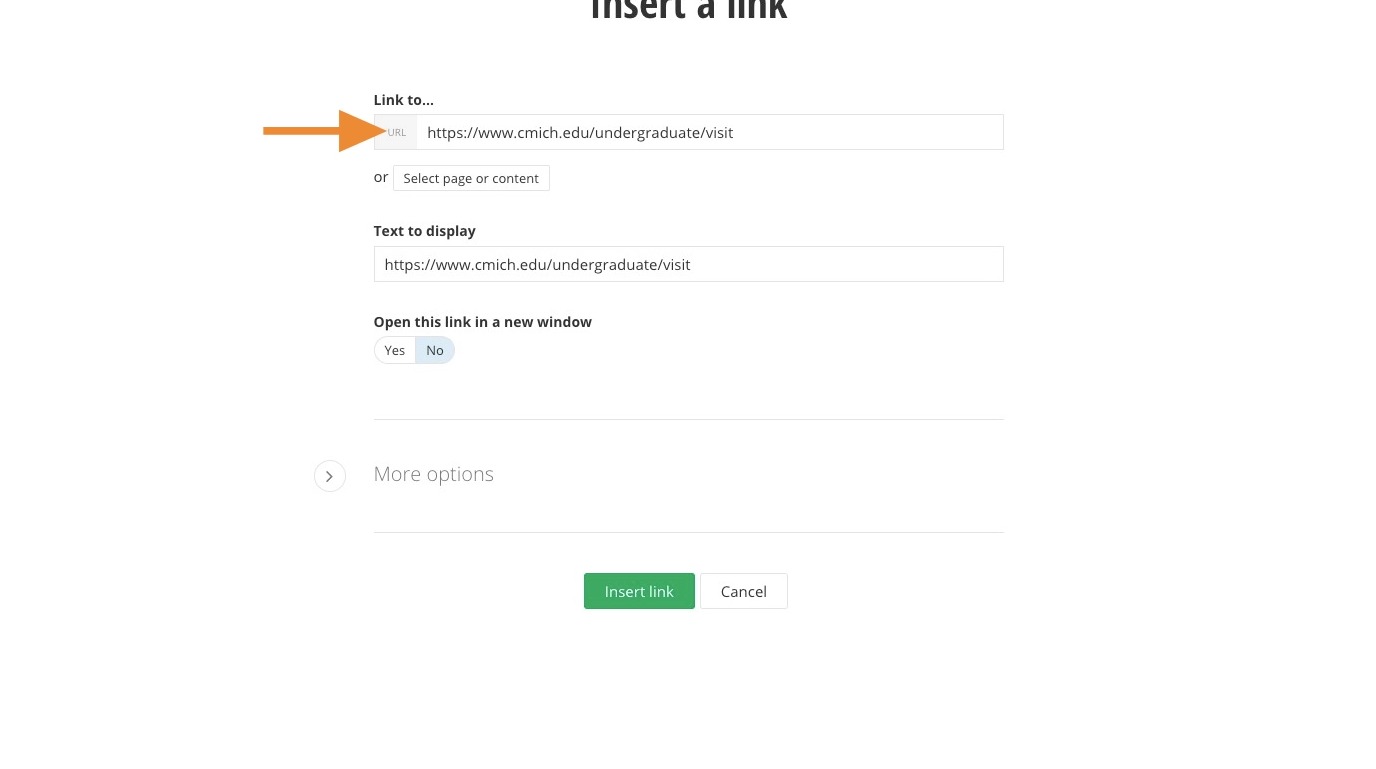
17. Fill out the Text to display field.
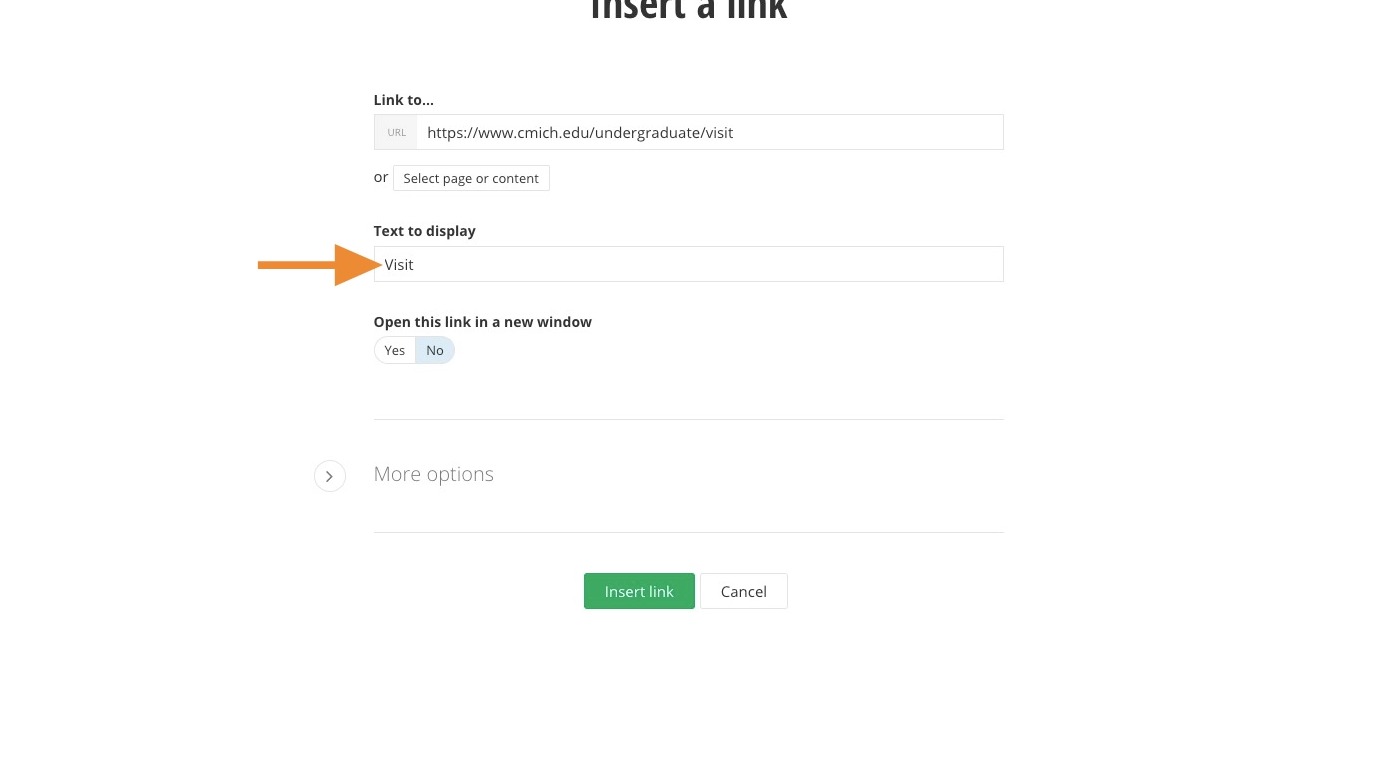
18. Determine if the link will open in a new window.
- Yes: For URL links outside of cmich.edu
- No: For internal CMU pages.
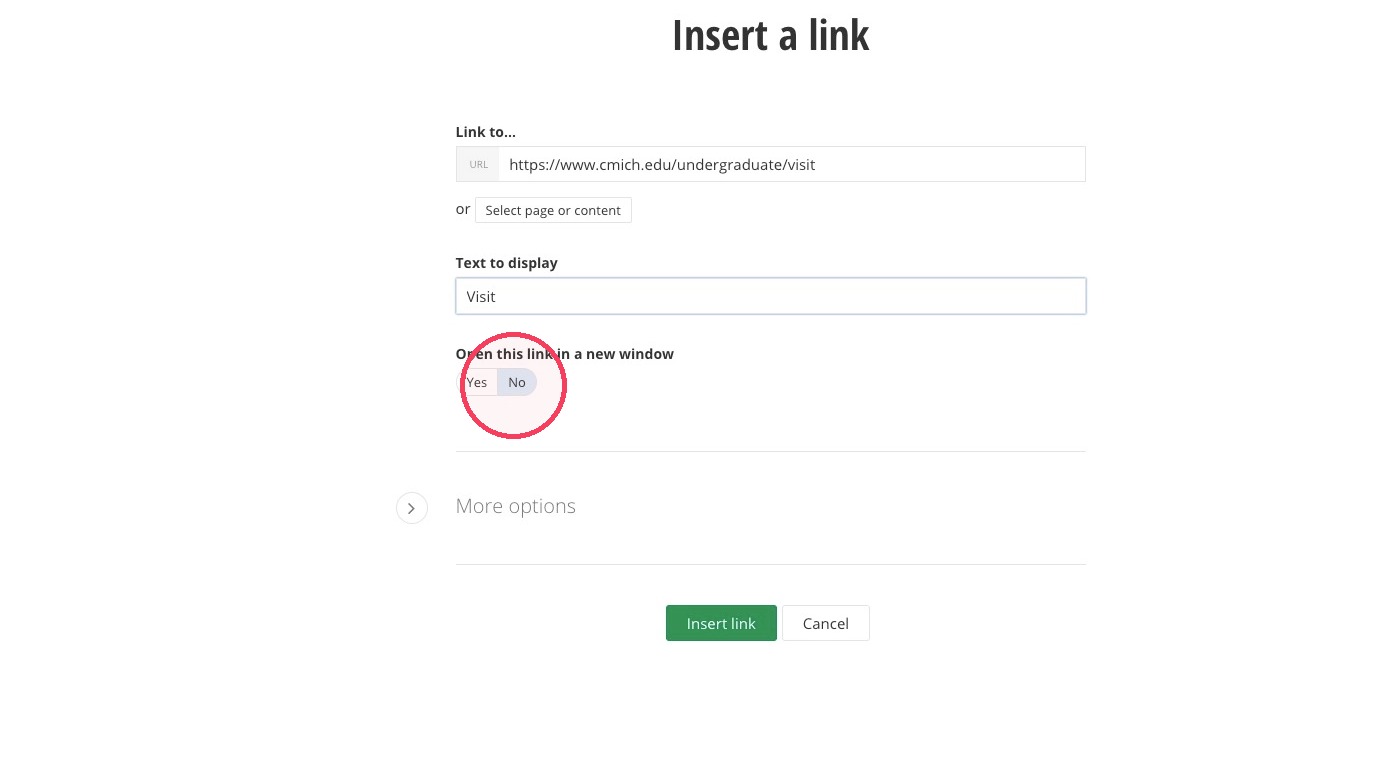
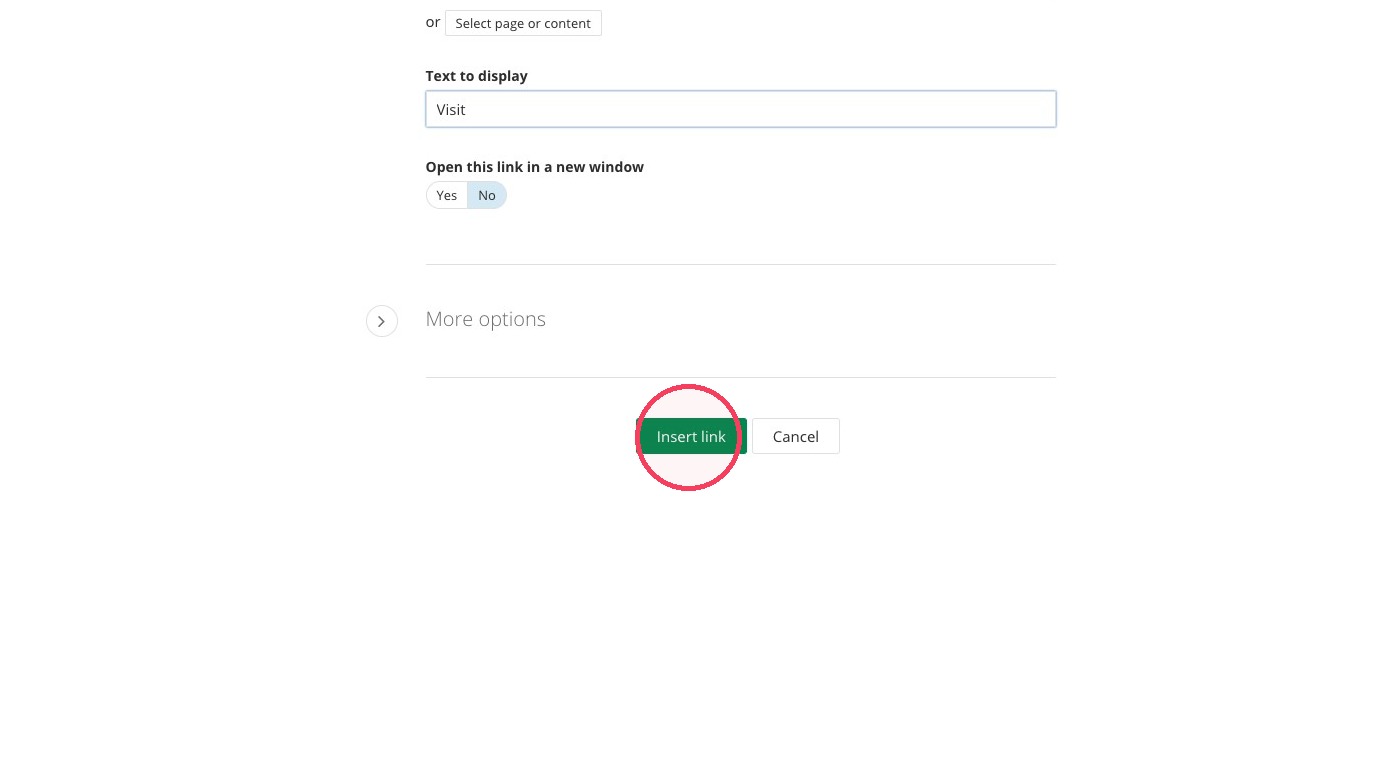
19. Click "Insert link."
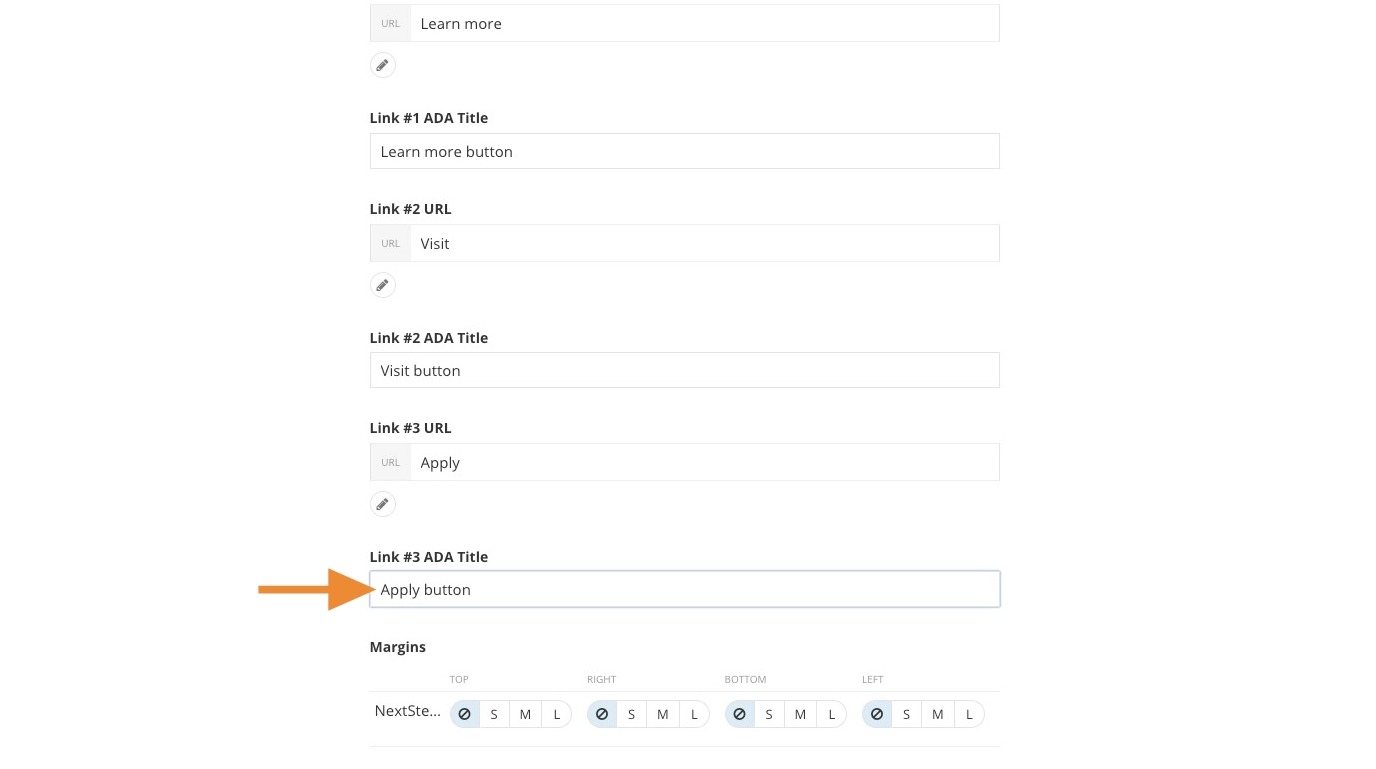
20. Fill out link #2's ADA Title.
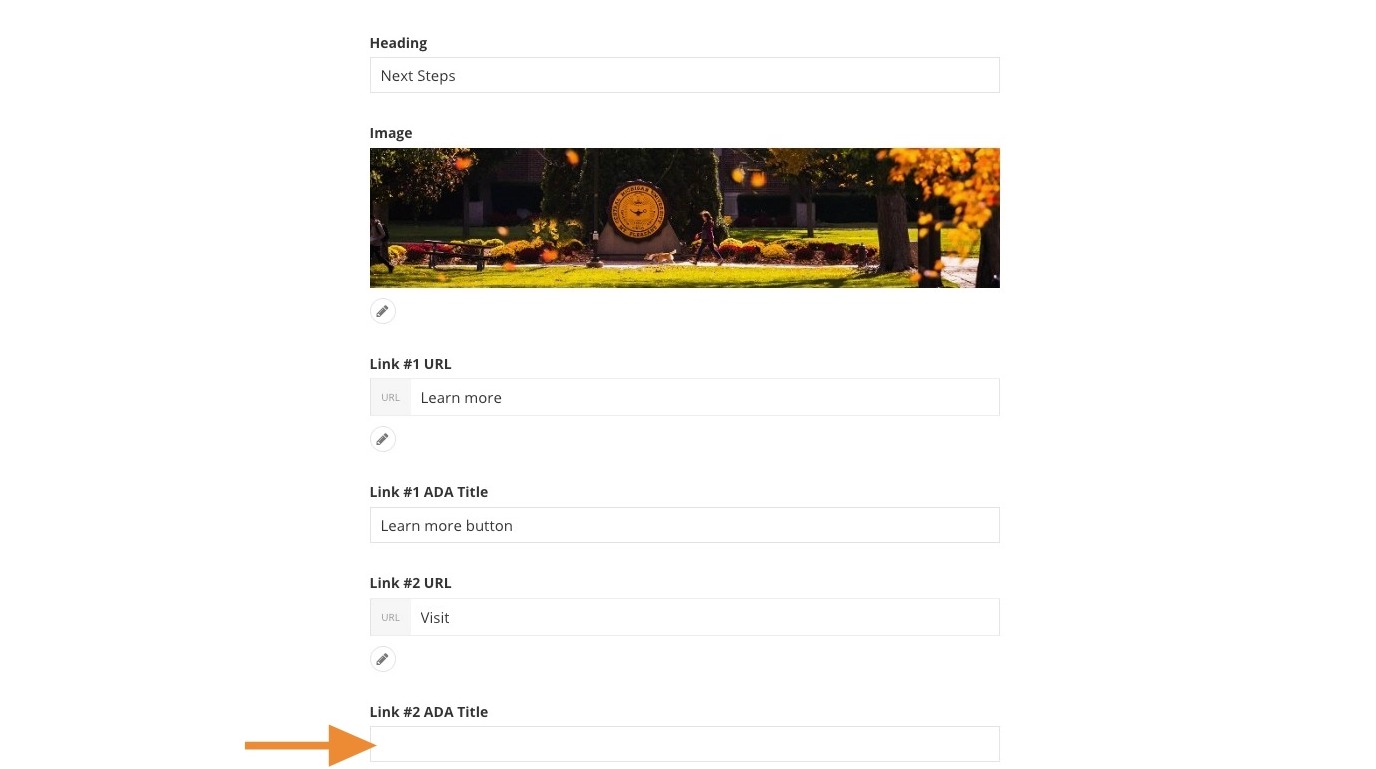
21. Click + to enter Link #3.
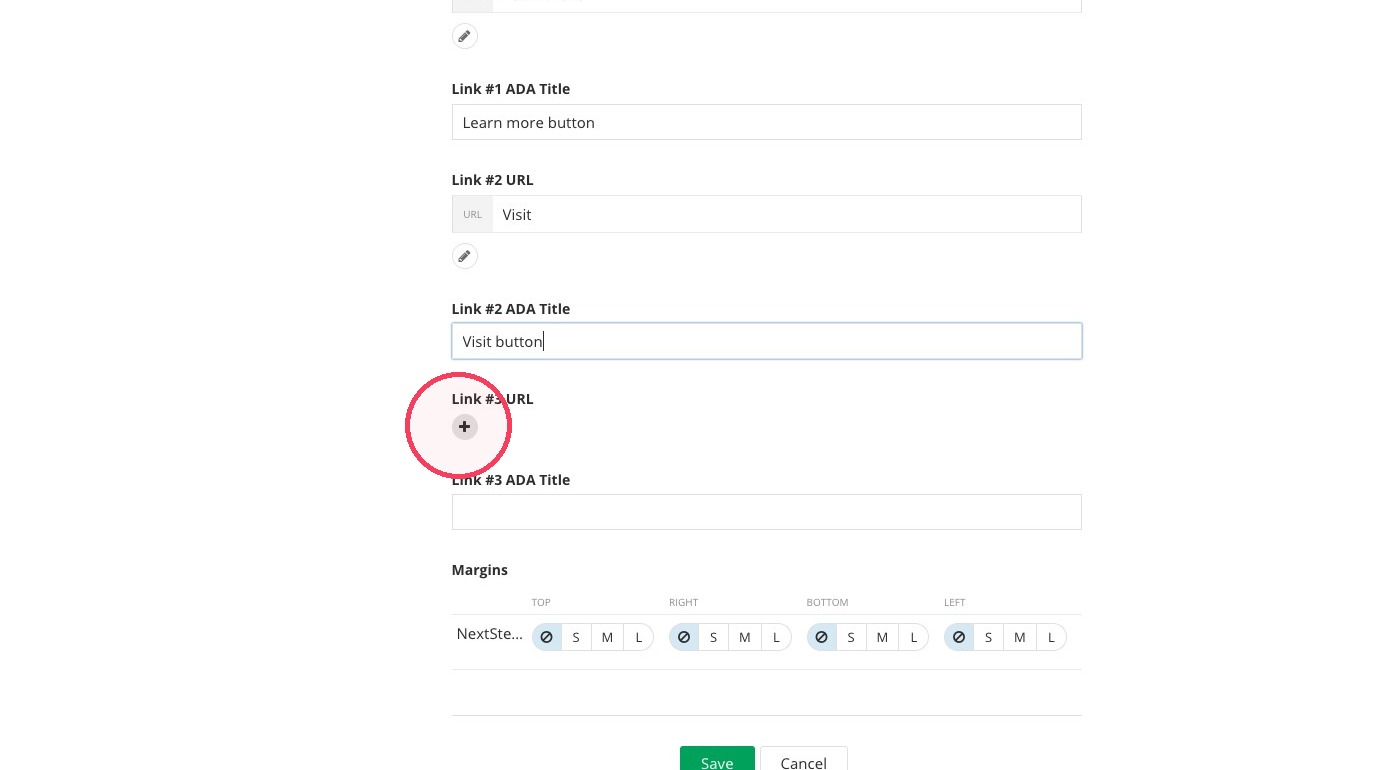
22. Enter the URL for the third button in the Link to... field.
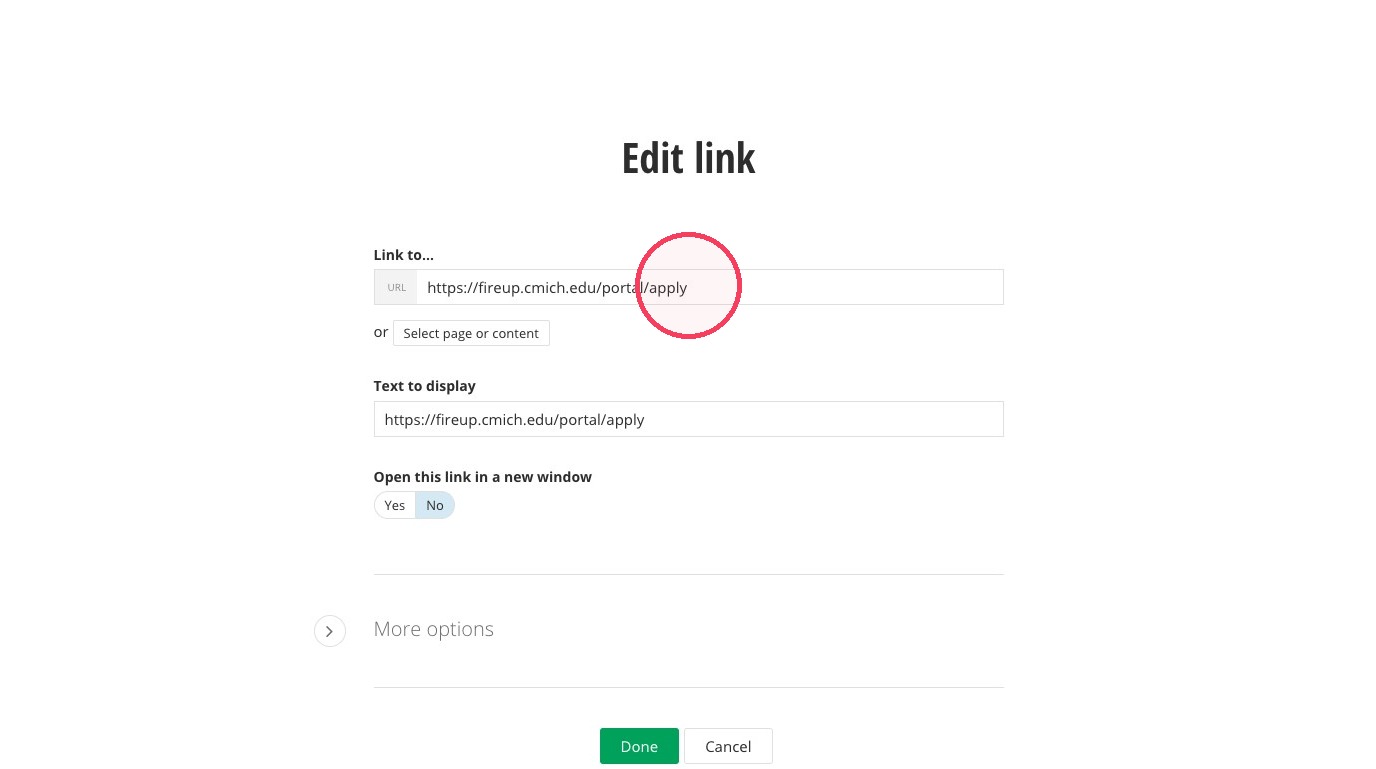
23. Fill out the Text to display field.
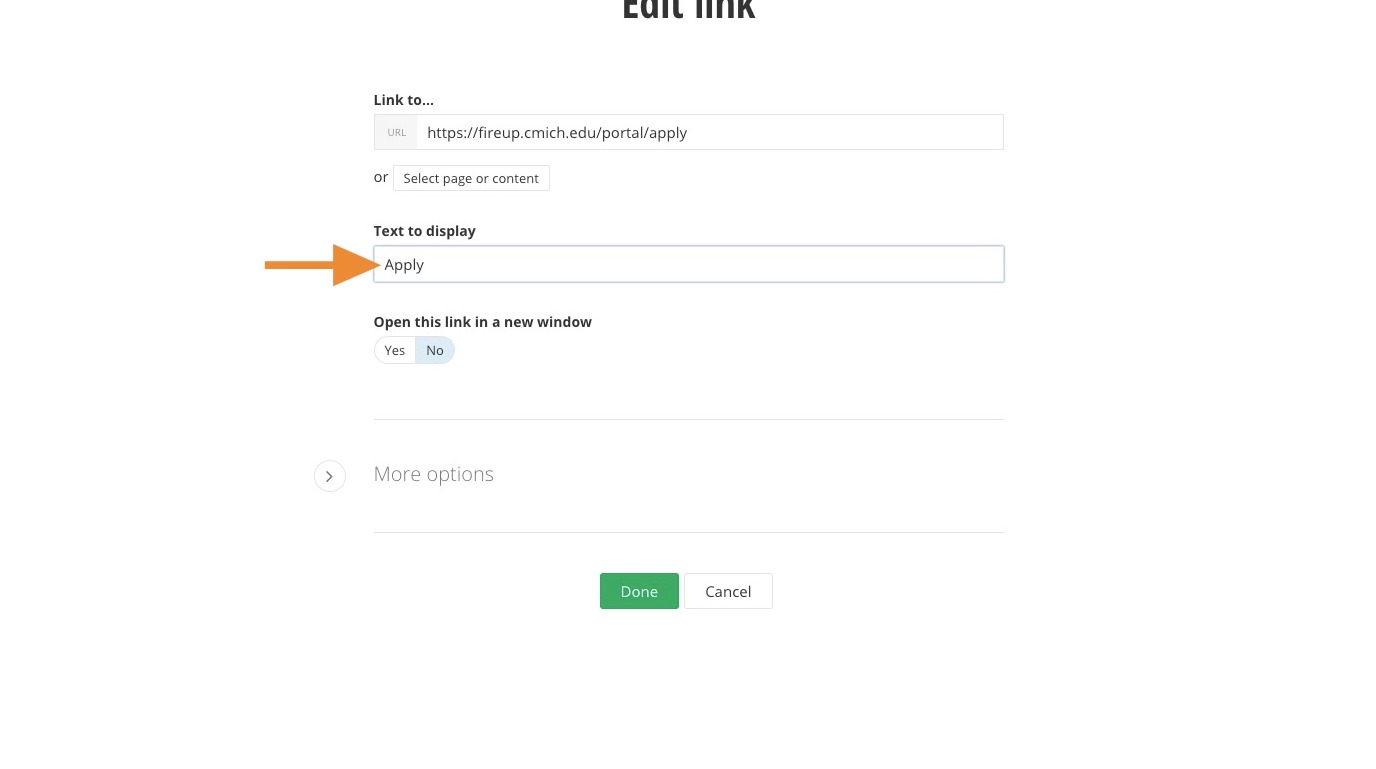
24. Determine if the link will open in a new window.
- Yes: For URL links outside of cmich.edu
- No: For internal CMU pages.
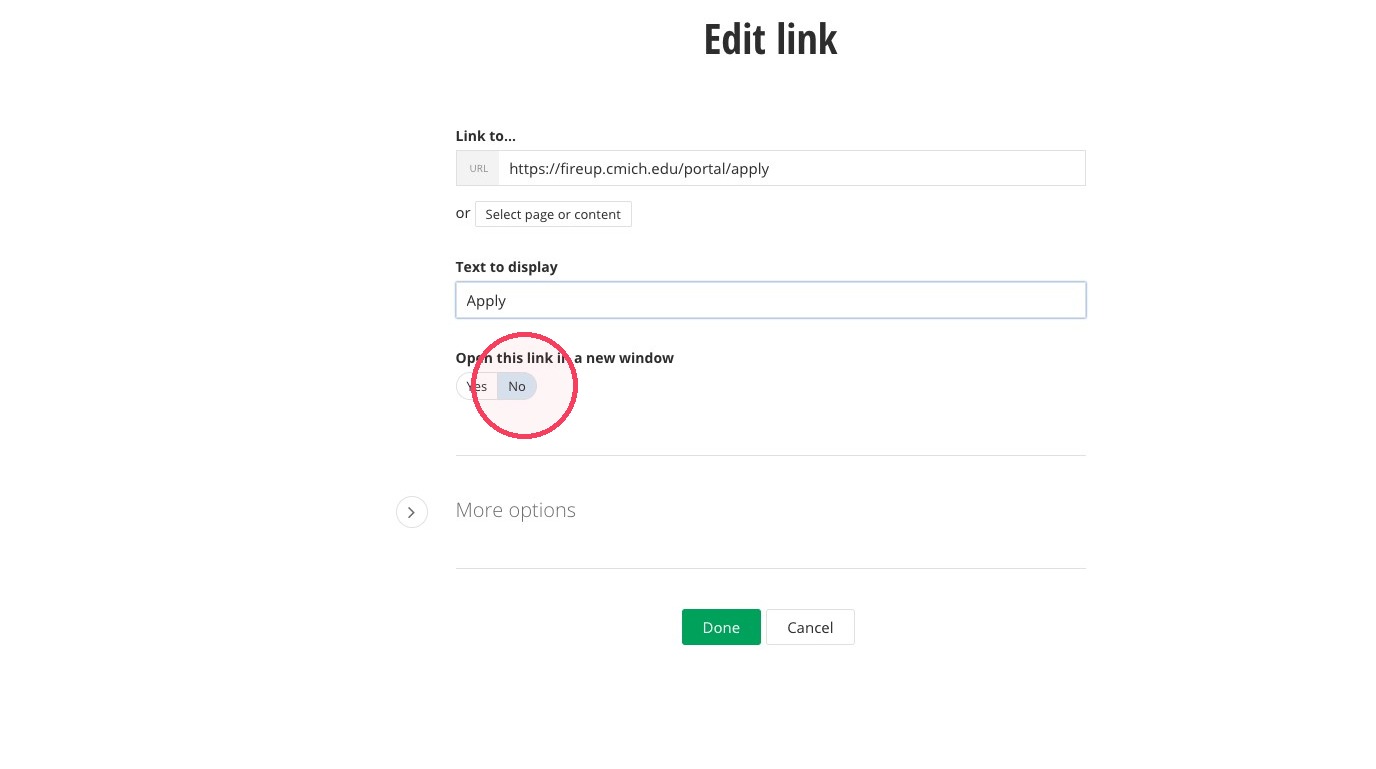
25. Then click "Done."
26. Fill out link #3's ADA Title.
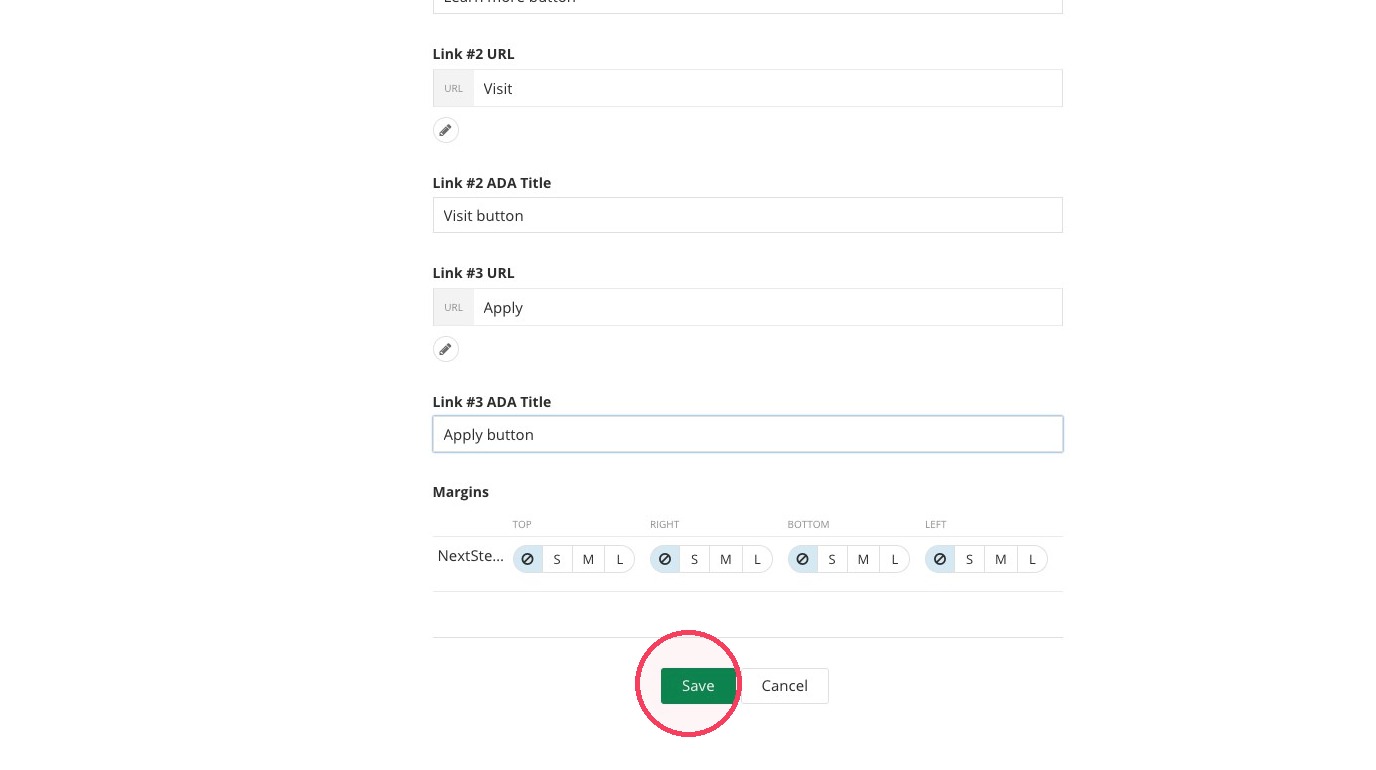
27. Click "Save" when finished.
Save and send
- If you'd like to continue working on this page, but need to save your progress, click Save as Draft.
- If you're finished making changes to the page, and the page is ready for review, click Send for Approval.
