Uploading images to the DAM
Instructions
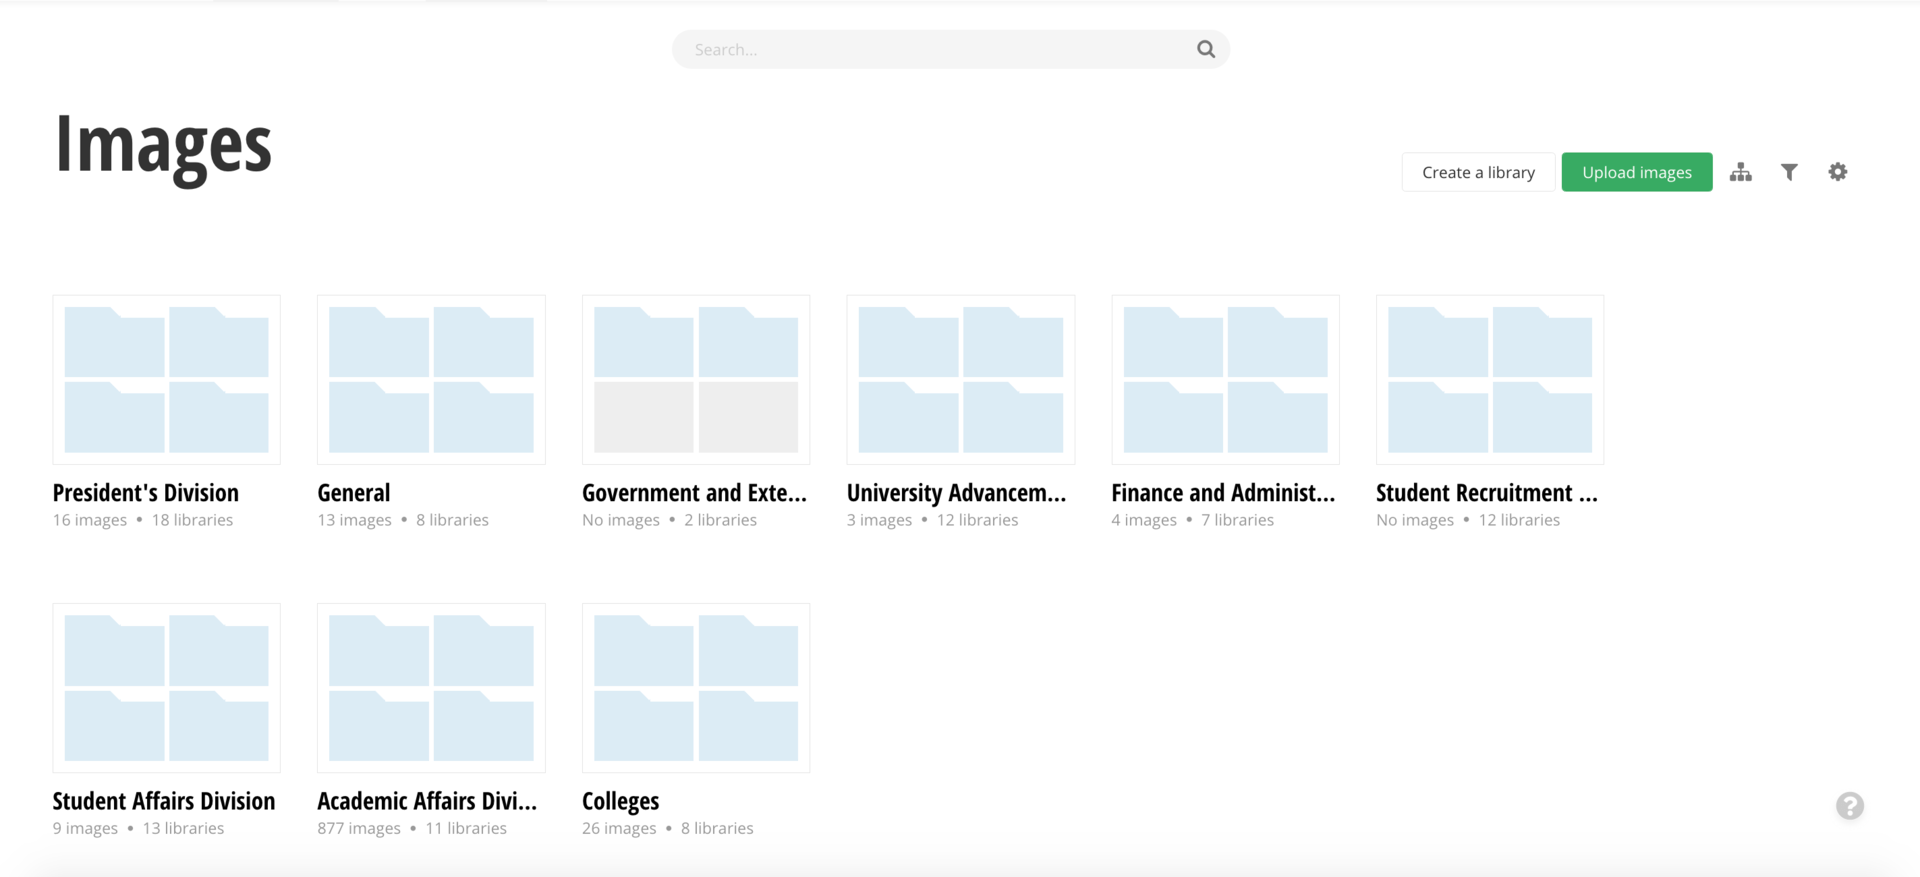
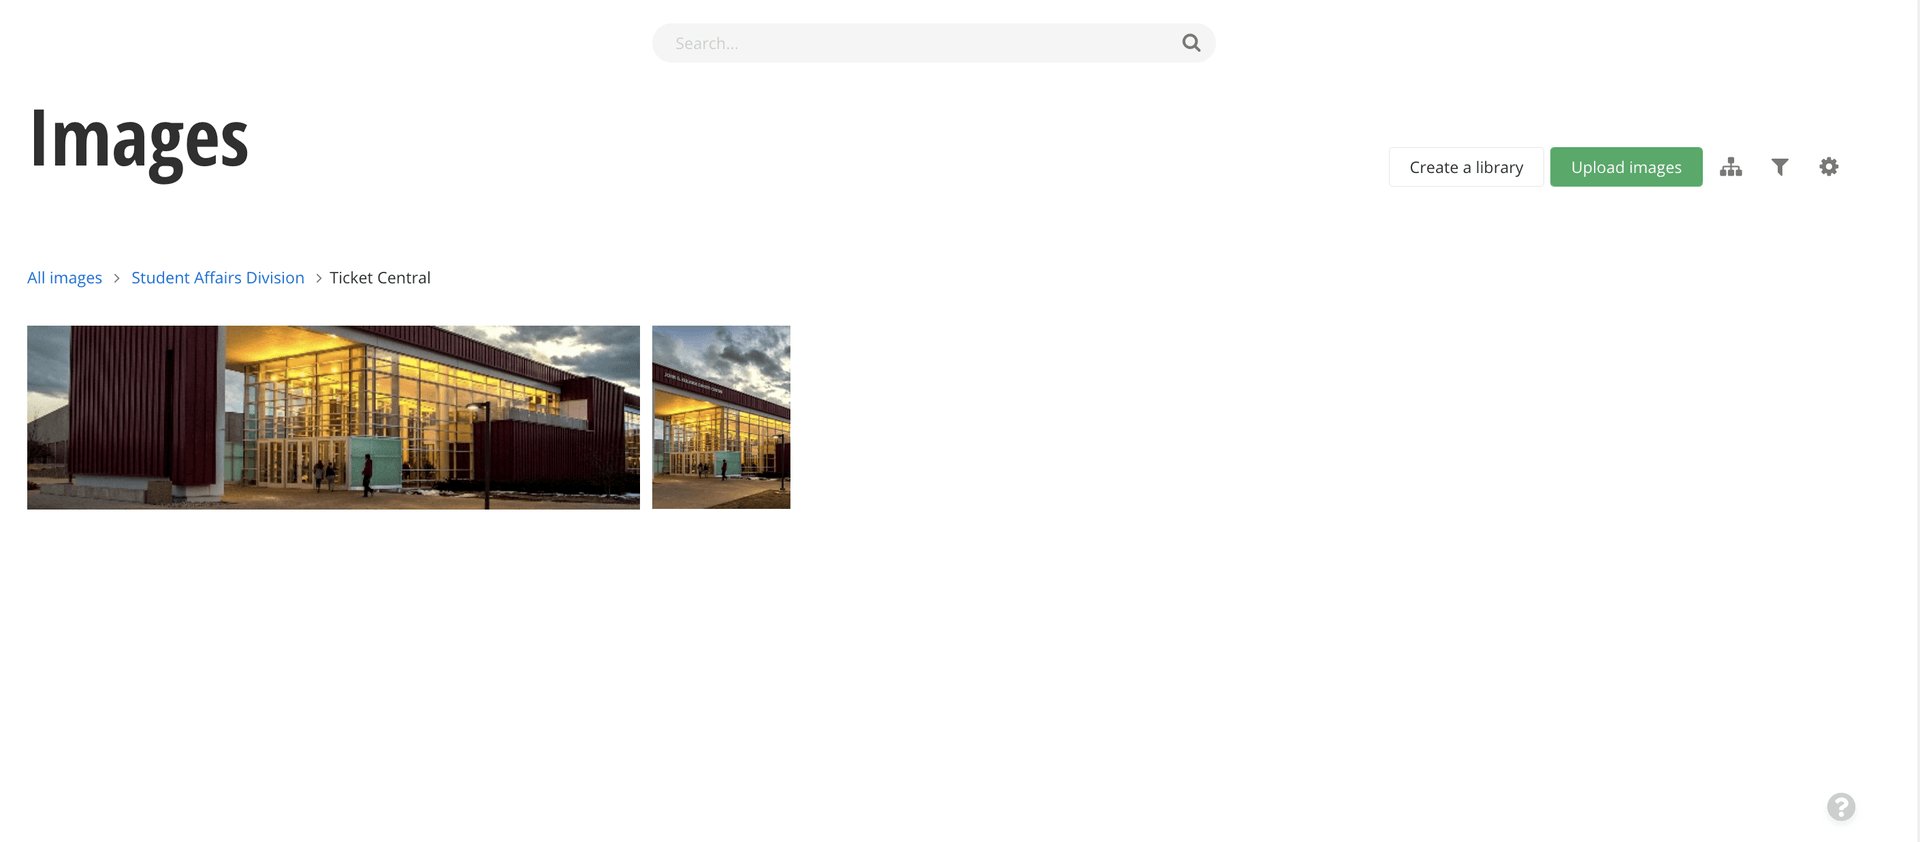
1. Click Content in the top navigation and select Images.
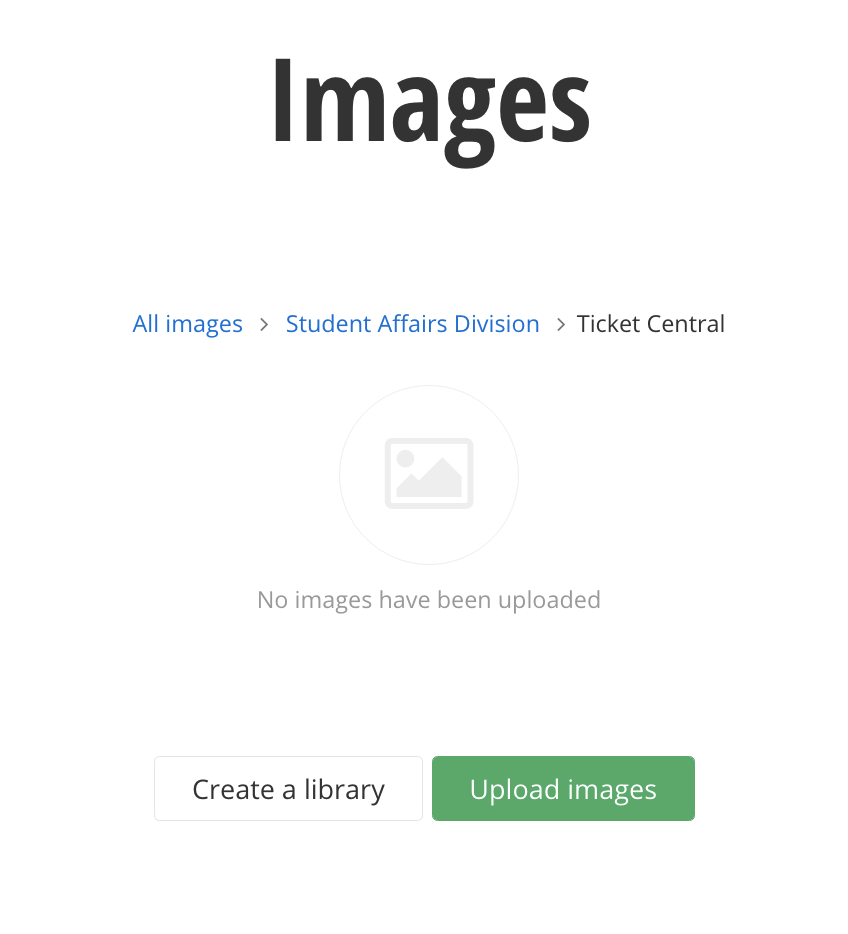
2. Find the relevant folder for your college or department.
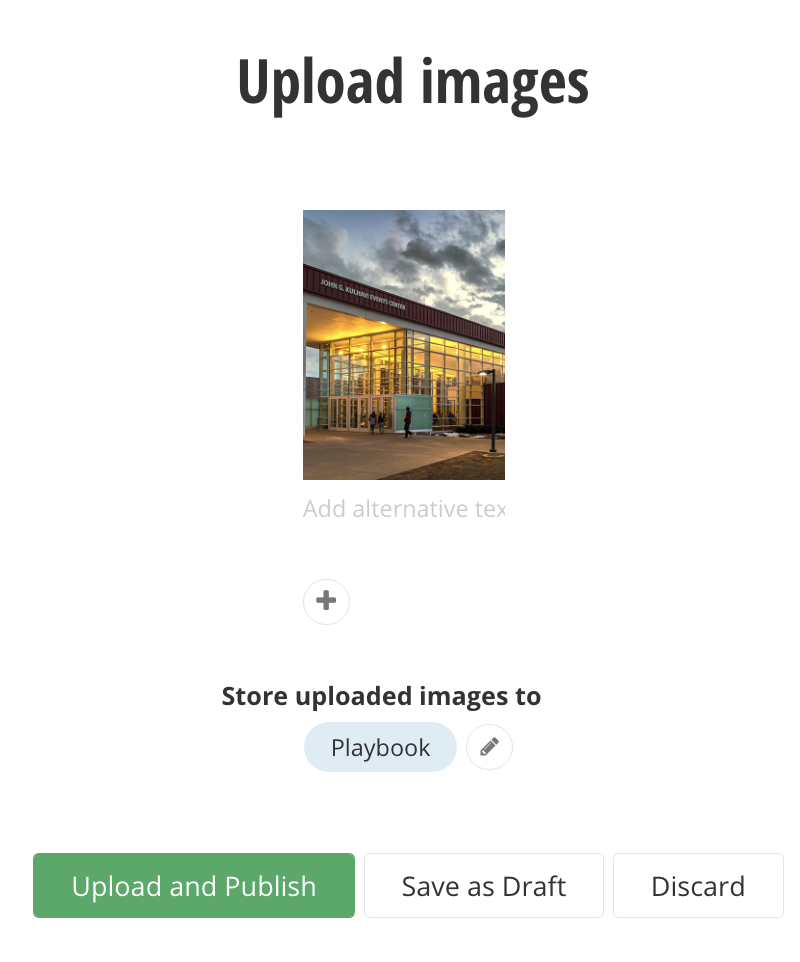
3. Click Upload images.
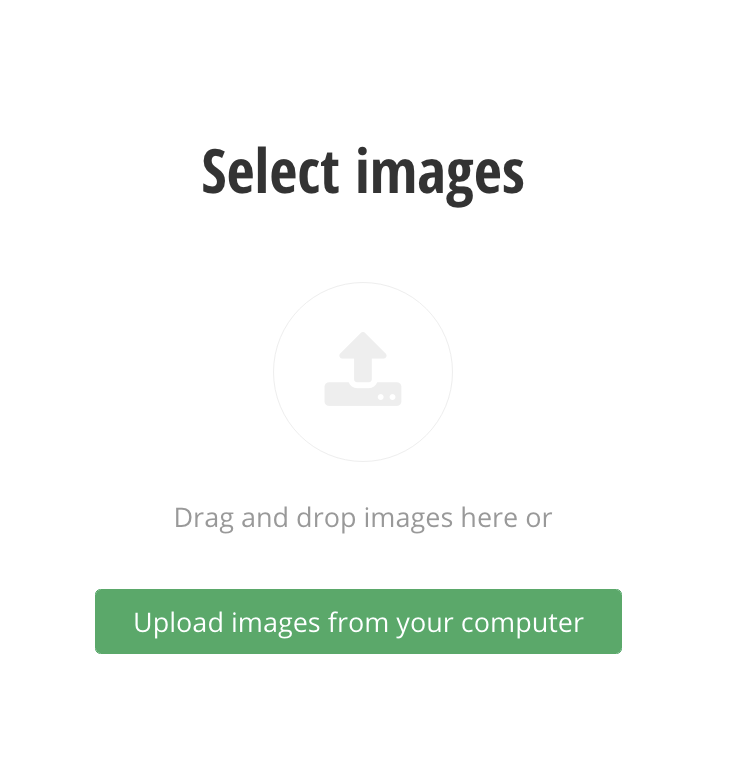
4. Select an image from your computer.
Note: You can either drag and drop the image or click Upload images from your computer.
5. Once you've selected your images, click Save as Draft. This will let you fill in the image properties before you send your image for approval.
6. Return to the folder you added your images in and select the image you want to add the properties to.
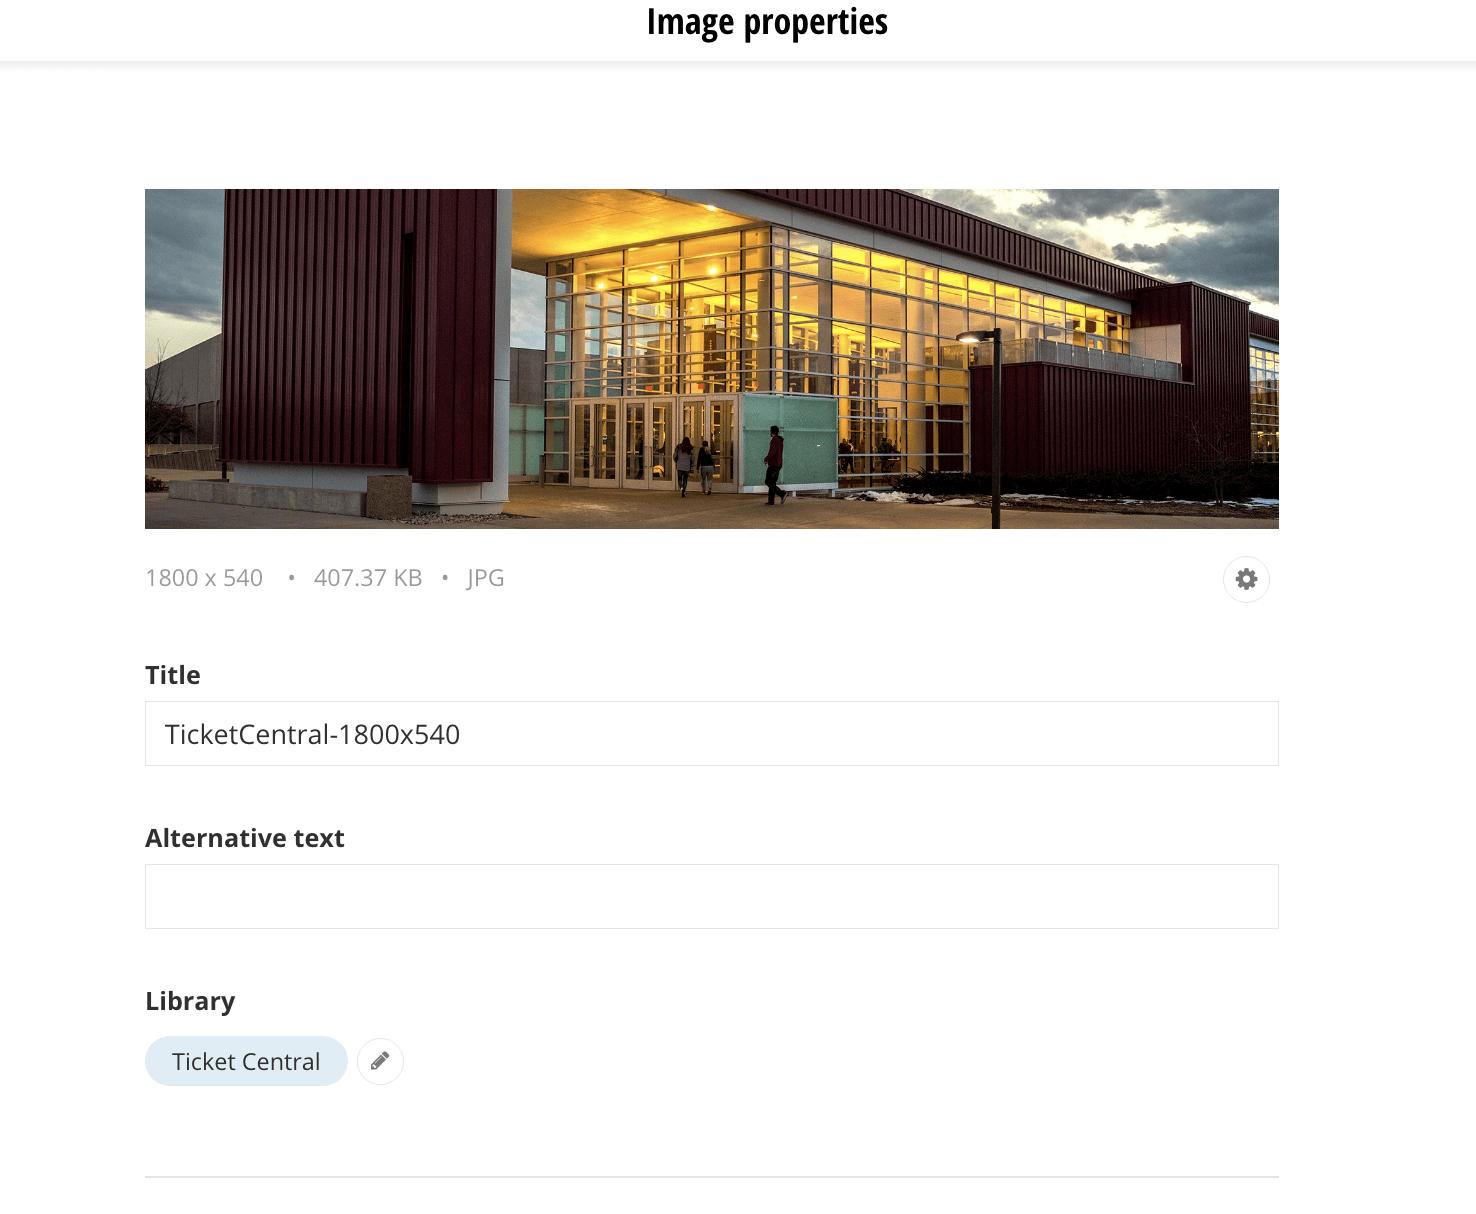
7. Fill in the Alternative Text and check that the image is in the correct library.
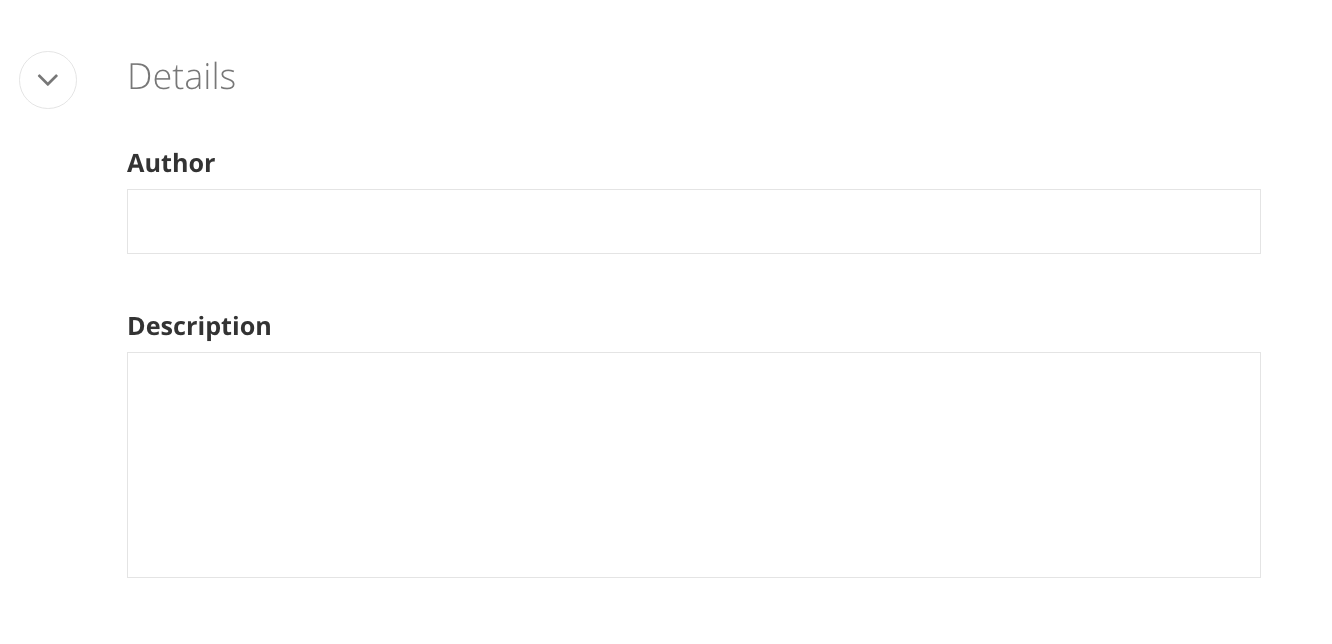
8. Fill in the Author and Description fields.
9. Select a Category for your image. Images do not need Tags.
10. Once all the information has been entered, Send for Approval.
