Gold Proof Points Layout
For use in Full-Width containers only.
Direct user attention by displaying content in a card-like format works well with three information groups.
On mobile, the content will slide left to right.
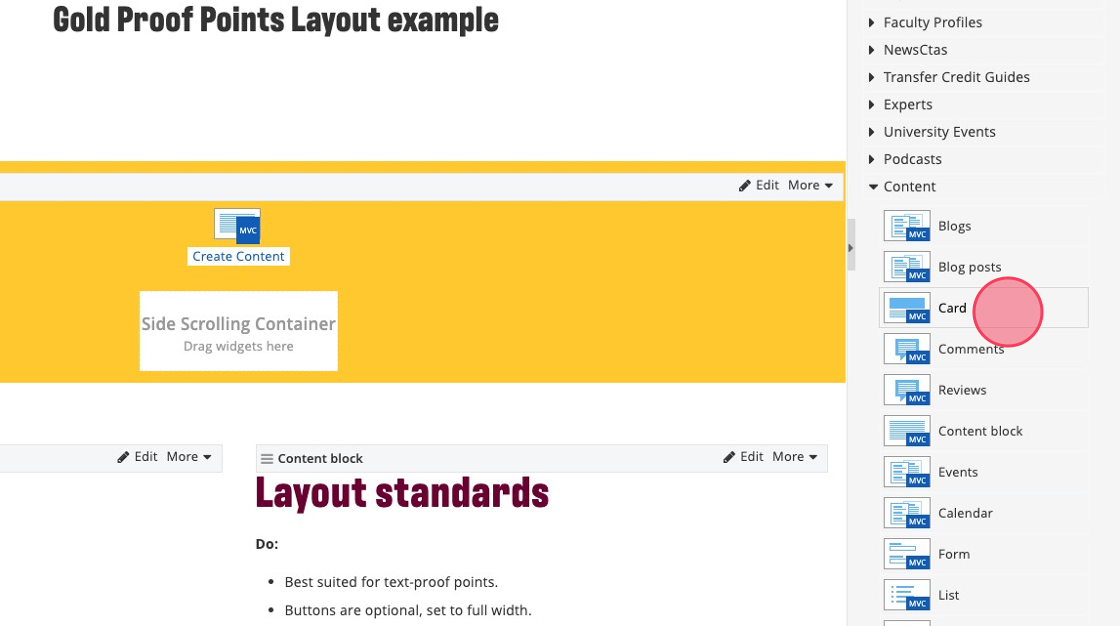
Gold Proof Points Layout example

Get to know CMU
21,000+
internship opportunities
Get job experience before the job offer with internships here in Michigan and around the world.
44
art and creative spaces
Produce a television show, create in ceramics and print studios or perform on stage.
Explore facilities227
labs on campus
Test apparel on high-tech manikins, research diseases or monitor the stock market.
Visual demo
Layout standards
Do:
- Best suited for text-proof points.
- Buttons are optional, set to full width.
- Heading field is required.
Do NOT:
- Include extra text. This will cause the content to stretch, be mindful of your character count.
- Add images.
Written instructions
1. Navigate to your page. Click "Layout".

2. Scroll all the way down to "gold-proof-points-layout". Drag the layout into the full-width container.

3. Toggle back over to "Content".

4. Let's add content. Scroll down to "Content block" and drag and drop it into the correct area, labeled "Heading Container".

5. Now scroll down to "Card", and drag and drop the widget to the "Slide Scrolling Container" box.
6. Click "More".

7. Click "Duplicate". Do this one more time so you have a total of 3 cards.

8. Your page should look like this now! Heading, and three cards ready to be filled out.

9. Click "Create Content" on the very first one, to label your heading for the layout. This is required.

10. Type in your heading, and assign it an H tag.

11. Click "Save".

12. Great! You should be able to see your heading. Now click "Create content", to begin filling in the first card.

13. Click the drop-down under "template" and ensure you select "Proofpoint". From here you will fill in heading, sub heading, as well as description! Do NOT add an image.

14. Buttons/CTA's are optional but if you choose to add one, fill in the fields for the button below.

15. Add in your URL or select the page you are linking to.

16. Click "Save".

17. You have successfully filled in one card! Now repeat the steps above for the remaining two cards.

18. Click "Save as Draft".

19. If you preview your page, it should look like this!
