- In the top navigation, click on Content.
- In the content dropdown menu, click on Forms.
- Create a form button: Creates a new form.
- Form status icon: Shows the status of the form. Can be published, unpublished, saved as draft, etc.
- Form title: Displays the name of the form.
- Form responses: Shows the number of responses a form has.
- Last modified: Shows the date the form was last modified.
Form widgets
Form widgets are divided into three main sections: Basic, Choices and Other.
- Search bar: Use the search bar to find your specific form.
- Form responses: Click on this number to see the responses to your form.
Setting up form responses
To set up form responses, you'll need to access the Title and Properties section under the Action Ellipses.
From here, you can:
- Limit the number of responses from each person.
- Set up a form completion confirmation message for users (on-page or by email).
- Set up email notifications to form owners and/or others signaling when a form has been completed.
Title and properties
- Restrictions: Limit the number of responses from each person by selecting the desired option.
- After submission users will: Decide if users will receive a message or be redirected to a page once they submit the form.
- Message: Enter the message users will receive once they've submitted the form.
Notifications
- Confirmation email: Check the box to send a completion confirmation email.
- Confirmation email template: Shows the email template that will be sent to recipients.
- Notification email: Check the box to send an email notification to form owners when the form has been completed.
- Notification email template: Shows the notification template that will be sent to form owners.
- Notification email recipients: Enter the email address you want to receive the form notification emails.
Viewing form responses
Once you've clicked on the green number under Form responses, you'll see the screen to the left, where you can see the information form respondents provided.
Downloading form responses
To download the responses to your form, first find your form and click on the green number under Form responses.
Next:
- Check the box next to the response or responses you want to download. Note: There is no limit on the number of responses you can download at one time.
- Click on the Actions dropdown menu above the form titles.
- Click on Export to Excel and Sitefinity will generate a downloadable spreadsheet of the responses you selected.
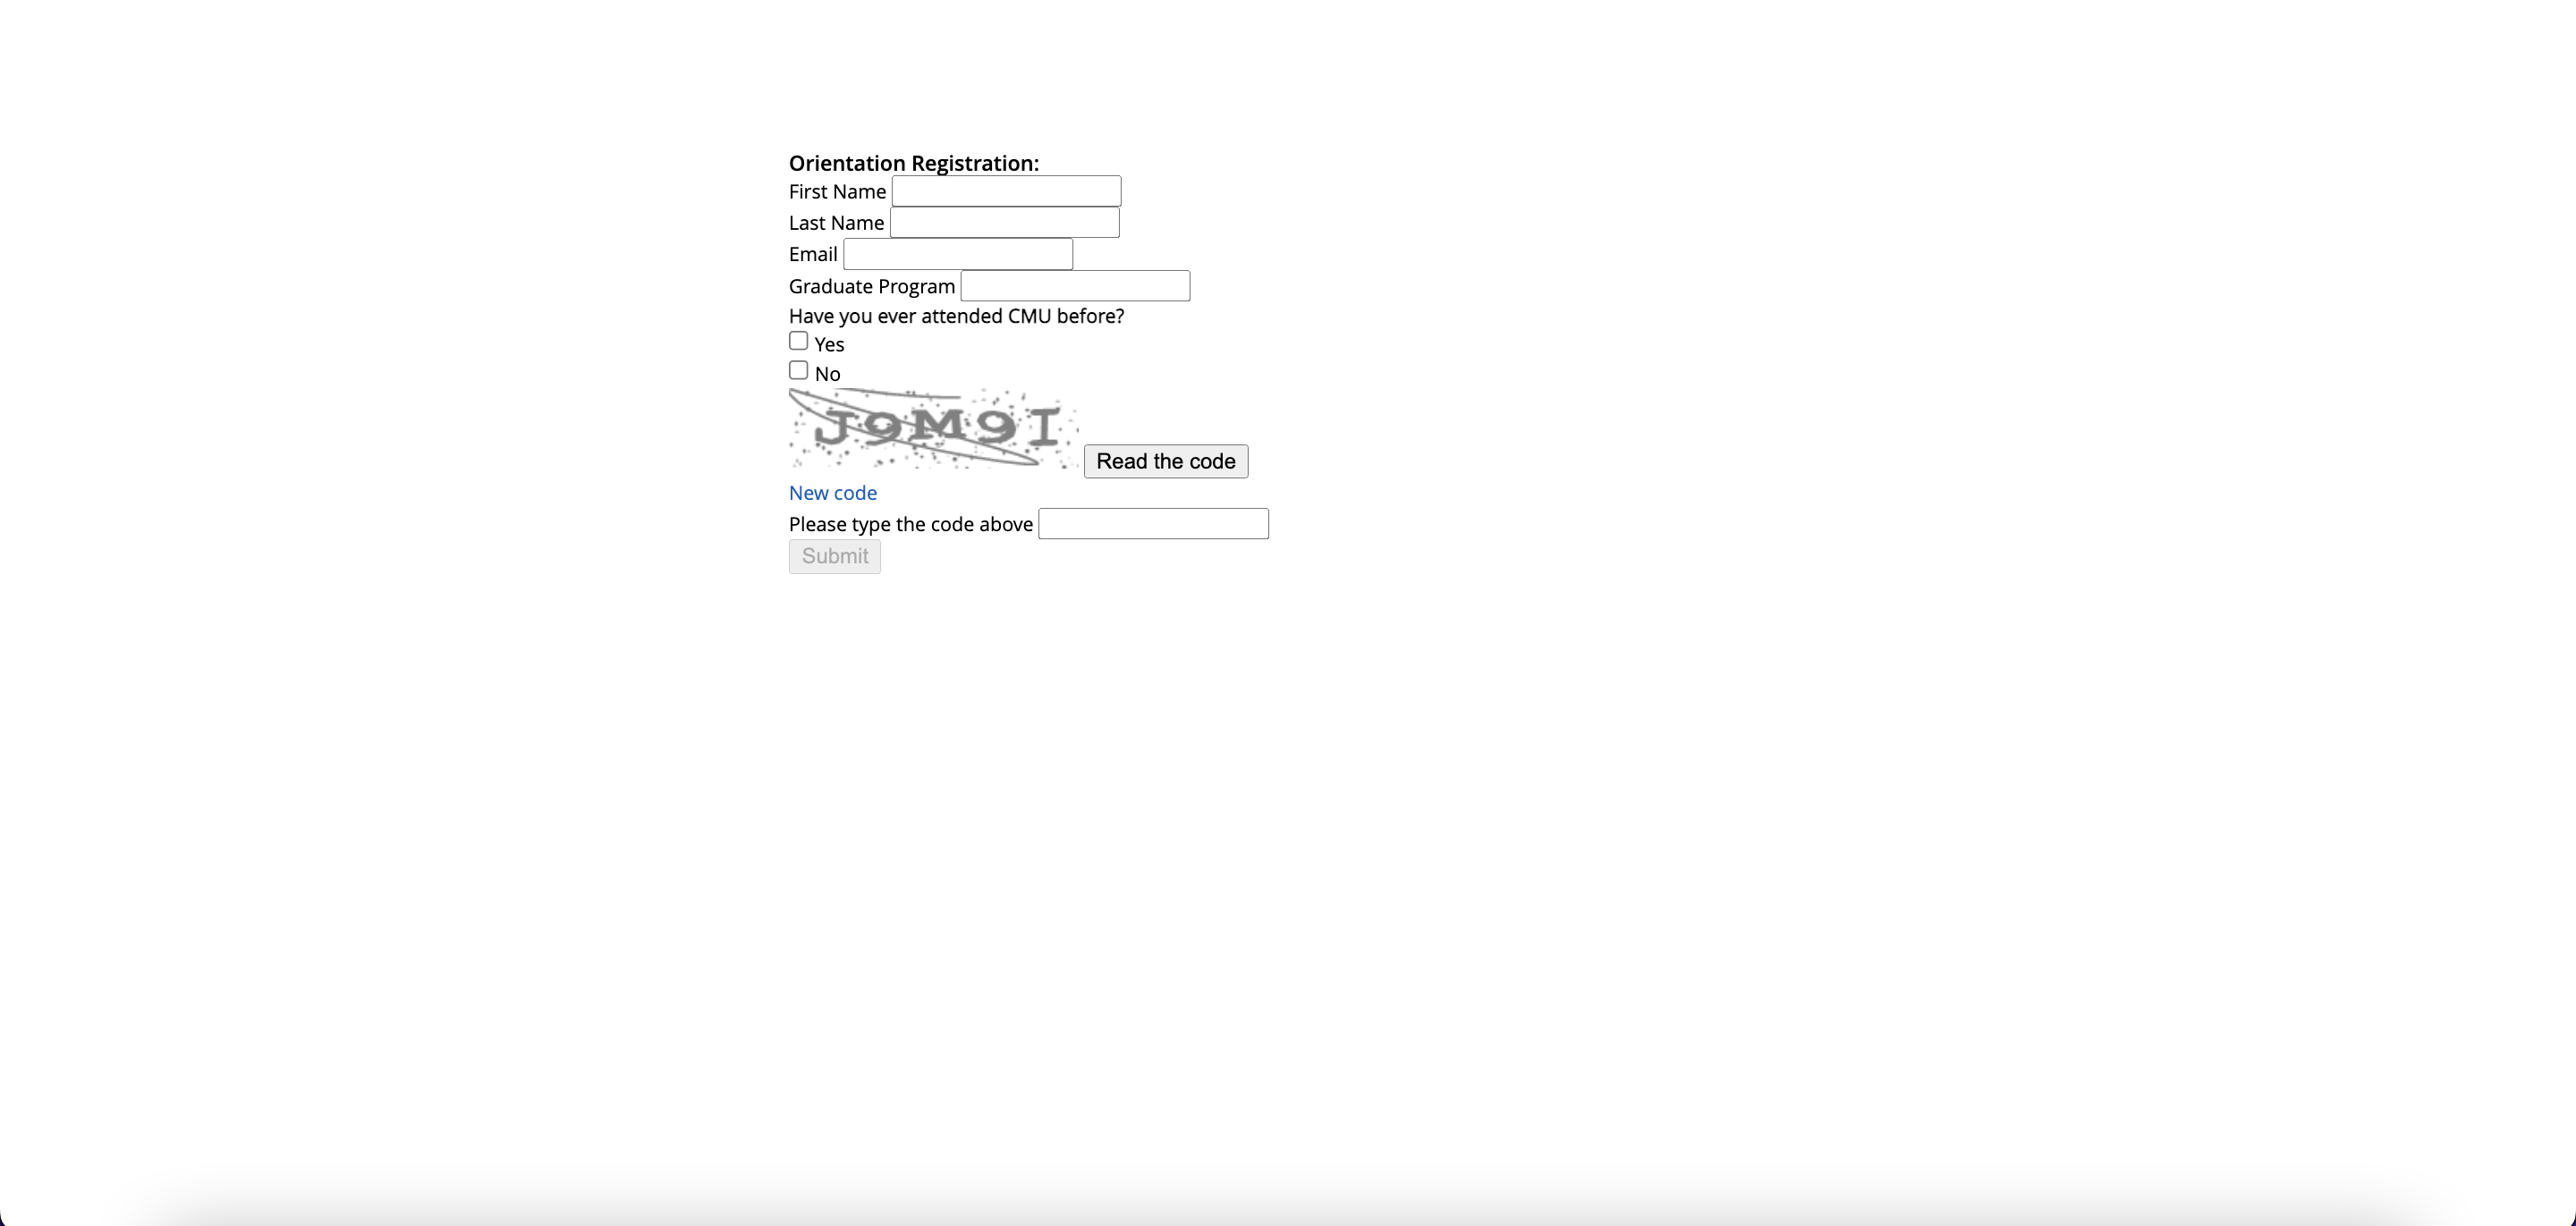
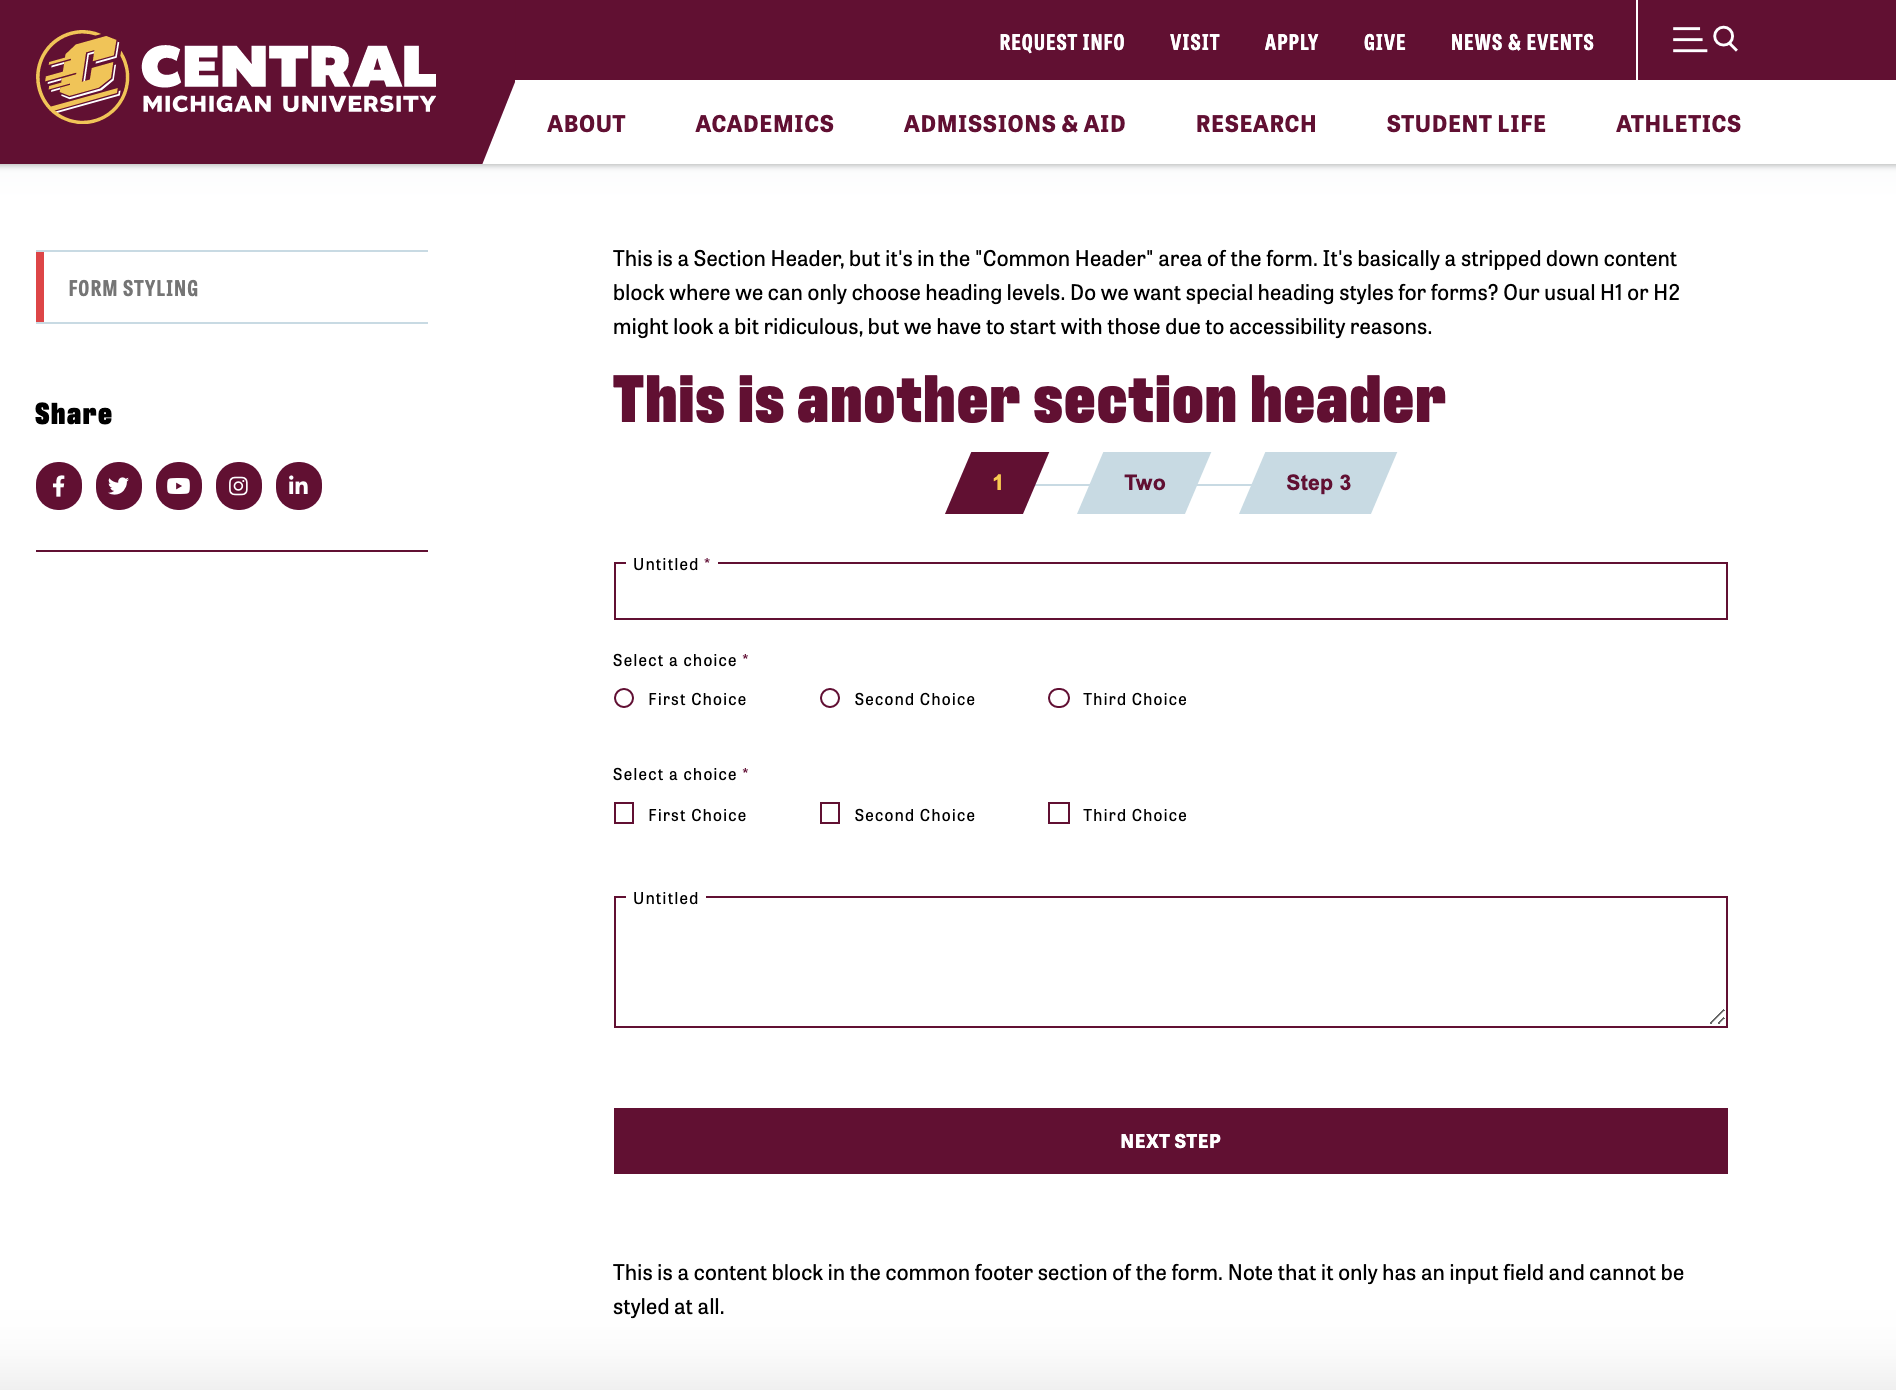
In order to see the correct rendering of a form, you must use the form widget to add it to a page. The "View" button on the forms dashboard does NOT show you how a form will look once live on the site.
Using the "View" button:

Page "Preview" with the form added using the form widget:

Save and send
- If you'd like to continue working on this page, but need to save your progress, click Save as Draft.
- If you're finished making changes to the page, and the page is ready for review, click Send for Approval.


