Now through October 31, we're waiving application fees for all freshman and transfer applicants!
*Common app code: Central27
College Contact Banner
For use in the full-width, bottom content area only.
Use the College Contact Banner to add your college lockup and contact and social media information to the bottom area of a page.
Visual demo
Widget standards
A layout is NOT needed for this widget.
Do:
- If your college has a preset, use that as your base.
- Go to Layout / Preset and select your college.
- Presets have been made for Alumni, CMU Online, and the 6 colleges.
- Use only one College Contact Banner per page.
- Include the college lockup.
- Include ADA text for social media buttons.
Do NOT:
- Add more than one College Contact Banner widget to a page.
Written instructions
1. Open the page you want to add the College Contact Banner to.
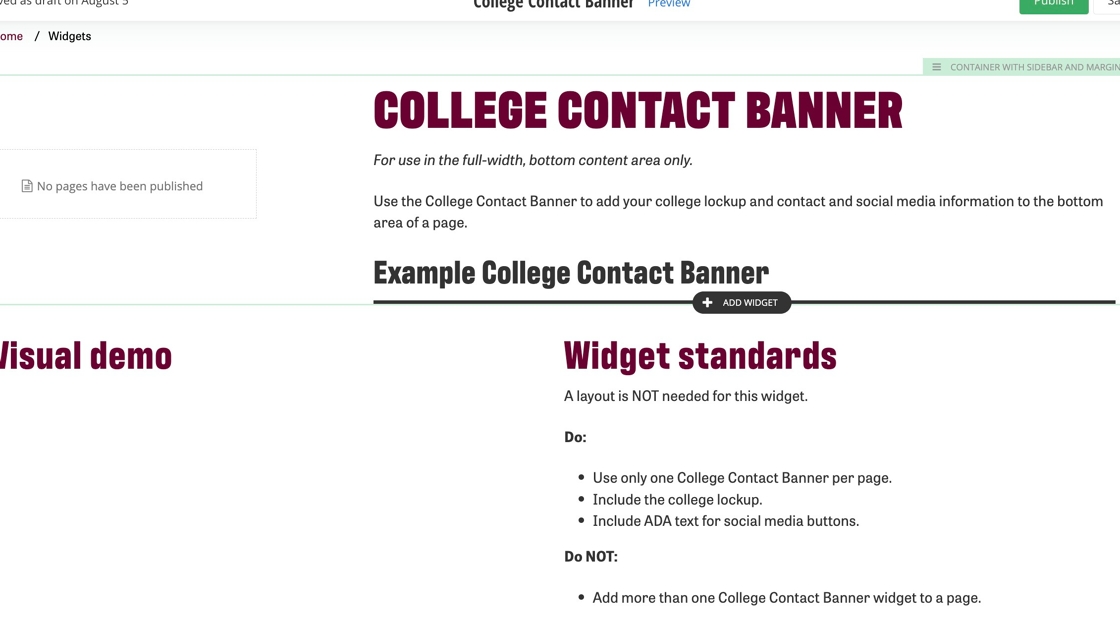
2. Click on +Add Widget.
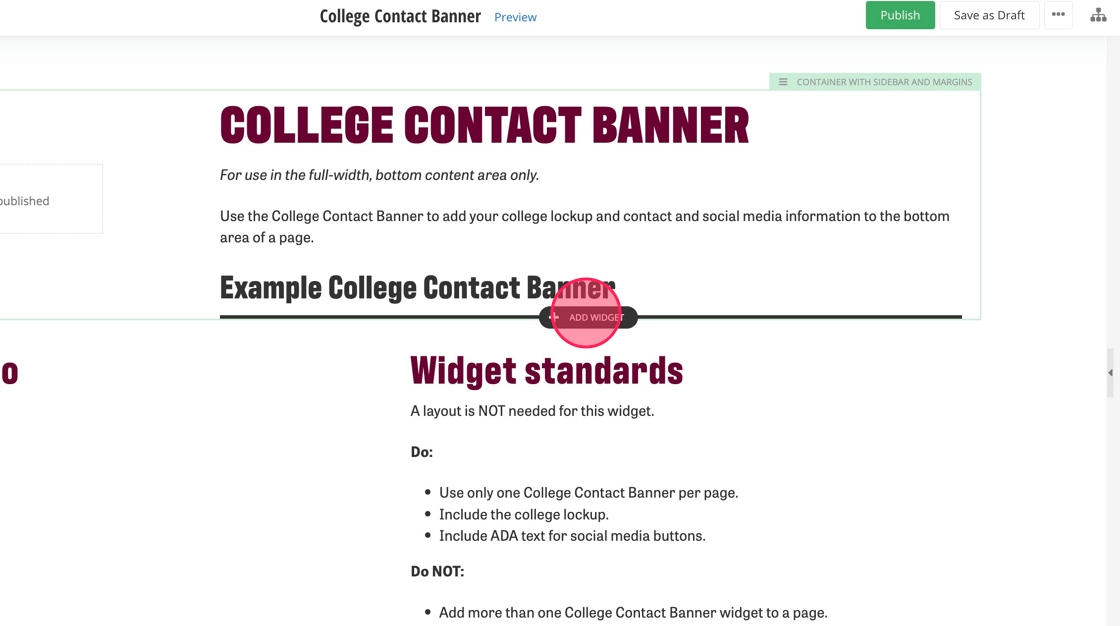
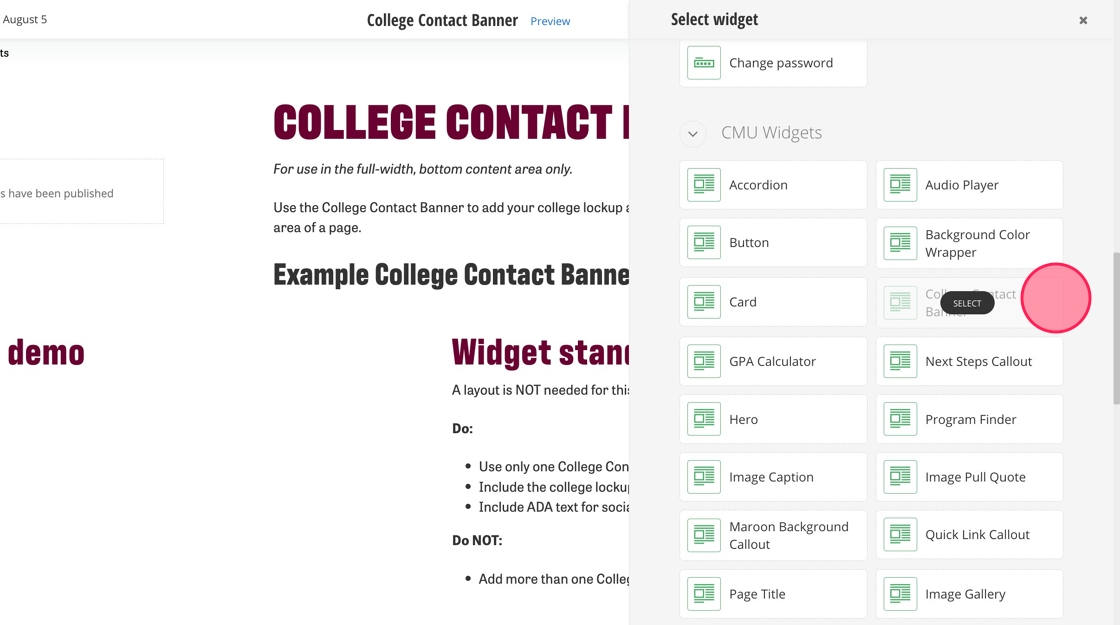
3. Find the College Contact Banner widget and select it.
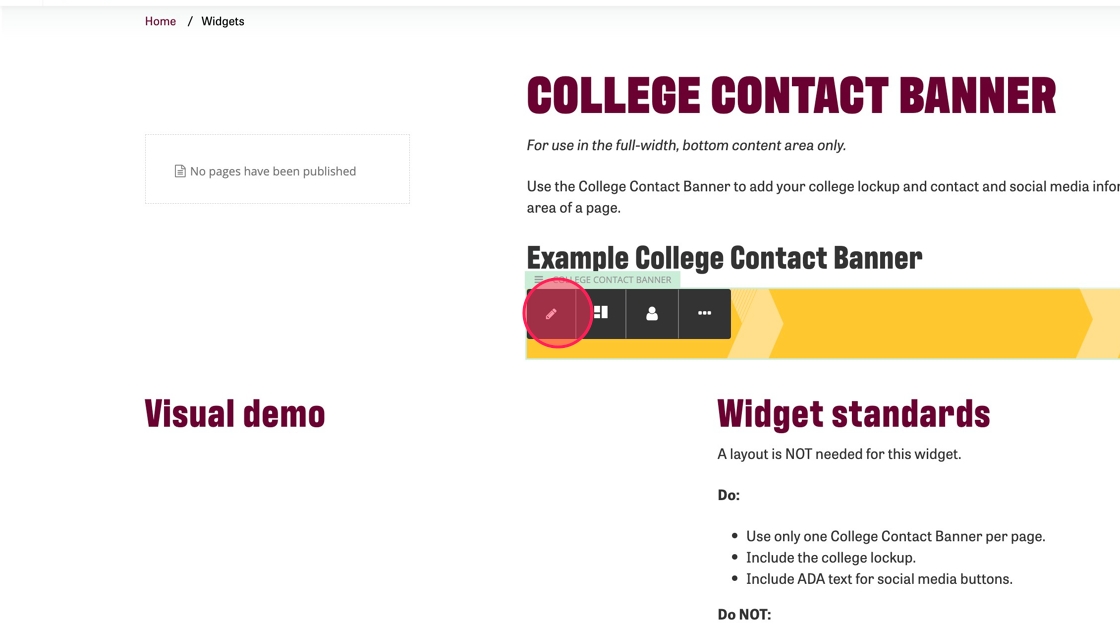
4. Click on the banner and then the pencil icon to edit it.
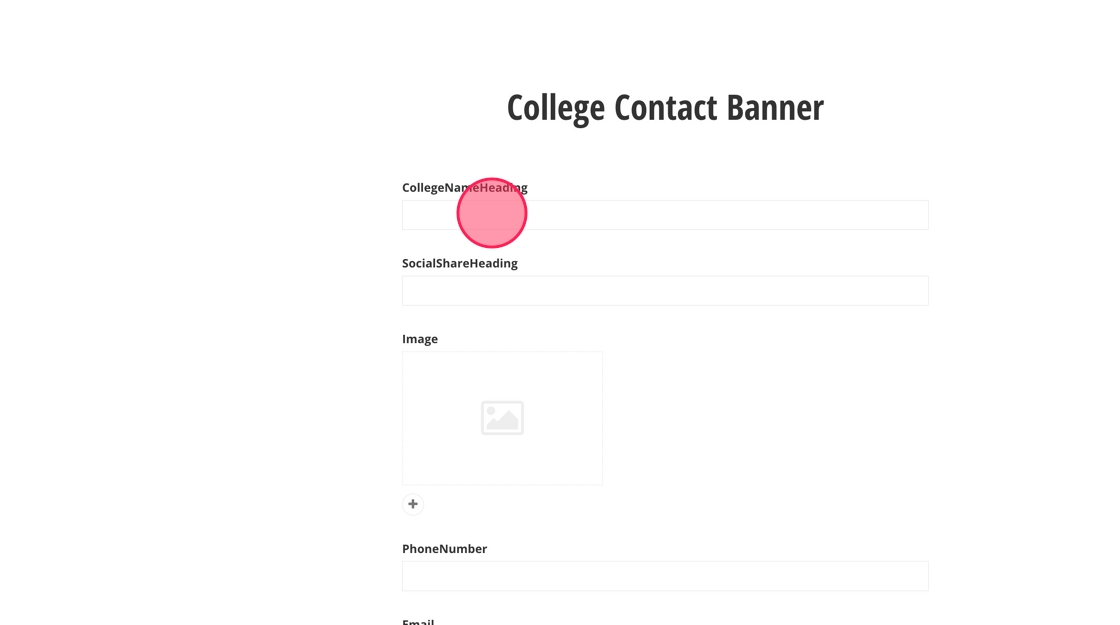
5. Type the college name into the "CollegeNameHeading" field.
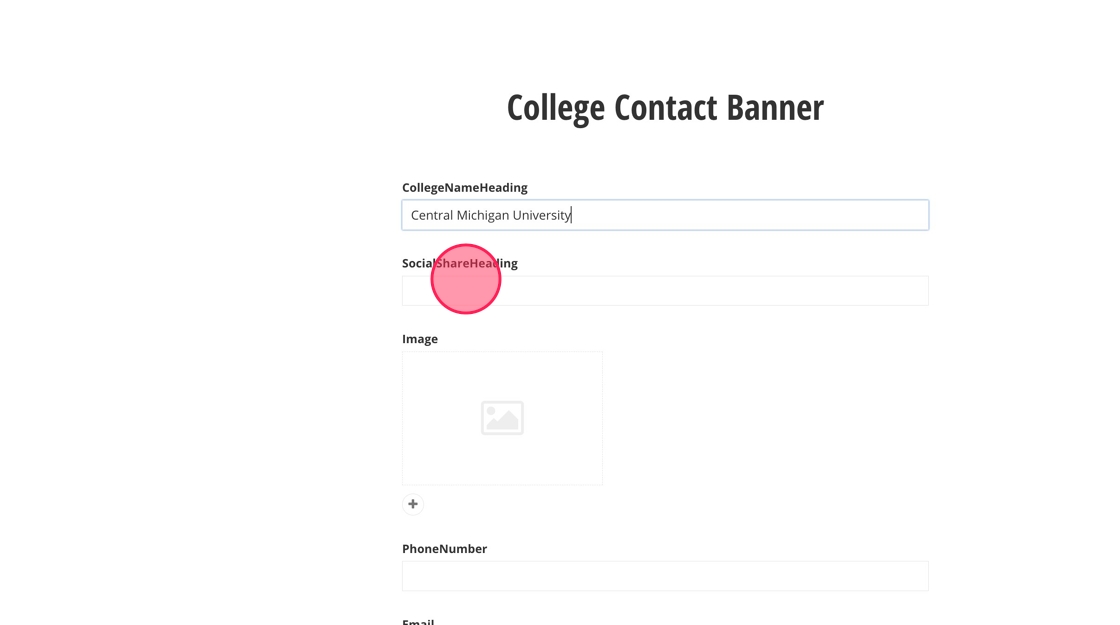
6. Type the heading to go above the social media buttons into the "SocialShareHeading" field.
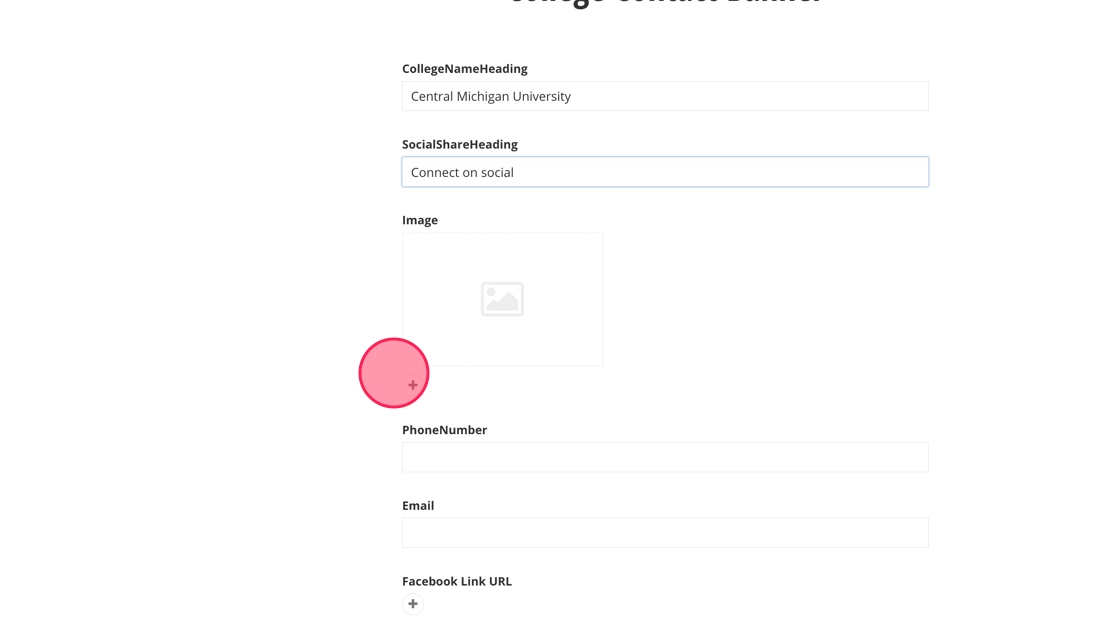
7. Add the college lockup to the banner using the image field.
Note: This image can only be the approved lockup in an .svg format.
8. Add a phone number for the college.
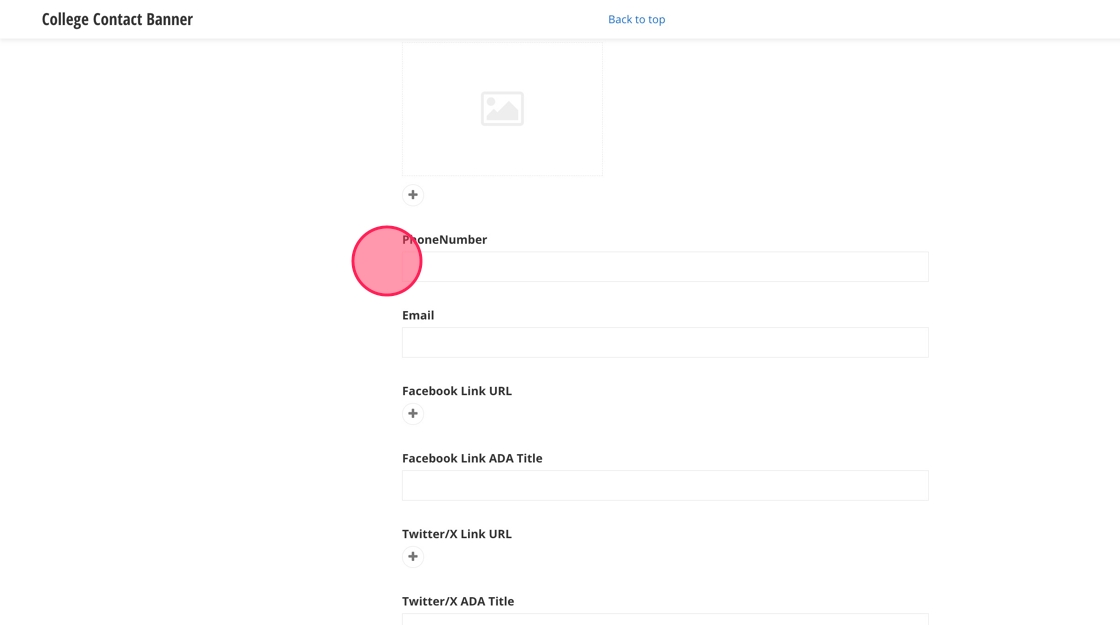
9. Add an email for the college.
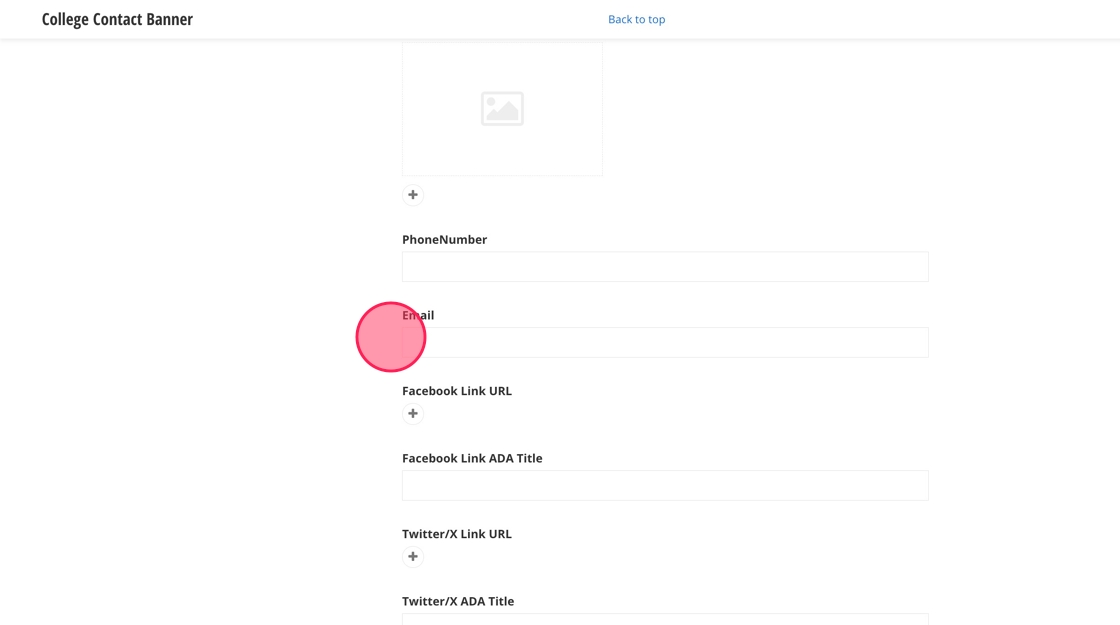
10. Add in the Facebook URL for the college's page.
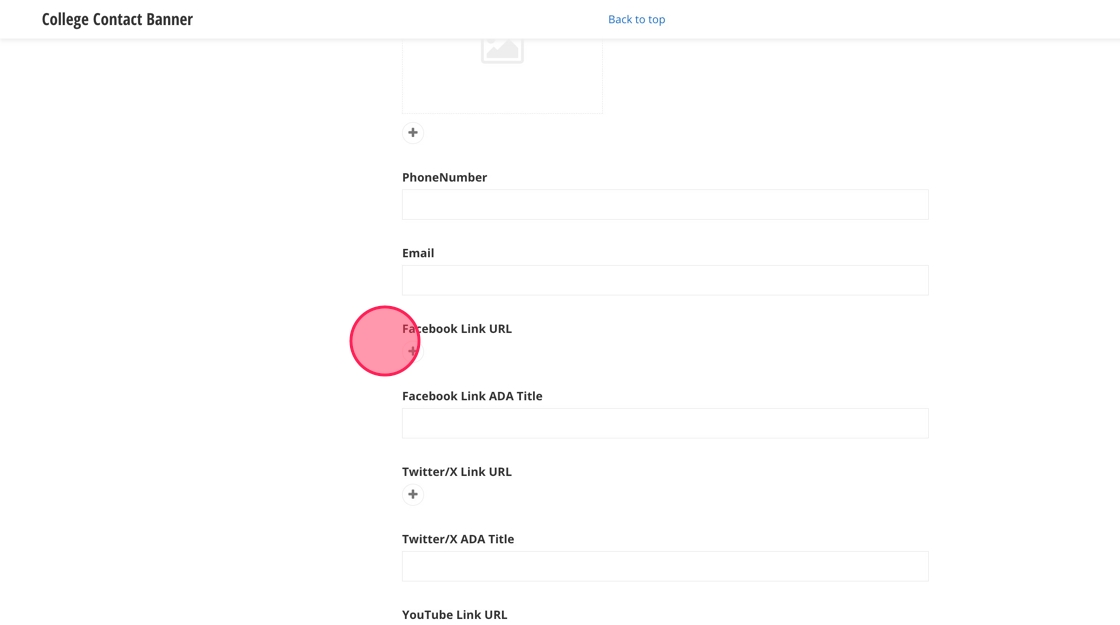
11. Add in the ADA title for the link you just added.
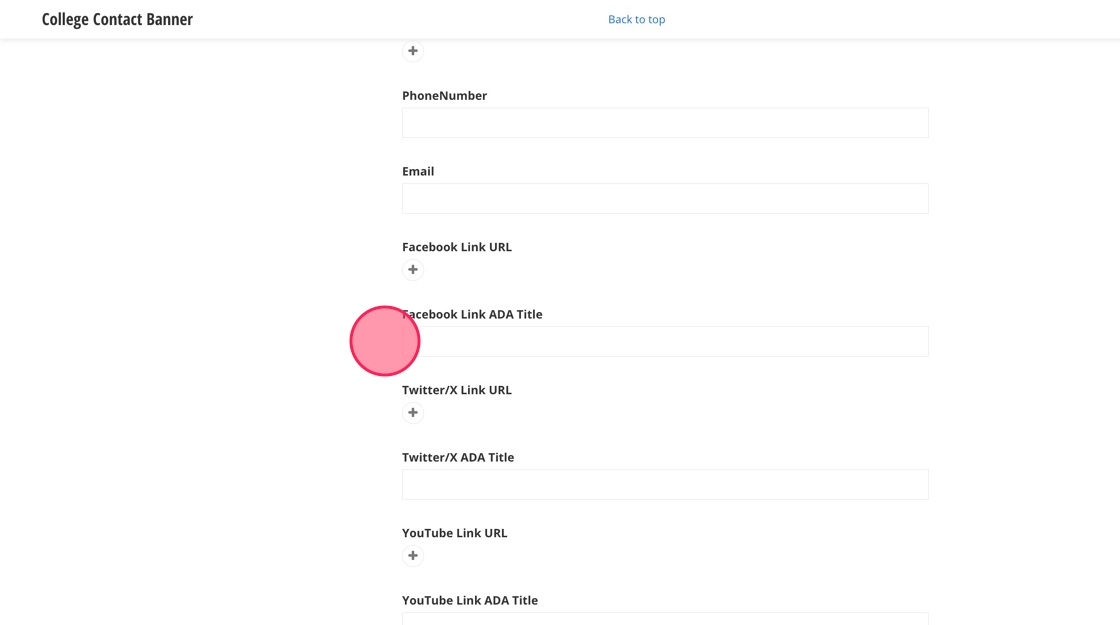
12. Repeat Steps 10 and 11 for the other social media channels you wish to add.
13. Click "Save."
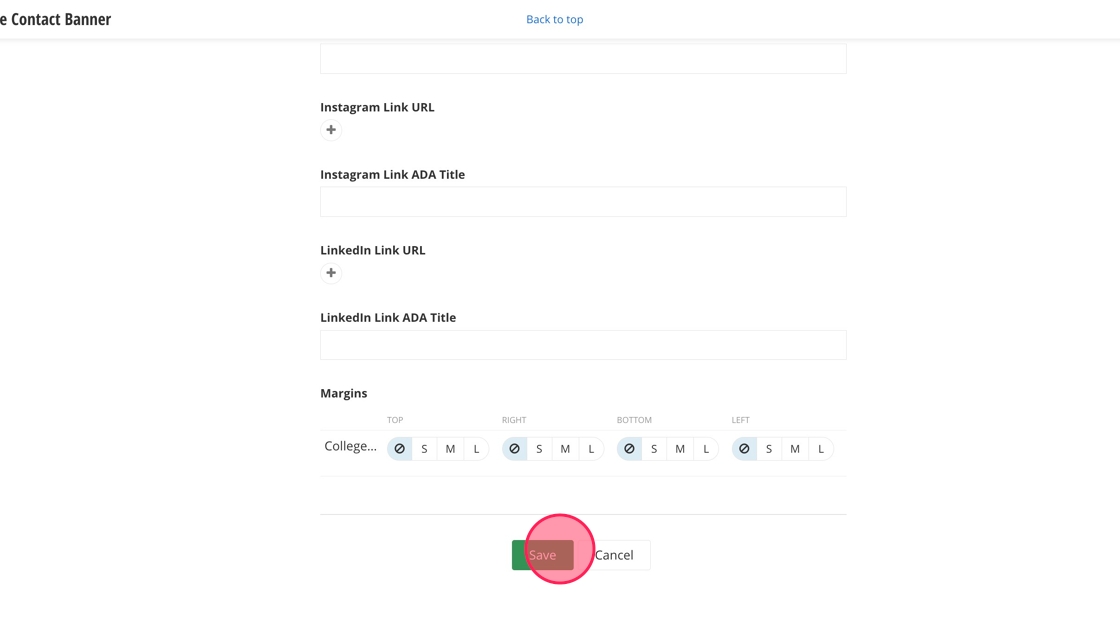
Save and send
- If you'd like to continue working on this page, but need to save your progress, click Save as Draft.
- If you're finished making changes to the page, and the page is ready for review, click Send for Approval.

