


Visual demo
Widget standards
A preset is needed for this widget.
Do:
- Only place this widget in the main content area.
- If a faculty or staff member leaves the university, you will need to remove them from the widget manually.
Do NOT:
- Use multiple people widgets to add each individual person to your page. Use one people widget with multiple people in it.
- Add a placeholder image to a people page. Since images are optional, the system will automatically populate an Action C for the profile image when no image is added.
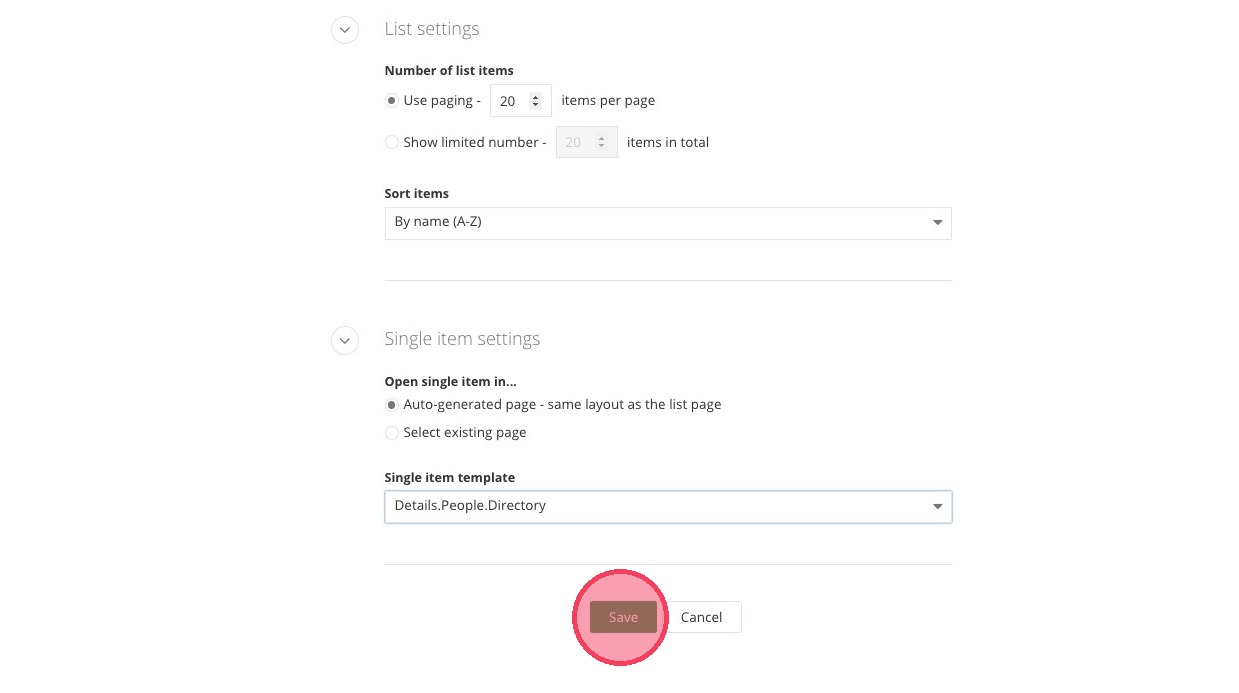
- Leave "Auto-generated" as the selected option under Single List Items.
Written instructions
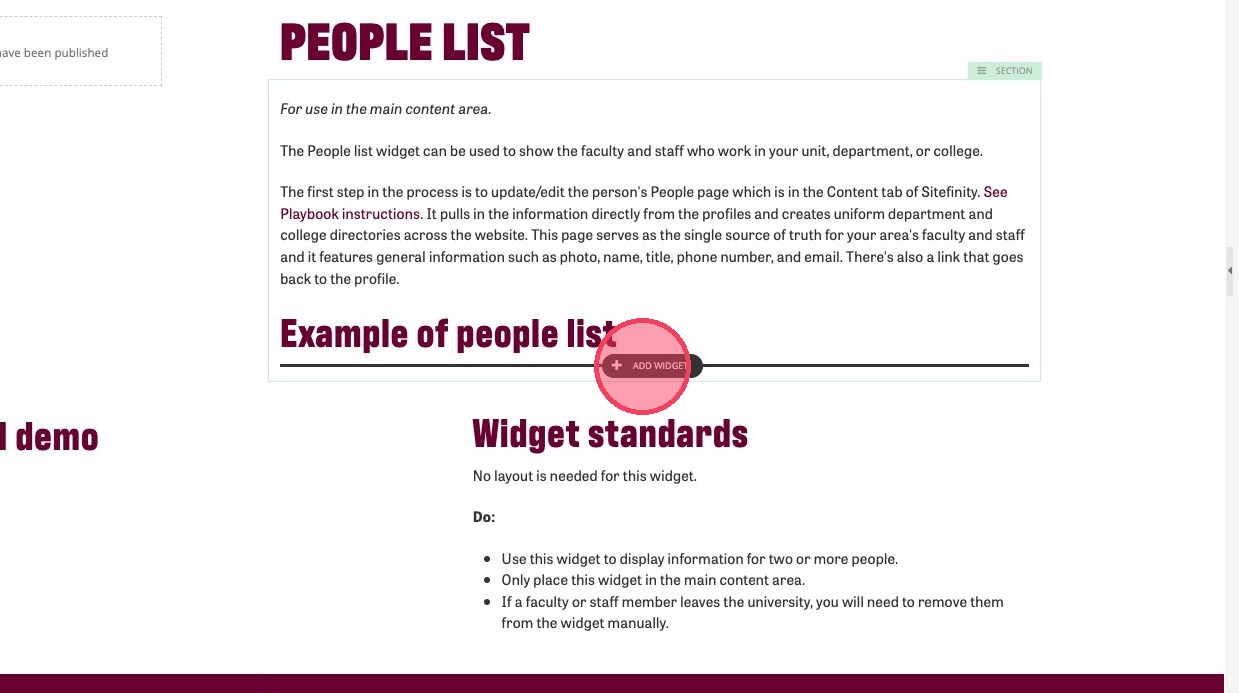
1. Open the page you want to add the people list widget to and click on +Add Widget.
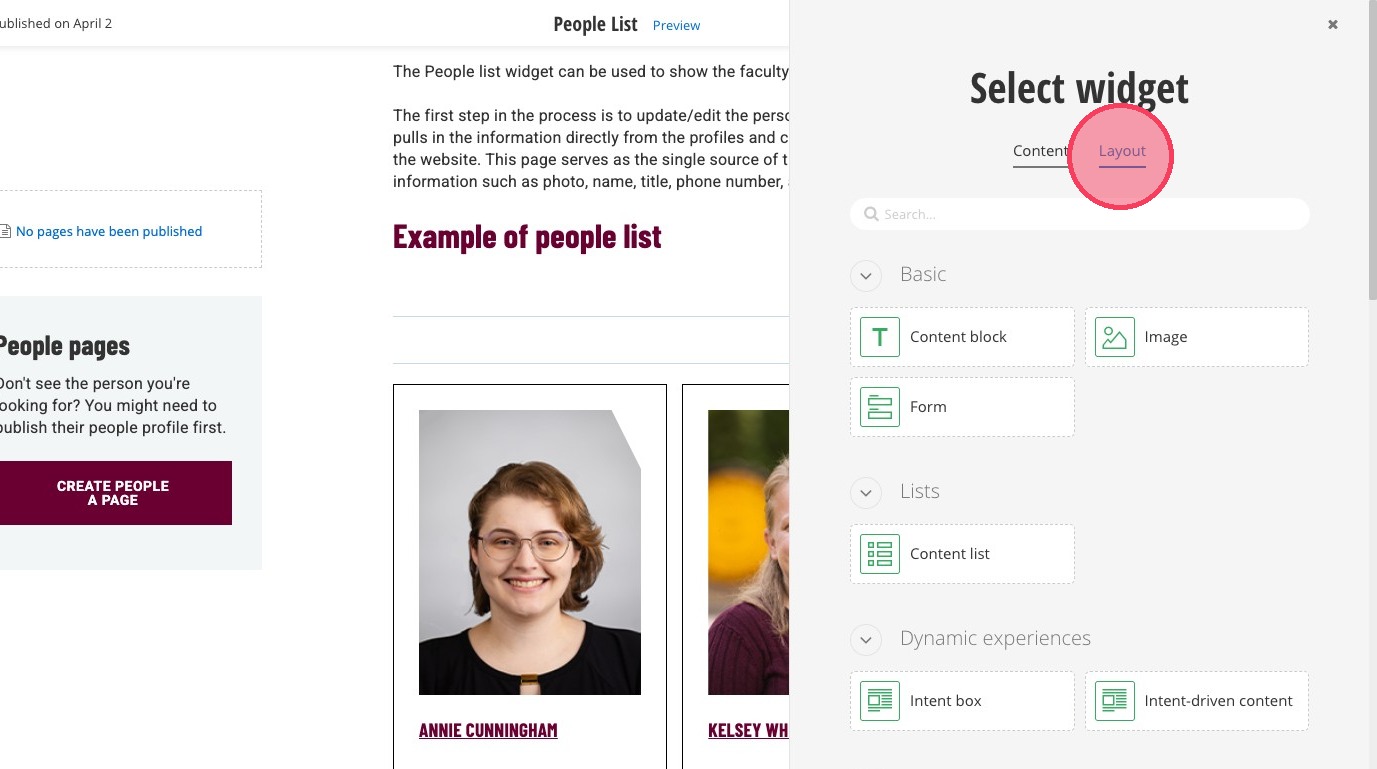
2. Click "Layout"
3. Select the "Section Preset."
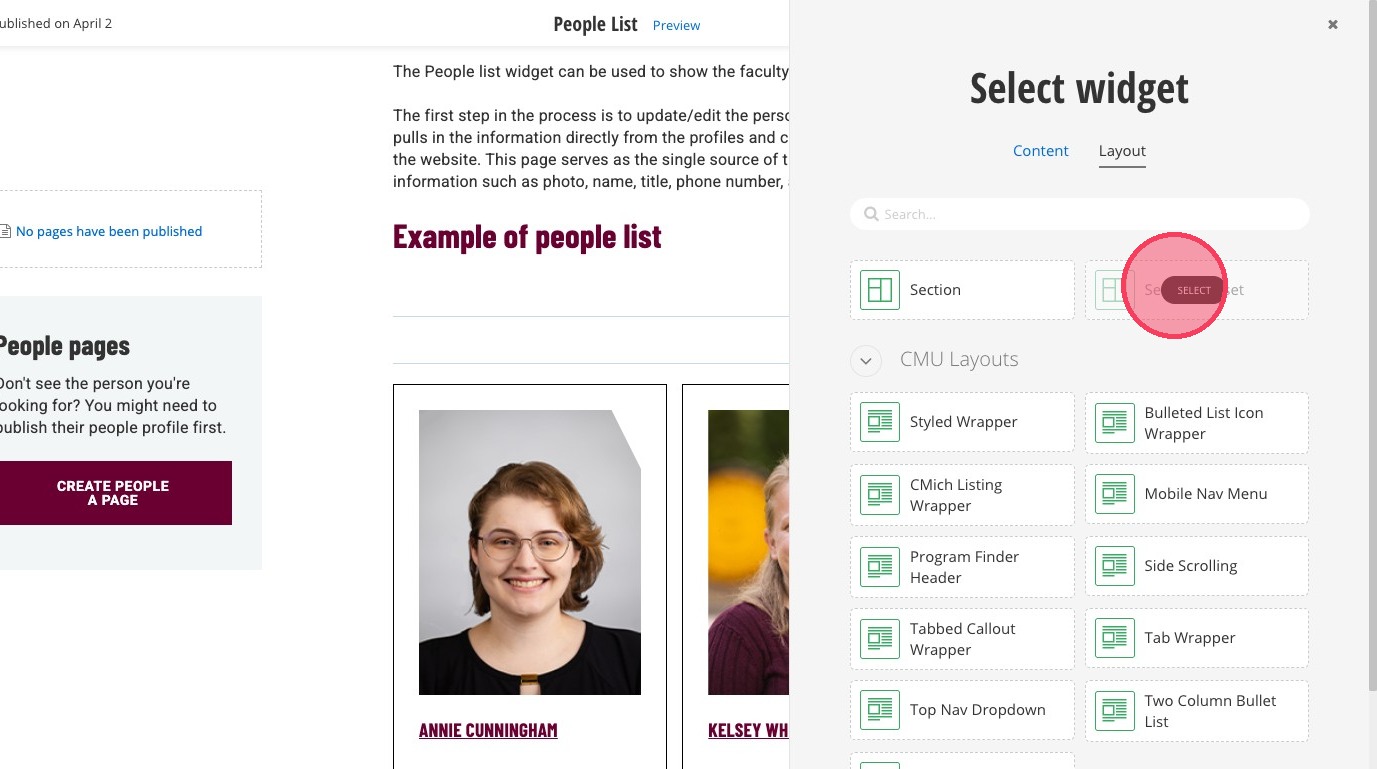
4. Click the preset named "People."
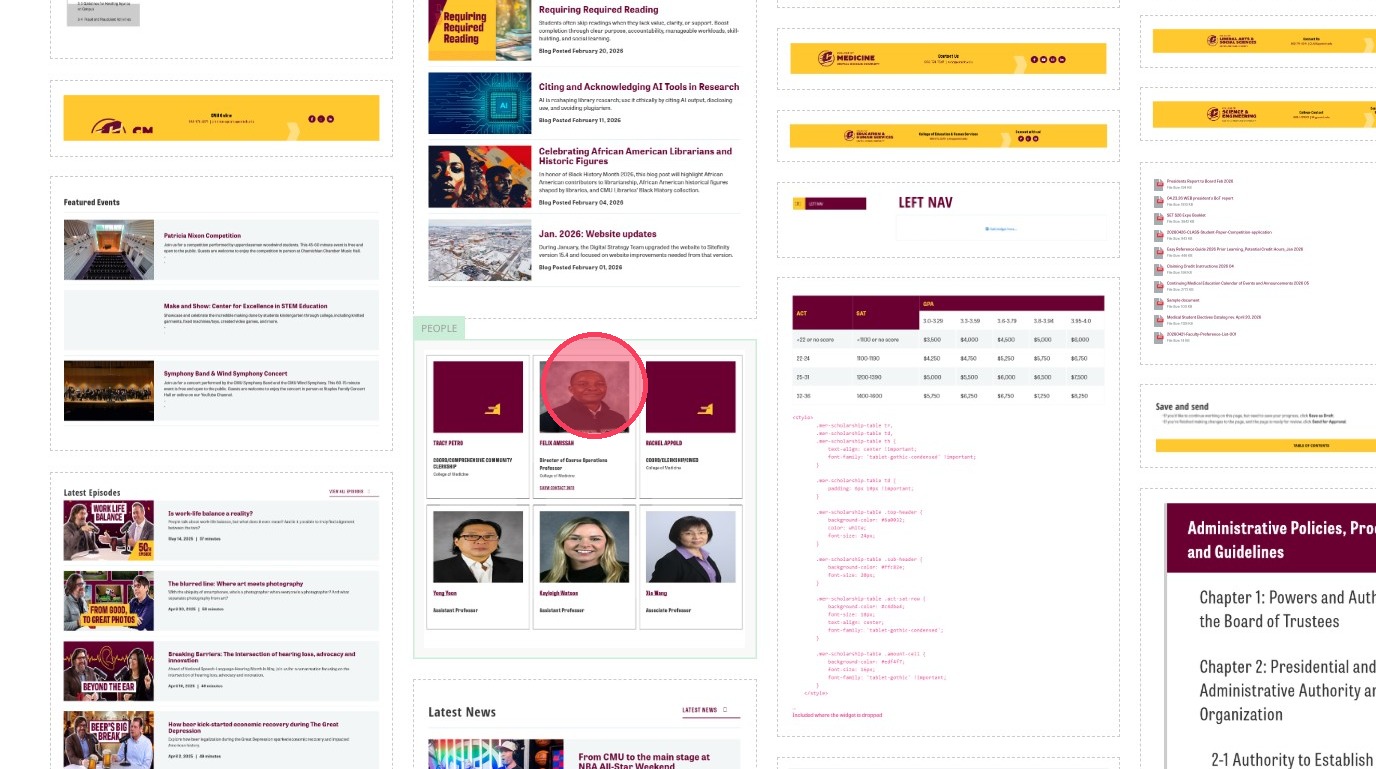
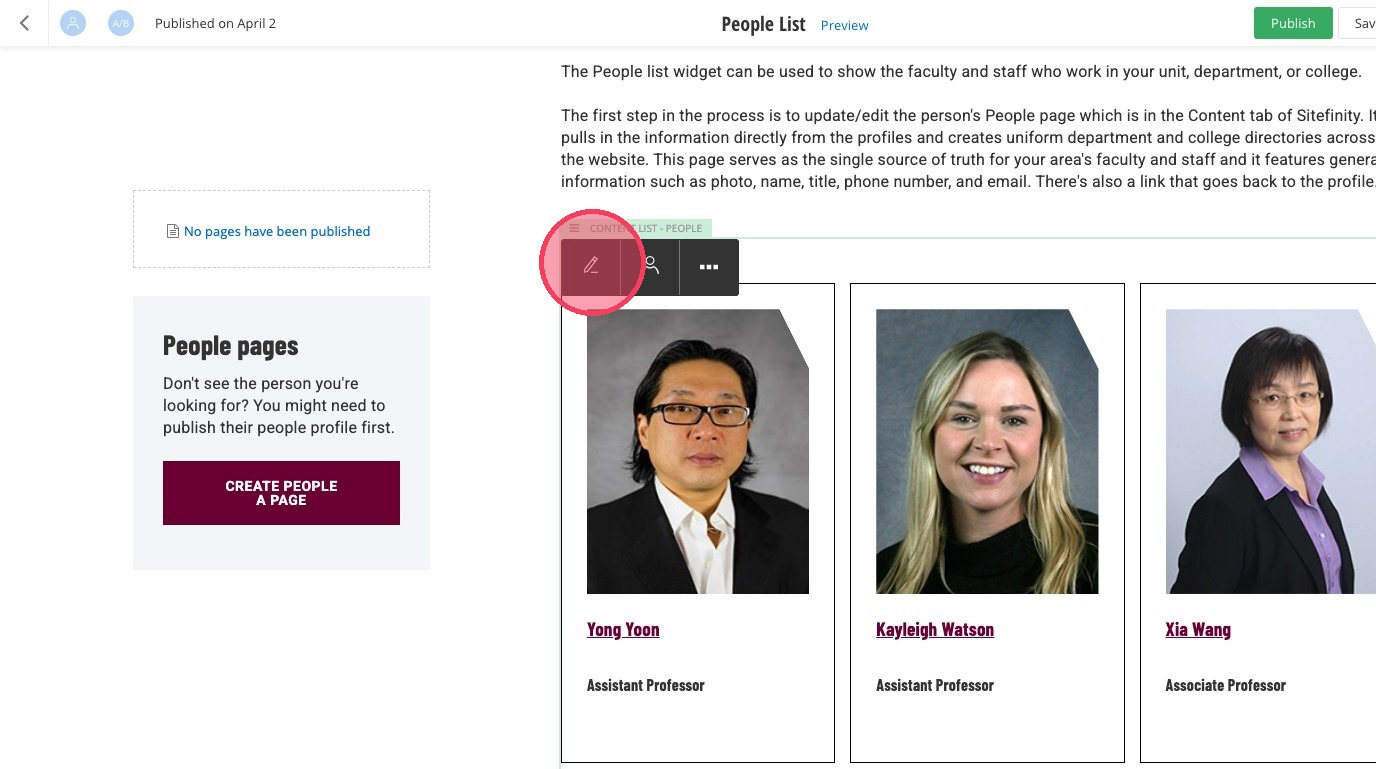
5. A list of people will appear on your page. Select the widget to open the editing menu.

6. Click the editor pencil.
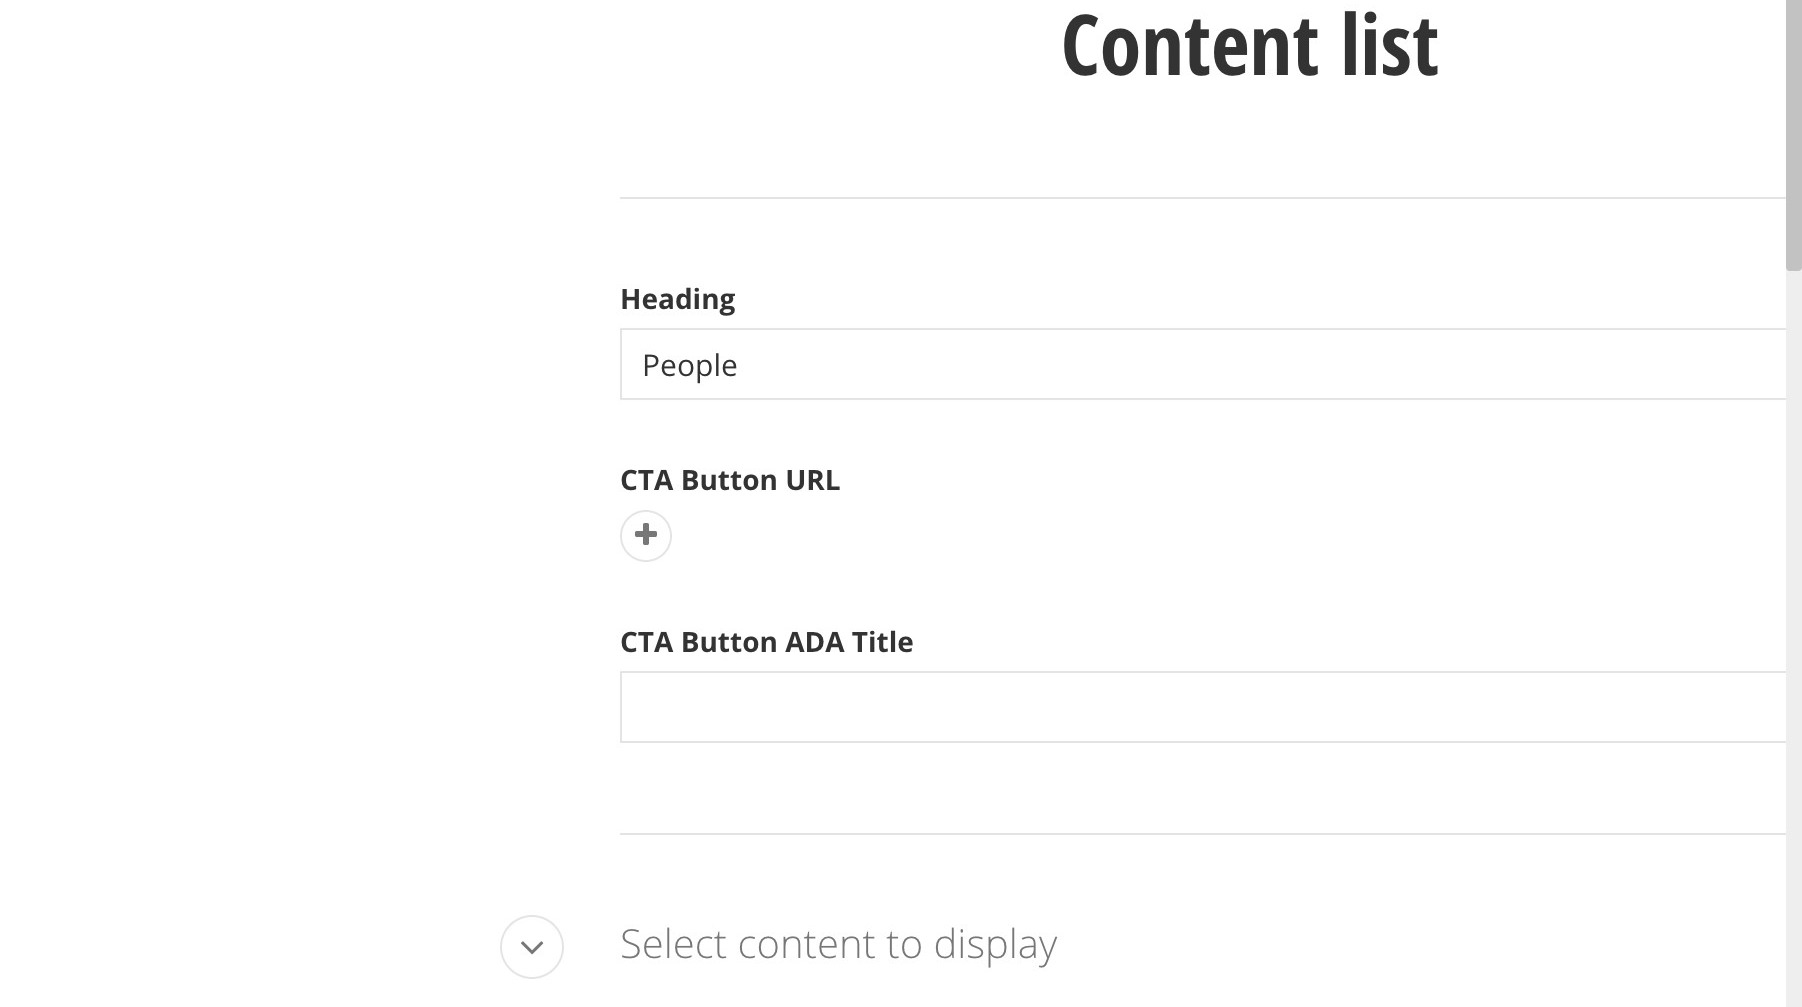
7. OPTIONAL: Adjust the heading for your people list widget.
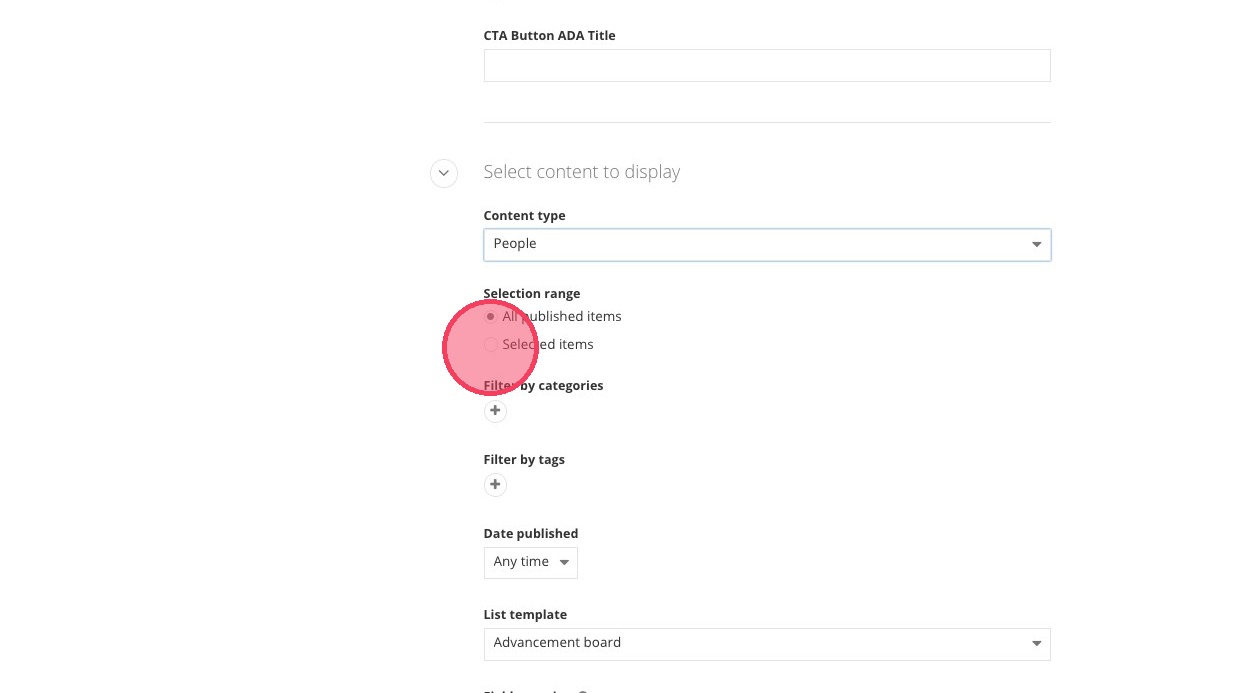
8. There are two options for the Selection range:
- Option 1- All published items: Shows all published people.
- Option 2- Selected items: Shows only the people you select.
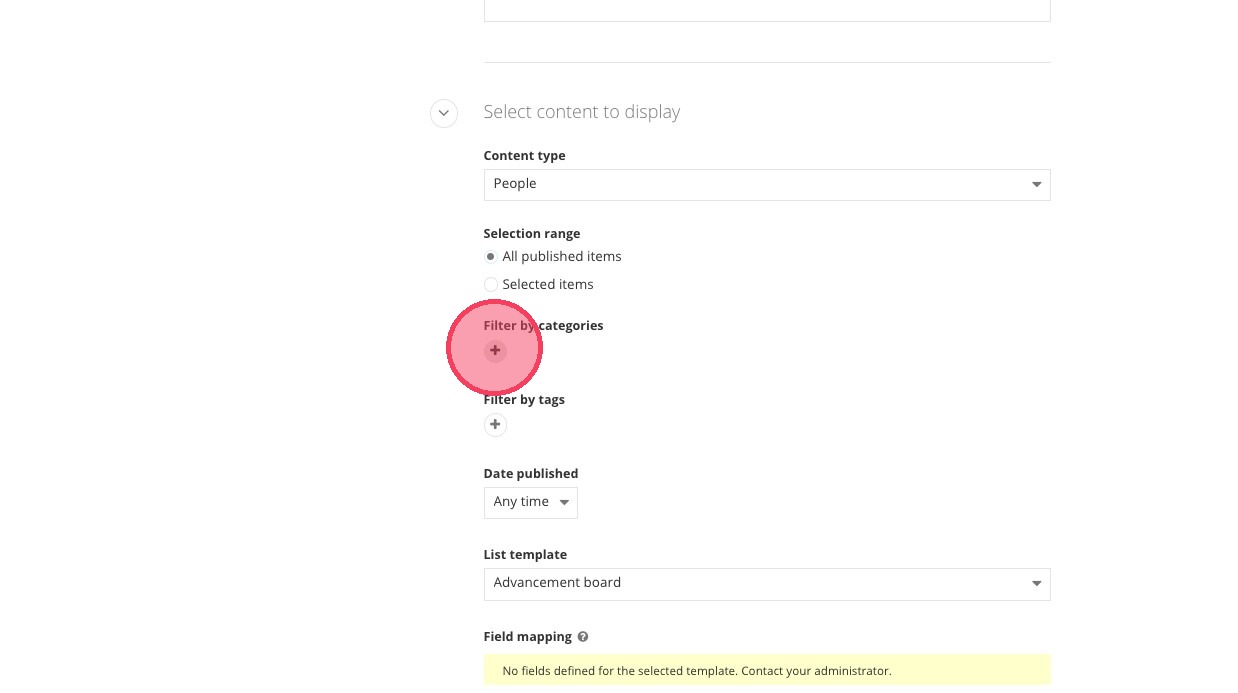
9. Option 1- If you select "All published items", you can then filter by categories, tags, as well as the date published.
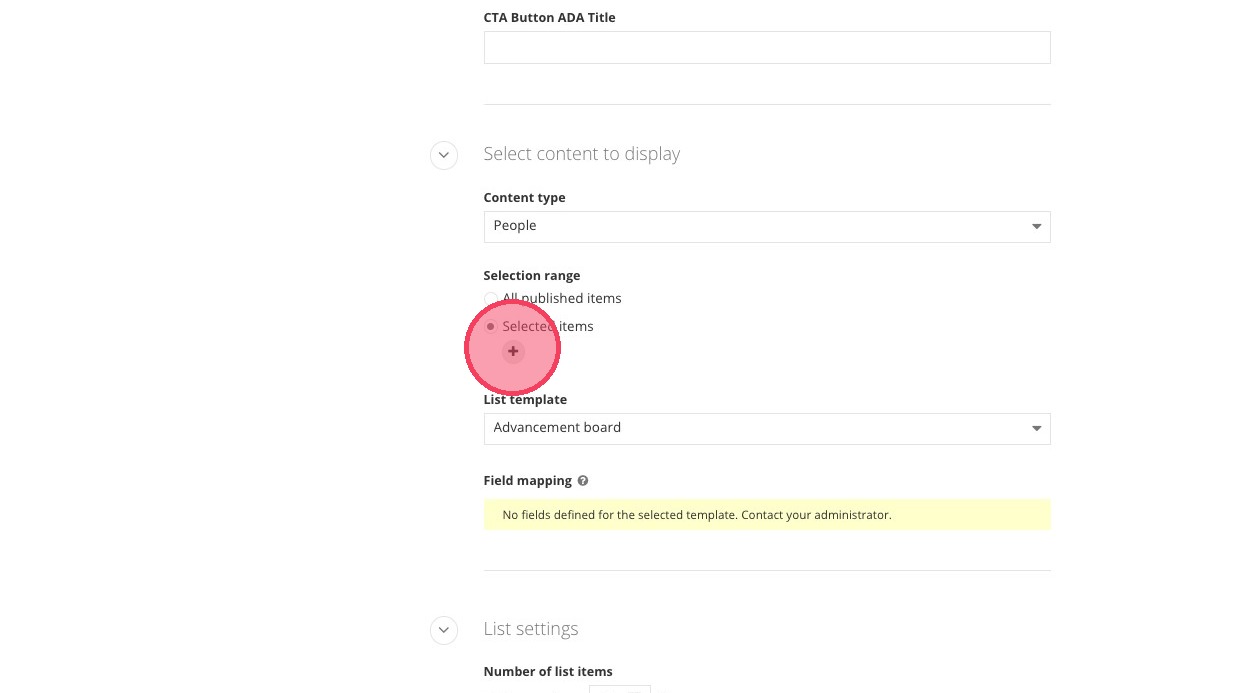
10. Option 2- If you would like to select specific people profiles, click "Selected items".
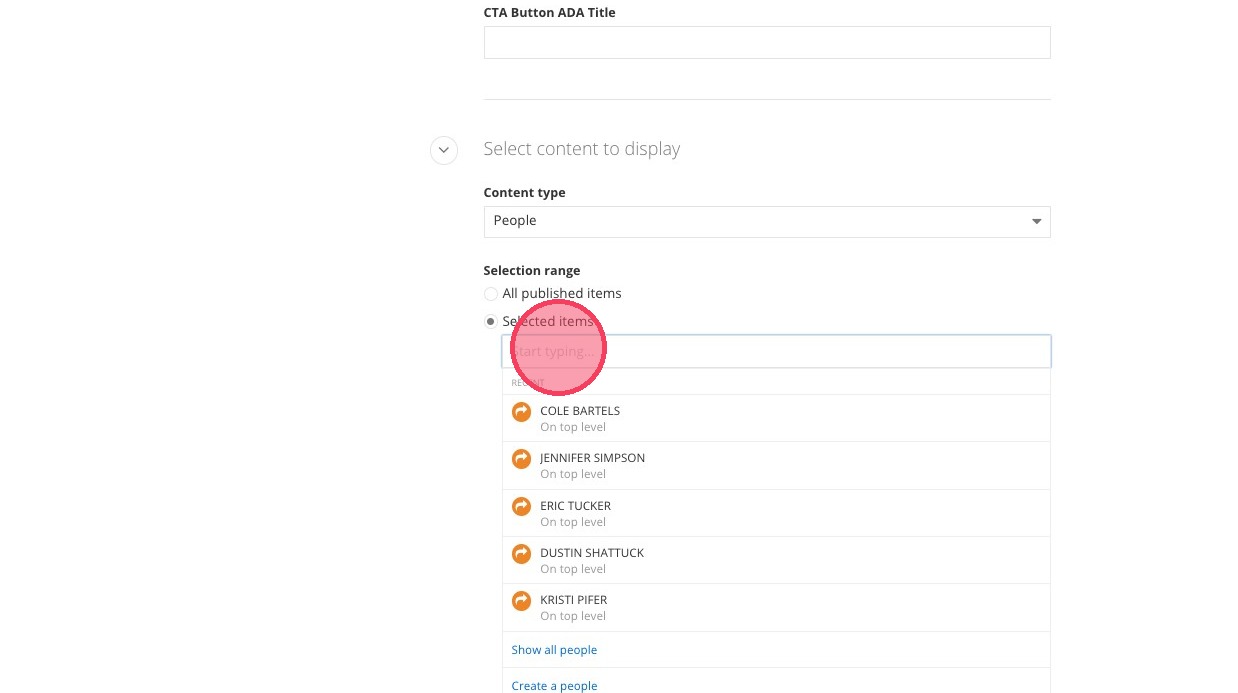
11. Continued option 2- Type and select the names of the individuals you would like displayed.
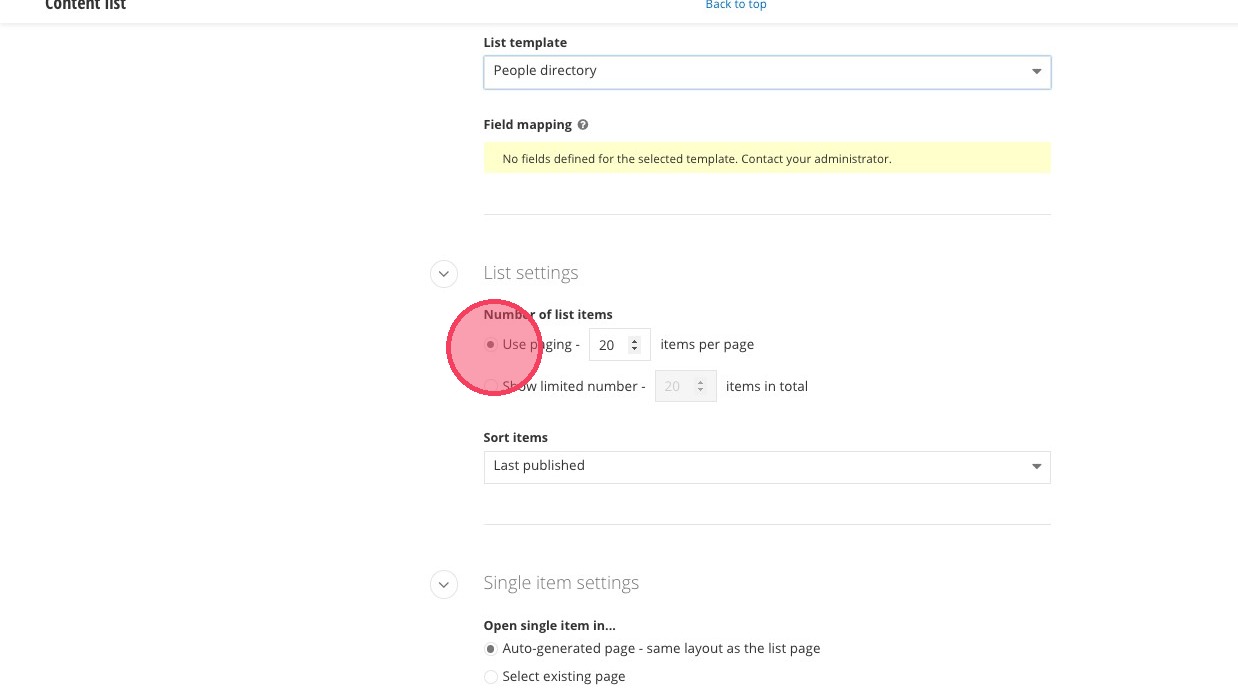
12. For list settings, you can choose how many people profiles will populate.
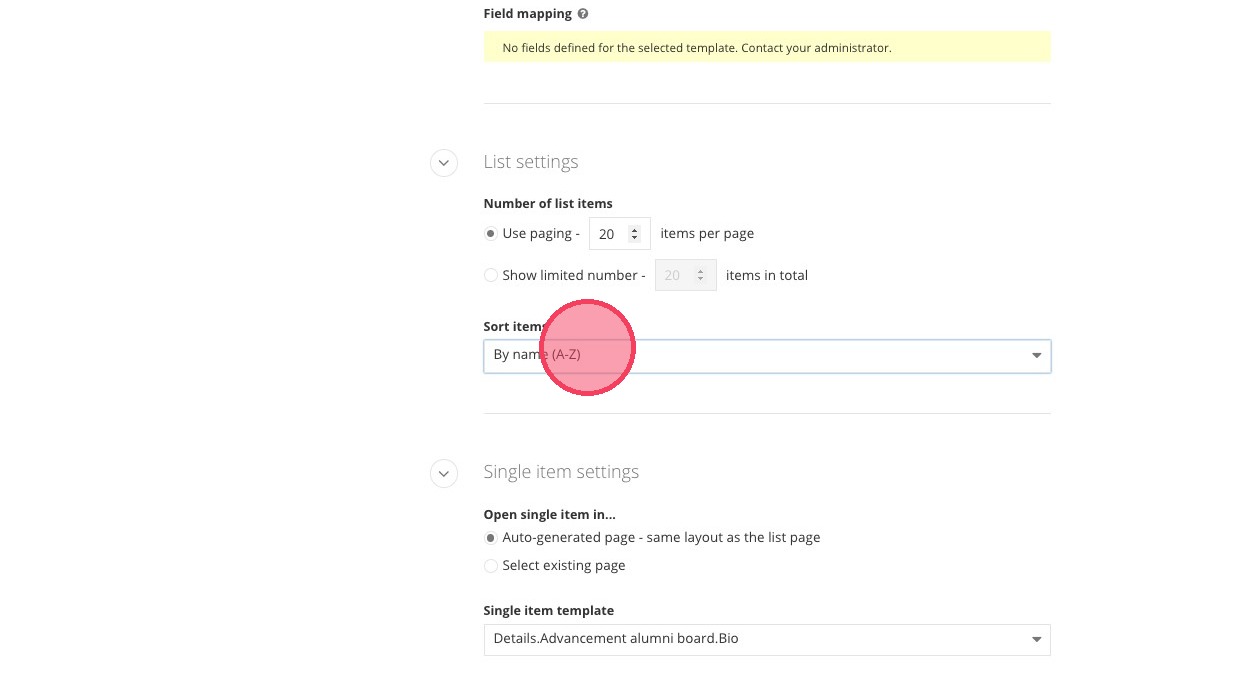
13. There are a few options under "Sort items" which determine the order in which people profiles are displayed:
- Last published
- Last modified
- By name (A-Z)
- By name (Z-A)
- As set manually
- As set in Advanced mode
14. Click "Save".
Save and send
- If you'd like to continue working on this page, but need to save your progress, click Save as Draft.
- If you're finished making changes to the page, and the page is ready for review, click Send for Approval.
![]()