Tab
For use in main content areas; not for use in sidebars or narrow columns/grids
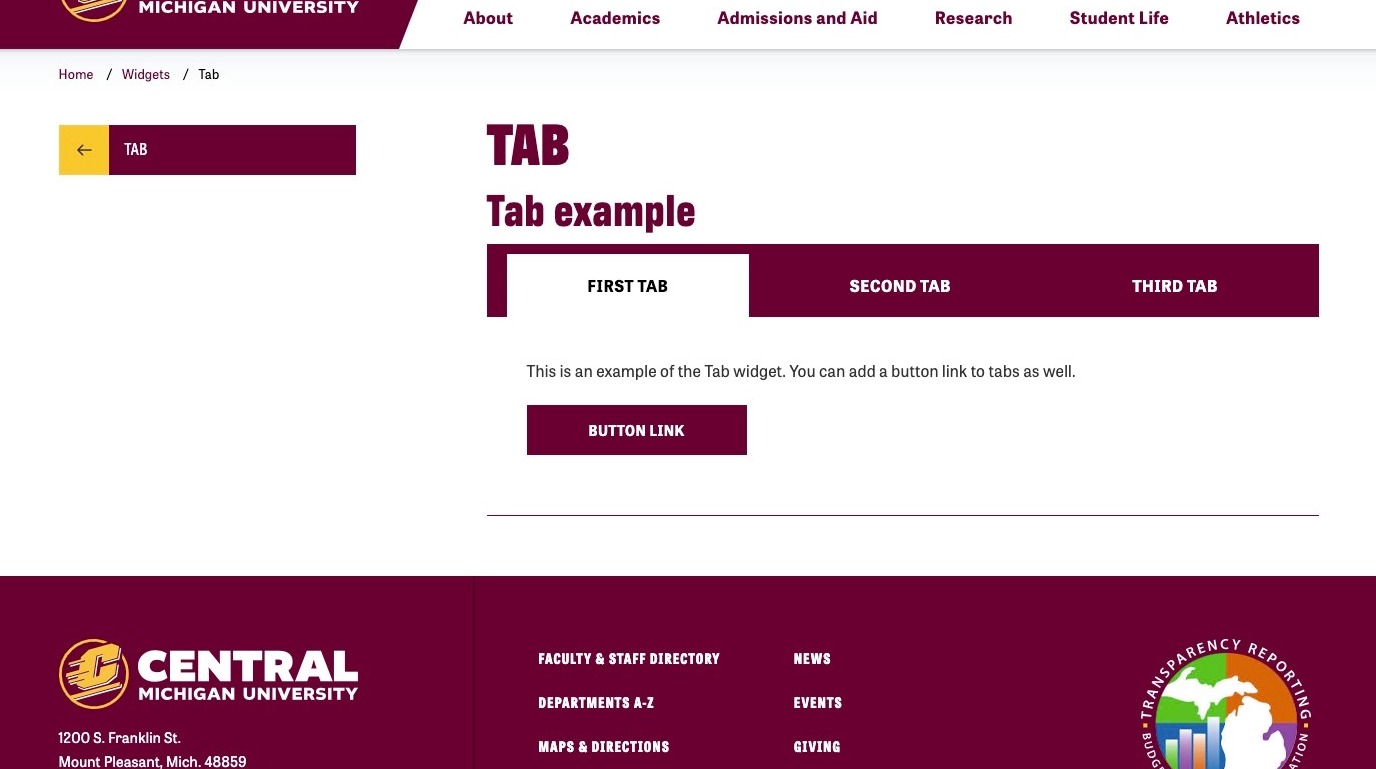
The Tab widget can be used to organize and display a list of short-form content. This widget is good for categories or any time users need information on a few key topics.
Tab example
Visual demo
Widget standards
- This widget must be in a section.
Do:
- Use 2-5 tabs per set.
- Use this widget to guide users to additional information or details.
- Use this widget judiciously.
Do NOT:
- Use this widget to "hide" important content, try to satisfy a desire for "movement," or to make long, scroll-intensive pages seem otherwise.
- Build only one tab or more than five tabs.
Written instructions
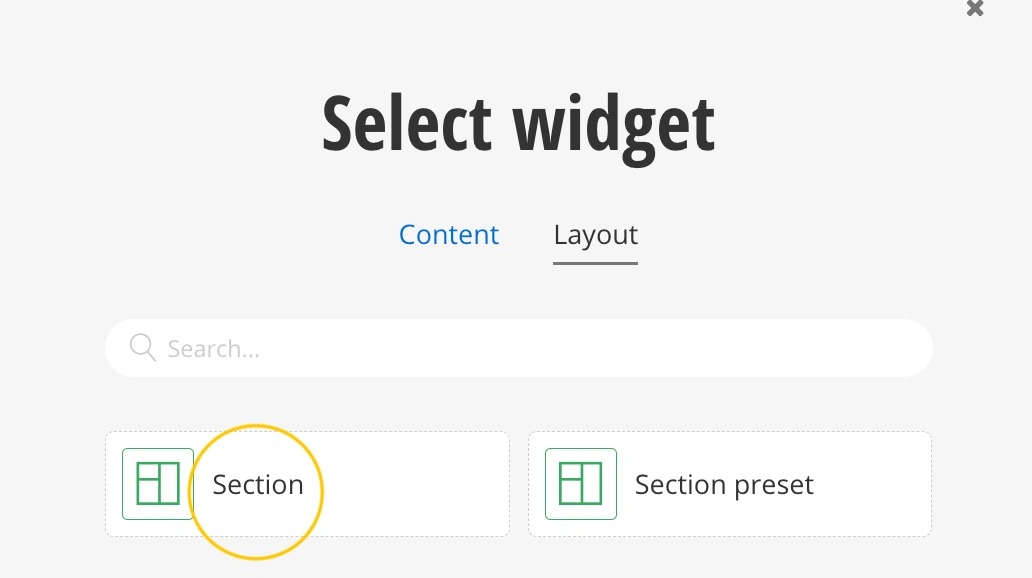
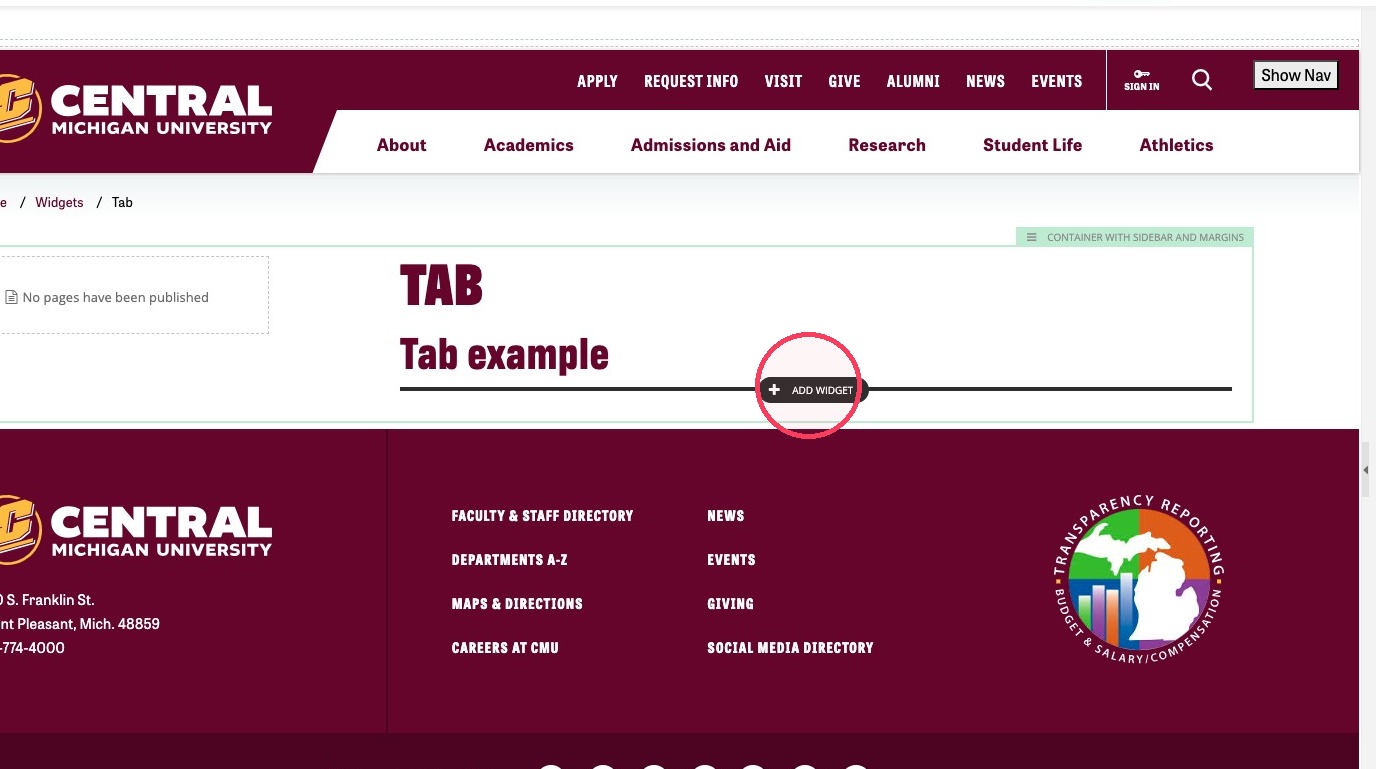
2. Click + Add Widget in either a Container with Sidebar and Margins or a Container with Margins.
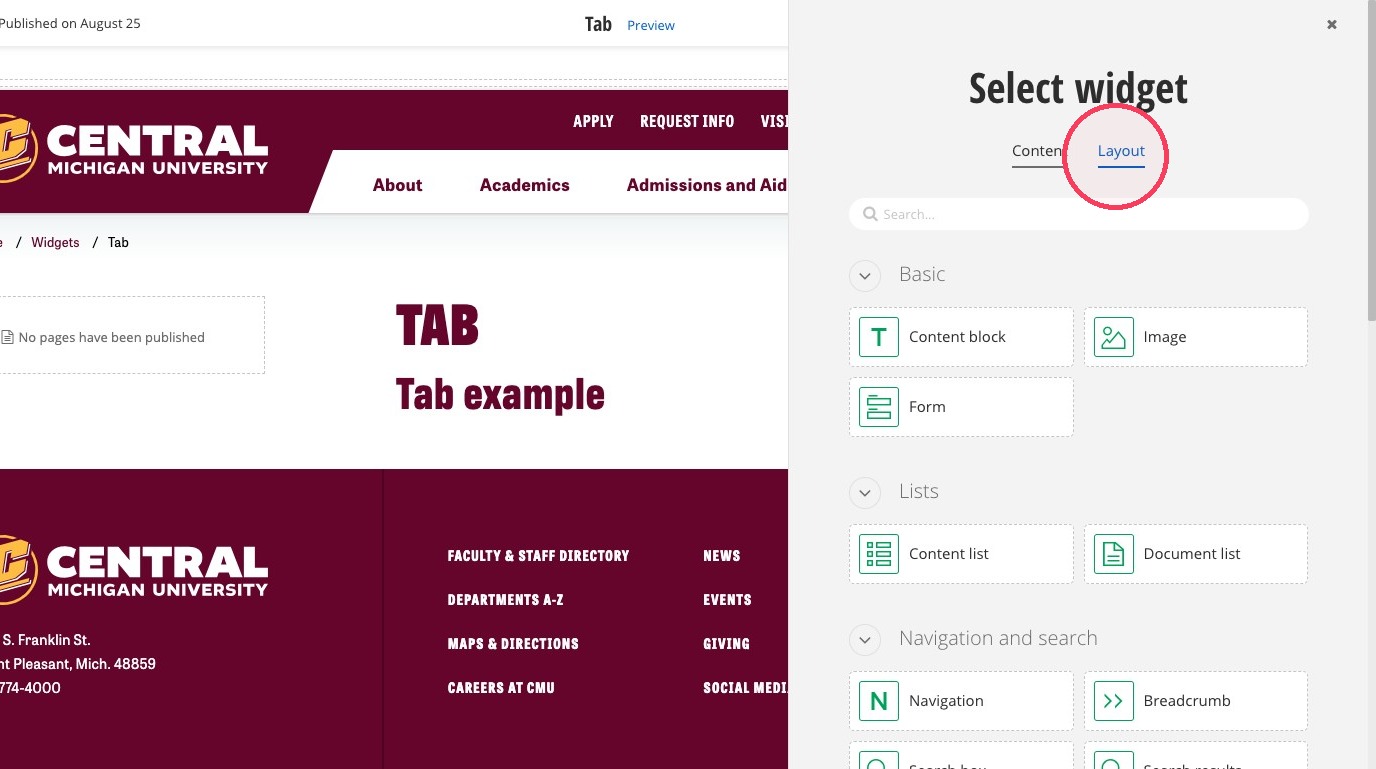
3. Click Layout.
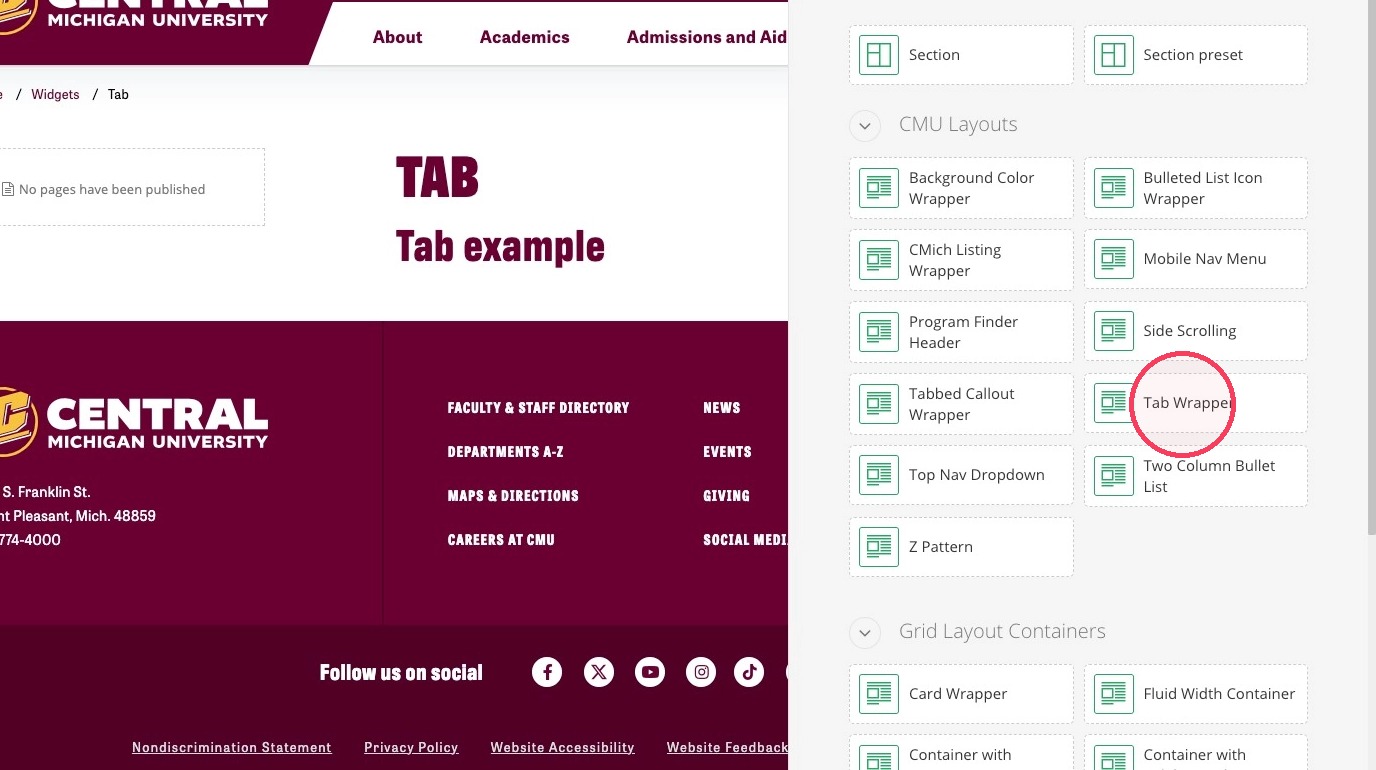
4. Click Tab Wrapper.
5. Click Add widget here...
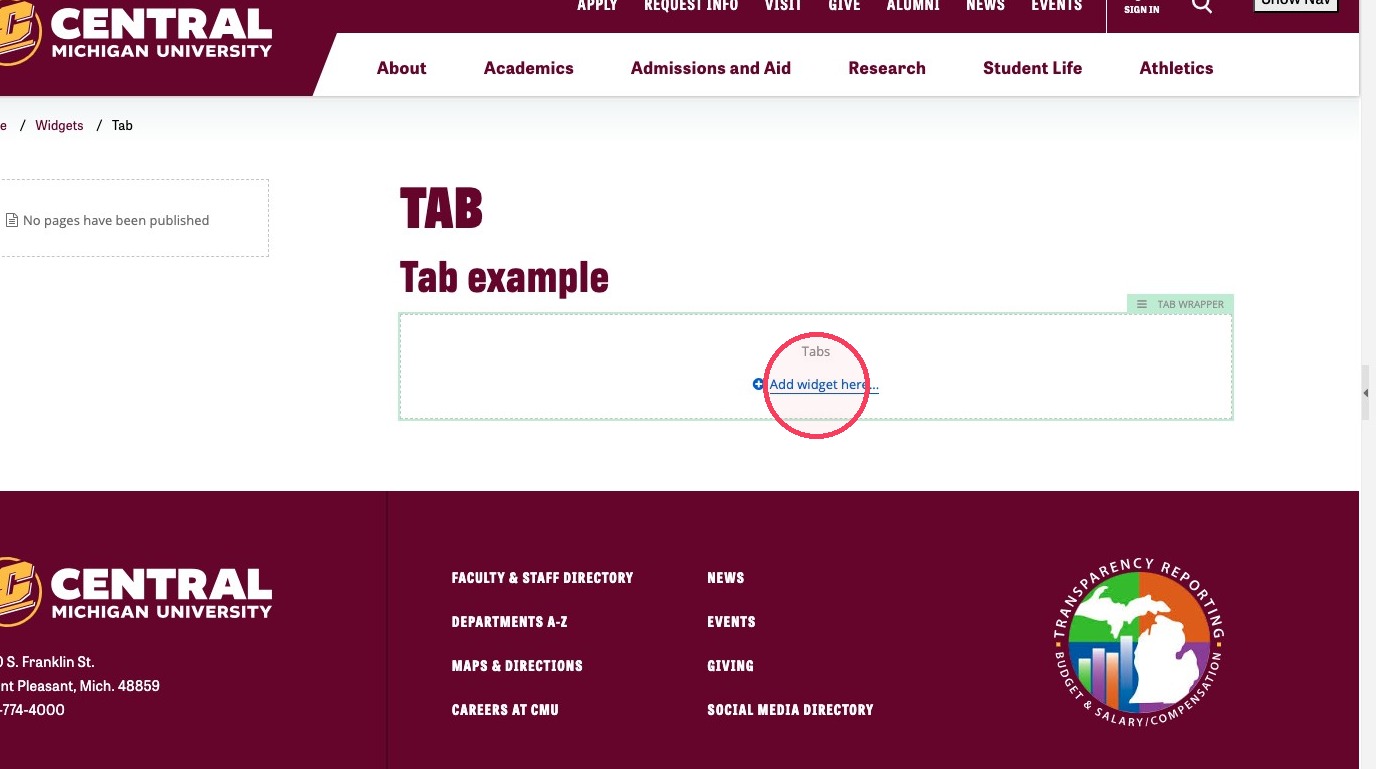
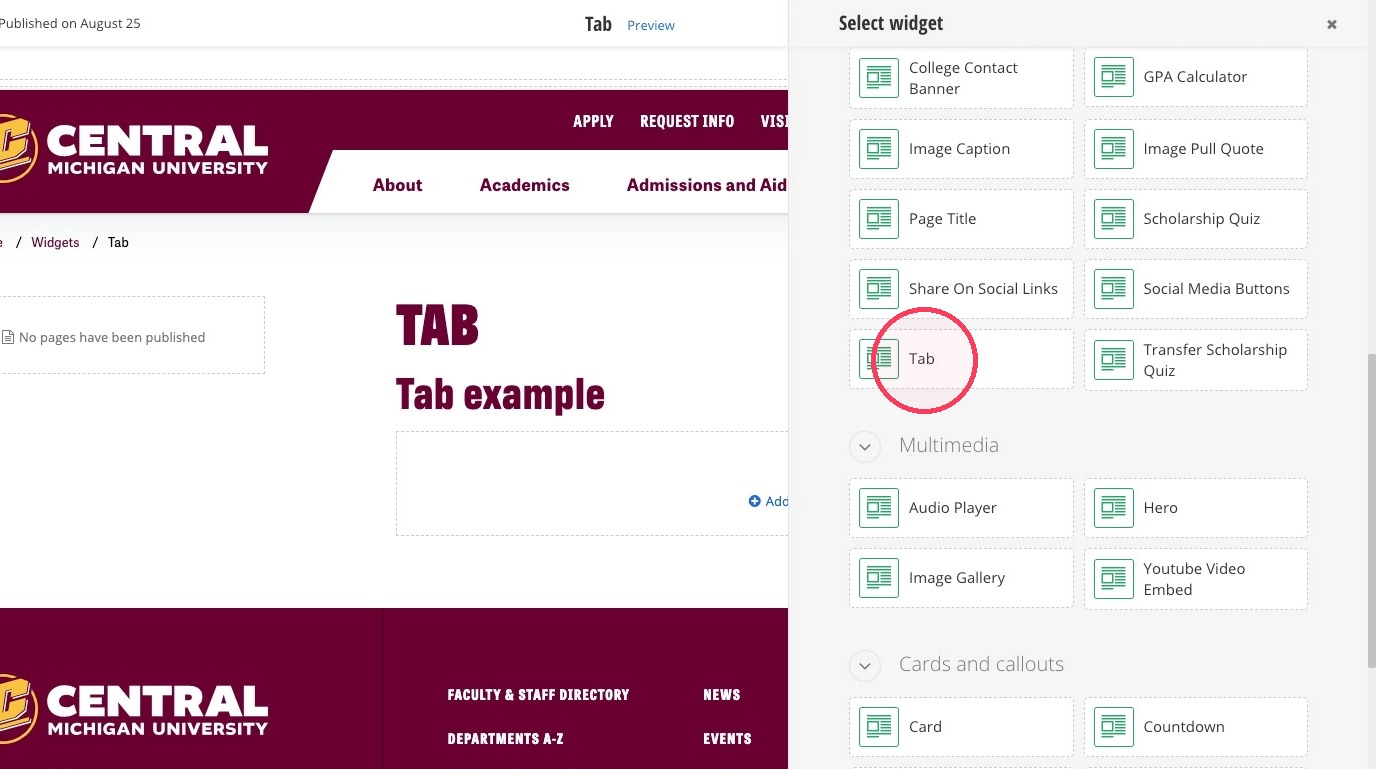
6. Click Tab.
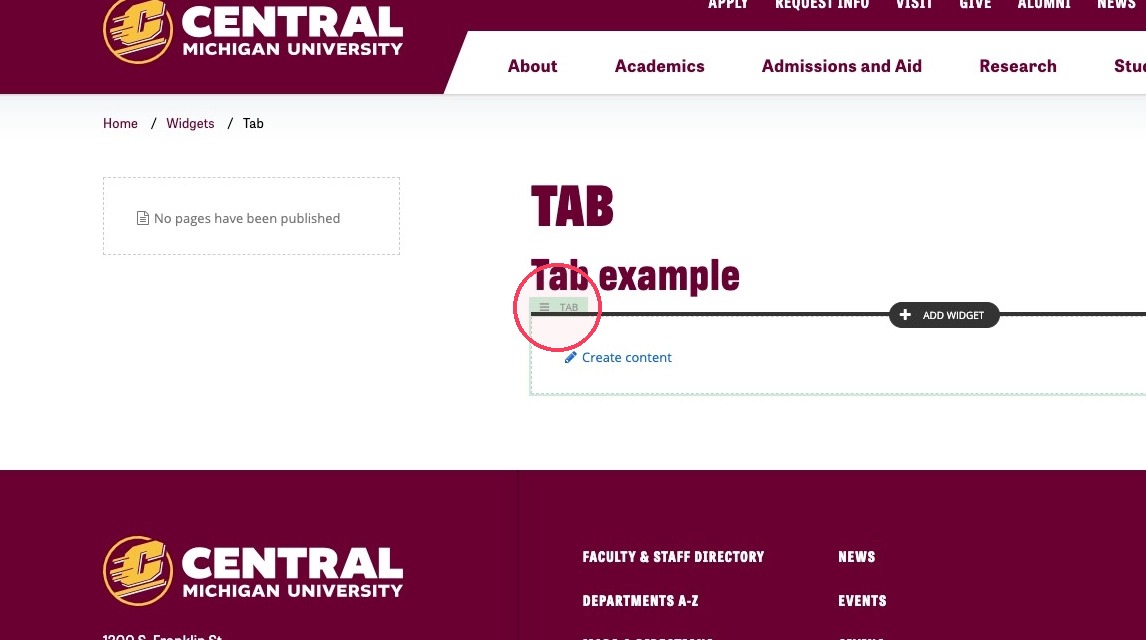
7. Now we'll duplicate the Tab widget. Click the widget's title in the upper left hand corner of the Tab widget.
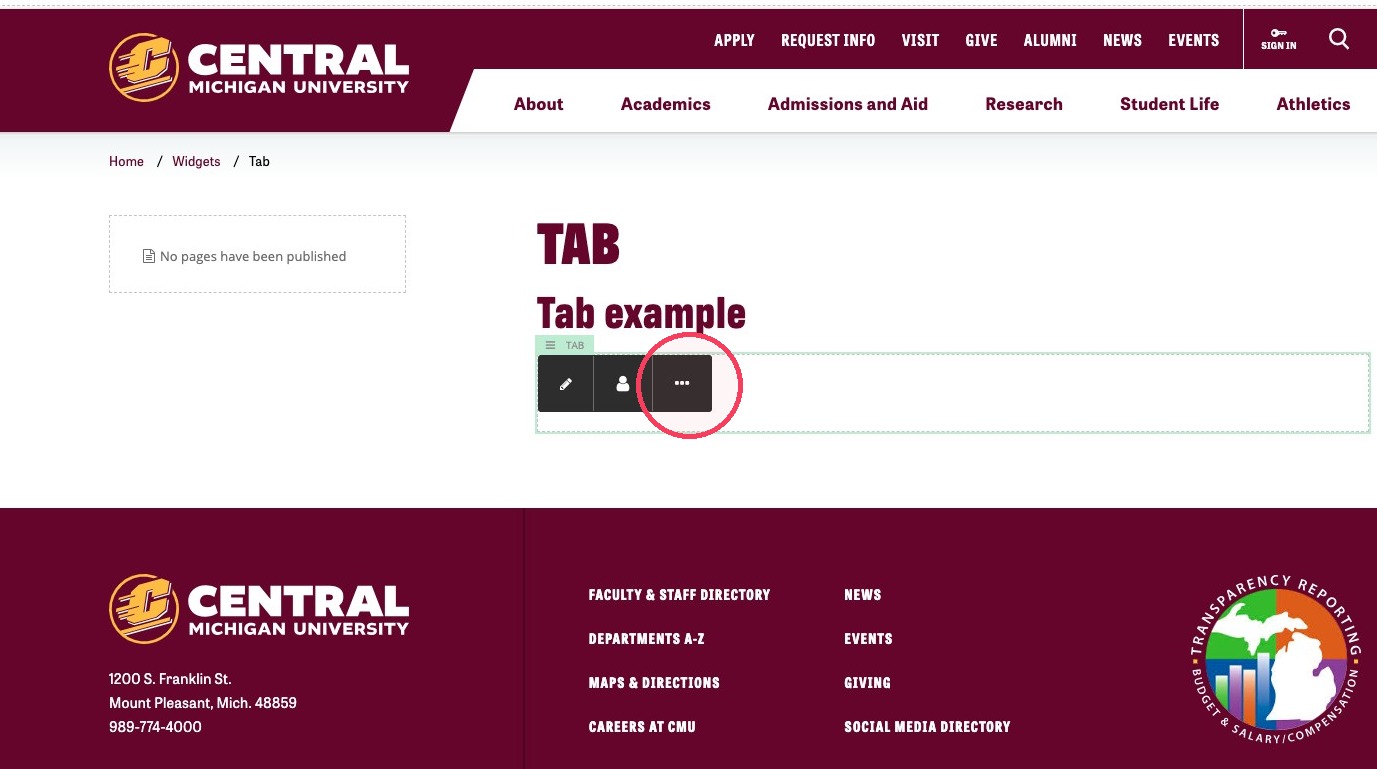
8. Click the ellipses.
9. Click Duplicate.
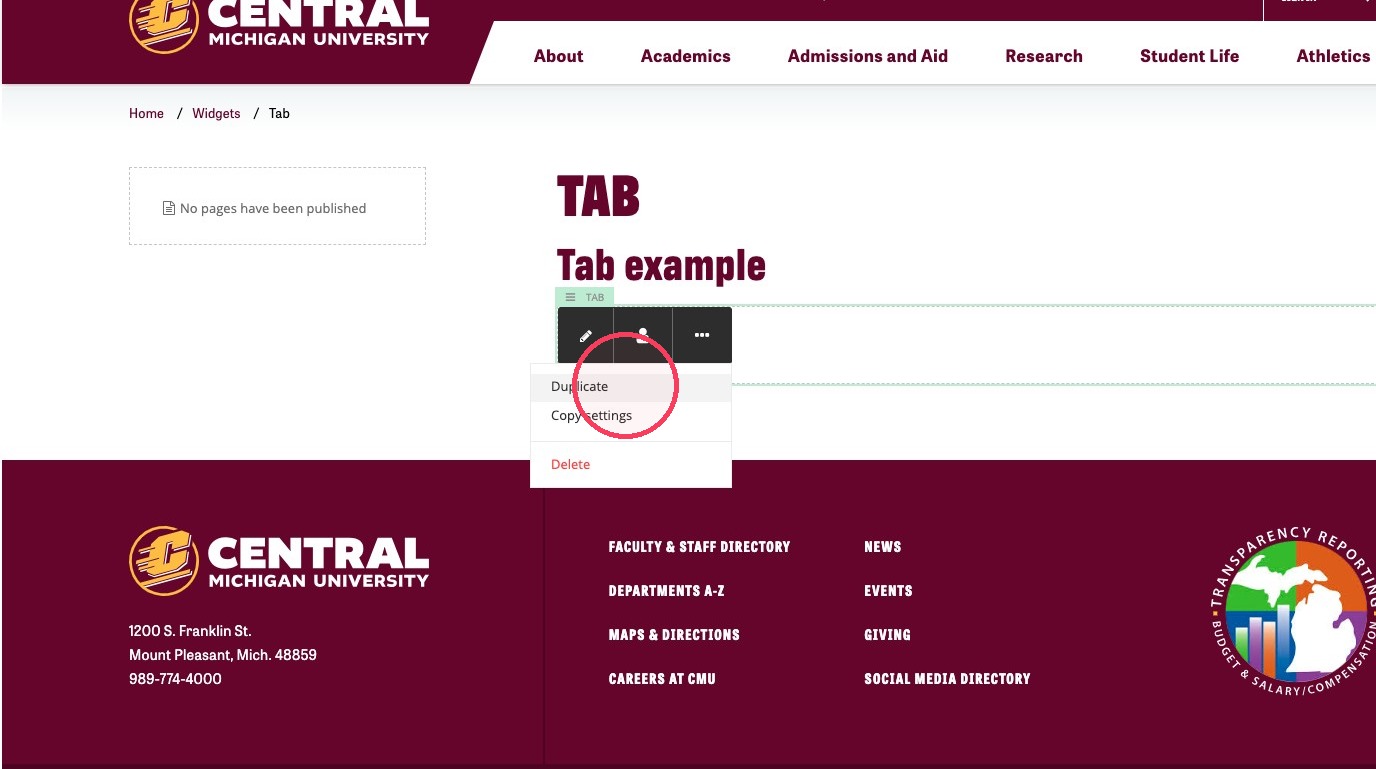
10. Repeat steps 6-8 depending on how many Tab widgets you're looking to duplicate.
11. Click Create content.
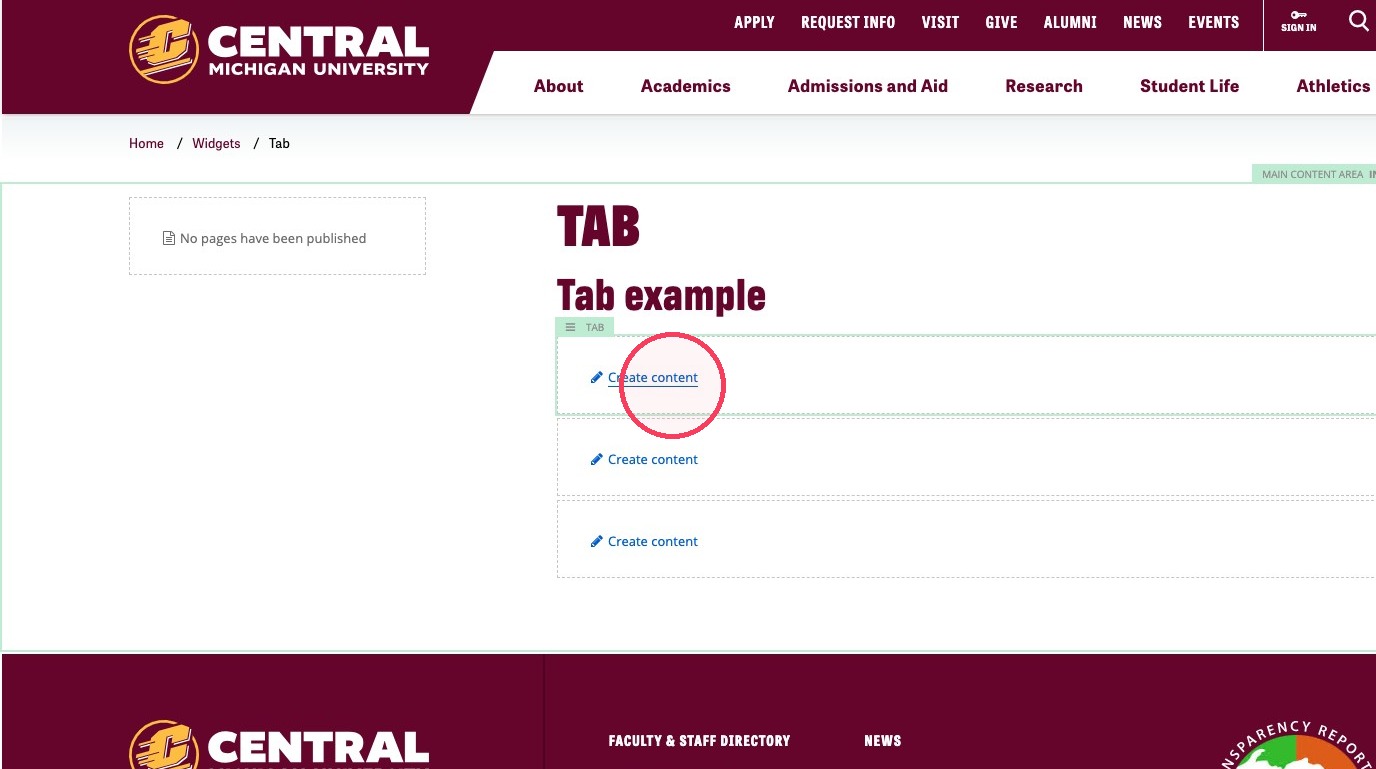
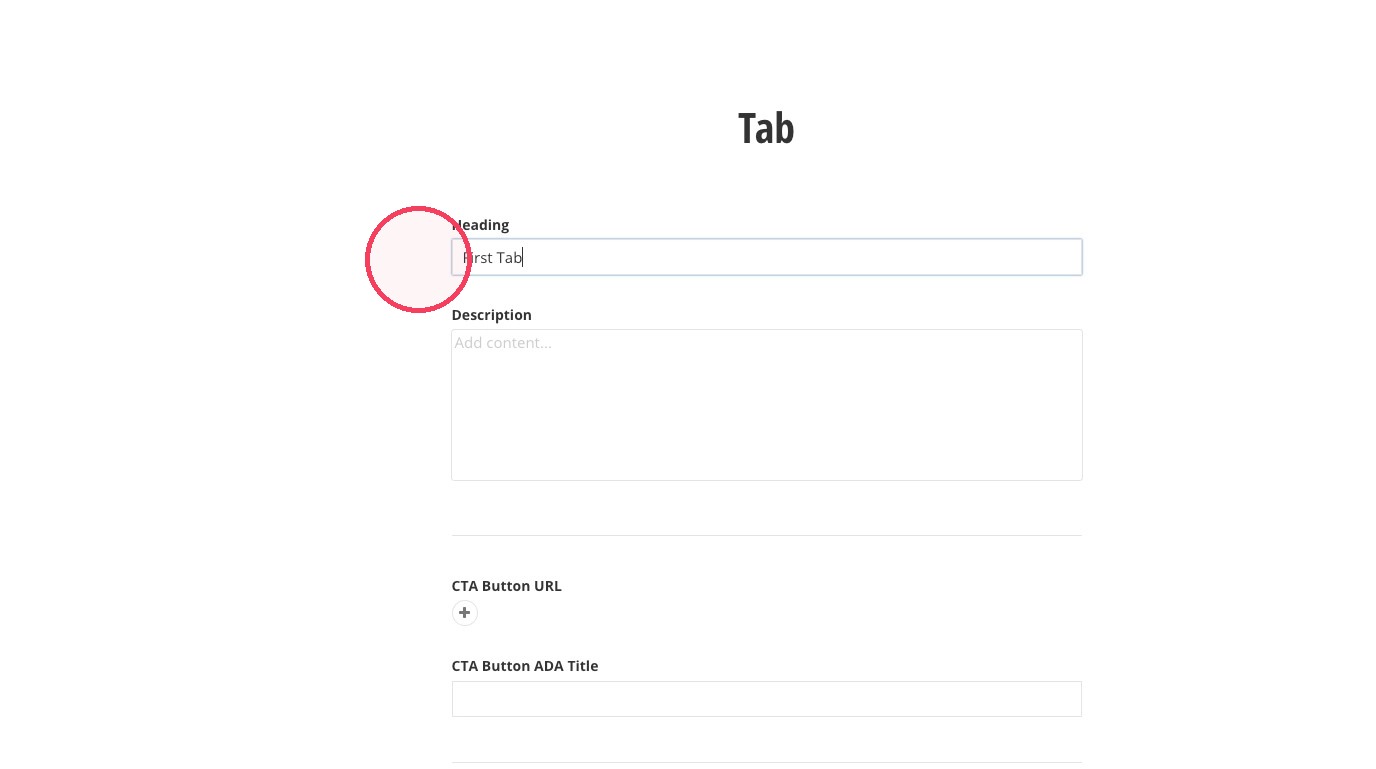
12. Fill out the Tab's Heading.
13. Fill out the Tab's Description.
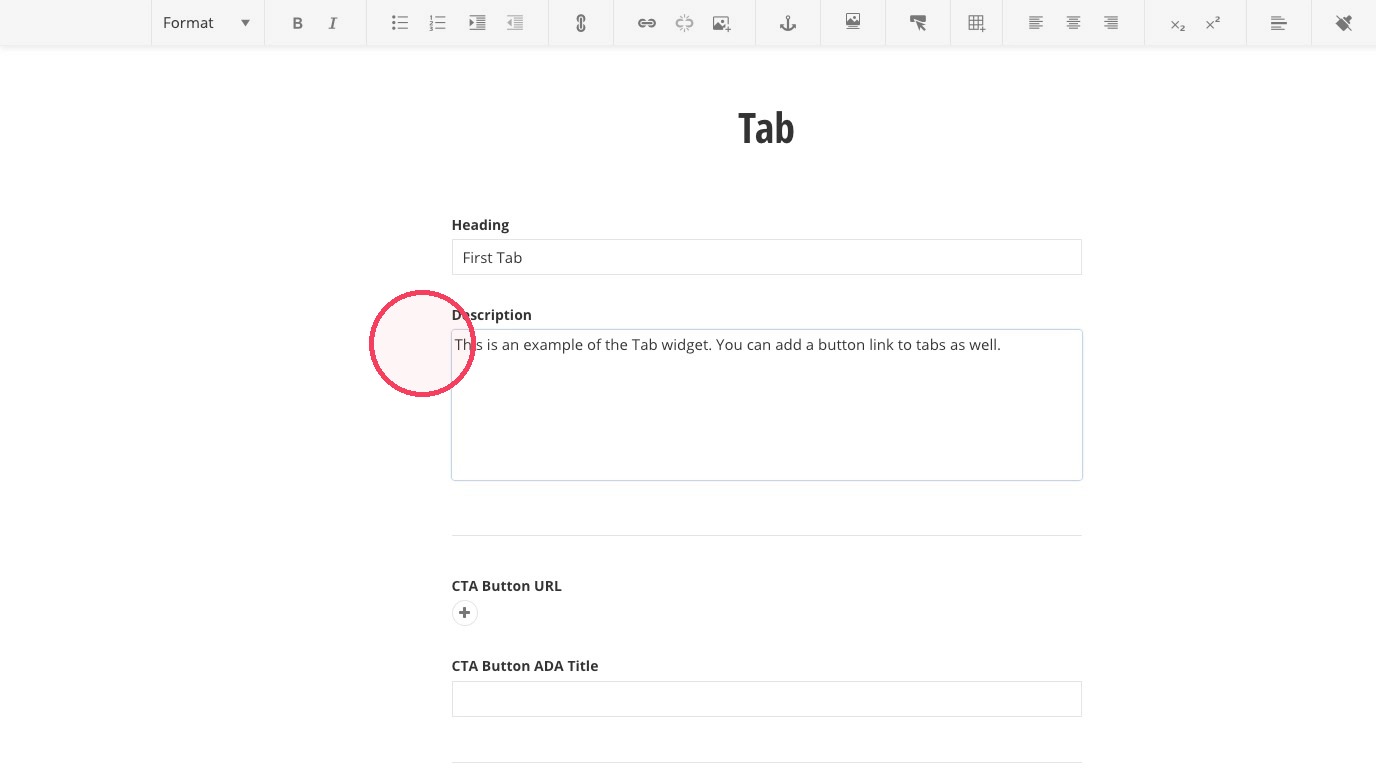
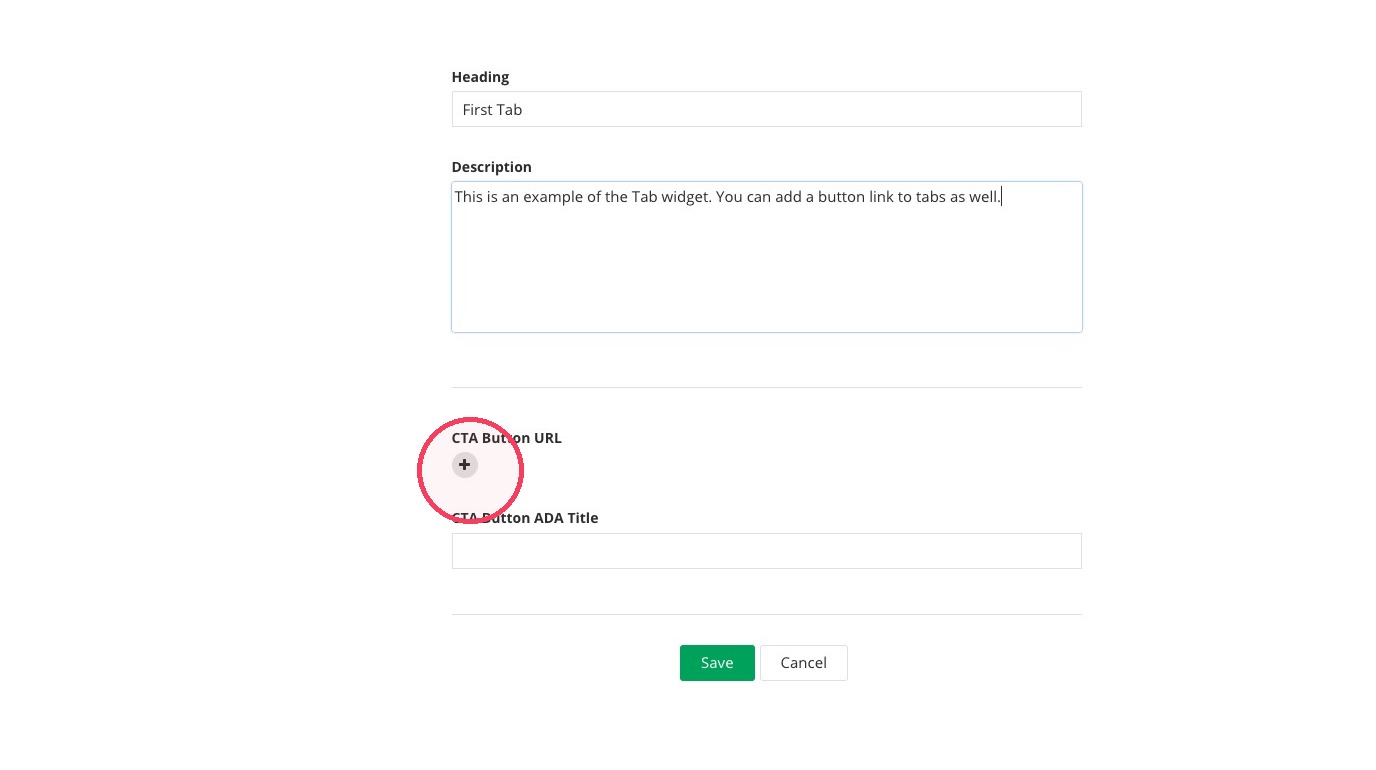
14. Optional: Add a CTA Button URL by clicking +.
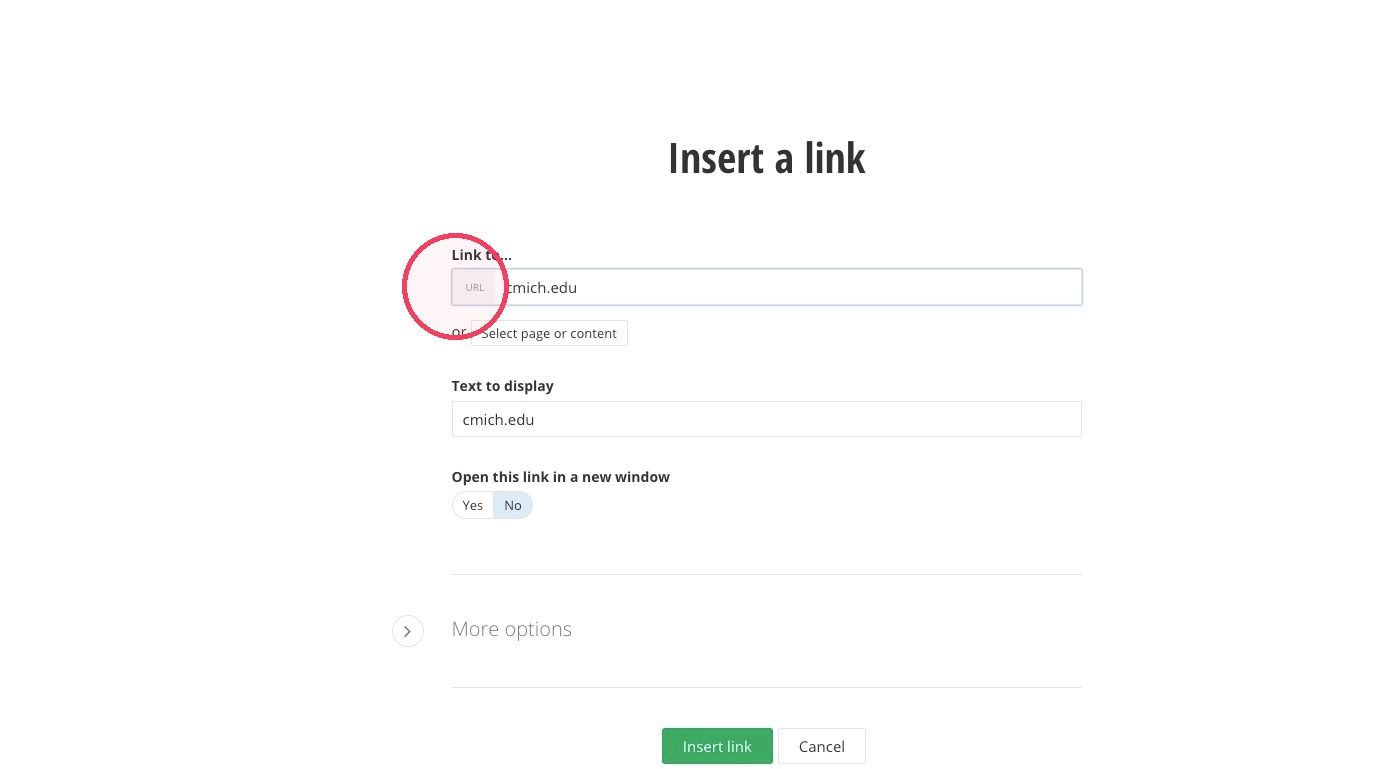
15. Type the link for the button under Link to...
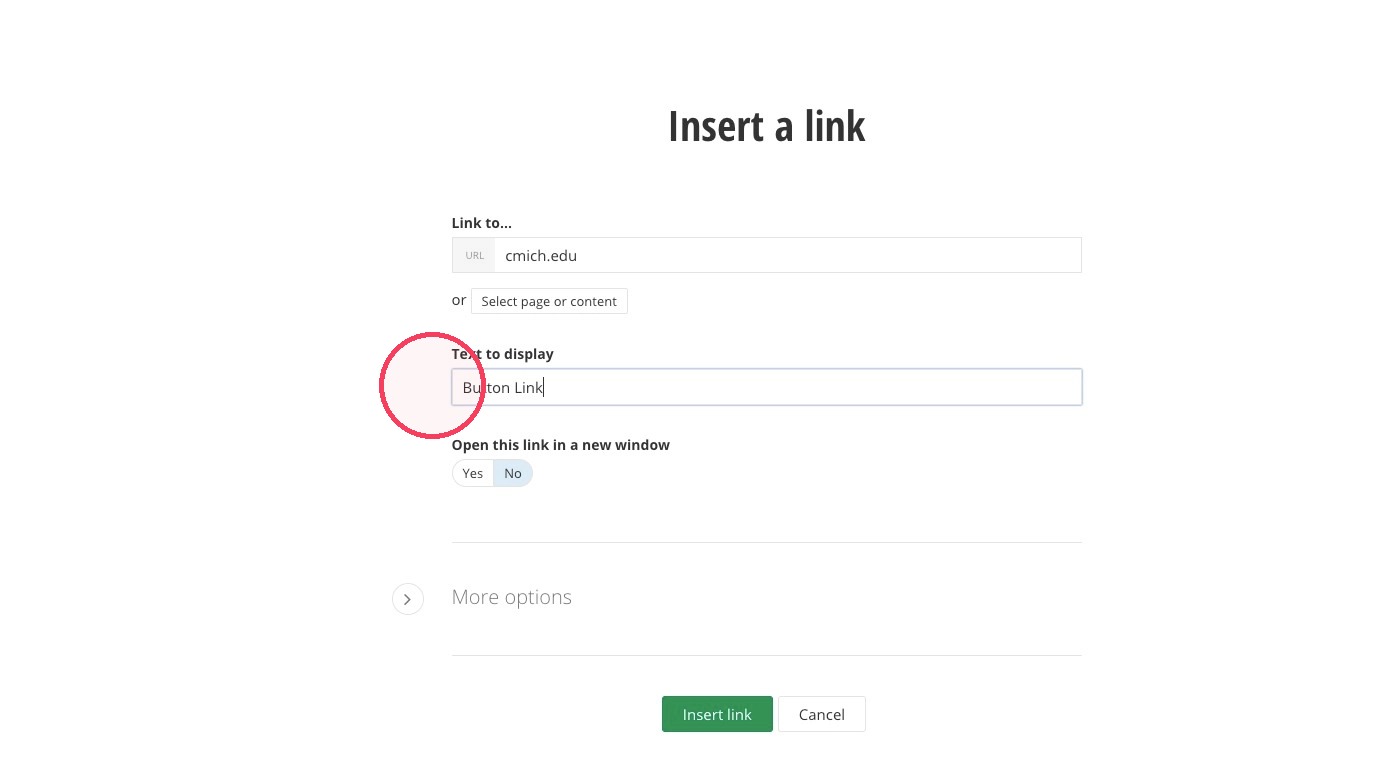
16. Add the button's text under Text to display.
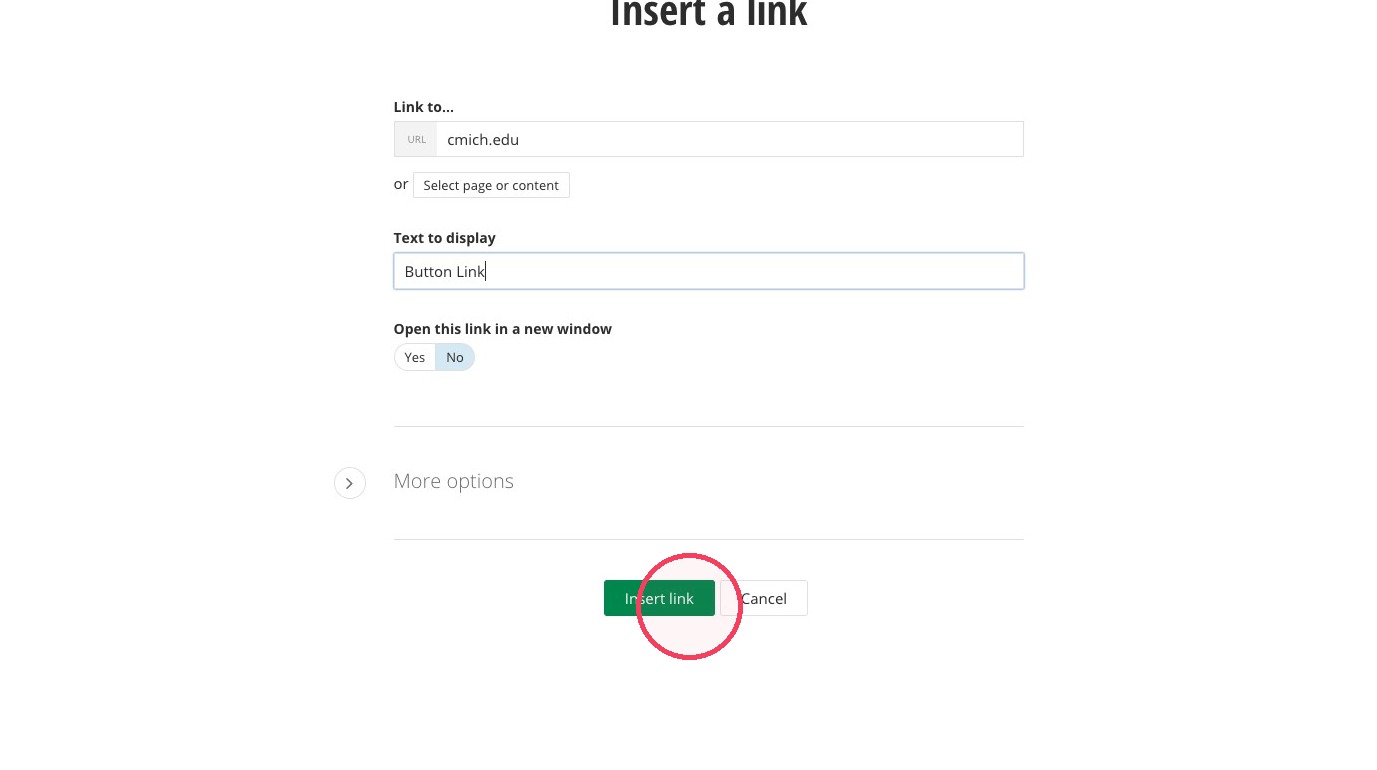
17. Click "Insert link."
18. Fill out the CTA Button ADA Title field.
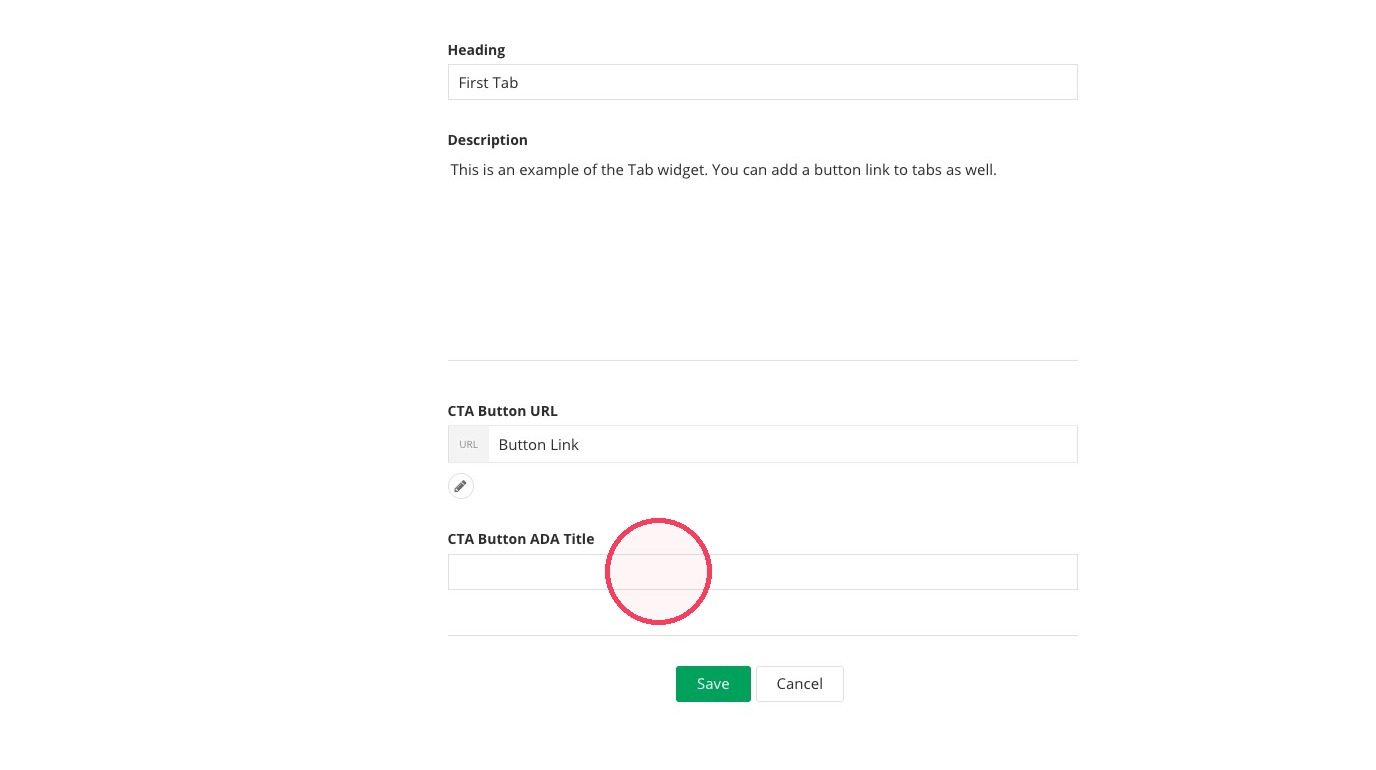
19. Click "Save."
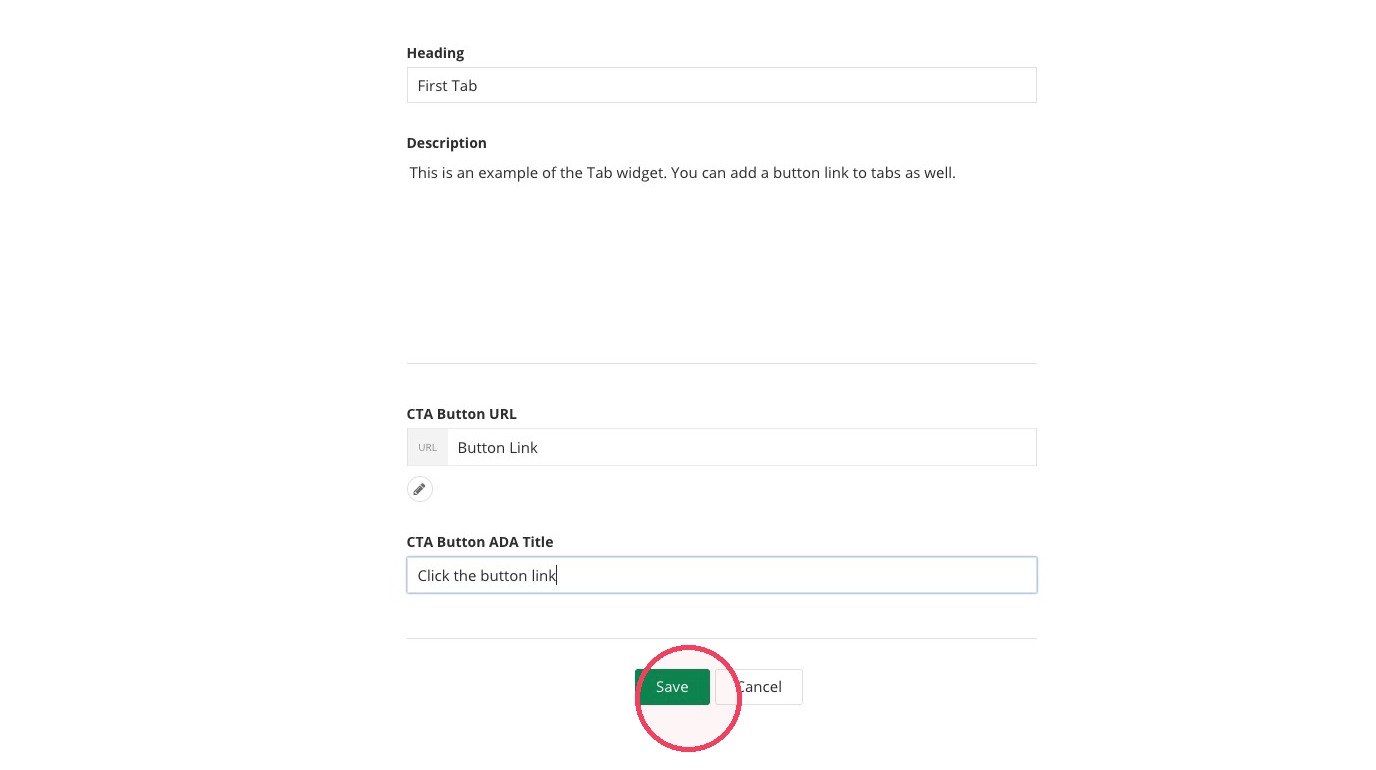
20. Repeat steps 10-18 depending on how many Tabs you're creating.
21. In your editor tab, the final product of your Tabs won't be visible. Click the Preview...
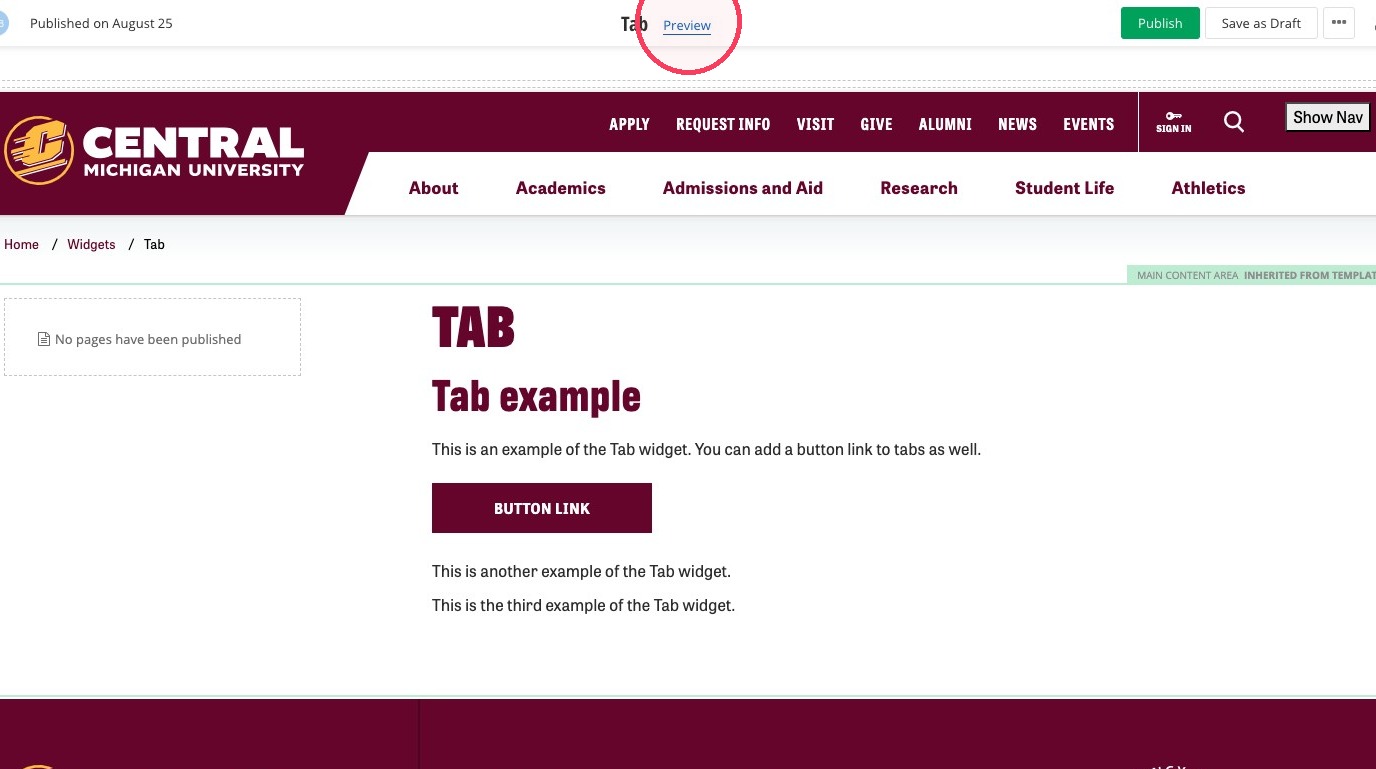
22. ... and the Preview tab will display what your users will see.
Save and send
- If you'd like to continue working on this page, but need to save your progress, click Save as Draft.
- If you're finished making changes to the page, and the page is ready for review, click Send for Approval.
