Z Pattern
For use in the main content area of containers.
Direct user attention effectively by arranging key content along the z pattern, ensuring smooth navigation and engagement.
Z Pattern example

Find your favorite study spot
Relax at our gazebo, right next to the Clarke Historical Library, which has resources available to you. Enjoy campus while you study or unwind.
Explore our downtown
Take a walk or coast on a community electric scooter downtown and enjoy quaint shops and great local places to eat. Take a drive along Mission Street and find big-box stores and chain restaurants. There’s something for everyone in Mount Pleasant.

Visual demo
Widget standards
- No layout is needed for this widget.
- This widget must be in a section
Do:
- Image size is 1600x900 or 800x450 (16:9 aspect ratio)
- Button (CTA) is optional
- Be mindful of copy length as extra copy and long H-tags will cause the images to stretch and skew the z pattern balance.
Do NOT:
- Use two z patterns back-to-back
Written instructions
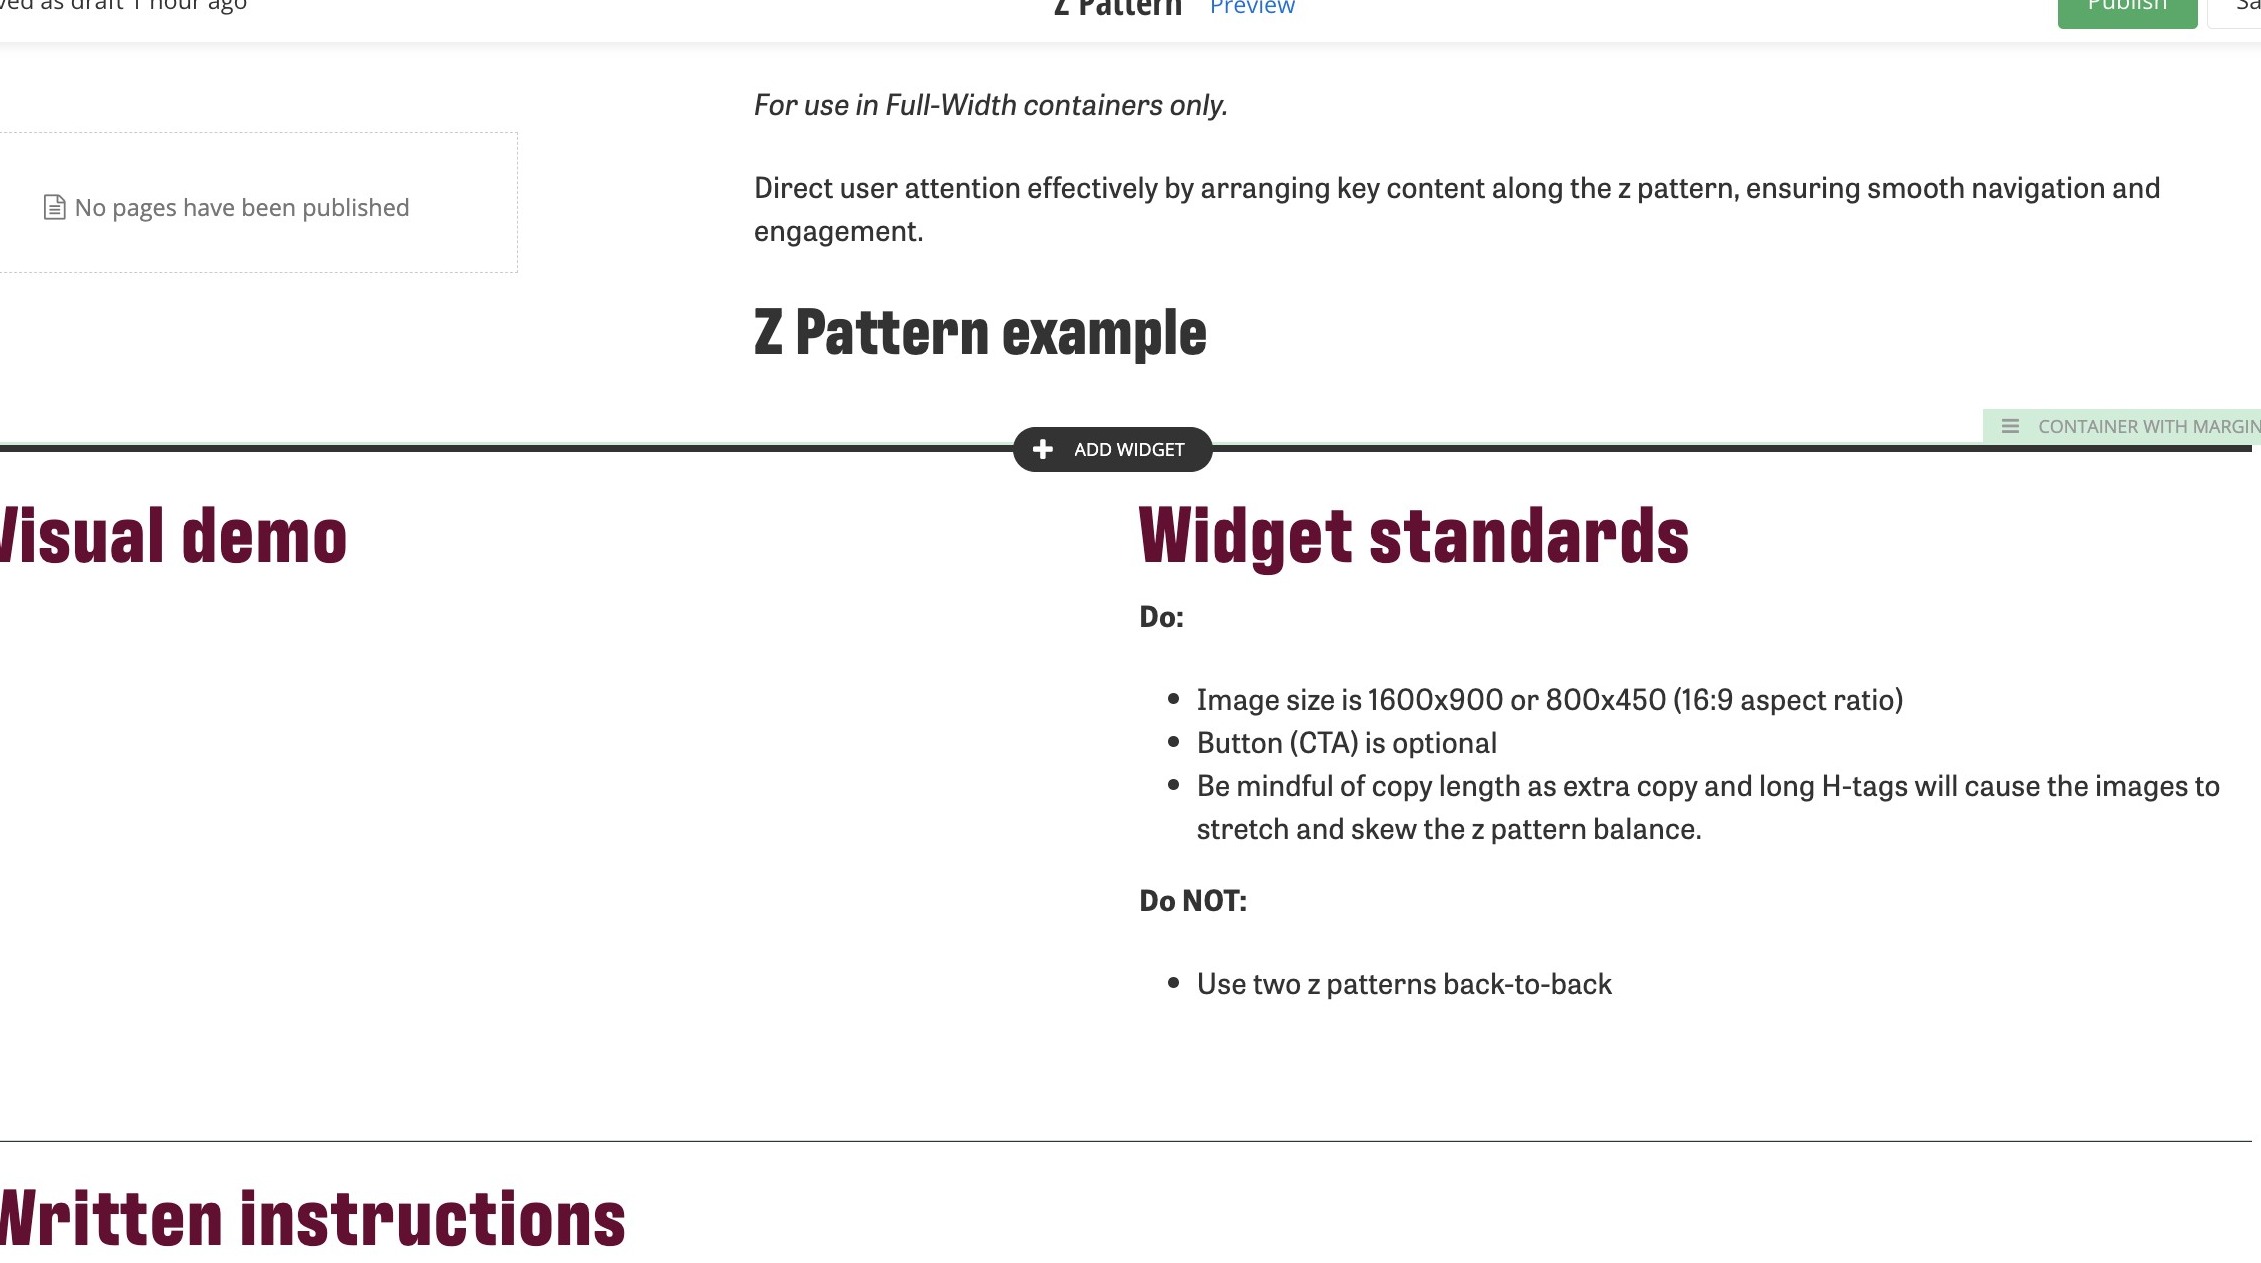
2. Click on the layout tab and click on a Section to add a section to the page.
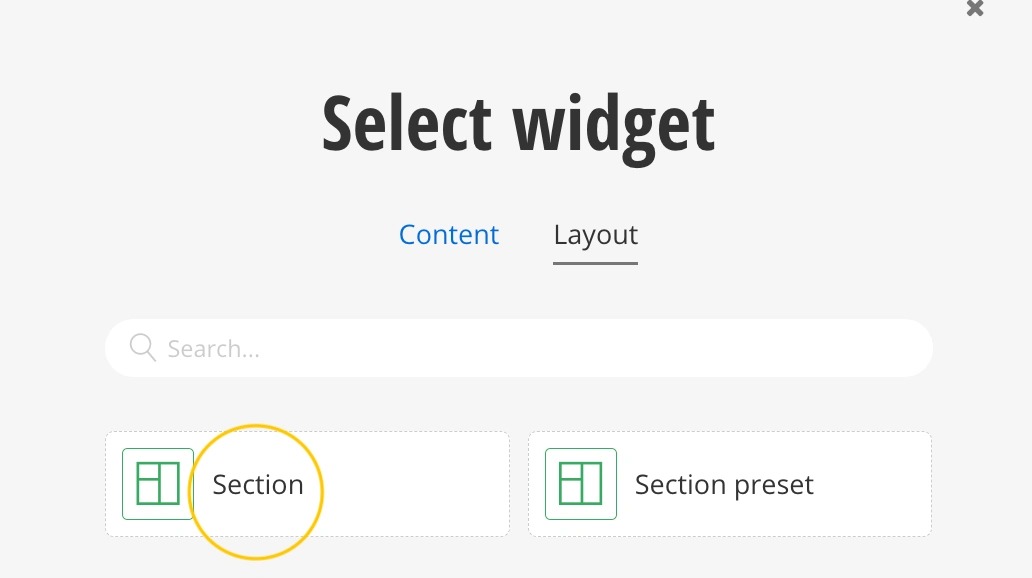
3. In the section click on + Add Widget.
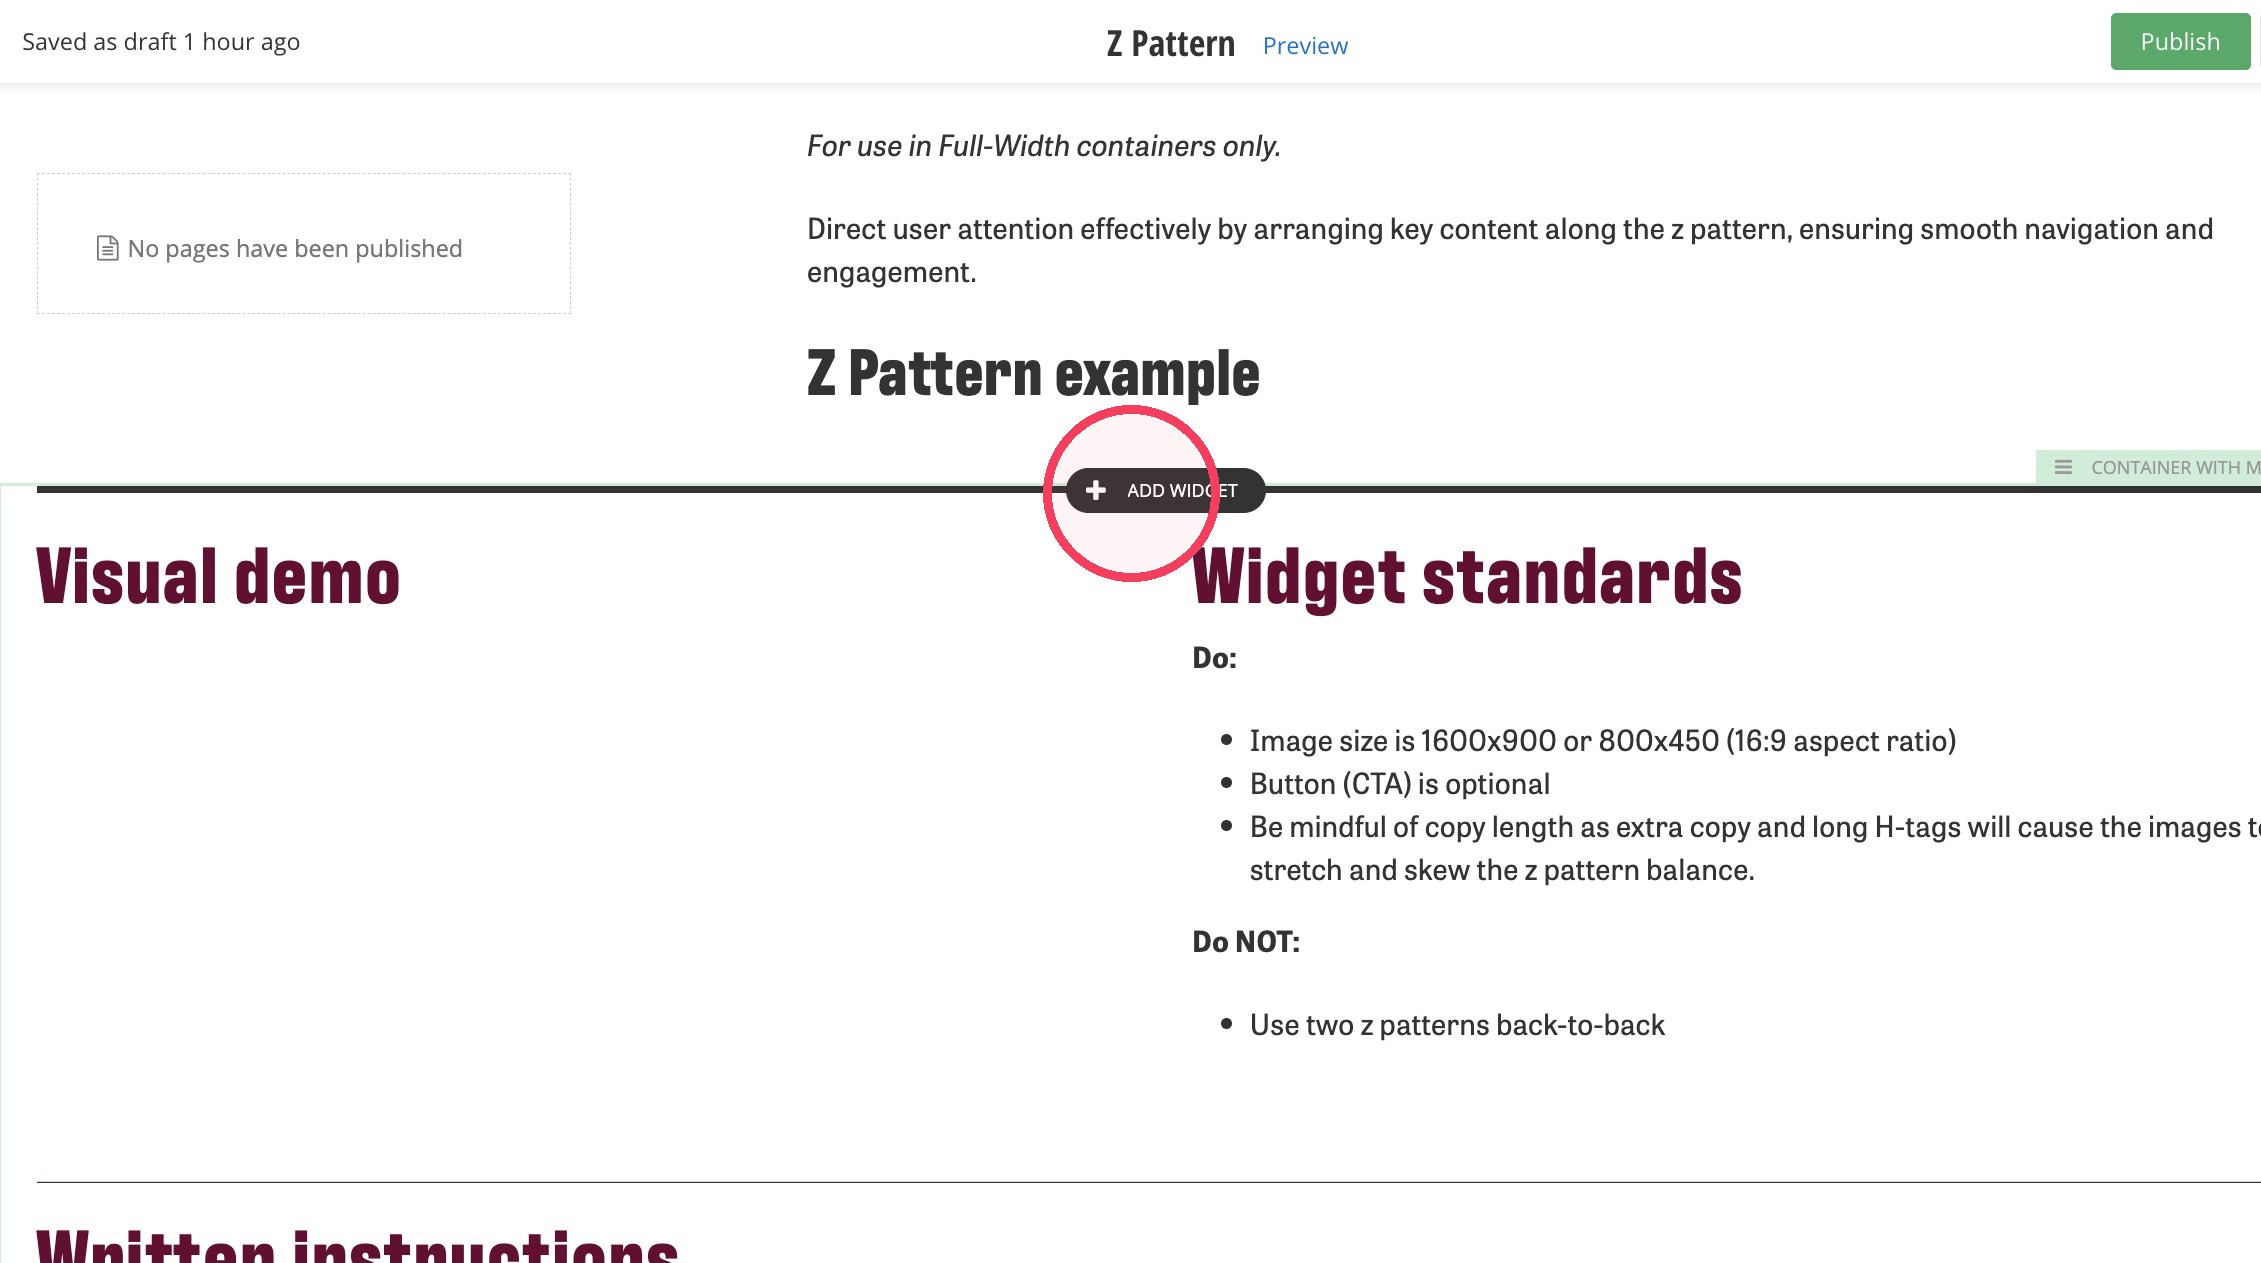
4. Find the Z Pattern under CMU widget and select it.
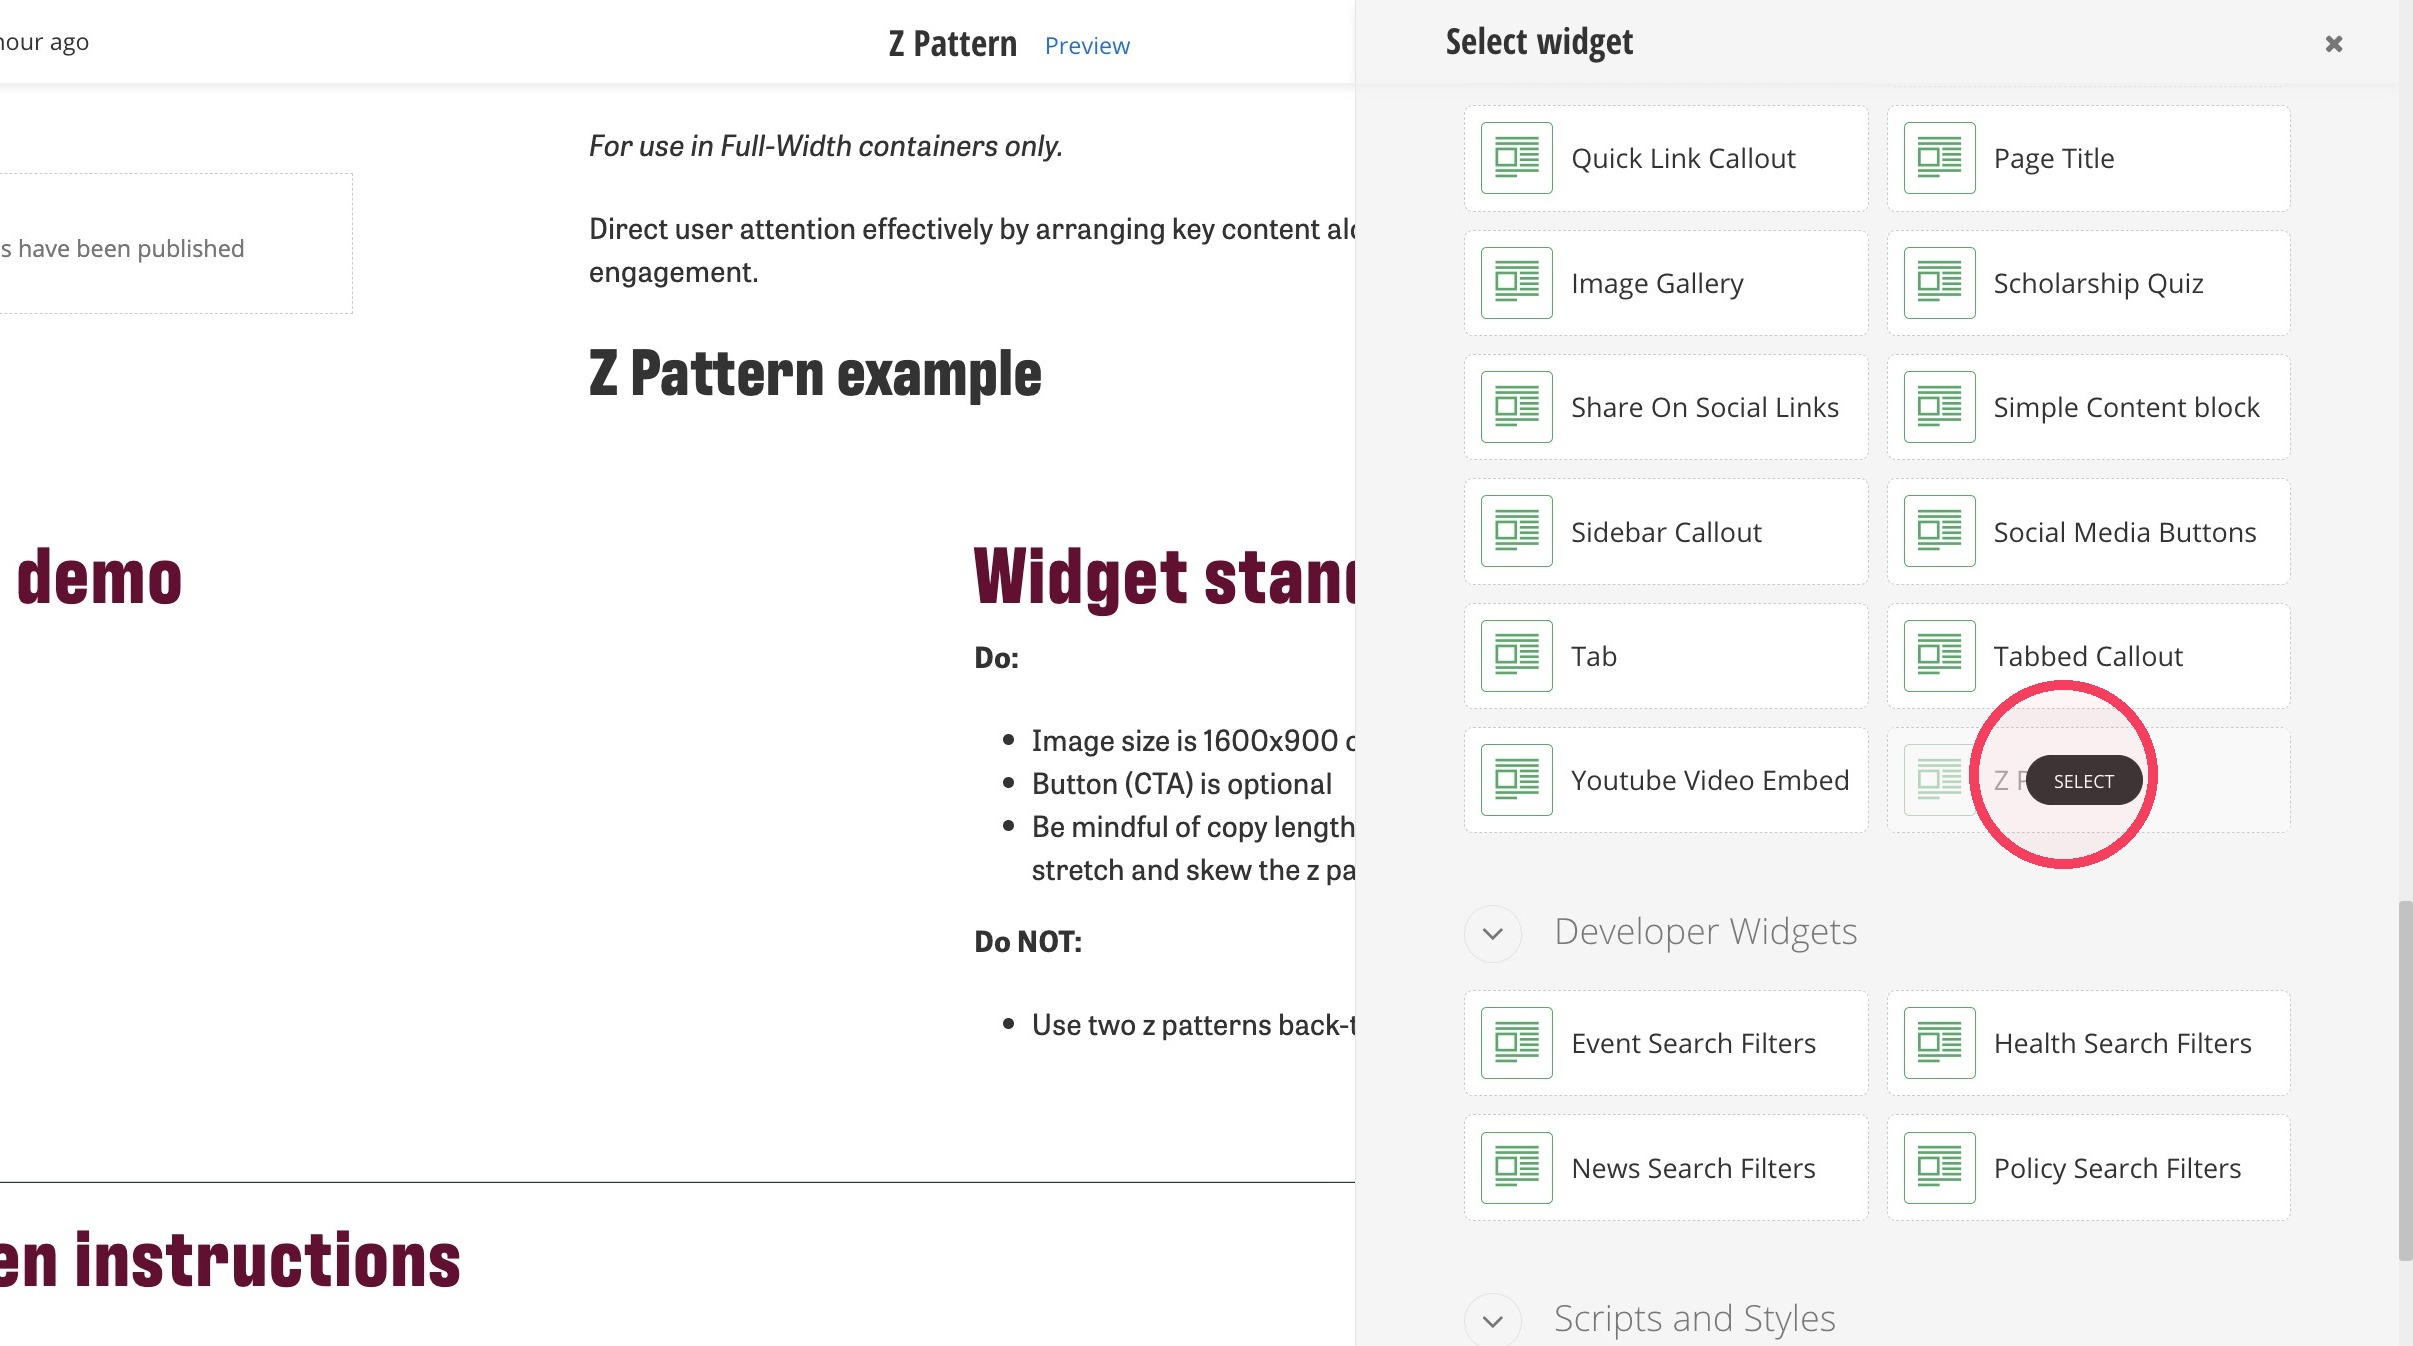
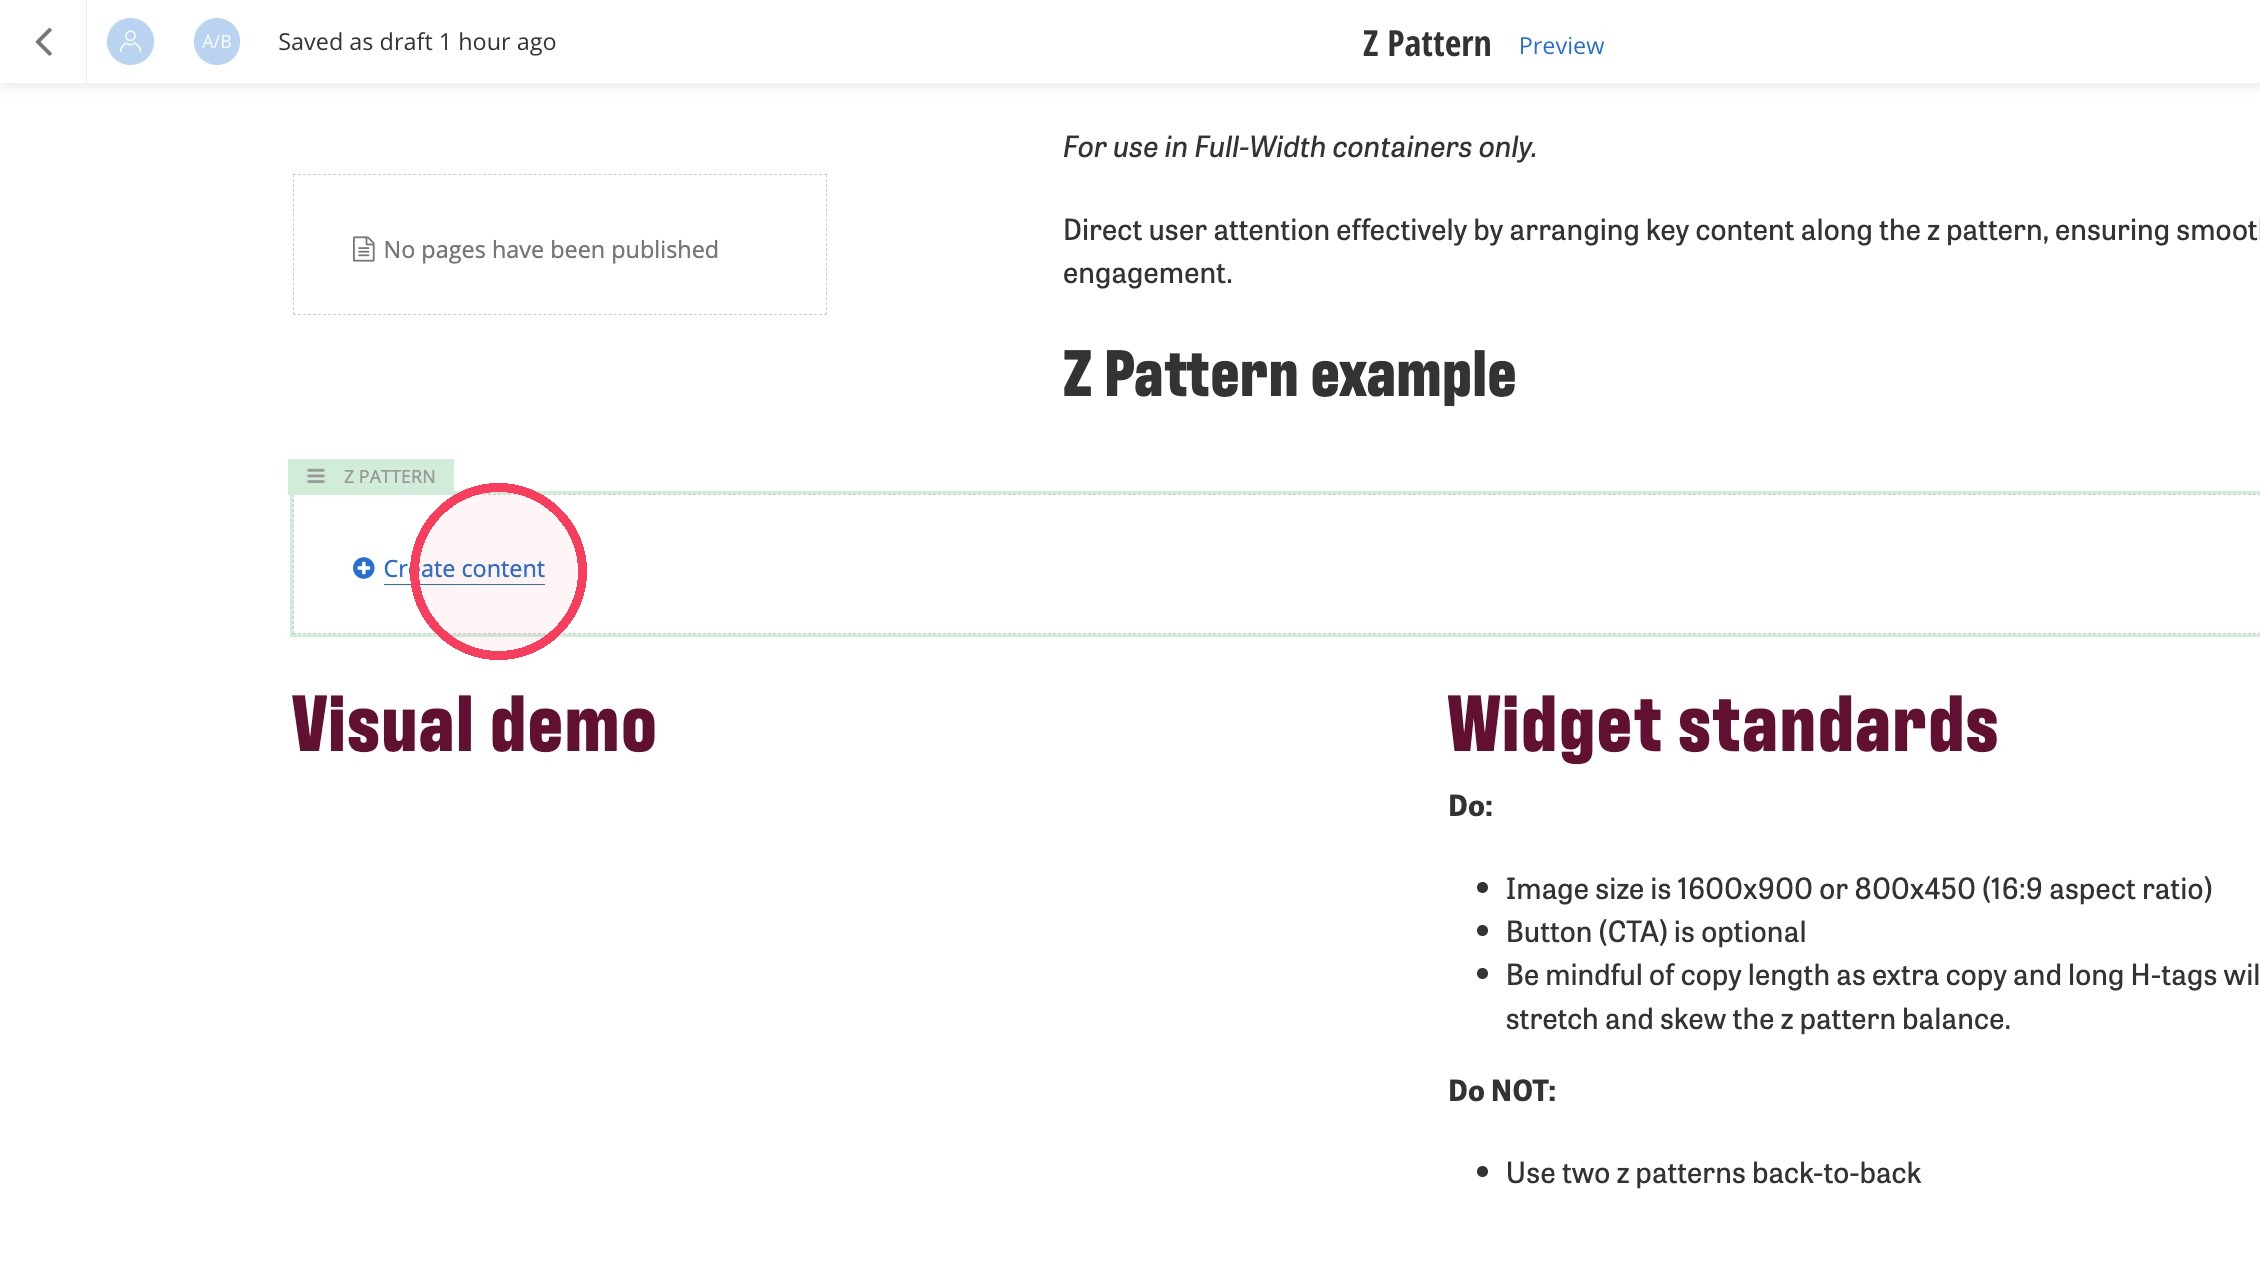
5. Click + Create content.
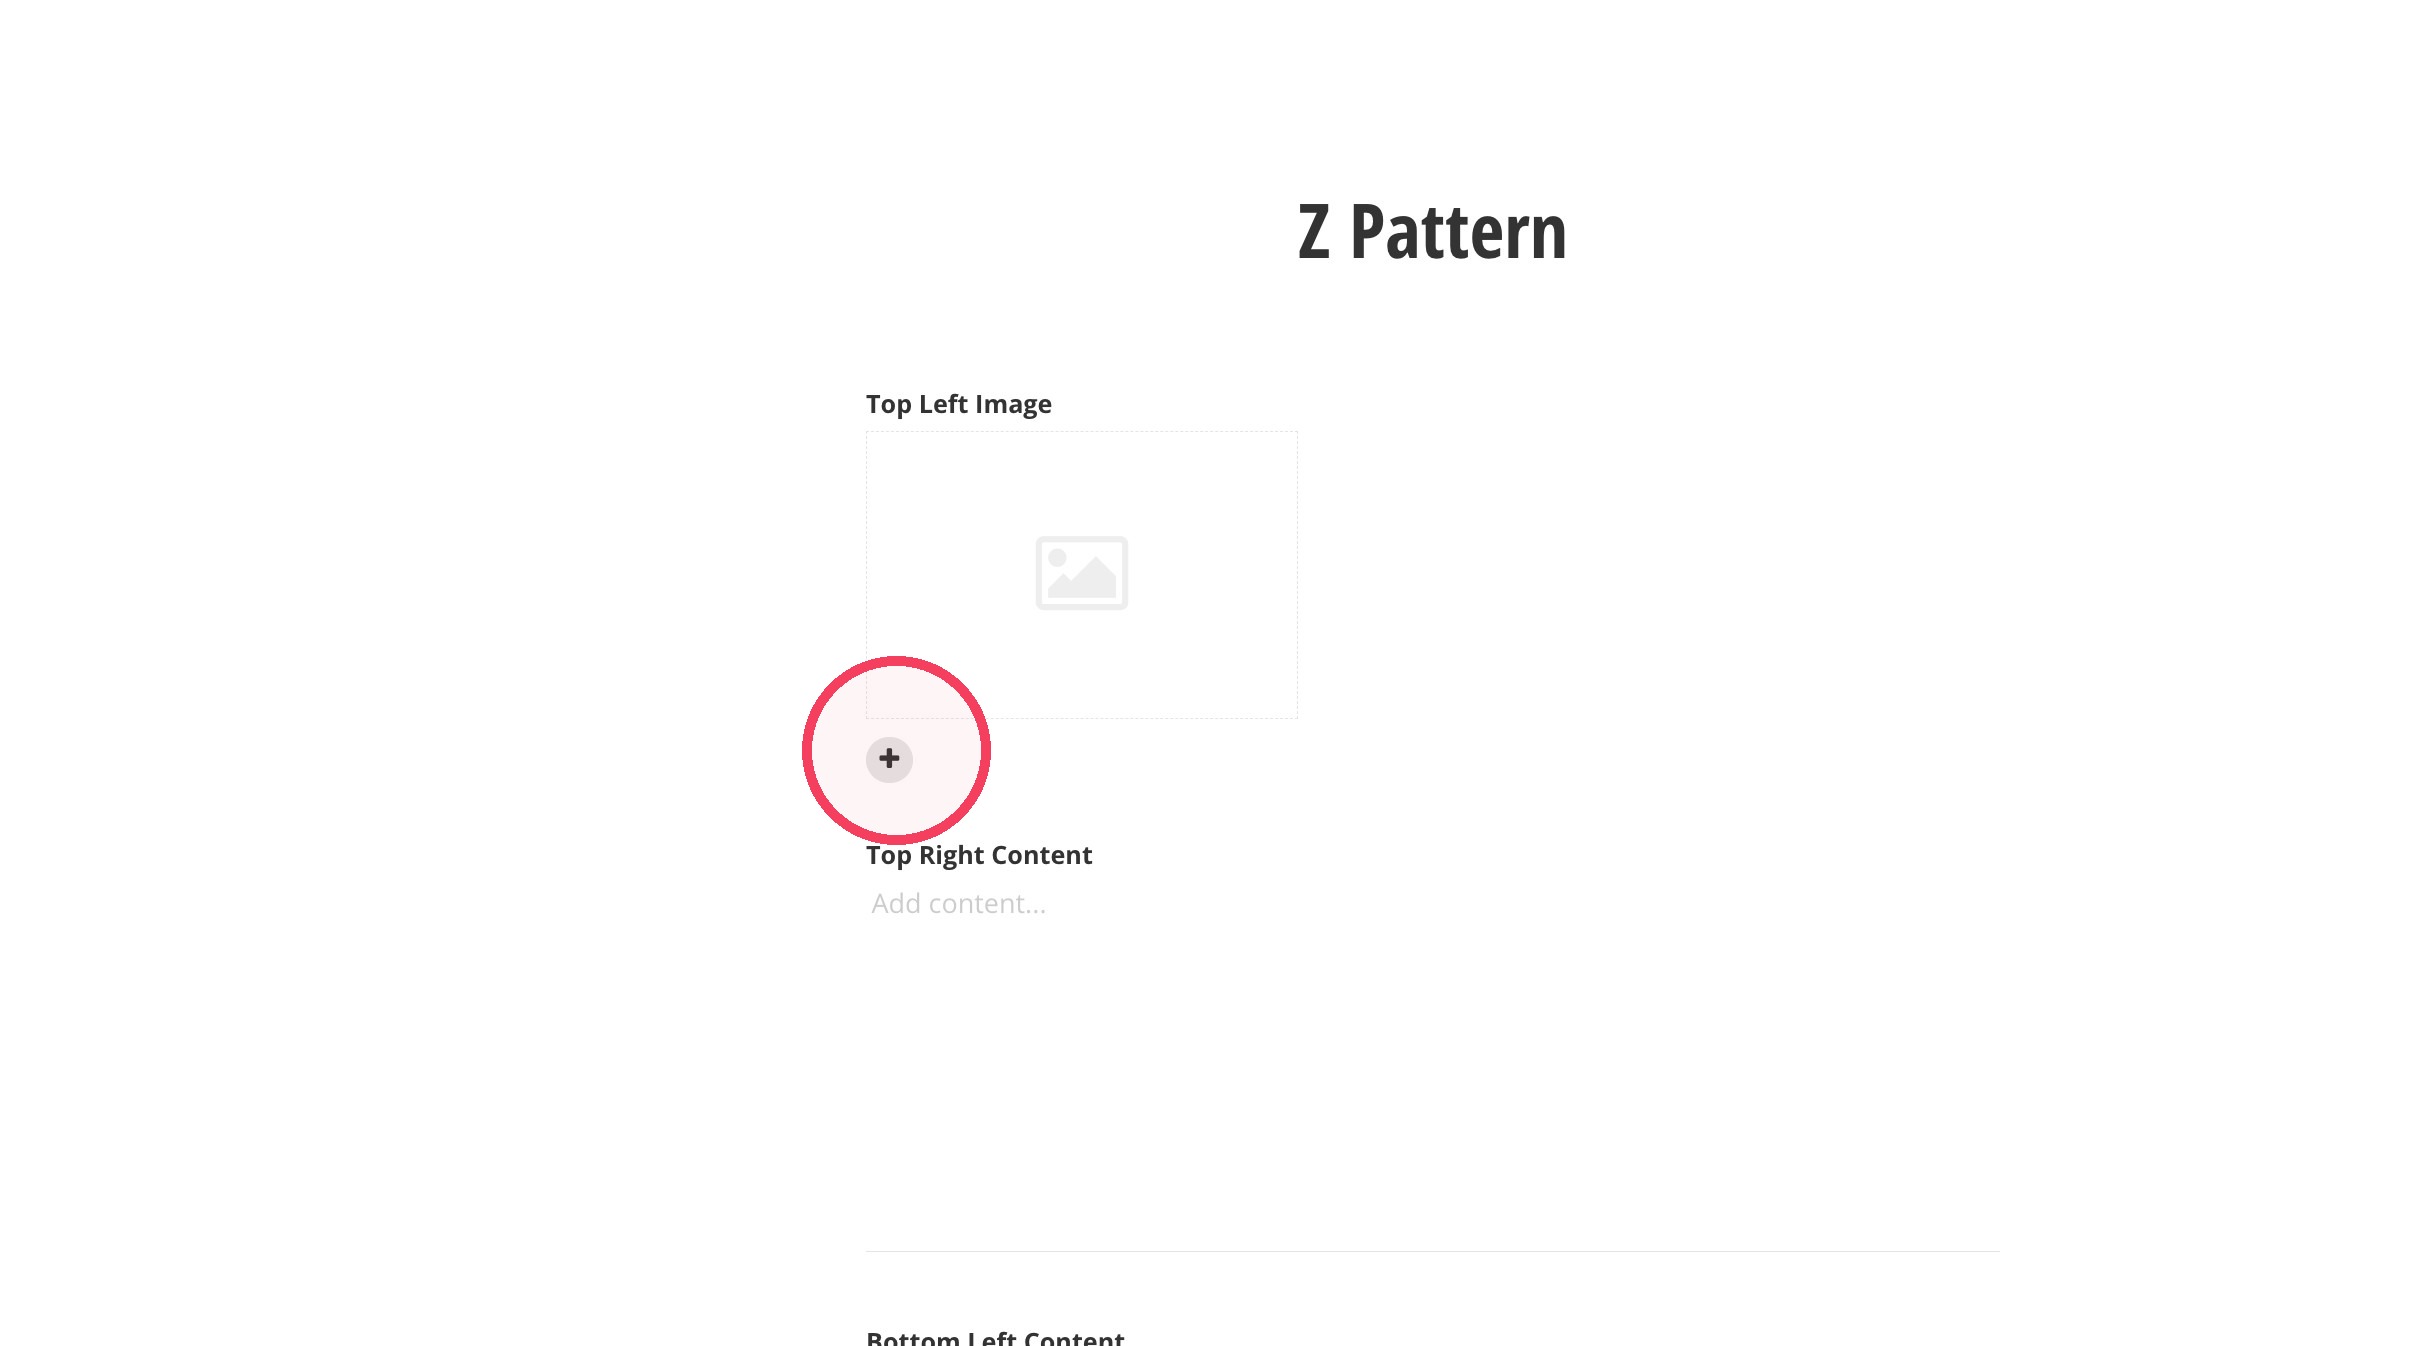
6. To add your first image, click on the + under the Top Left Image field.
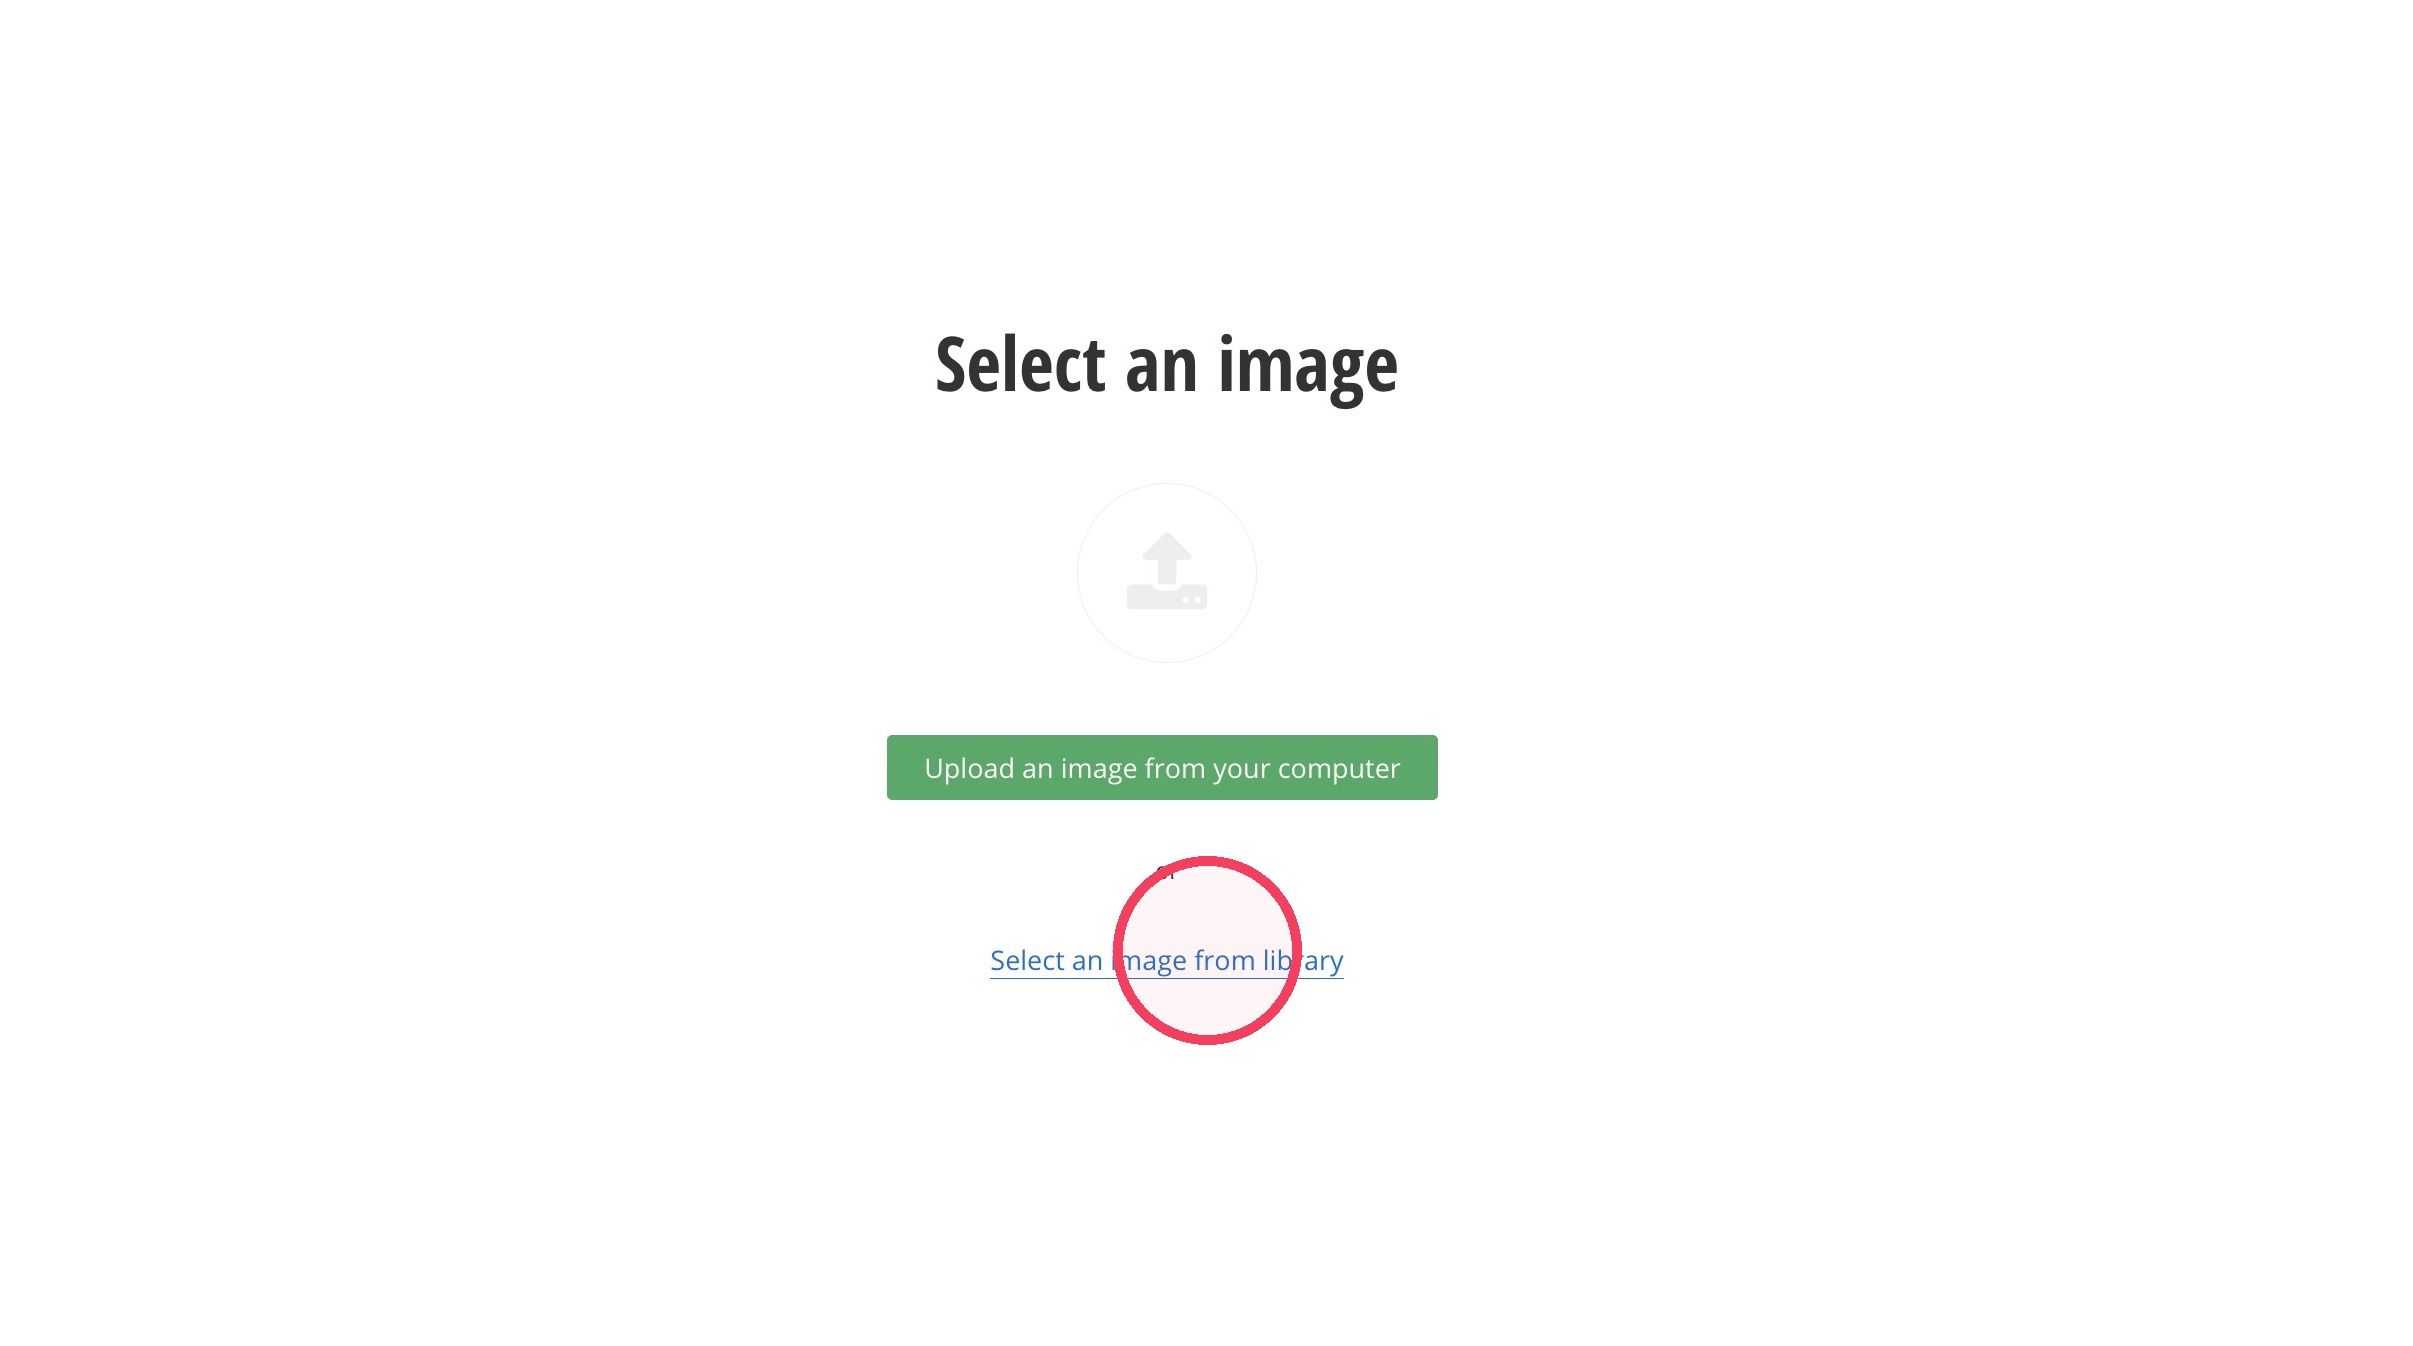
7. Click Select an image from library.
Note: Your image should be either 1600x900 or 800x450 (16:9 aspect ratio).
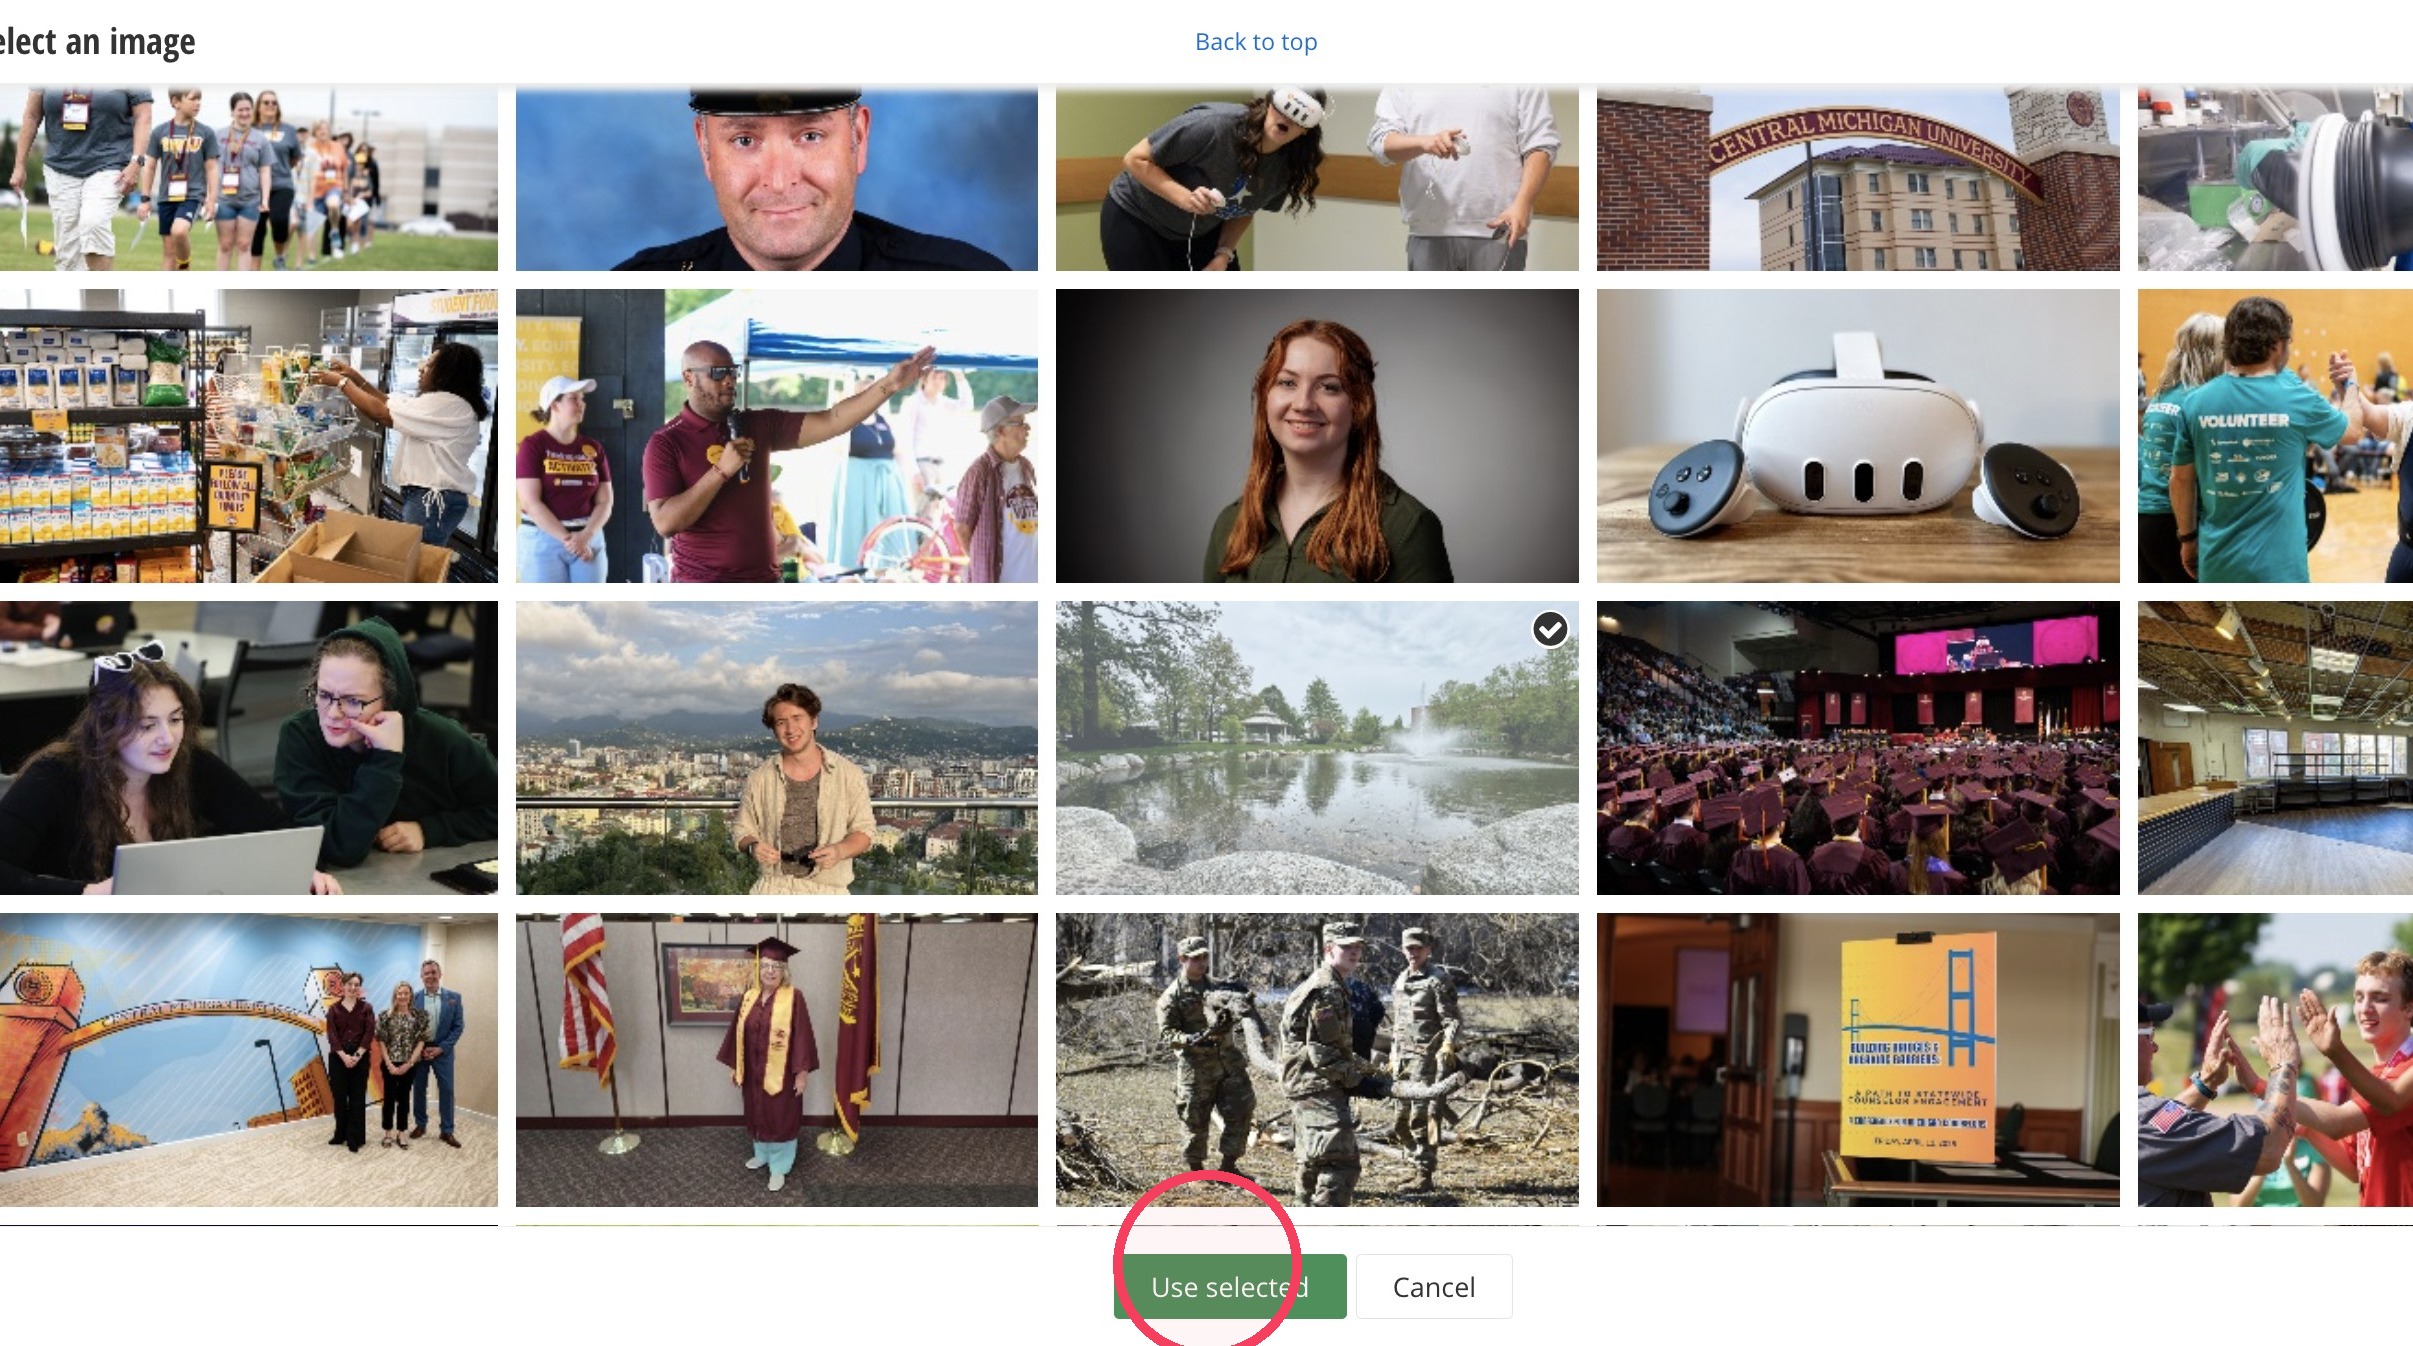
8. Find the image you want to add to your page and click on it.
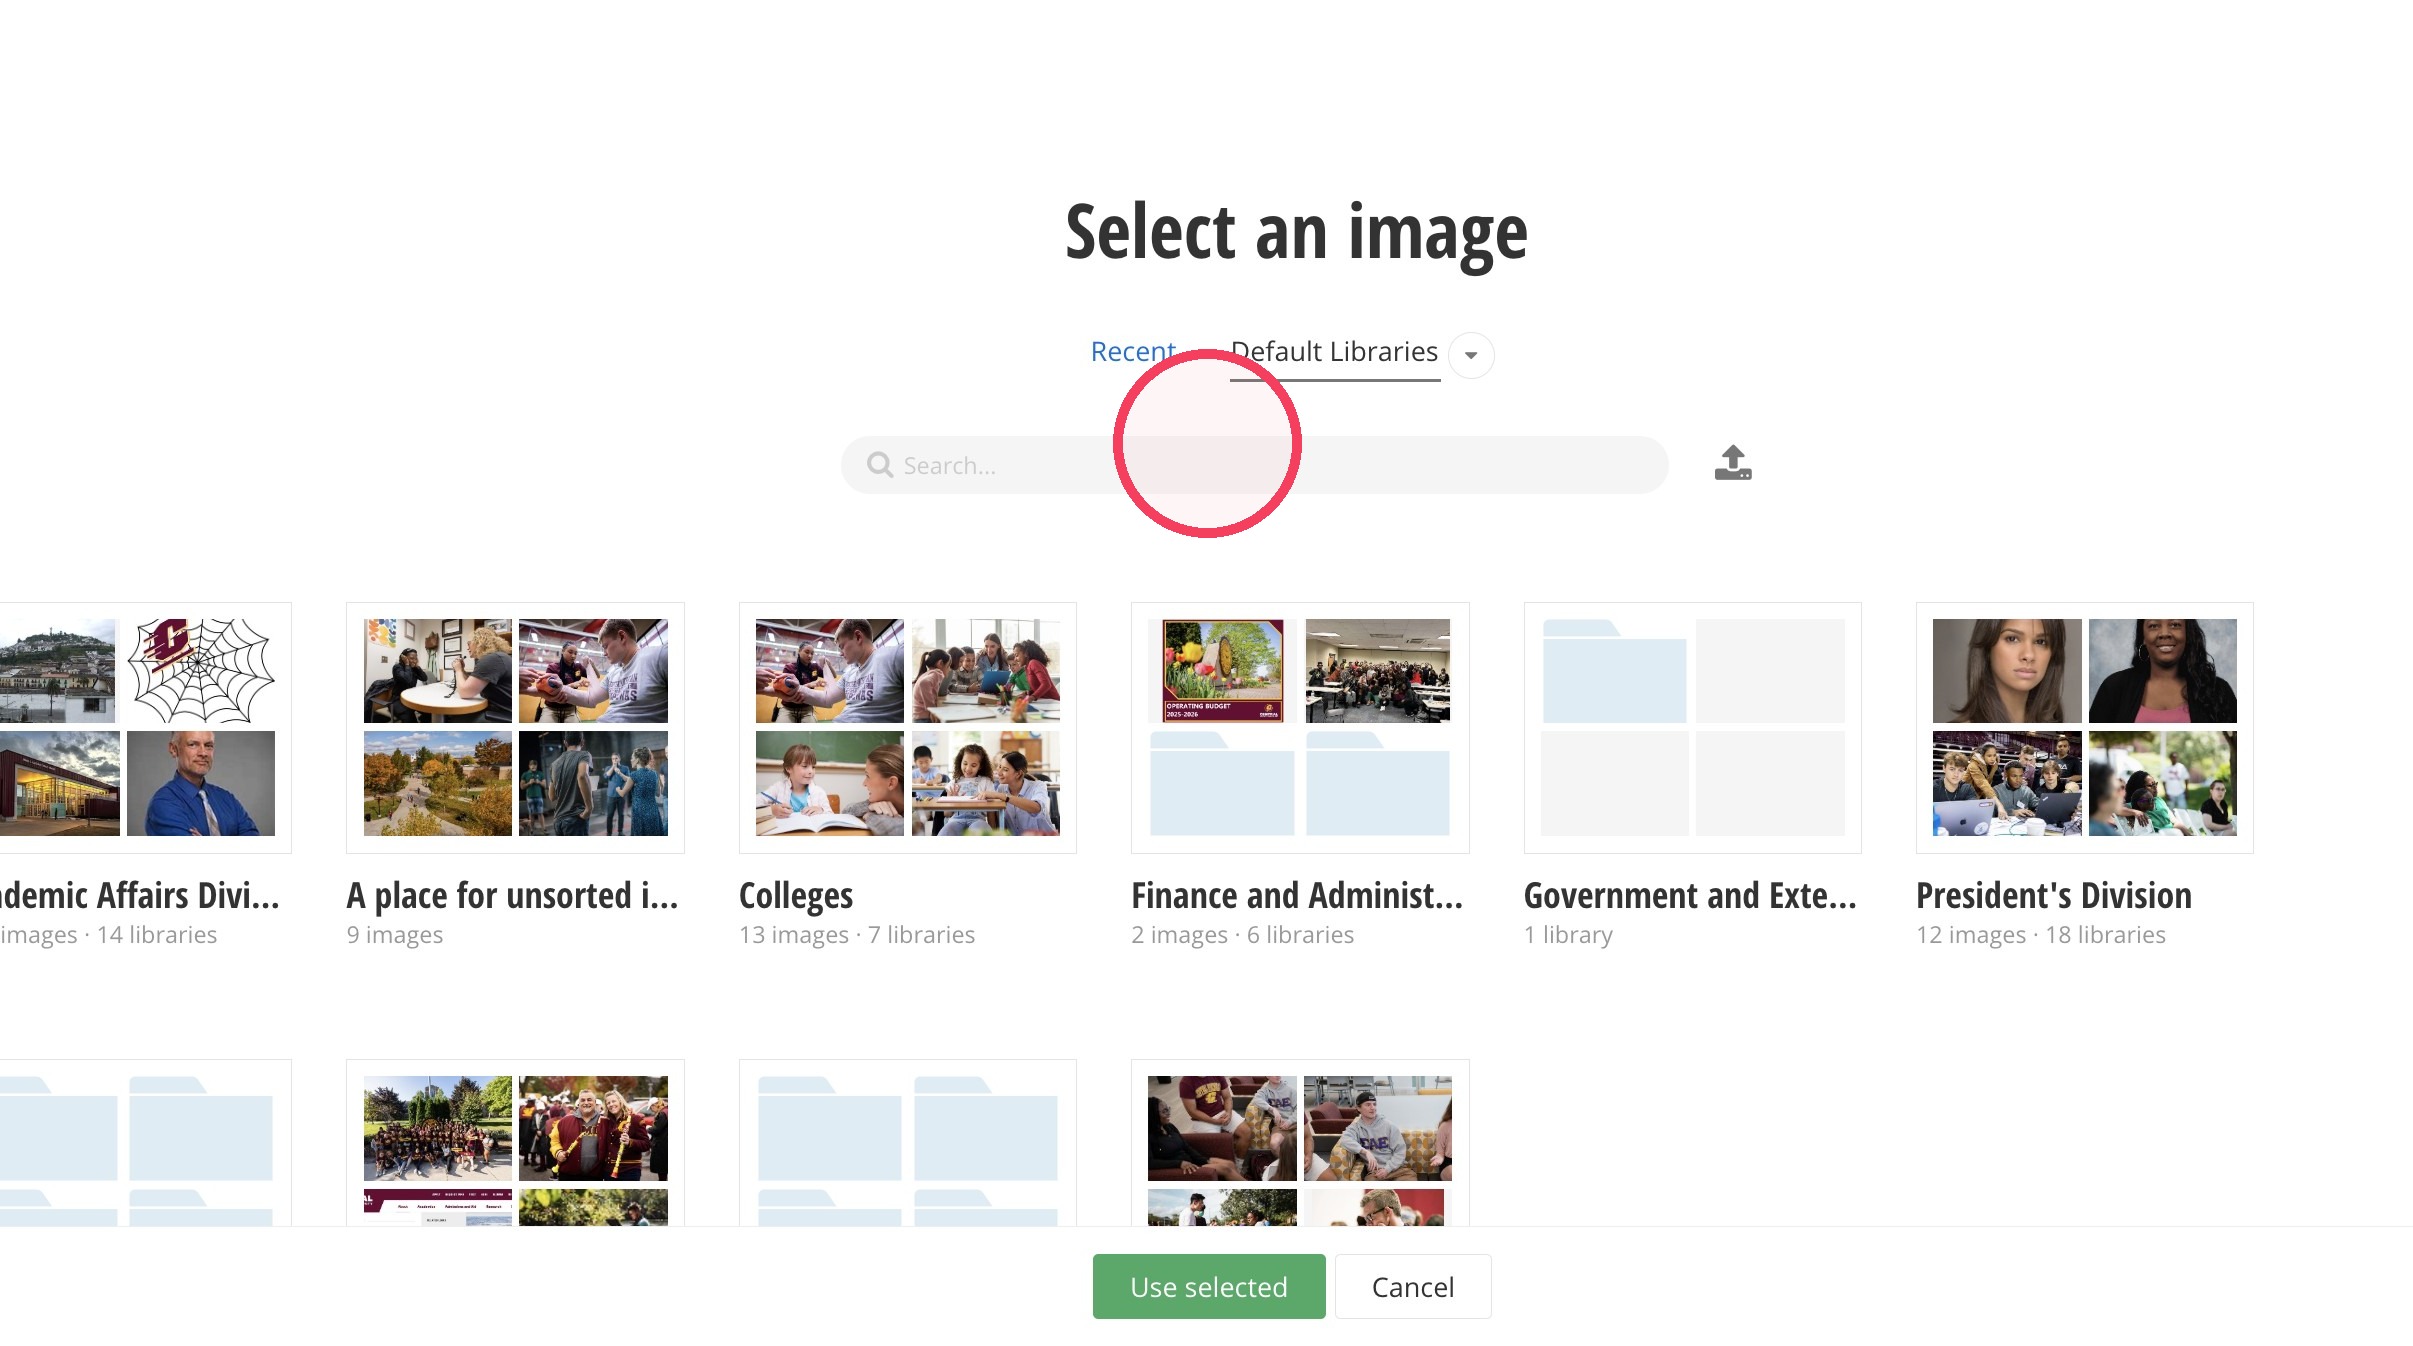
9. Click "Use selected."
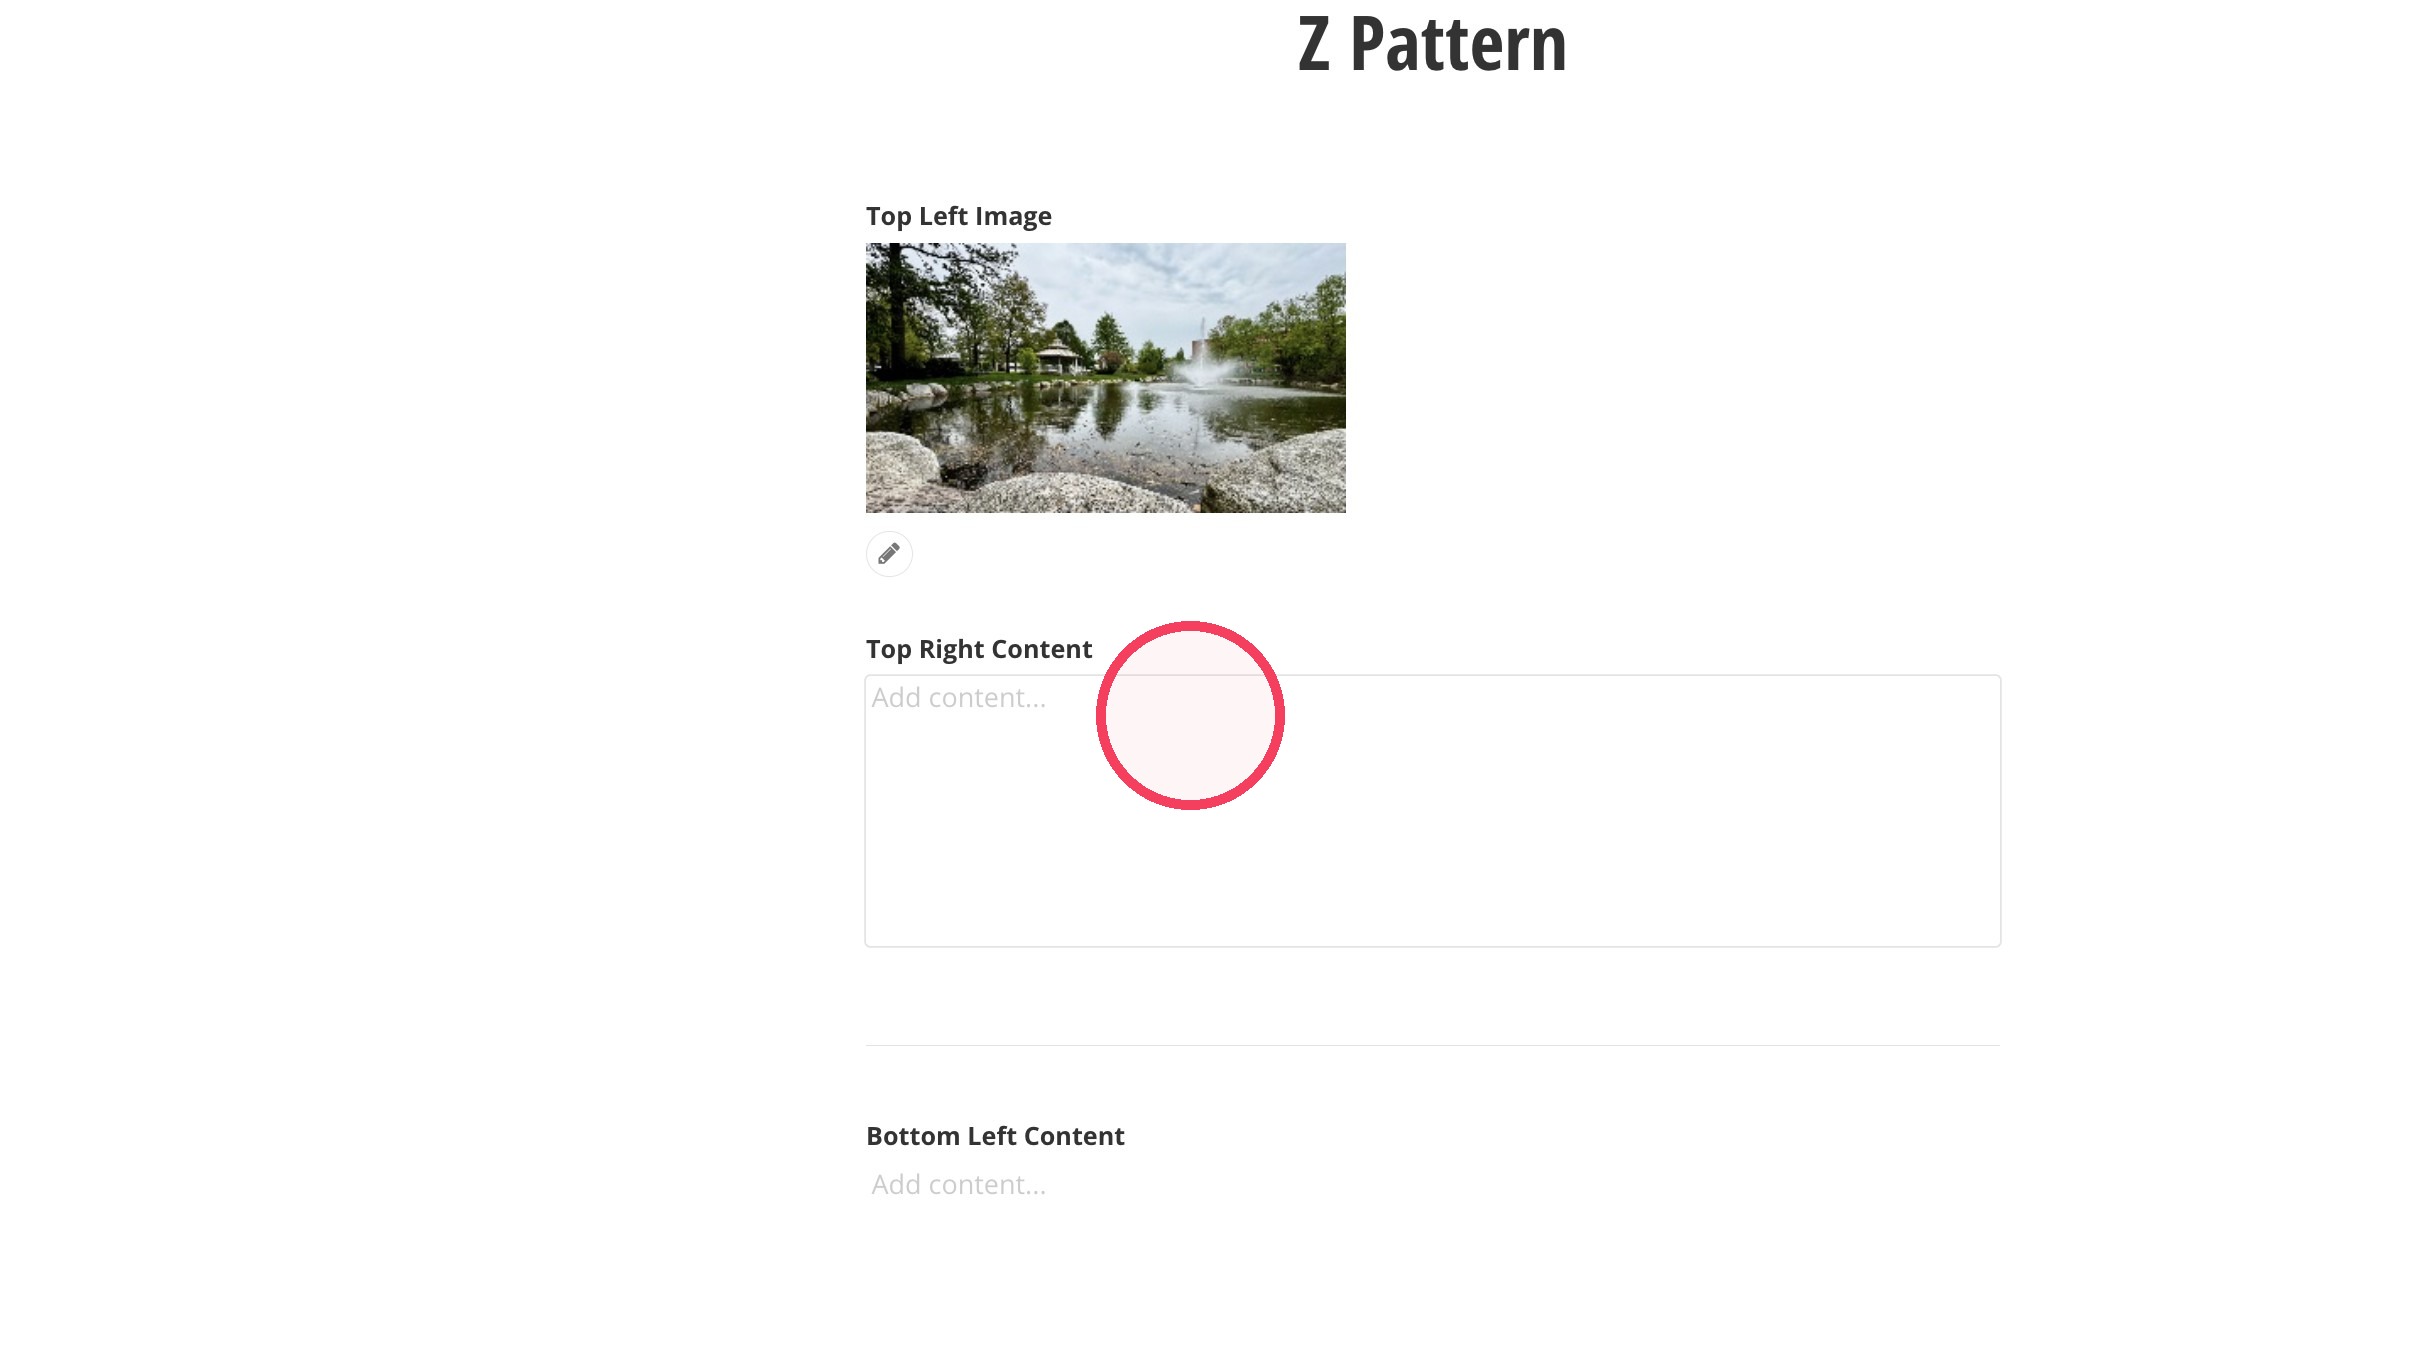
10. Add your text to the Z Pattern by clicking on the content field under Top Right Content.
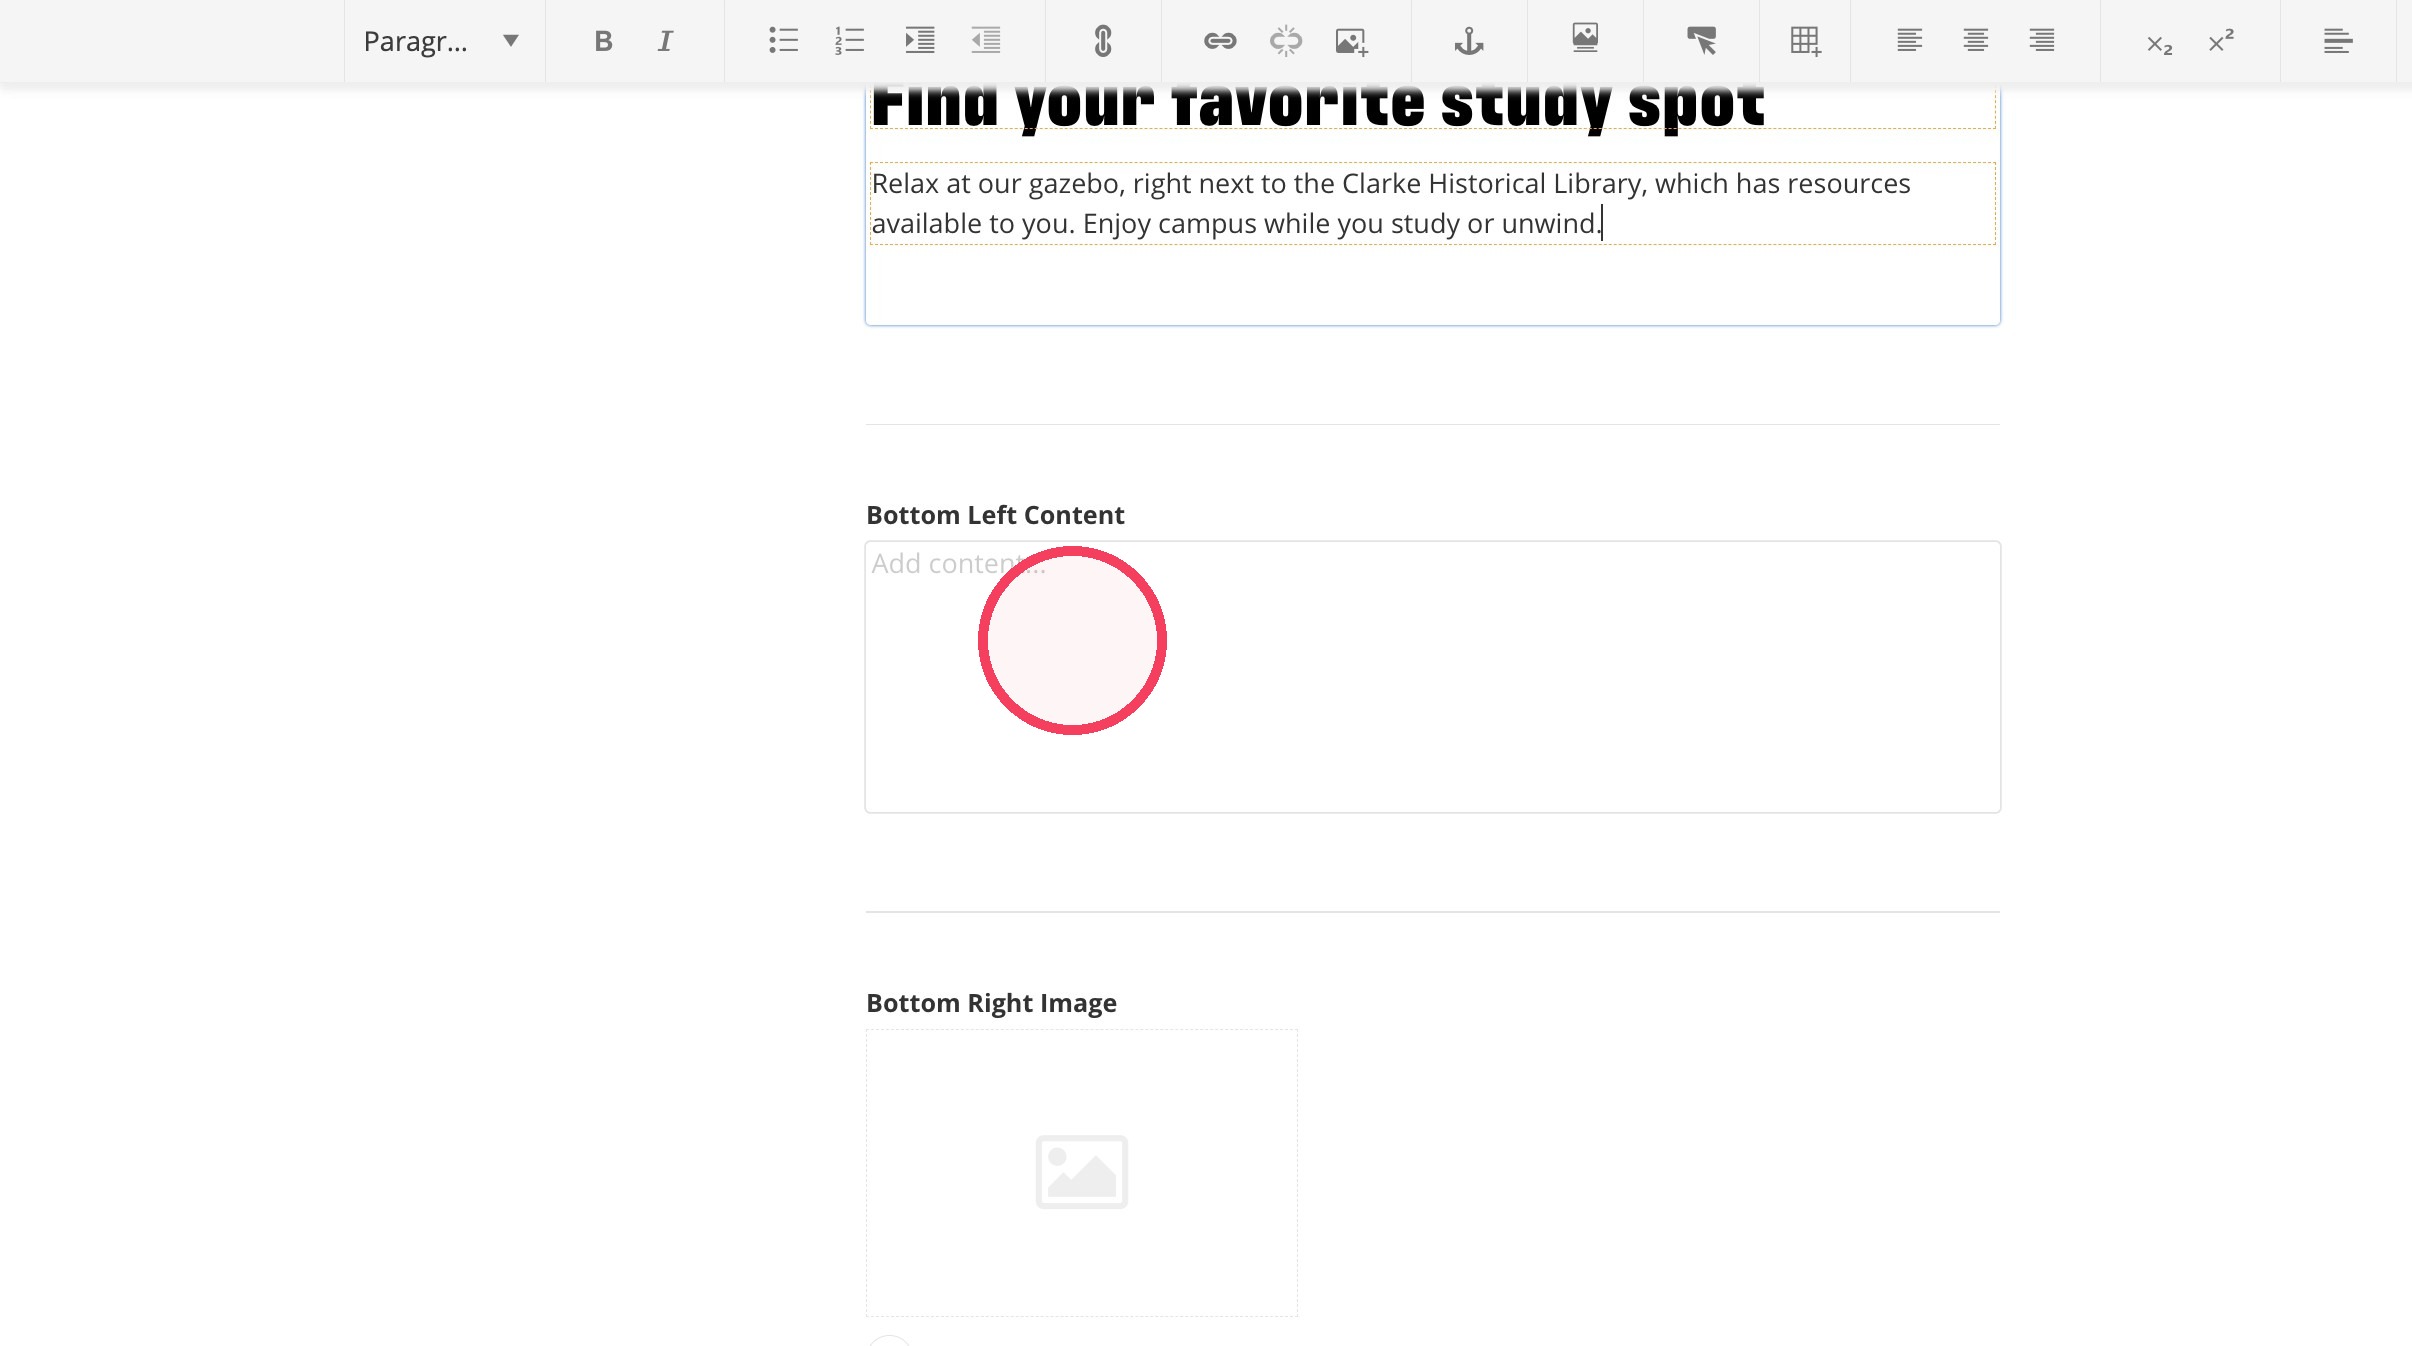
11. Repeat the process to add text to the Bottom Left Content area.
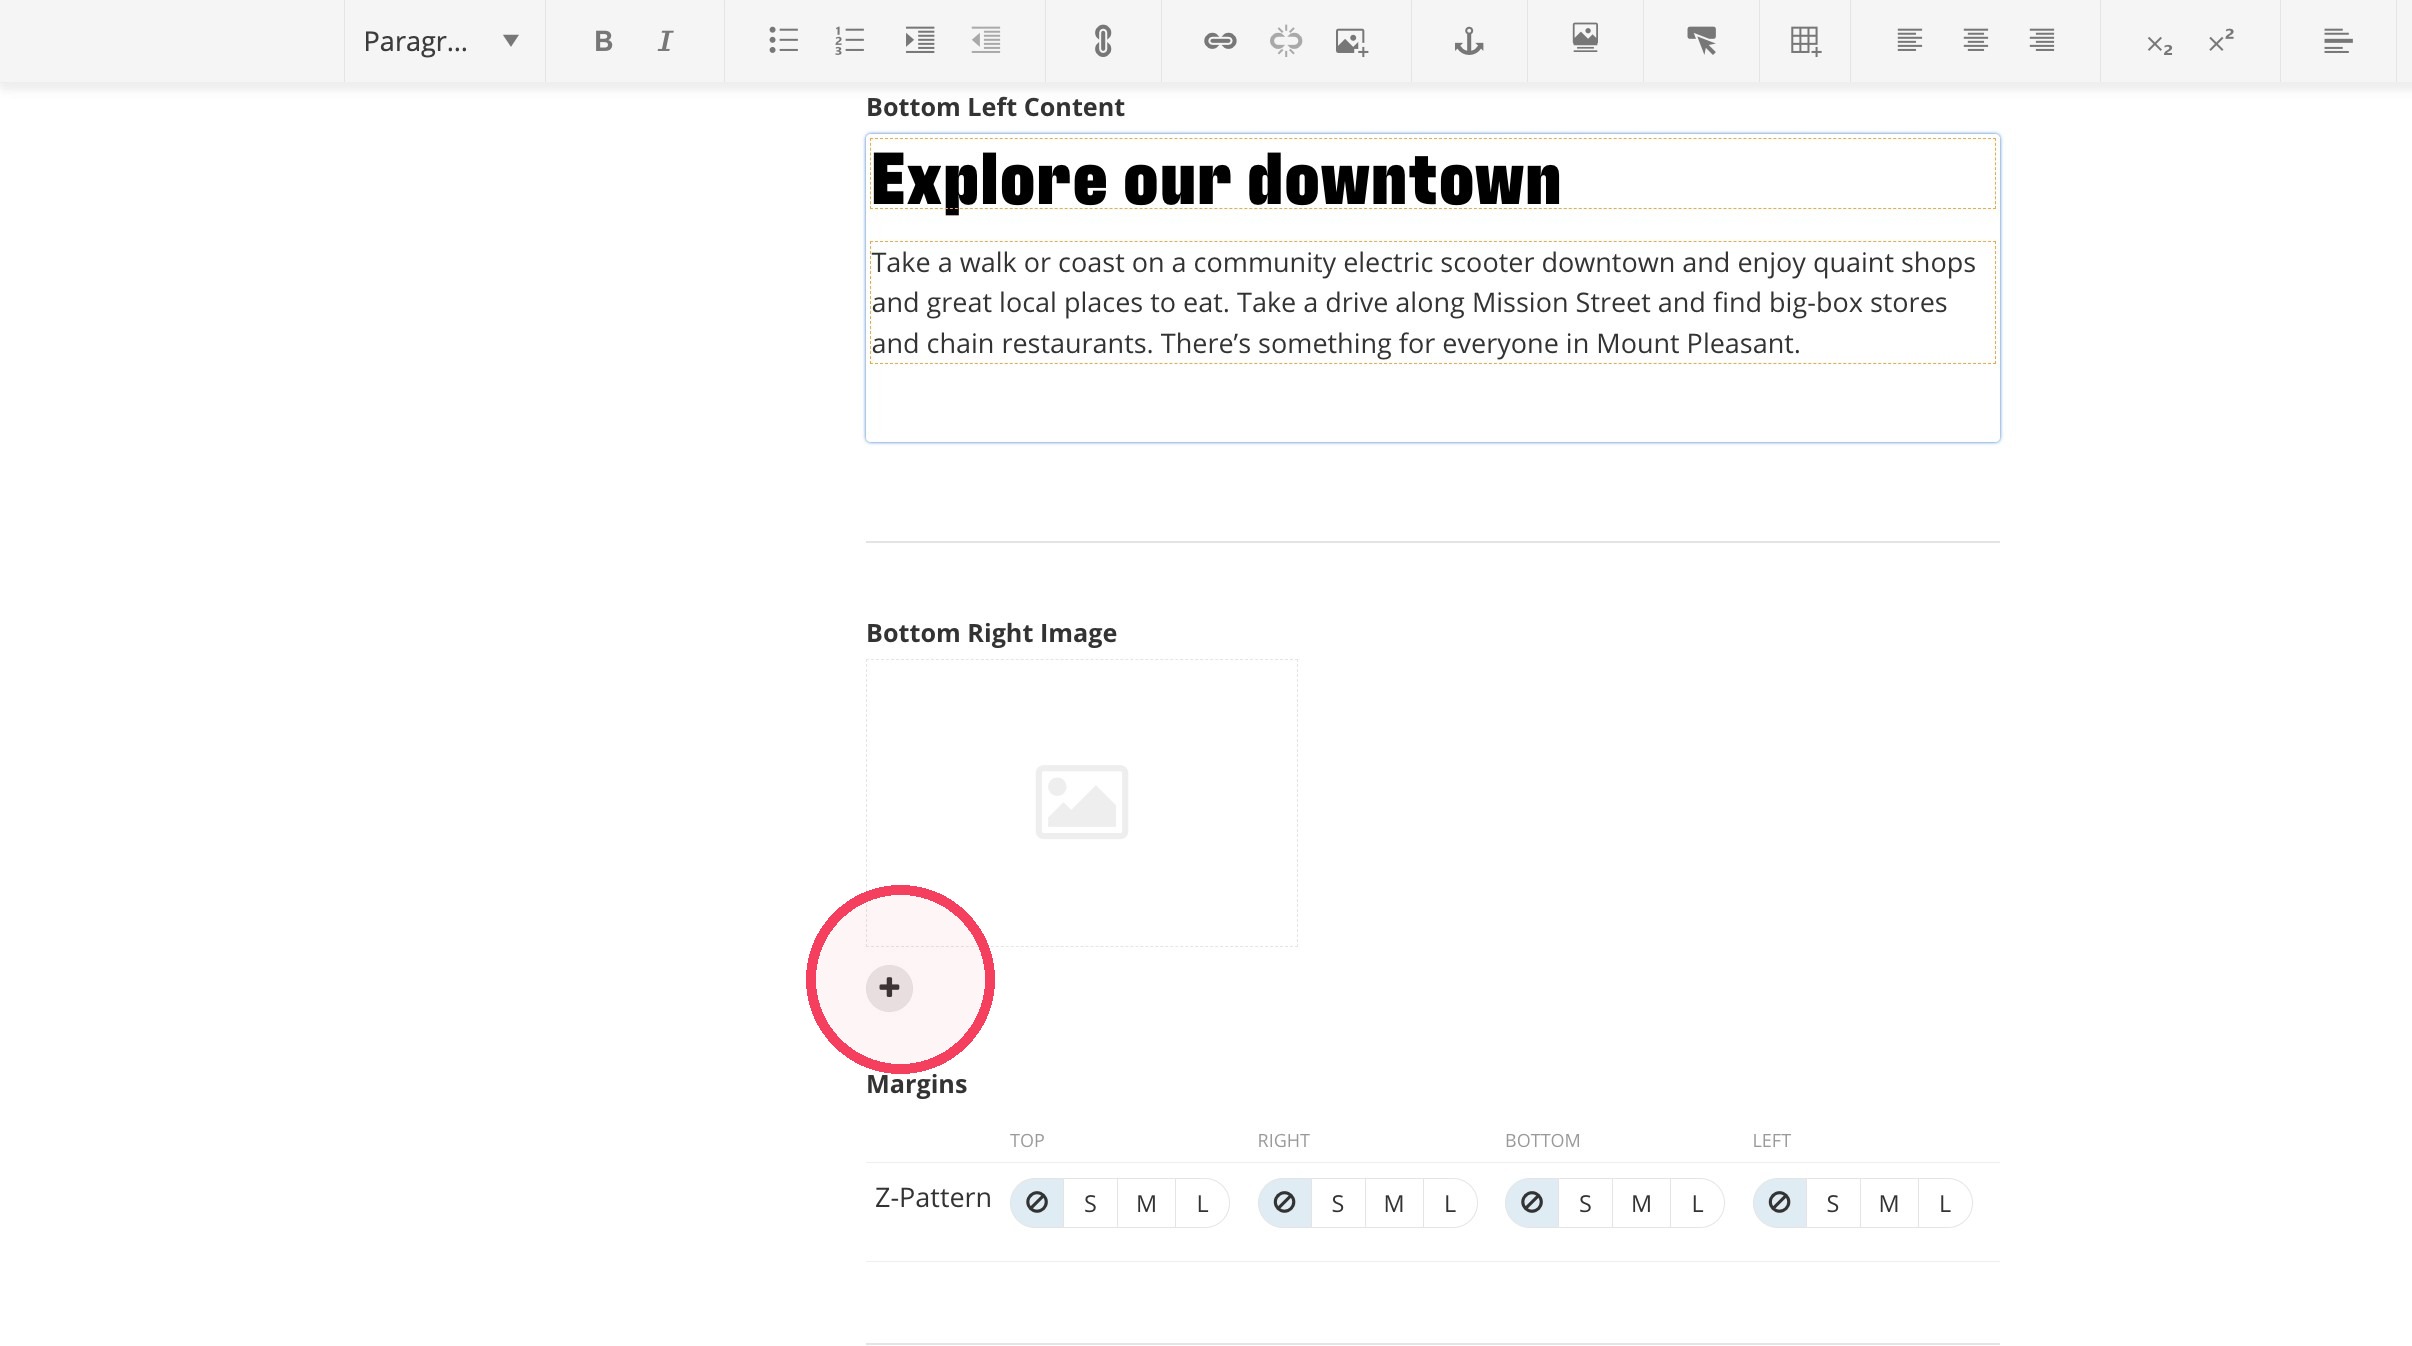
12. Add an image to the Bottom Right Image section by clicking on the +.
13. Once you've added in your second image, click on "Save."
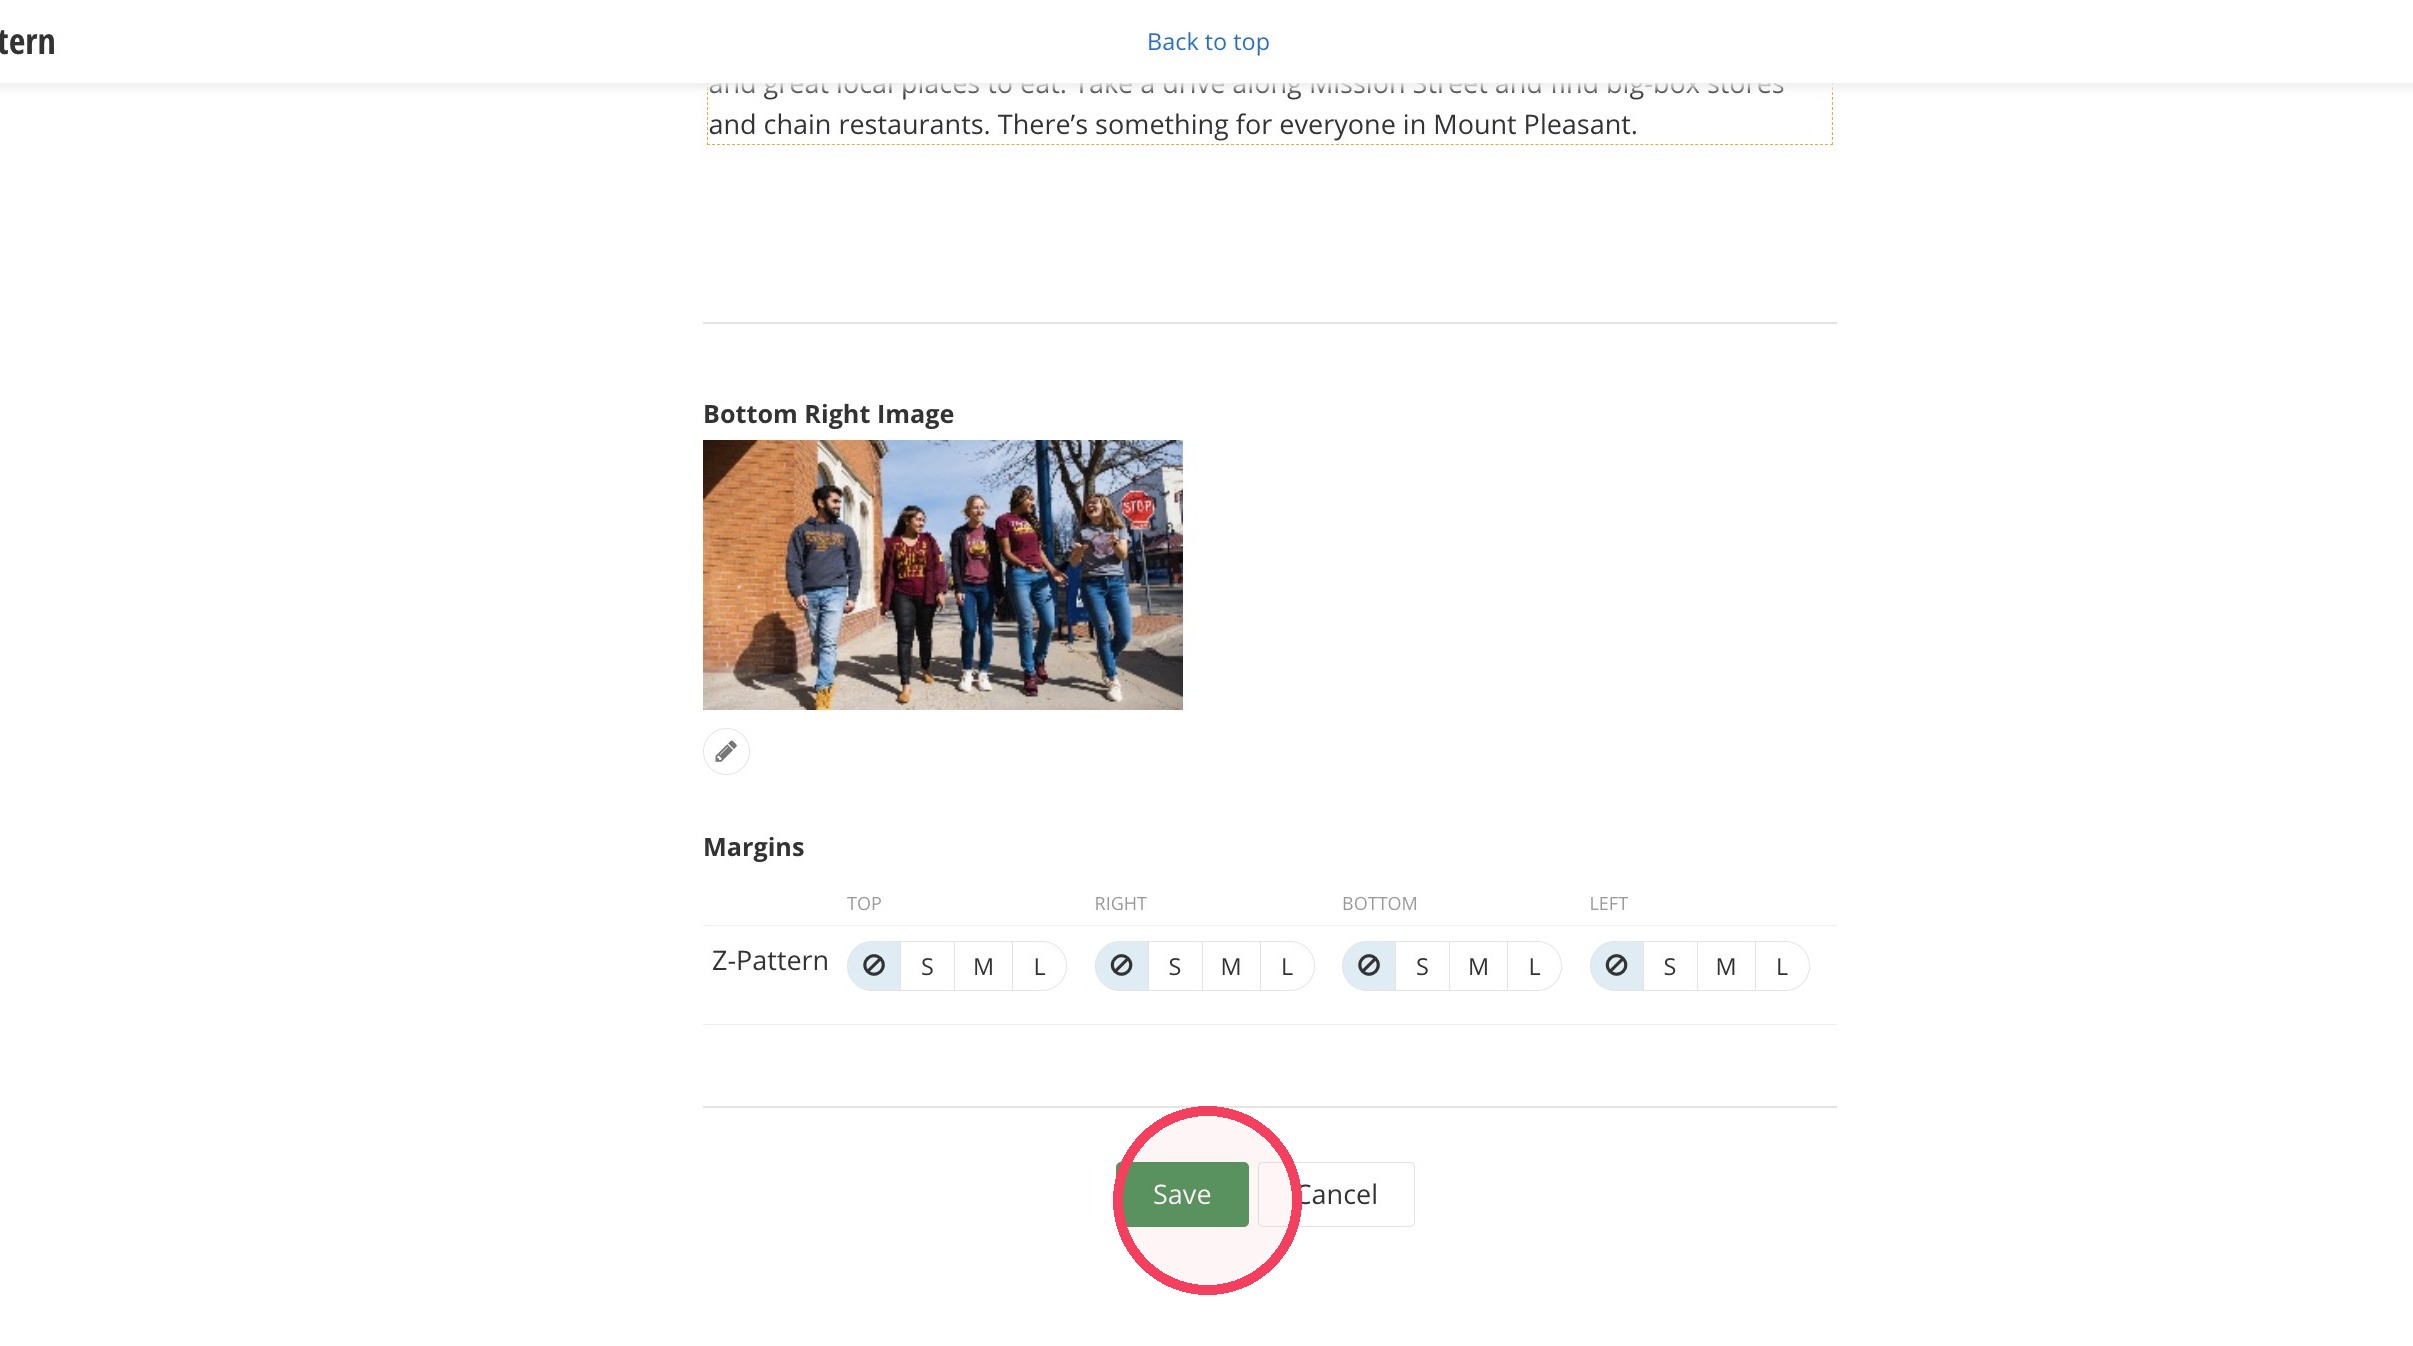
14. Your page will now have a z pattern widget on it. It should look like the image below.

Save and send
- If you'd like to continue working on this page but need to save your progress, click Save as Draft.
- If you're finished making changes to the page and the page is ready for review, click Send for Approval.
