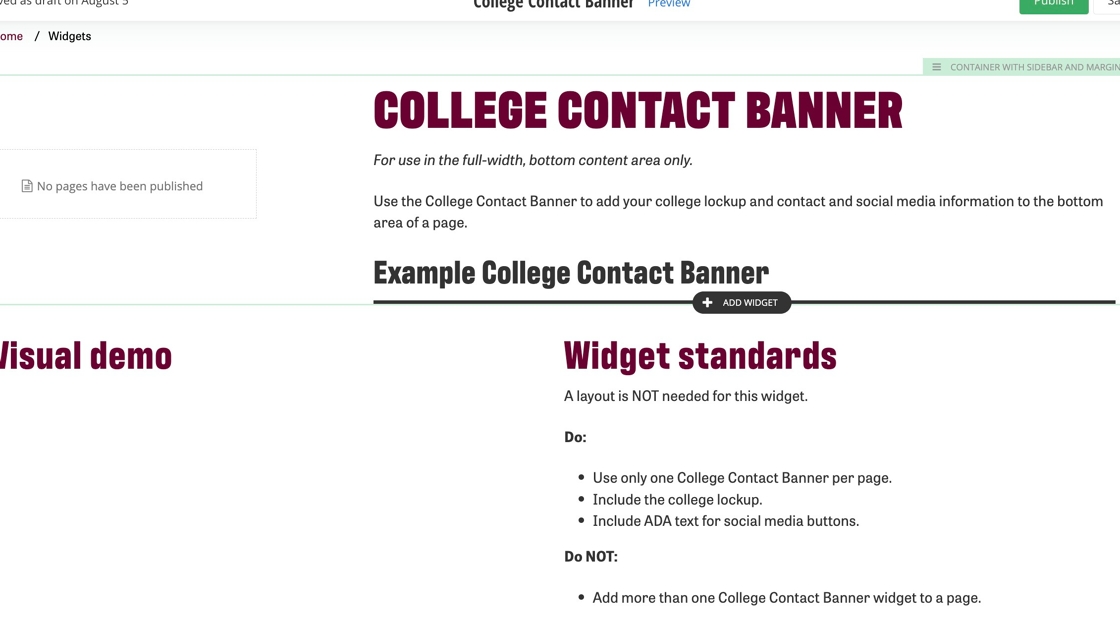
For use in the full-width, bottom content area only.
Use the College Contact Banner to add your college lockup and contact and social media information to the bottom area of a page.
For use in the full-width, bottom content area only.
Use the College Contact Banner to add your college lockup and contact and social media information to the bottom area of a page.
A layout is NOT needed for this widget.
Do:
Do NOT:
1. Open the page you want to add the College Contact Banner to.
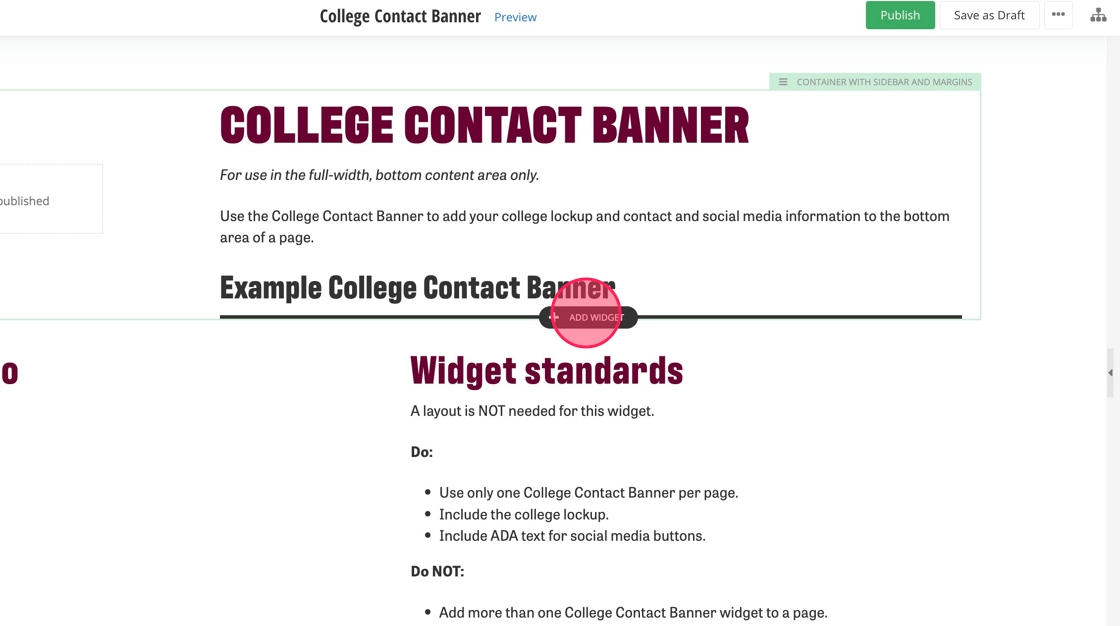
2. Click on +Add Widget.
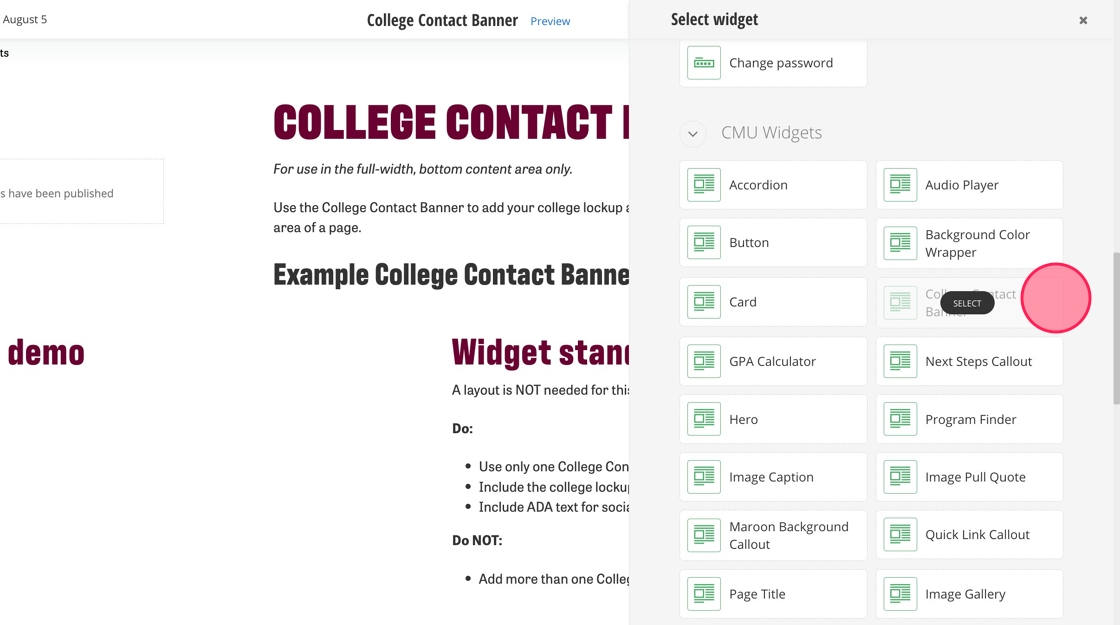
3. Find the College Contact Banner widget and select it.
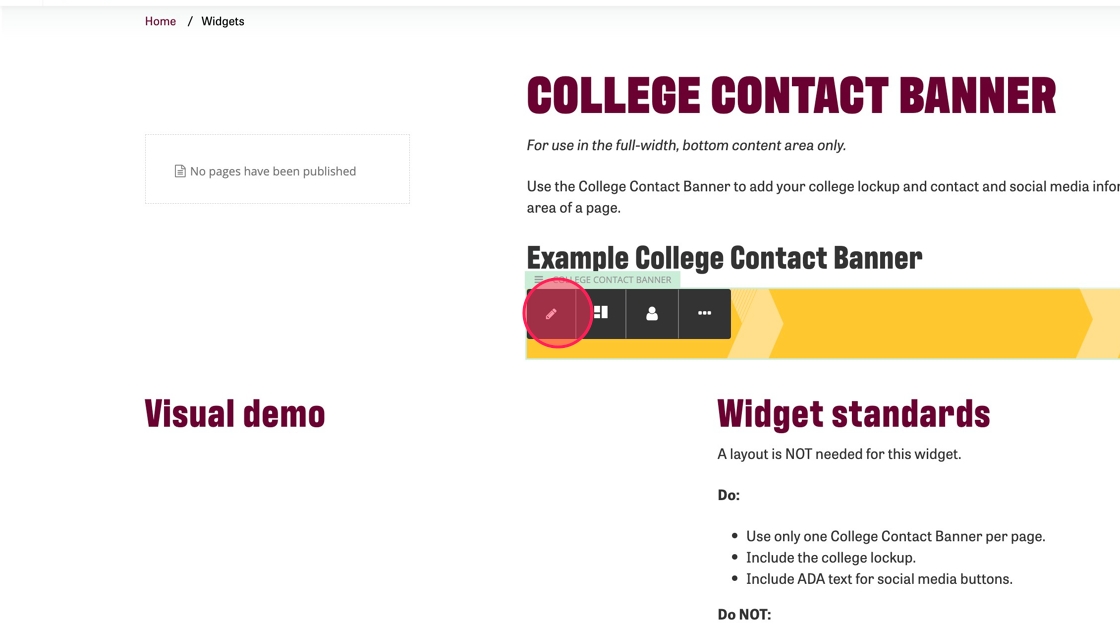
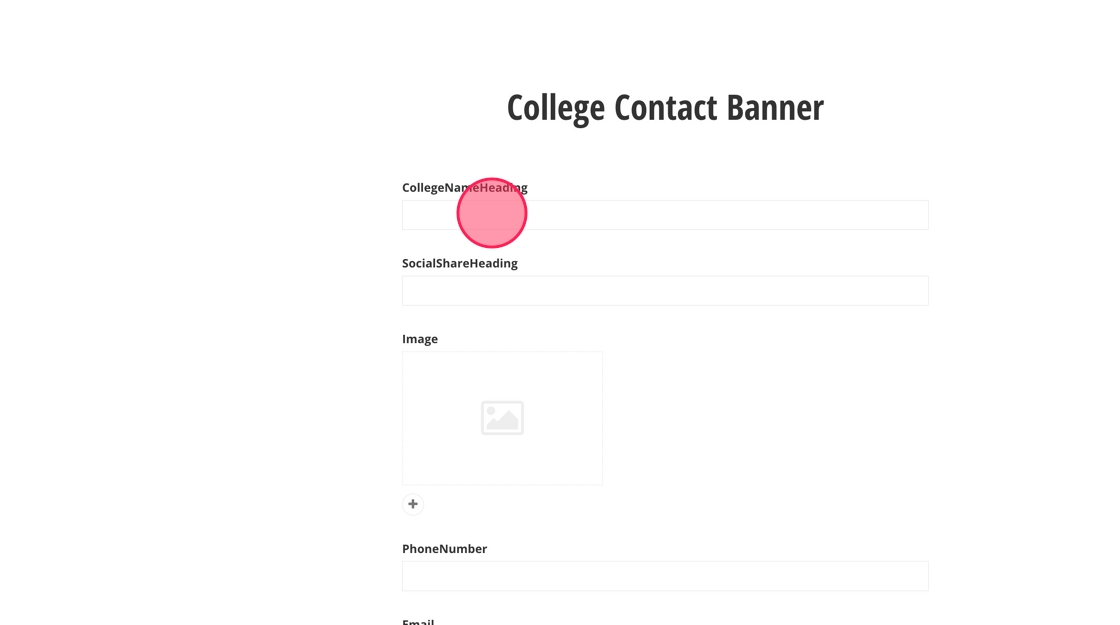
4. Click on the banner and then the pencil icon to edit it.
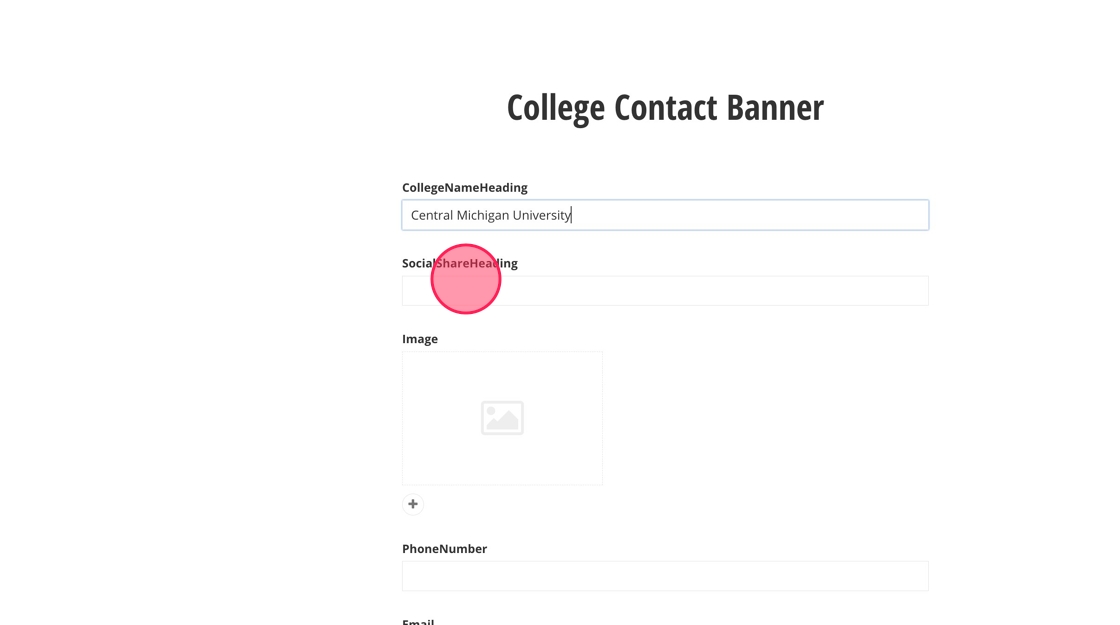
5. Type the college name into the "CollegeNameHeading" field.
6. Type the heading to go above the social media buttons into the "SocialShareHeading" field.
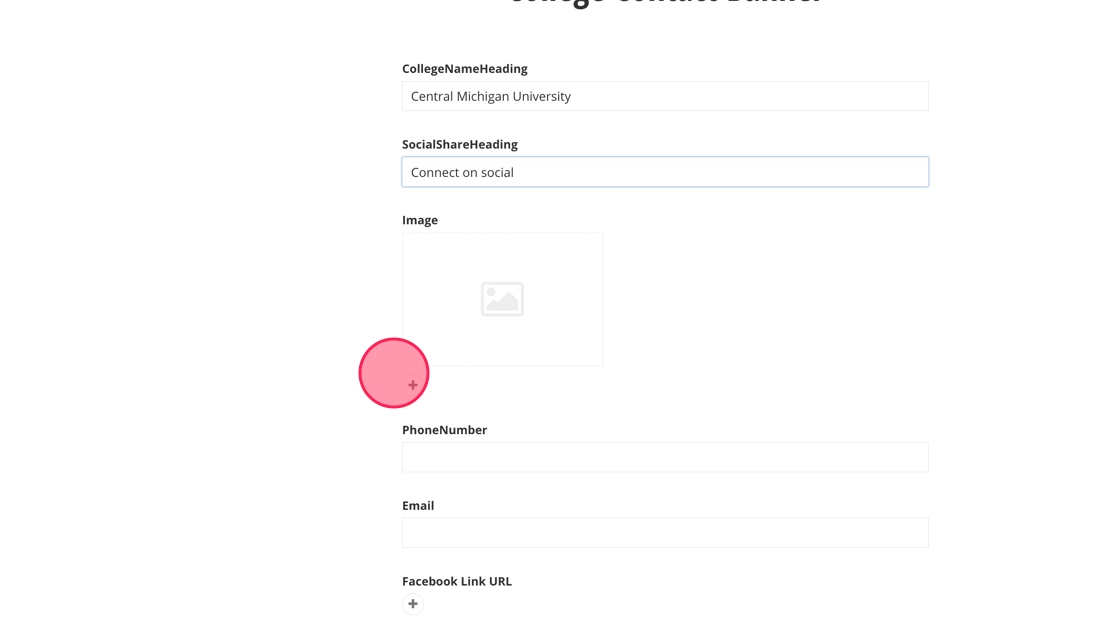
7. Add the college lockup to the banner using the image field.
Note: This image can only be the approved lockup in an .svg format.
8. Add a phone number for the college.
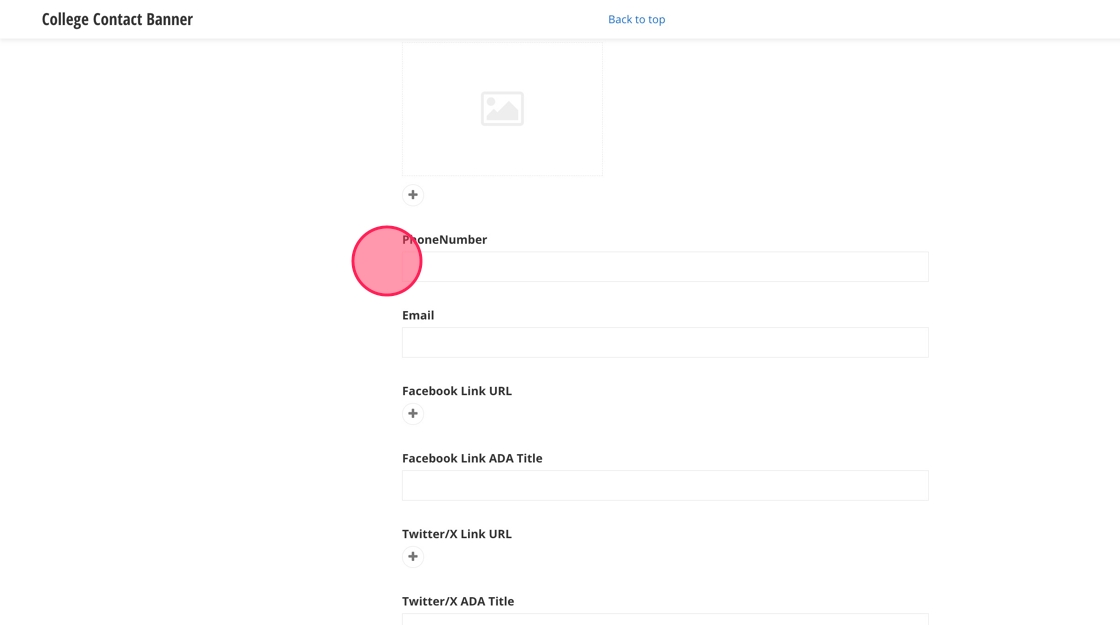
9. Add an email for the college.
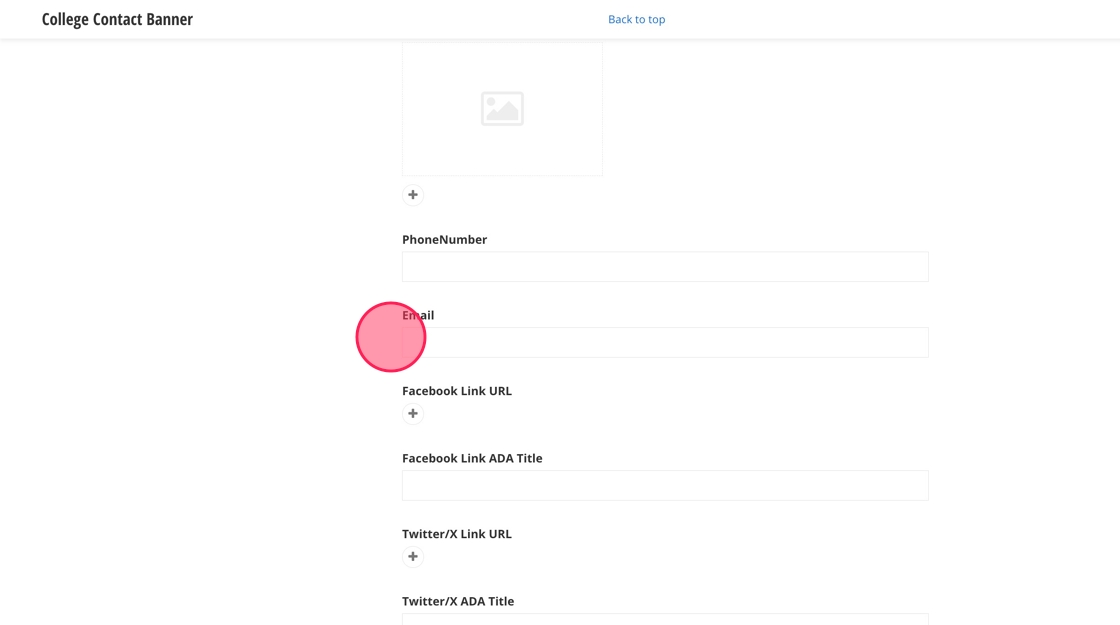
10. Add in the Facebook URL for the college's page.

11. Add in the ADA title for the link you just added.
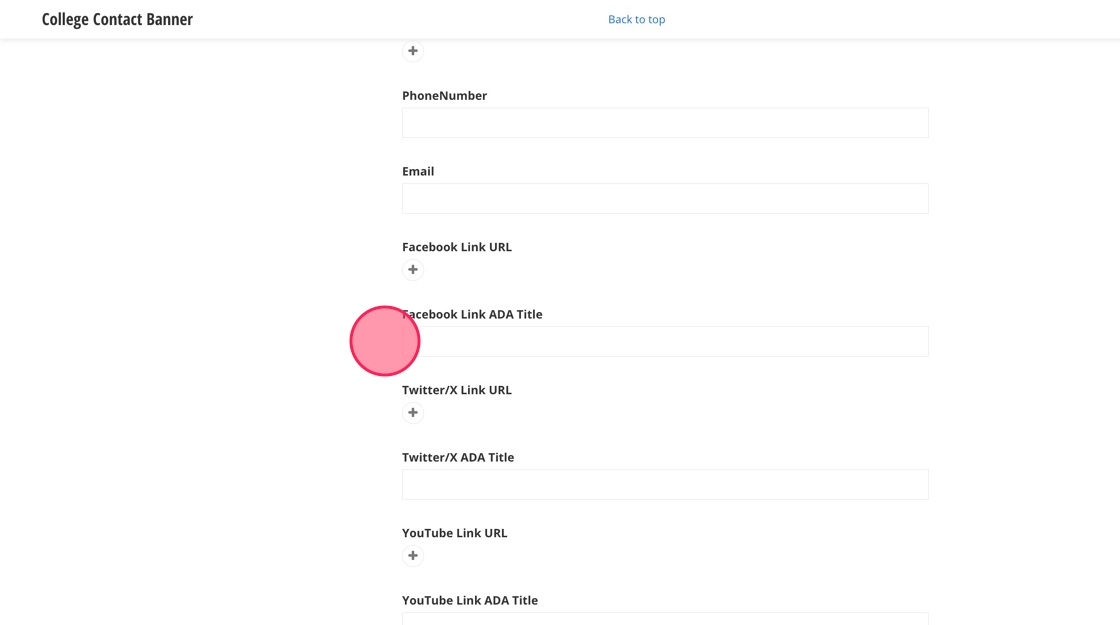
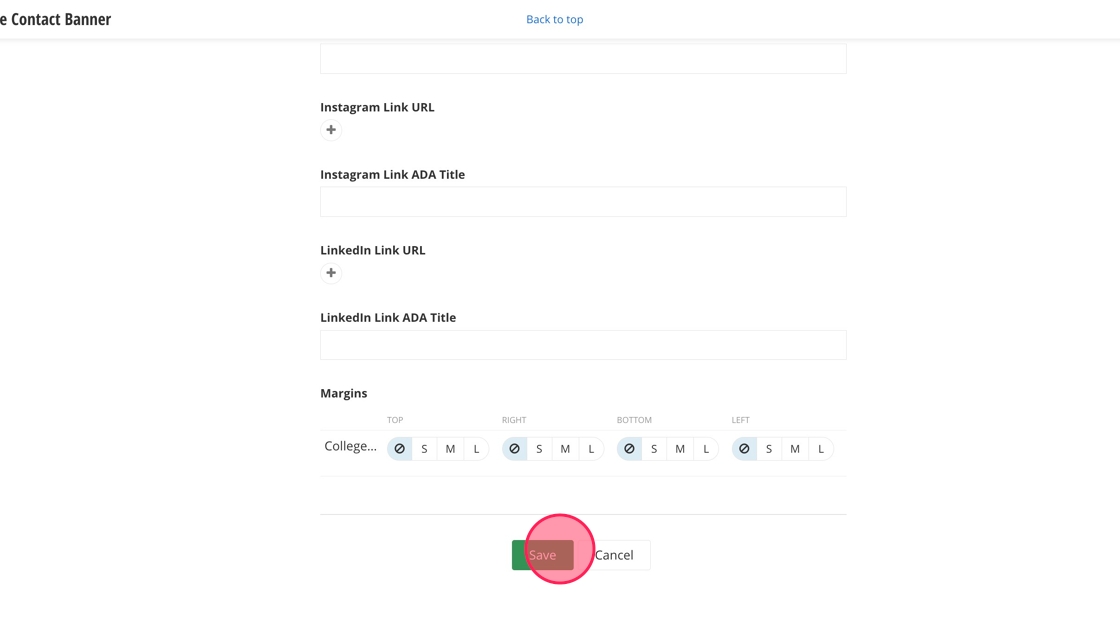
12. Repeat Steps 10 and 11 for the other social media channels you wish to add.
13. Click "Save."
![]()
