Replacing images to auto-correct on pages
There's a quick and efficient way to replace images in the DAM so it autocorrects the image on existing webpages. There may be instances where you need to replace an existing image with a new one.
This can happen for a variety of reasons including:
- Refreshing old images on your page with newly taken ones.
- Replacing an unoptimized image with an optimized one.
- Replacing stock images with images of CMU.
Visual demo
Guidelines
- JPGs are the preferred file format for images within Sitefinity.
- Review proper image dimensions for all widgets and page designs.
- Size ALL images to design specifications.
- Maintain file naming and library structure/organization.
Written instructions
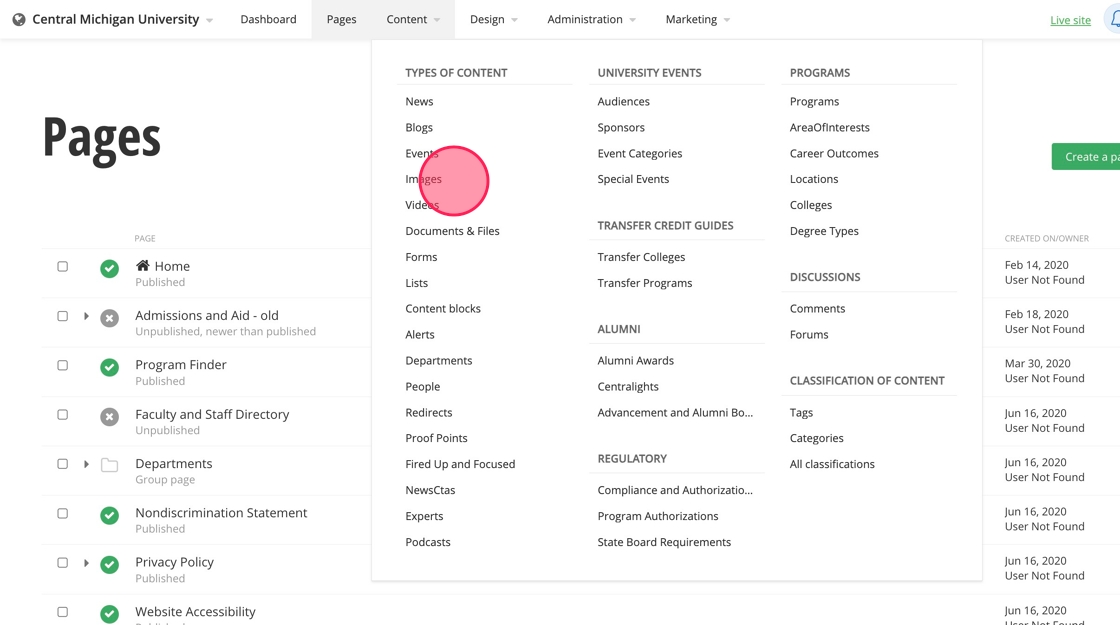
1. Navigate to the Content tab and click on it.

2. Click on Images.
3. Click on your division's folder. In this example, we'll be using University Communications and the President's Division.

4. Find the folder for your area or unit. Here, we're using University Communications.

5. Find the subfolder that has the image you want to replace.

6. Click on the image you want to replace. Here, we'll be replacing "warriner-pink-skies-900x600".

7. Once the image edit screen loads, click on the gear icon near the bottom right corner of the image.

8. Select Replace file.

9. To replace the image with an optimized and resized one from your computer, click on the arrow above the rectangle icon next to the search field.

10. Click on the image in your files and then Use selected.

11. Click on Send for approval. Once published, the new image will replace the old image throughout the website.
