Uploading Images to the DAM
Follow these steps to upload images into the DAM:
- Prepare images for upload by sizing, optimizing and naming your file.
- Upload images to your library folder.
- Complete image properties.
Uploading your image into the DAM
After you have sized, optimized and named the image files you want to include on your page, it's time to upload them to your Image Library so you can access them directly within Sitefinity.
Continue with the instructions on this page if you are adding a new image to the DAM.
If you want to update an image that is already in the DAM, please navigate to replacing an image file in the DAM instead.
Visual demo for uploading images
Image tips
- JPG or JPEG is the preferred image format. They typically have smaller sizes and support shorter load times than PNGs.
- Branded elements, like Action C's or college lockups, must be in SVG format.
- Do not use still GIFs. Animated GIFs are acceptable.
- Ensure designed graphics do not overpower the main focus of the page.
Written instructions
1. Navigate to the Dashboard

2. Click on the Content tab.

3. Select "Images"

4. Use the search field to search for your department's photo folder. You can also navigate to your folder by clicking through the library folders shown below.

5. Click into your department's photo folder. Navigate to the location you'd like to upload your new photo.

6. Click "Upload images"

7. Click "Upload images from your computer" or drag and drop images from your computer onto this Select images page.

8. Click "Save as Draft." If you select "Upload and Publish" without adding image properties, your image will be rejected.

9. Click "Close." Your image has been uploaded to the location you chose! Continue down the page to add image properties and send your image for publishing.

Tips
- Check out our accessibility standards for image and alt text tips.
- Alt text should be descriptive and add context to the page.
- Alt text must be 125 characters or less.
- Do not use special characters, like,"! @ # $ % ^ & *."
Visual demo for adding image properties
Written instructions
1. Navigate to the Dashboard

2. Click on the Content tab.

3. Select "Images"

4. Use the search field to search for your department's photo folder. You can also navigate to your folder by clicking through the library folders shown below.

5. Locate the image you just uploaded.

6. Now you can fill out the image properties. Fill in the Title and Alternative text fields. You can use "Get AI description" as a starting point for your alt text. The alt text the AI tool provides is NOT intended to be used as is.
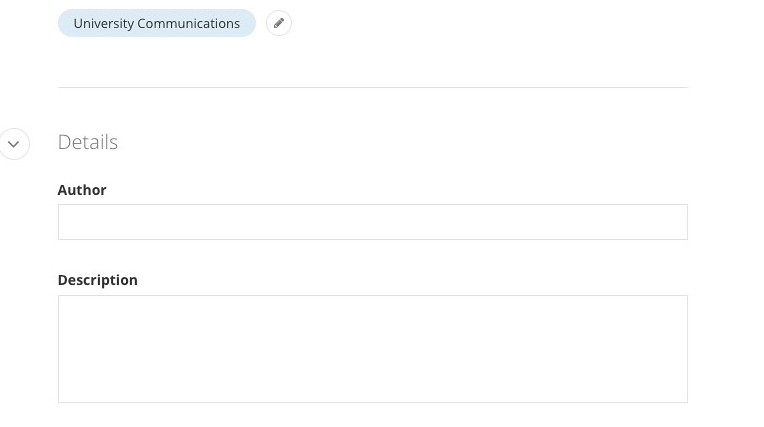
7. Continue to fill out the next image properties, or: Author and Description.

8. Select the appropriate Category for your new image. Do not select a Tag for images.

9. Select "Send for Approval"
