Building a Form
For use in the right main content area only.
Creating a form
To access the form menu, click on the Content tab in the Sitefinity menu, then click on Forms.
- Click on the green "Create a form" button.

1. Add a title to your form. Do not include any hyphens (-) or special characters (@#$% etc.) in the title.
2. Under advanced, select MVC only.
Note: When creating a form, you must select MVC only or you will not be able to add your form to your page.
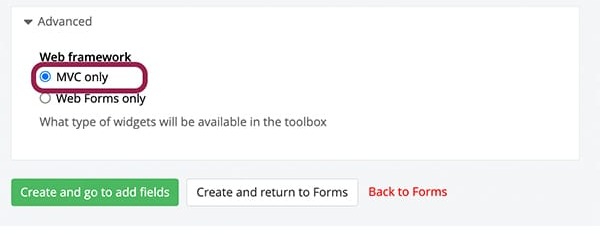
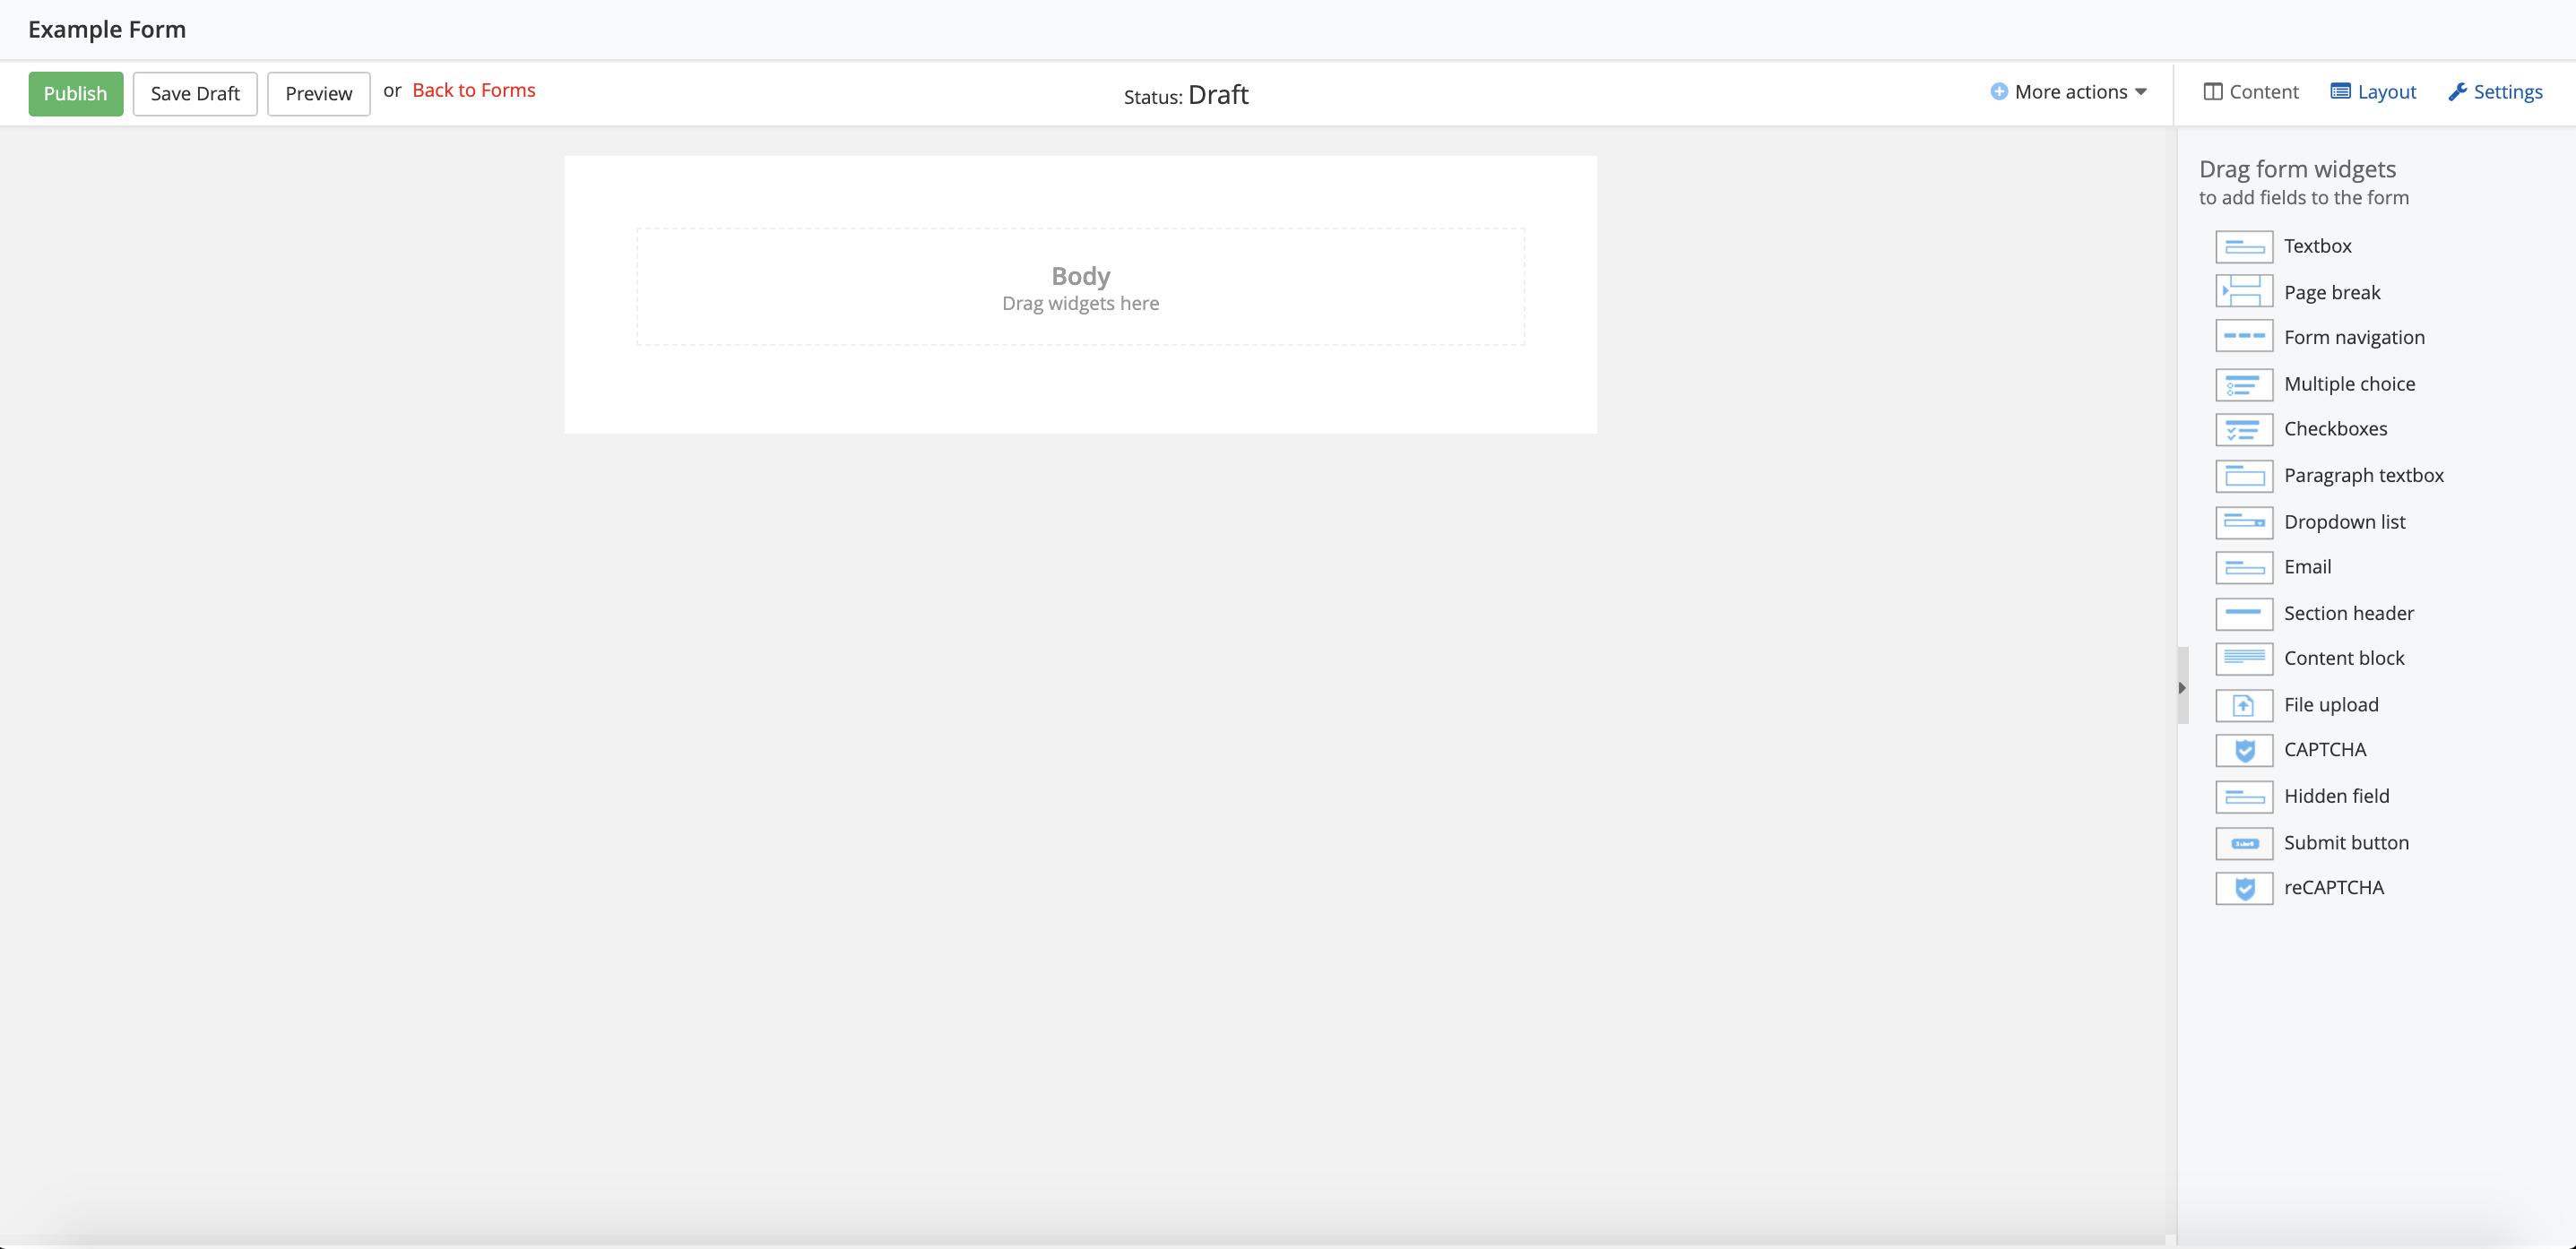
3. Click on "Create and go to add fields" button.
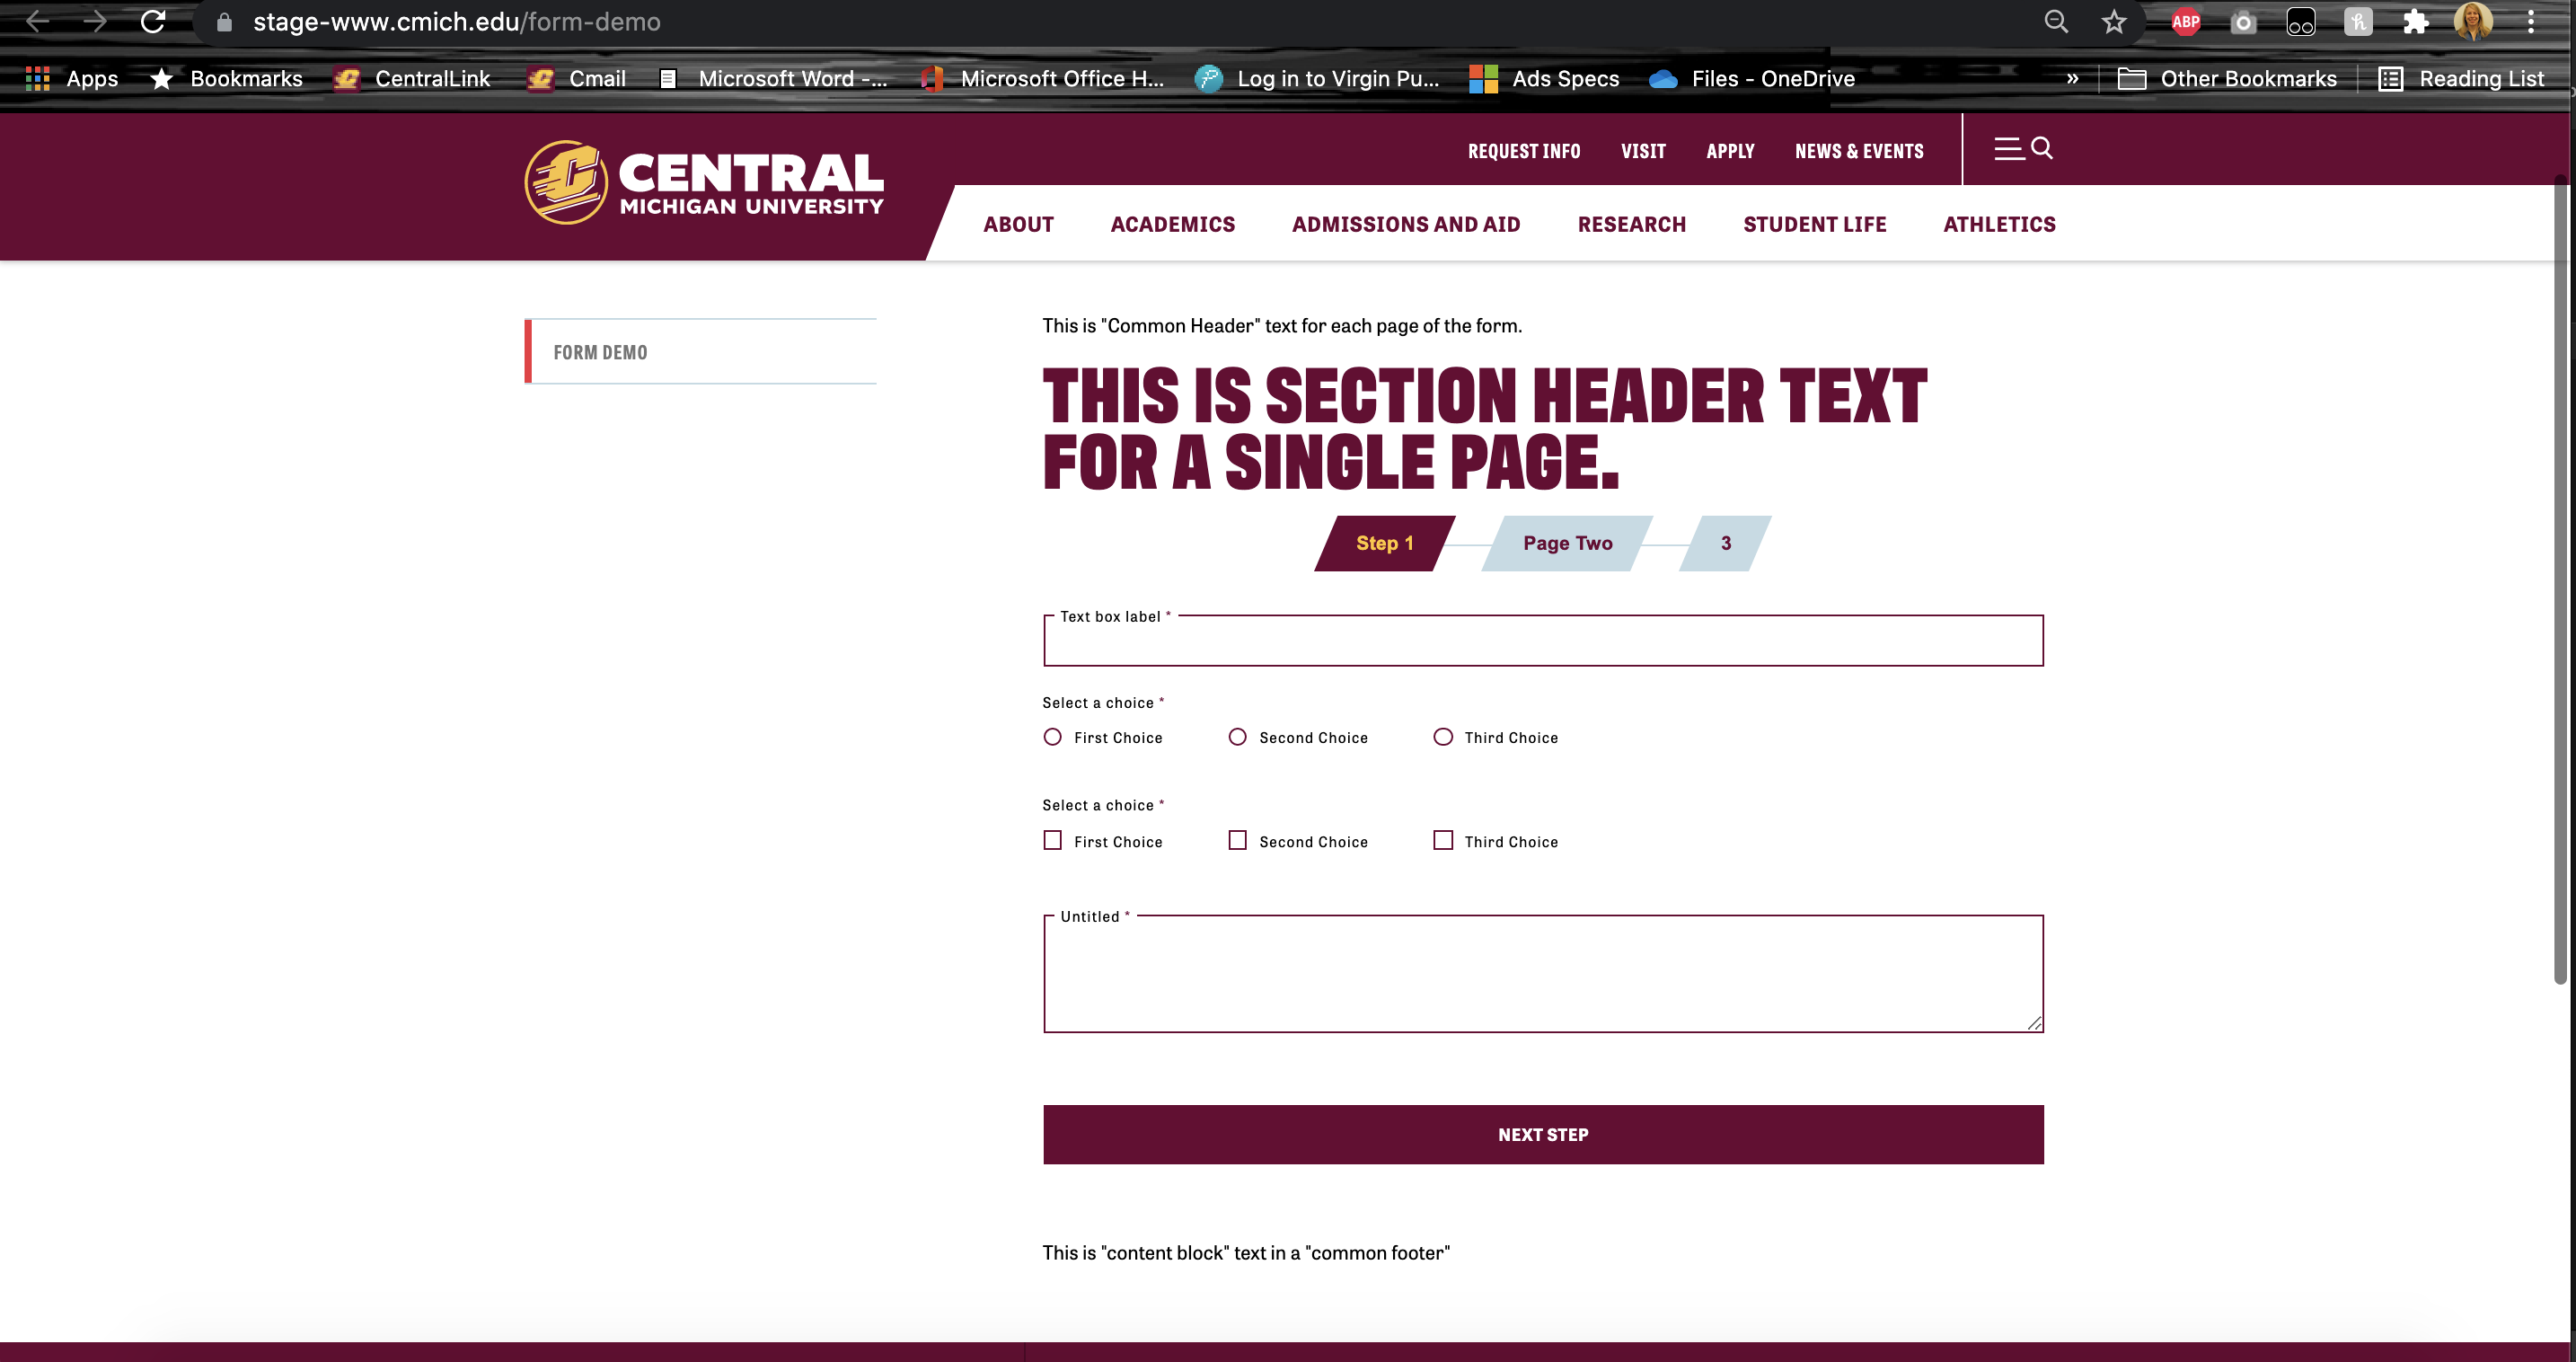
4. Drag your desired form widgets into the body area of the form.
Note: You do not have to use every widget on your form, select only the ones that will work the best for the goals of the form.
5. Build each form widget to its specifications.
NOTE: previewing your form from this area will not show you how it looks on the page. After you add the form to a Sitefinity page, you can click the page Preview to view the form. However, when the file upload widget is used and the page it's embedded on is previewed, it will not preview accurately (it will appear nested with the submit button and/or other form widgets). When both the form and the page are published, that nesting disappears and displays as intended.
6. Once all your form fields are in the body:
Click Publish to publish the form.
Click Save as Draft to come back to your form and continue working.

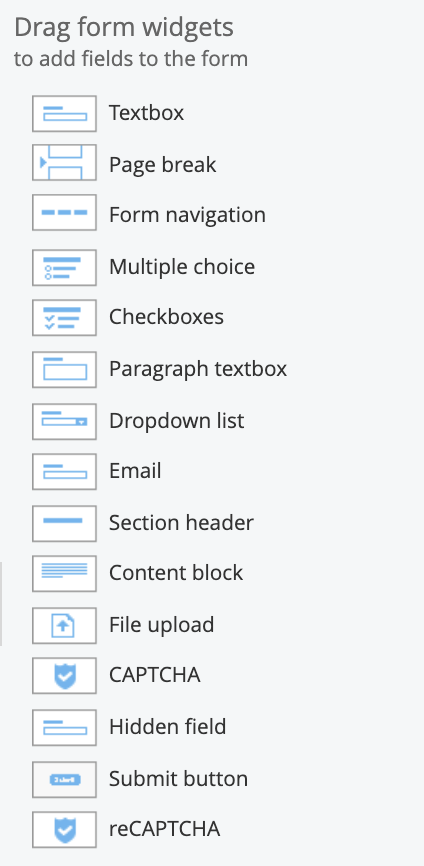
Form widgets
To the right, you will see the list of widgets available to add to your form. We've listed them below in a top-to-bottom order of how you can build out your forms.
Overall form formatting
Question/response formatting
Submission
Setting up form responses
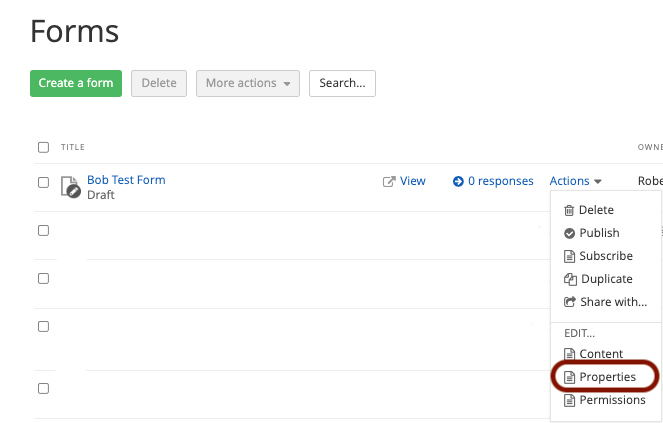
1. Select Properties from the Actions drop-down menu.
2. From here, you can:
- Limit the number of responses from each person.
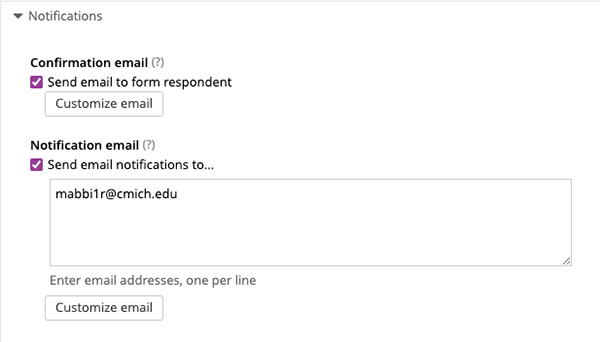
- Set up a form completion confirmation message for users (on-page or by email).
- Set up email notifications to form owners and/or others signaling when a form has been completed.
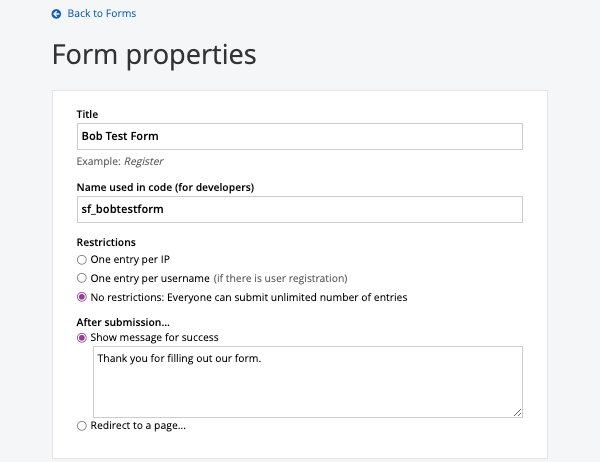
3. Limit the number of responses from each person by selecting the desired option from the choices in the Restrictions section.
4. To change the messages respondents receive after completing the form, enter your message in the textbox in the After Submission section.
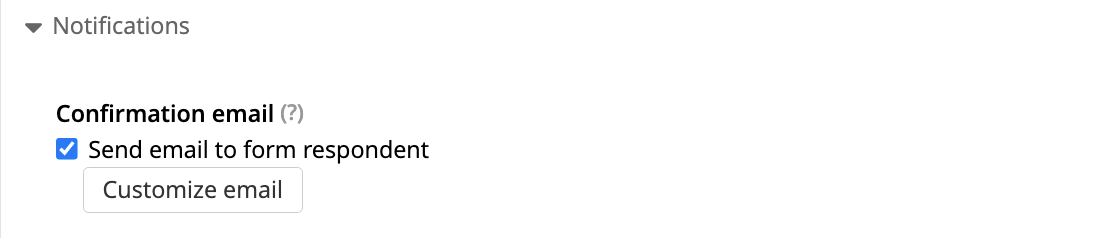
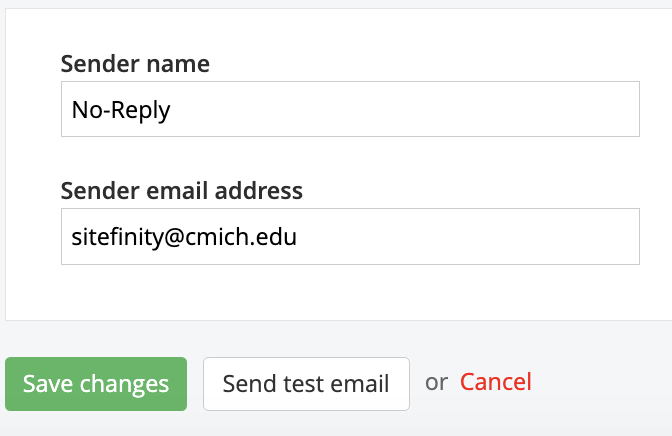
5. To set up a form completion Confirmation email that is sent to users, enter this exact text into the appropriate fields:
- Sender name: No-Reply
- Sender email address: sitefinity@cmich.edu
Viewing form responses
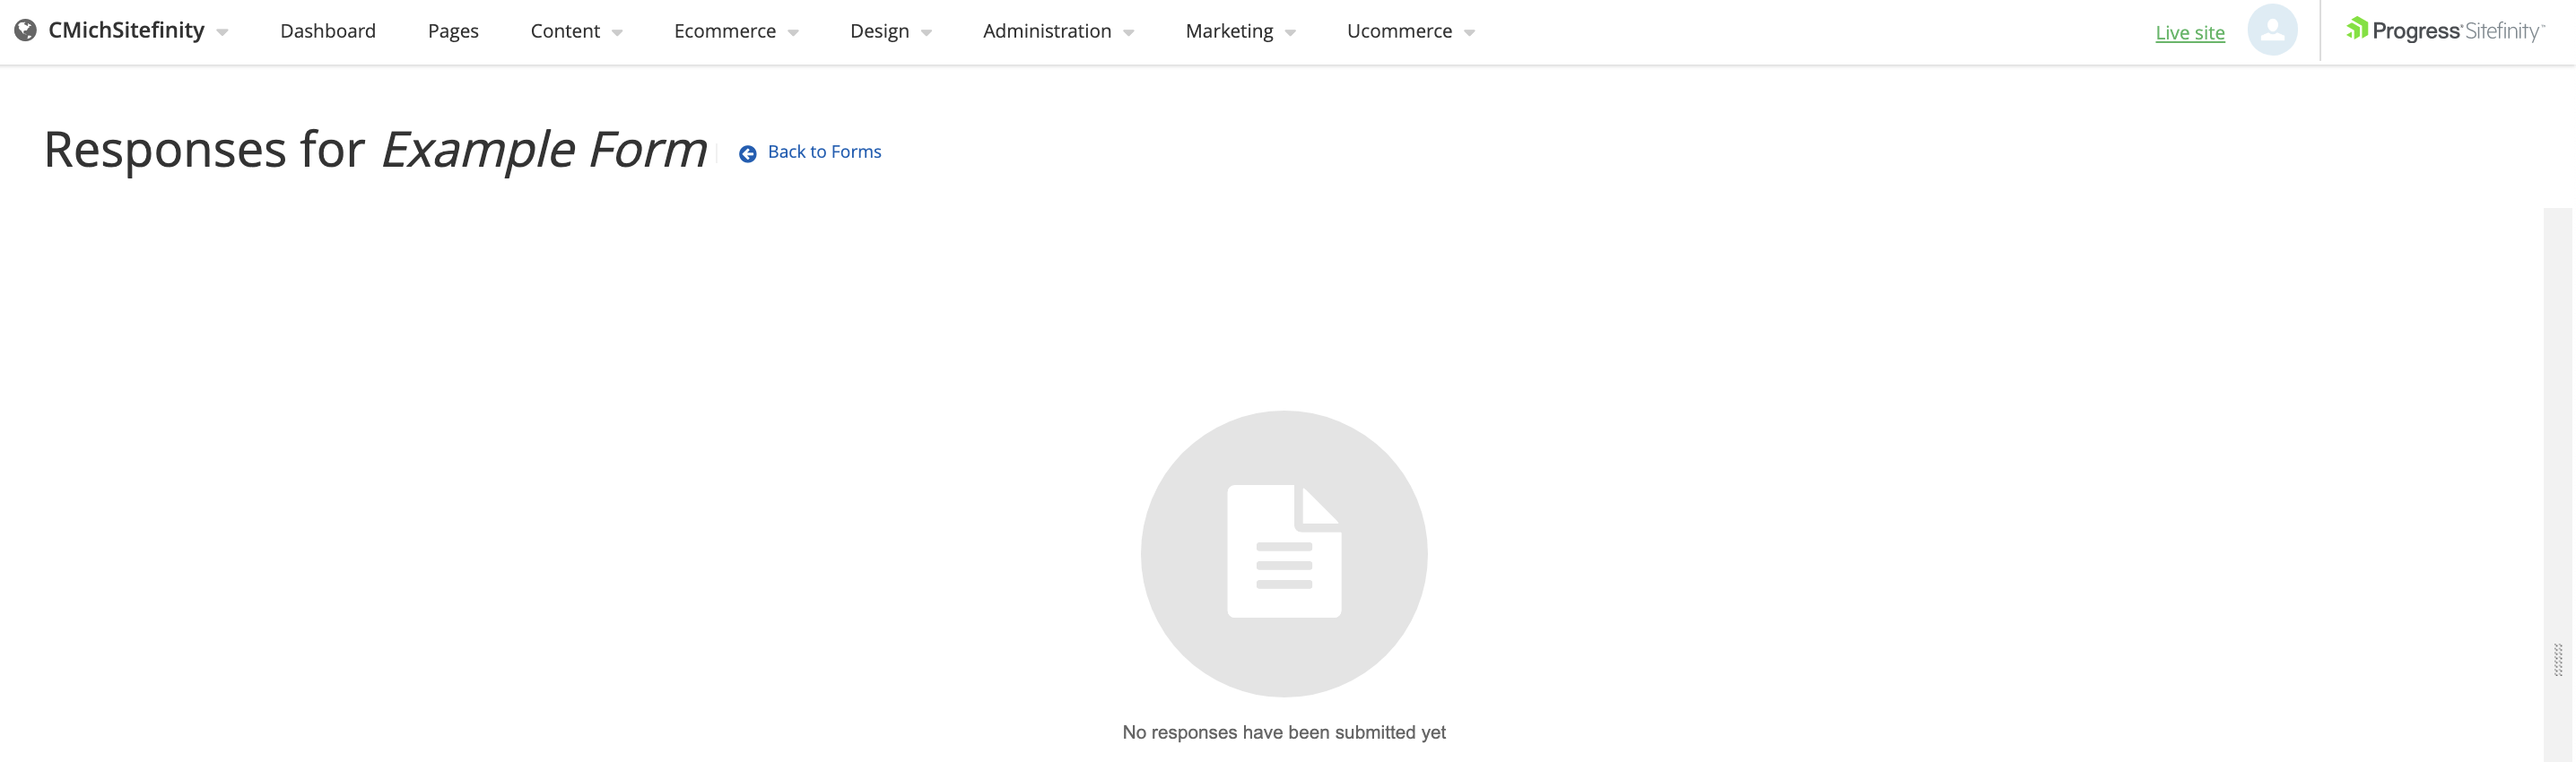
1. On the main Forms screen, select Responses to the right of "View."
2. You will be redirected to a screen where you'll be able to see all the responses to your form.

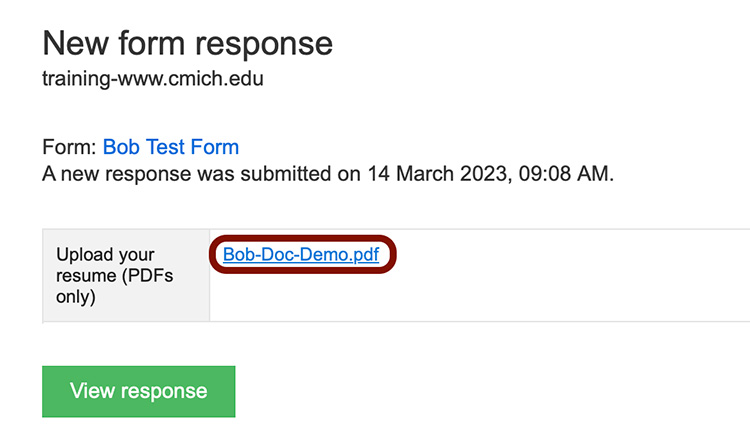
3. Viewing form responses in which users are required to "upload a file" (such as a resume) can ONLY be done via the form response notification email sent to the email address set up to receive notifications when a form is completed. To download the file from that email, right-click it if you are on a PC (Ctrl + click for Macs) and follow the prompts to download the file to your computer.
IMPORTANT INFORMATION ABOUT FORM RESPONSE ANONYMITY: The owner of a Sitefinity form is able to access form responses even if the email set up to receive form response notifications is different than that owner’s email address. When a “group” email address is used for form response notifications, any of the individuals with access to the group email would have access to the form responses as well. Additionally, all digital strategists in University Communications are able to access all form responses.
Adding a form to a page
Once you've created your form, you're ready to add it to your page. Open the Sitefinity Pages menu, located the page the form will be added to, open the page to edit.
Add layout
Since the main content area is considered a container, you do not need to add an additional one from the Layouts menu.
Add widget
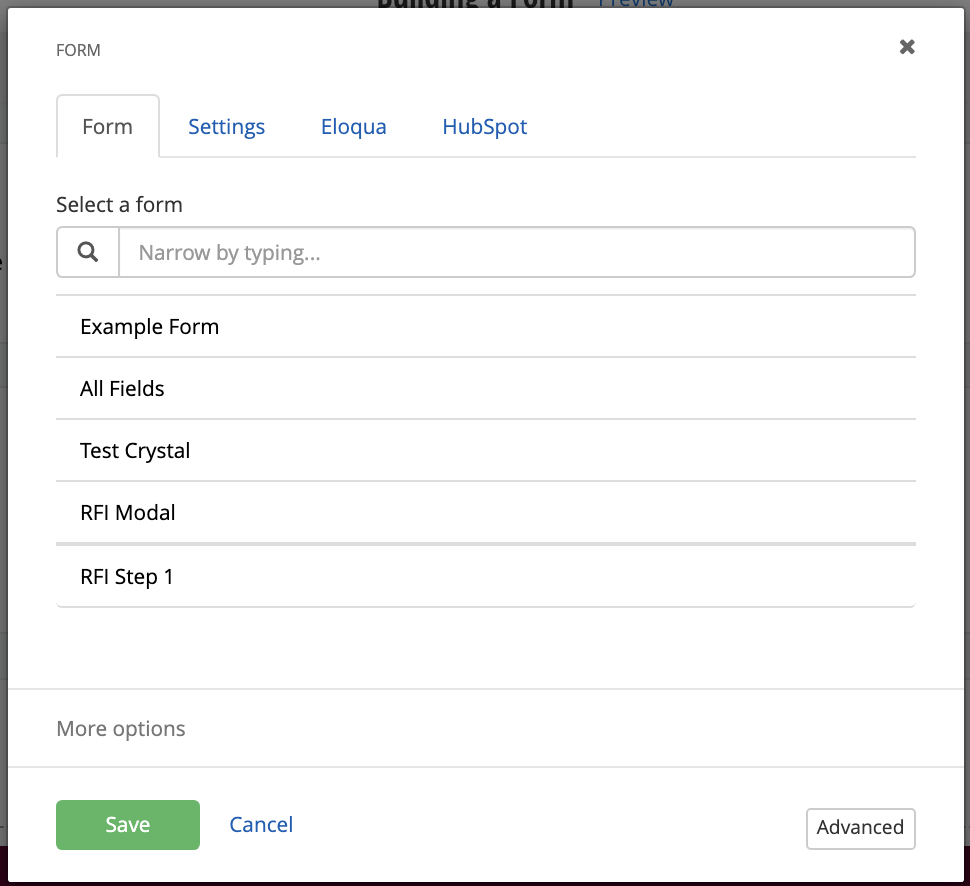
- Select the Form Widget.
- Drag and drop it inside the main content area.
- Click on Select a Form and choose the form you just created.
- Save.
Preview your form by clicking the Preview button on the page you added it to. Save the page as a draft or Send for Approval. For best results, go back to the main Pages menu and click View for the page the form is on.


Note: If your form is not published the widget will give you an error. Remember to publish your form before adding it to the page.
